
Built in Heaven
Last week I took my 2nd annual stay-cation – and the project I decided to tackle this year was a big one….re-tiling my fireplace and adding built ins to either side. The “bigness” of this wasn’t so much the size, but the amount of detail and planning that was involved in each part of it.


I started with the fireplace and after a lot of discussions between me and myself (and some helpful input from Eaphis!) I settled on a white small subway tile for the surround, and a marble herringbone for the hearth – I know, FANCY right!! I had re-done our fireplace surround in our first home while we were getting ready to sell it so I had some good experience behind me for that part, but the hearth was a new one. It took quite a few hours of cutting and pre-fitting everything, which is why this was a perfect thing to tackle when I could give 100% focus to it.

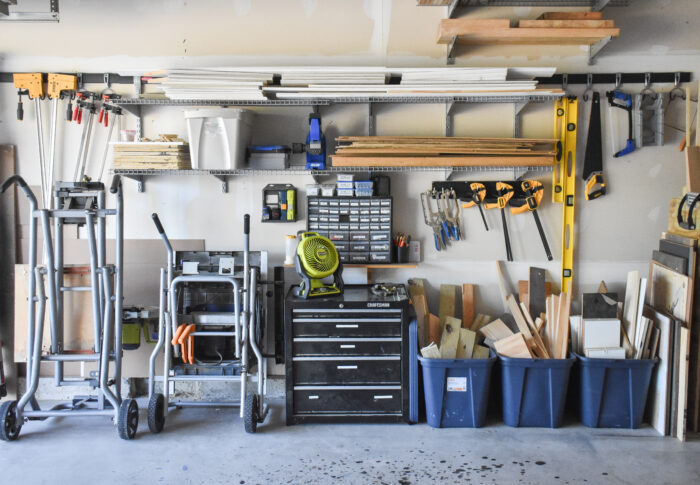
Next it was onto the built ins…I really thought a lot about getting something pre-made and fitting it into this space, but the height/width/depth I wanted was such an usual size that in the end I decided to build them myself. In all honesty, I was really nervous about this part and wasn’t sure if I could pull it off. I had to be very careful to keep everything extremely square and then make 4 sets of pretty exact doors – which was a challenge all by itself! Mother nature must have been smiling on me because in the midst of a crazy heat wave, she gave me two beautiful days to work in the garage and crank these out.

Now that they’re in and have the doors on I’m really happy with how they came out. They’re not perfect, but I think they’re pretty damn good for a first attempt at cabinets. We used to have 10 year old DVD racks on either side (which fit surprisingly well) but were extremely skinny and couldn’t hold that much. Now – we have more than enough space to store all of the boys toys that seem to accumulate in the living room no matter how much I straighten.
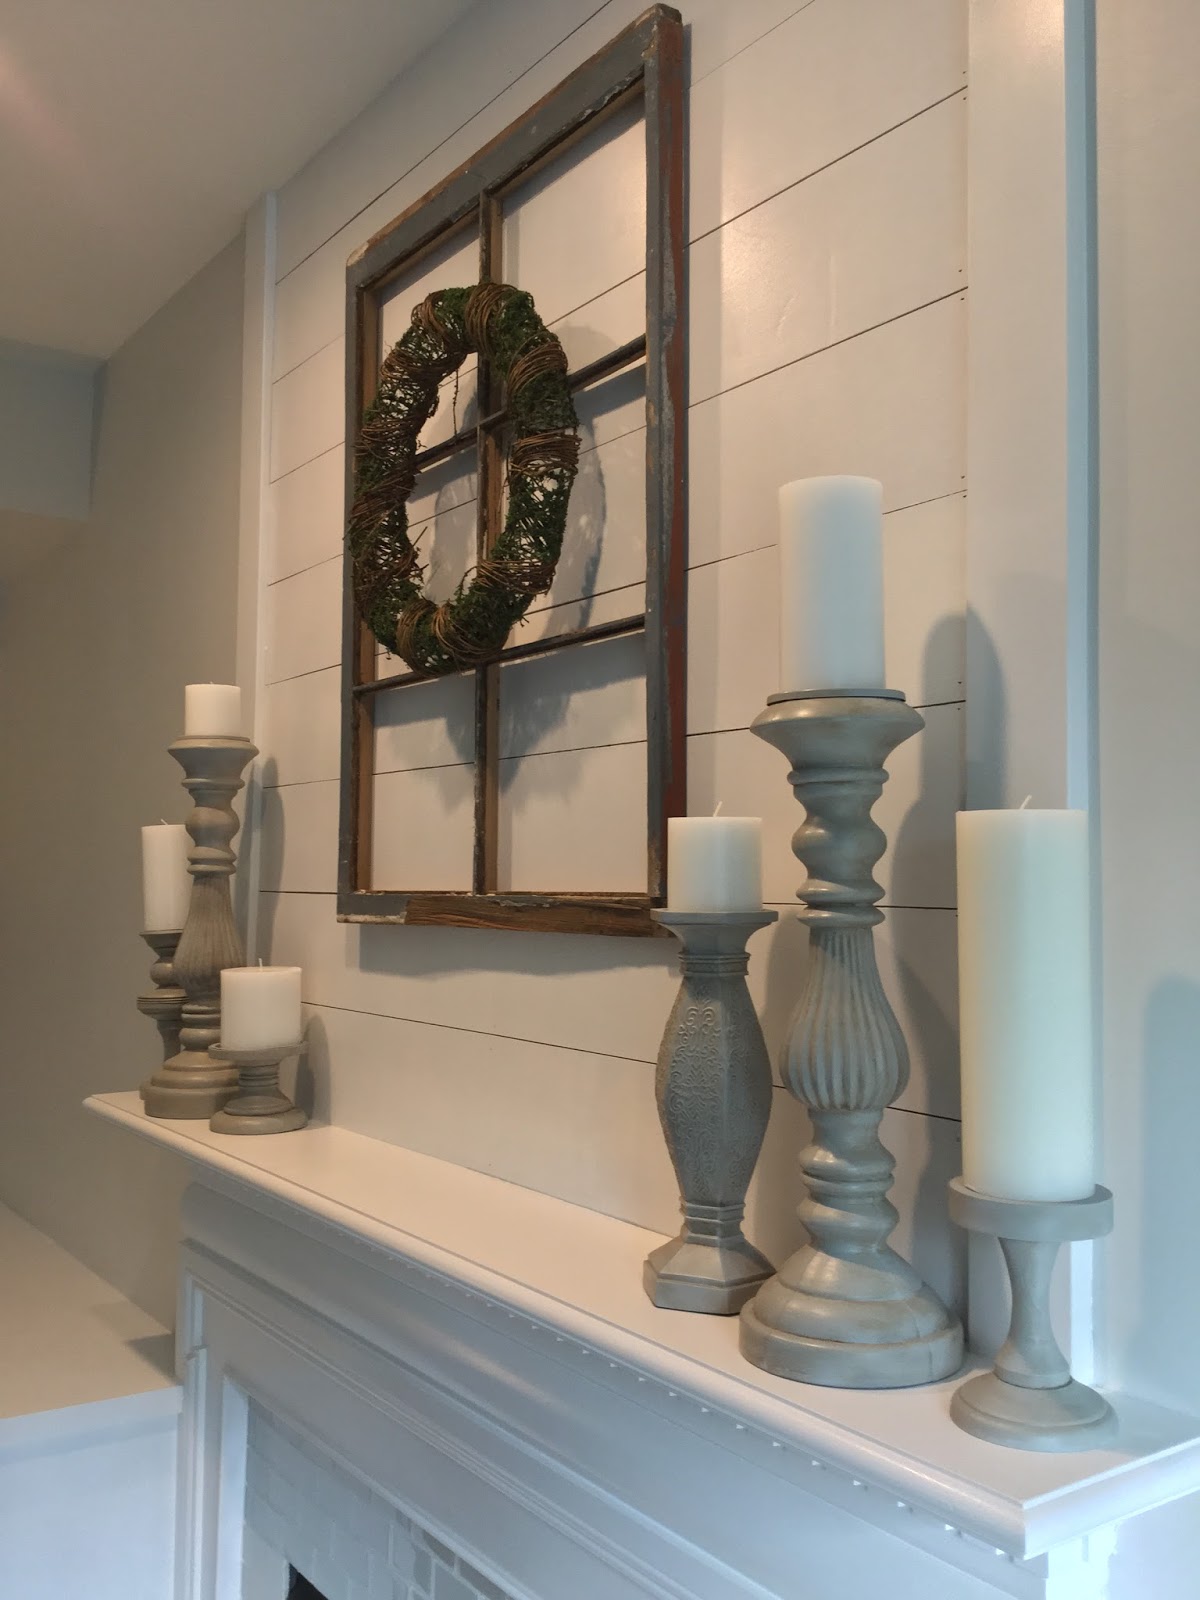
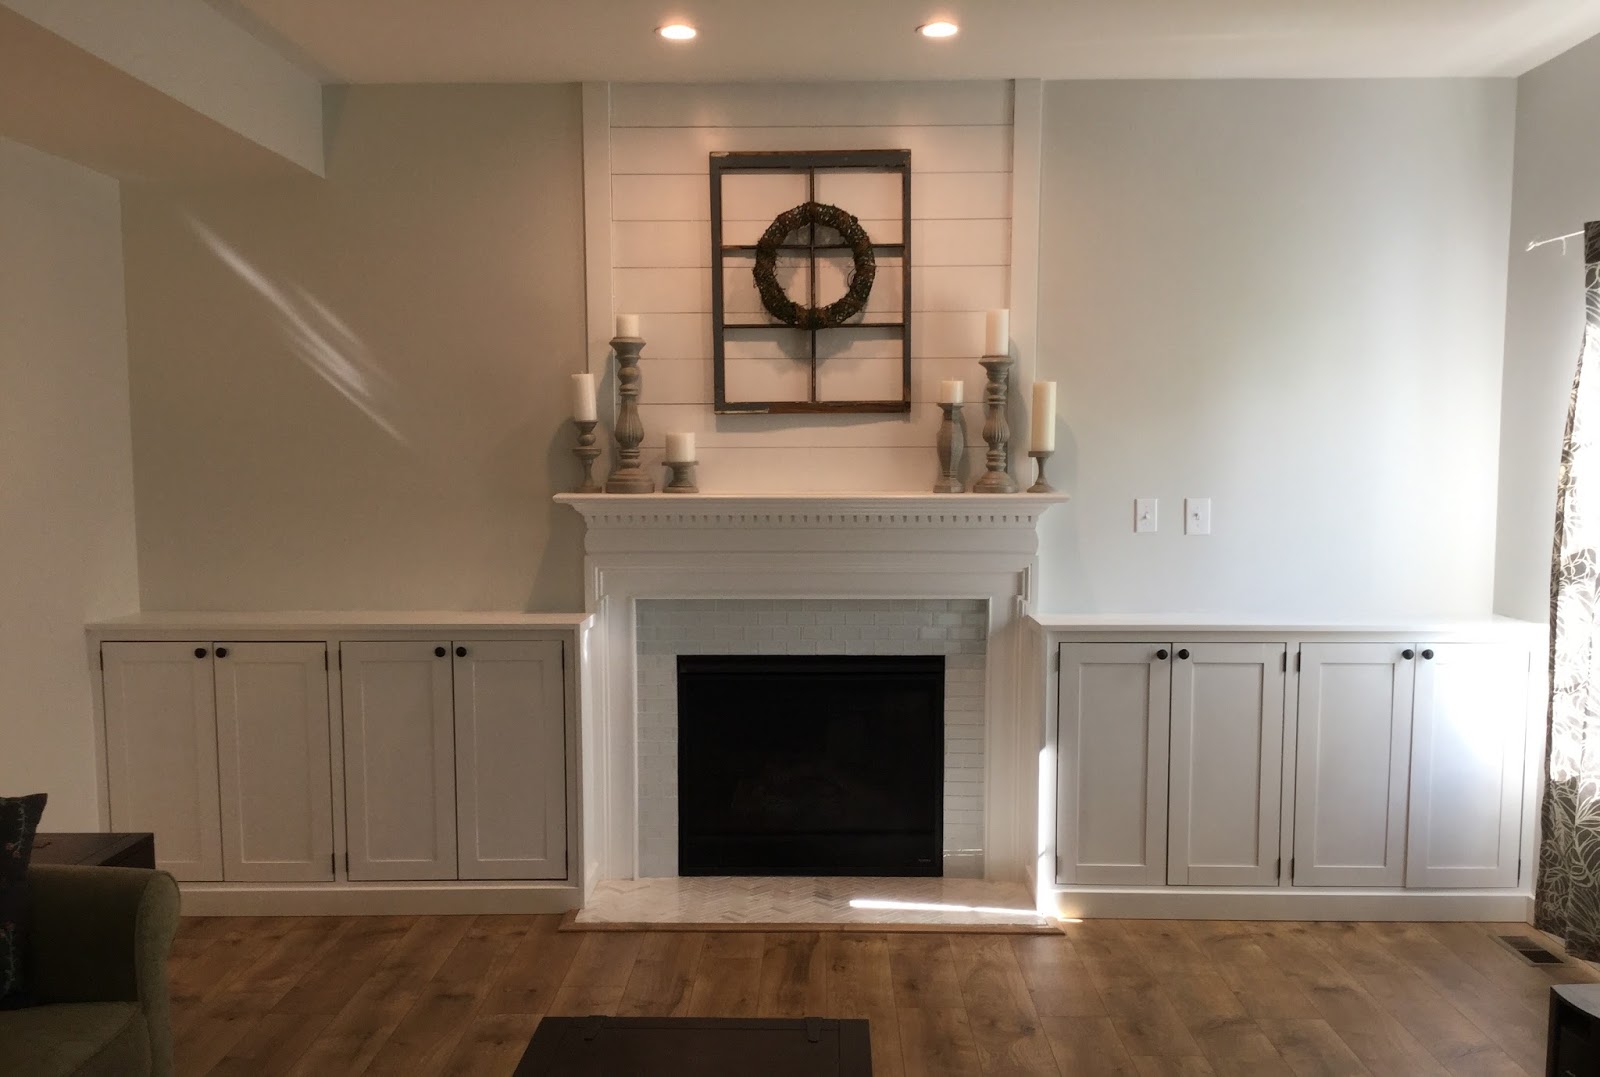
To finish this project off, I added a faux shiplap feature over the mantel where I could finally hang my antique window frame like I always intended. I wanted to keep the mantel really simply so I took a bunch of different candle holders I’ve been collecting and sprayed them all with gray chalk paint (finished with an antiquing wax) and got a lot of white candles from World Market. I’m now obsessed with them and think I’m going to keep on collecting them until I have enough to spread across the tops of the built ins!
 |
| BEFORE |
 |
| AFTER |
I love how bright and cozy the living room feels now – all of the white and shiny surfaces just reflect the sunlight throughout the whole room. I can’t wait until it’s cold enough to light the fireplace and all of the candles……I am also very relived to be done!!!!!!!!!!! I have a lot to still add/replace in this room, but have taken a huge step forward and now I feel like I can sit back and relax for a little bit.
Comments
Great job. Beautiful.
love it!!!! please come do my house next!
Thank you!
For you – anytime!!!!
You did a beautiful job!! My husband and I are trying to create built ins of our own. Do you have more information on dimensions or instructions on how you made yours. Any advice would be appreciated!!
Hi Lindsay! Thank you very much for the kind comments. To build the built-ins I meshed together a few different plans that I’ll link below to get an idea how to build the 2 door structure, and trim it in a way that made sense. For the dimensions, I made them very specific to my fireplace mantel making sure that the final height lined up exactly, and the final depth shallow enough that it didn’t hit my window trim. I would say to make sure you take very good measurements of the space you are looking to “build into” before hand and adjust whatever plans you are using to those measurements. I would build your interior structure first and secure that in place, and then add your face frame and top piece. That way if your structure is a little short you can adjust the trim to cover any gaps. Hope that helps!
http://www.ana-white.com/2013/03/plans/smith-media-wall-side-base-cabinet
https://www.shanty-2-chic.com/2012/10/restoration-hardware-inspired-dining-hutch.html
Thank you so much for posting how you did your built-ins. We have lived in out home now for 6 years and I have had the hardest time with my family room space. I have the same floor plan as you and have wanted to do built-ins. Your home is beautiful!
Oh you are very welcome – and thank you for the kind words! Those built ins have added so much to our home both in function and in creating a really great focal point to build the rest of the room around. Wishing you good luck if you tackle it – I think you would love it!
I’m going to give the built in cabinets a try in our newly purchased home. Yours look beautiful. Thank you for posting the links.