
One Room Challenge Week 4 – Making Furniture Decisions
So let me start off by saying I’m in full on crunch mode here guys! This is gonna be a photo finish to get everything done but I’m pressing forward and trying to knock all of the big items off of my list. That way if I have to I can put in a whole week of late nights to finish the small details. My husband actually asked me this week if I cloned myself without him knowing, which I’m gonna take as a compliment that crunch time or not I’m making progress.
If you missed any of my One Room Challenge posts you can catch up on my previous weeks here – Week One | Week Two | Week Three
This week has been all about furniture. Whenever I take on a room I divide my furniture decisions into 3 categories – what am I going to keep, what am I going to buy new/replace, what am I going to build. And in every instance I start first and foremost with function! I ask myself “What furniture pieces in this room are not giving me the functionality that I need AND what would I need to fulfill that need?” Once I can answer those question I can easily put things into my 3 categories.
What Am I Going to Keep?
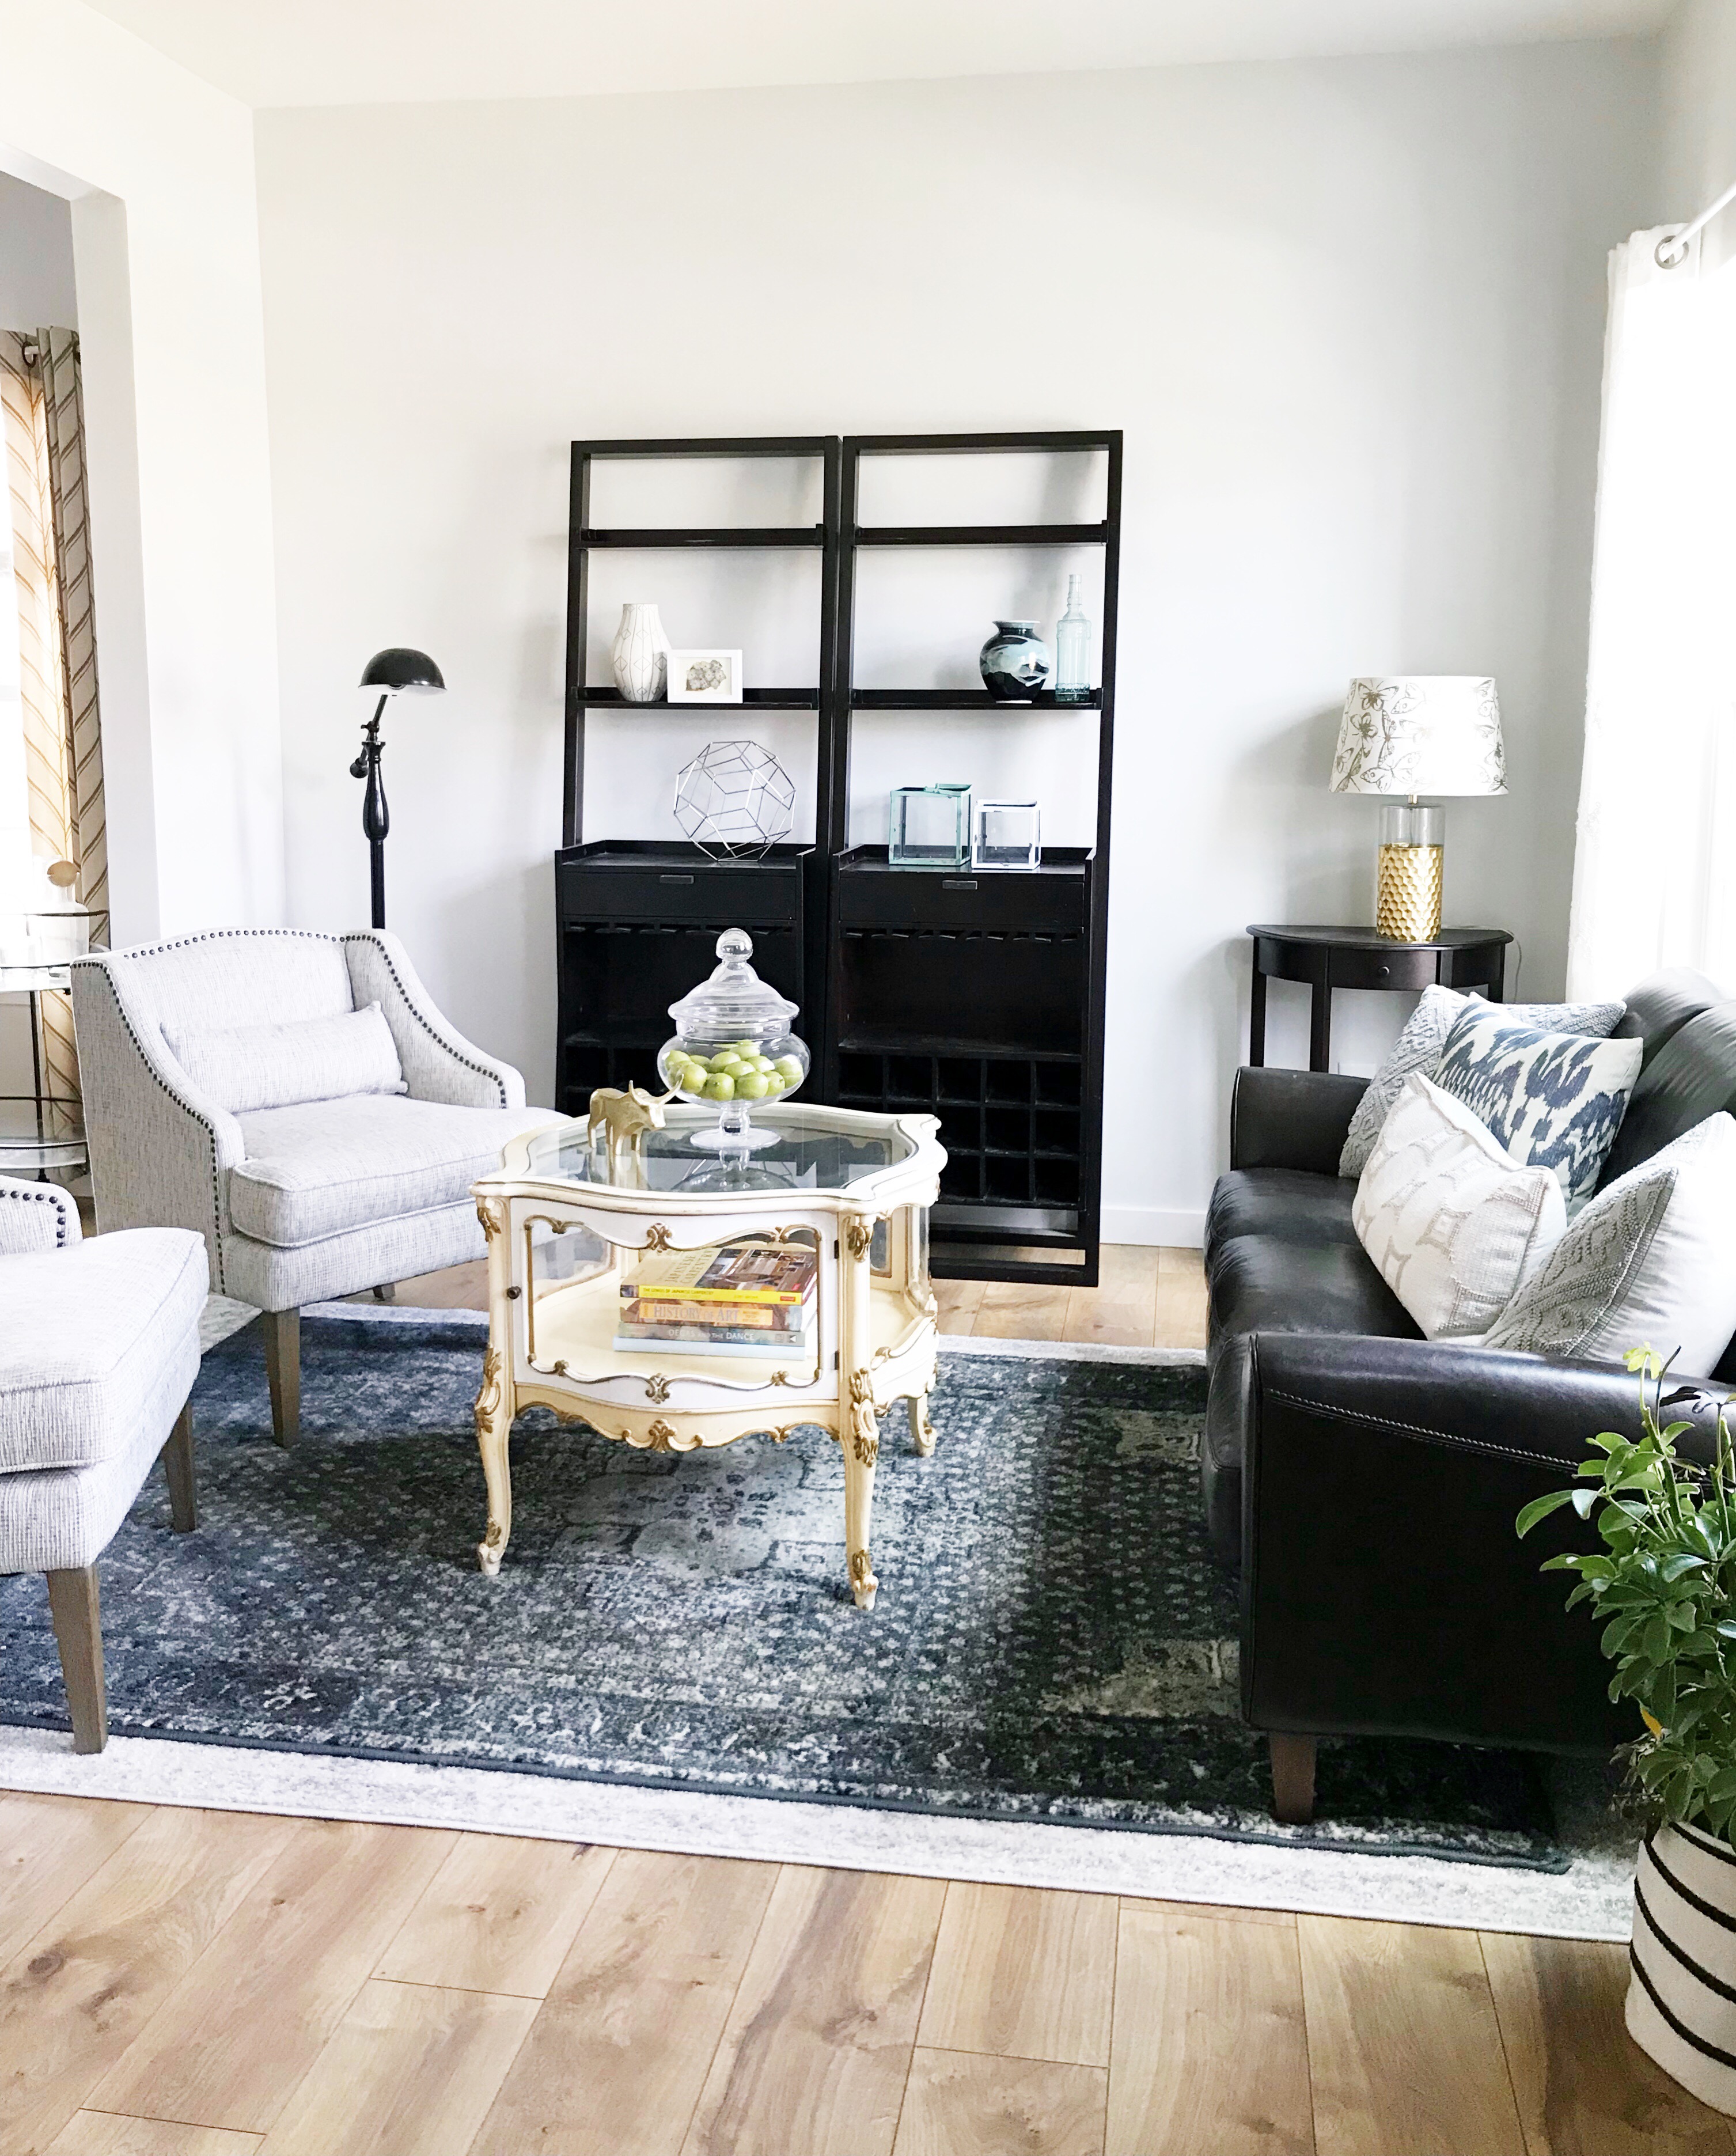
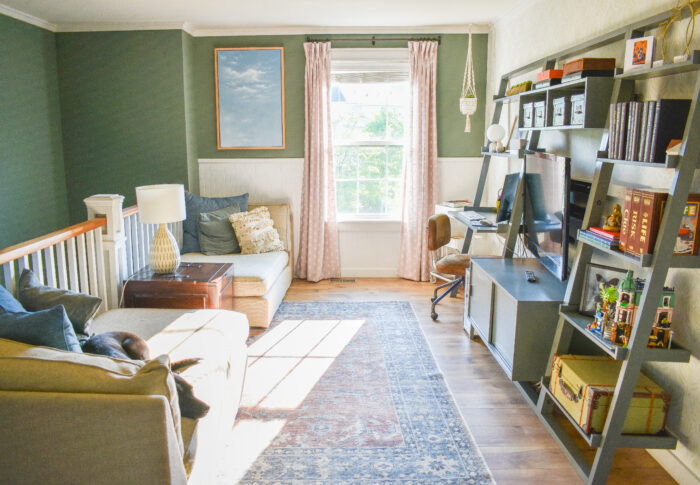
When we moved into this house we did what most everyone does and just brought along our old front/dining room furniture, but everything was dark brown and heavy. Out of everything, the only piece that still functioned great was our leather couch. If I was designing from scratch I would honestly pick something lighter and more delicate, but it’s the perfect size and still in really good shape so I’m making the dark leather work by adding lighter pillows and layered rugs. To balance out the heaviness I recruited my beautiful antique coffee table from my bedroom in Florida and I think the two work wonderful together.
What am I Going to Buy New/Replace?
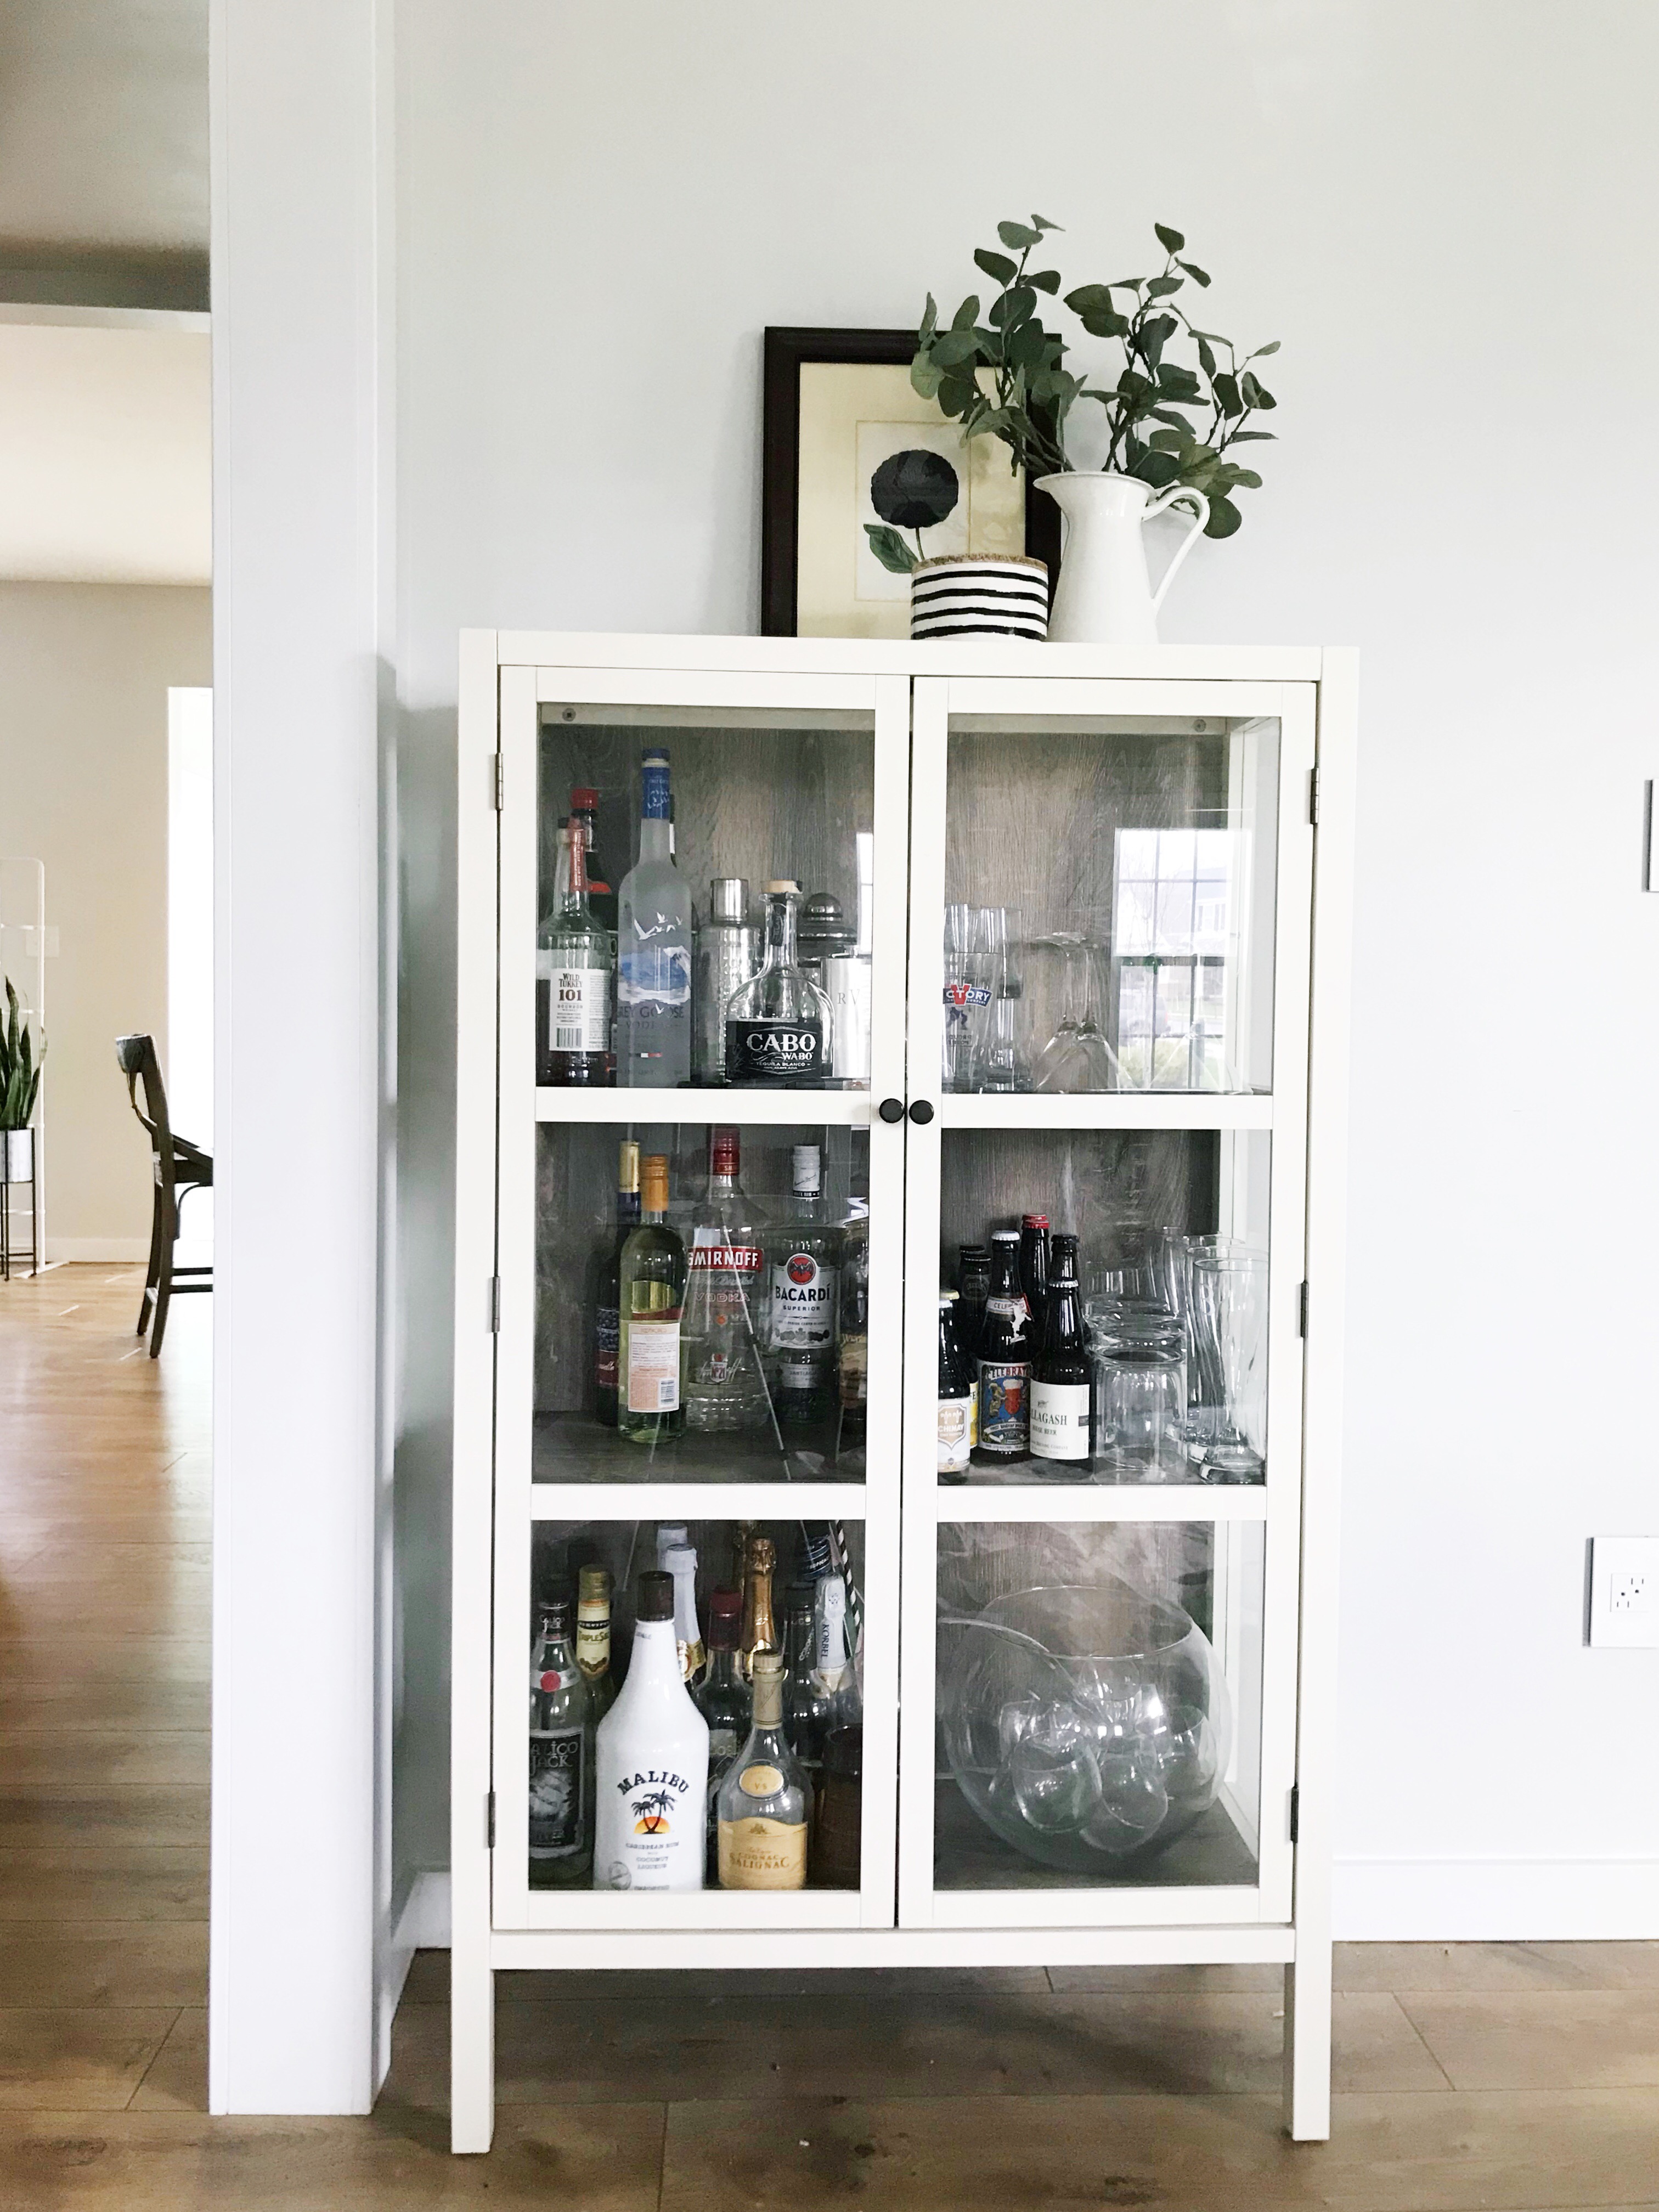
The rest of the older pieces were a different story. The leaning bar shelves from C&B were hard to dust and kept the liquor bottles and glasses too open for my curious boys, so I am going to use a combination of this glass bar cabinet from Target and my antique bar cart to serve the same purpose but in a much more manageable way.
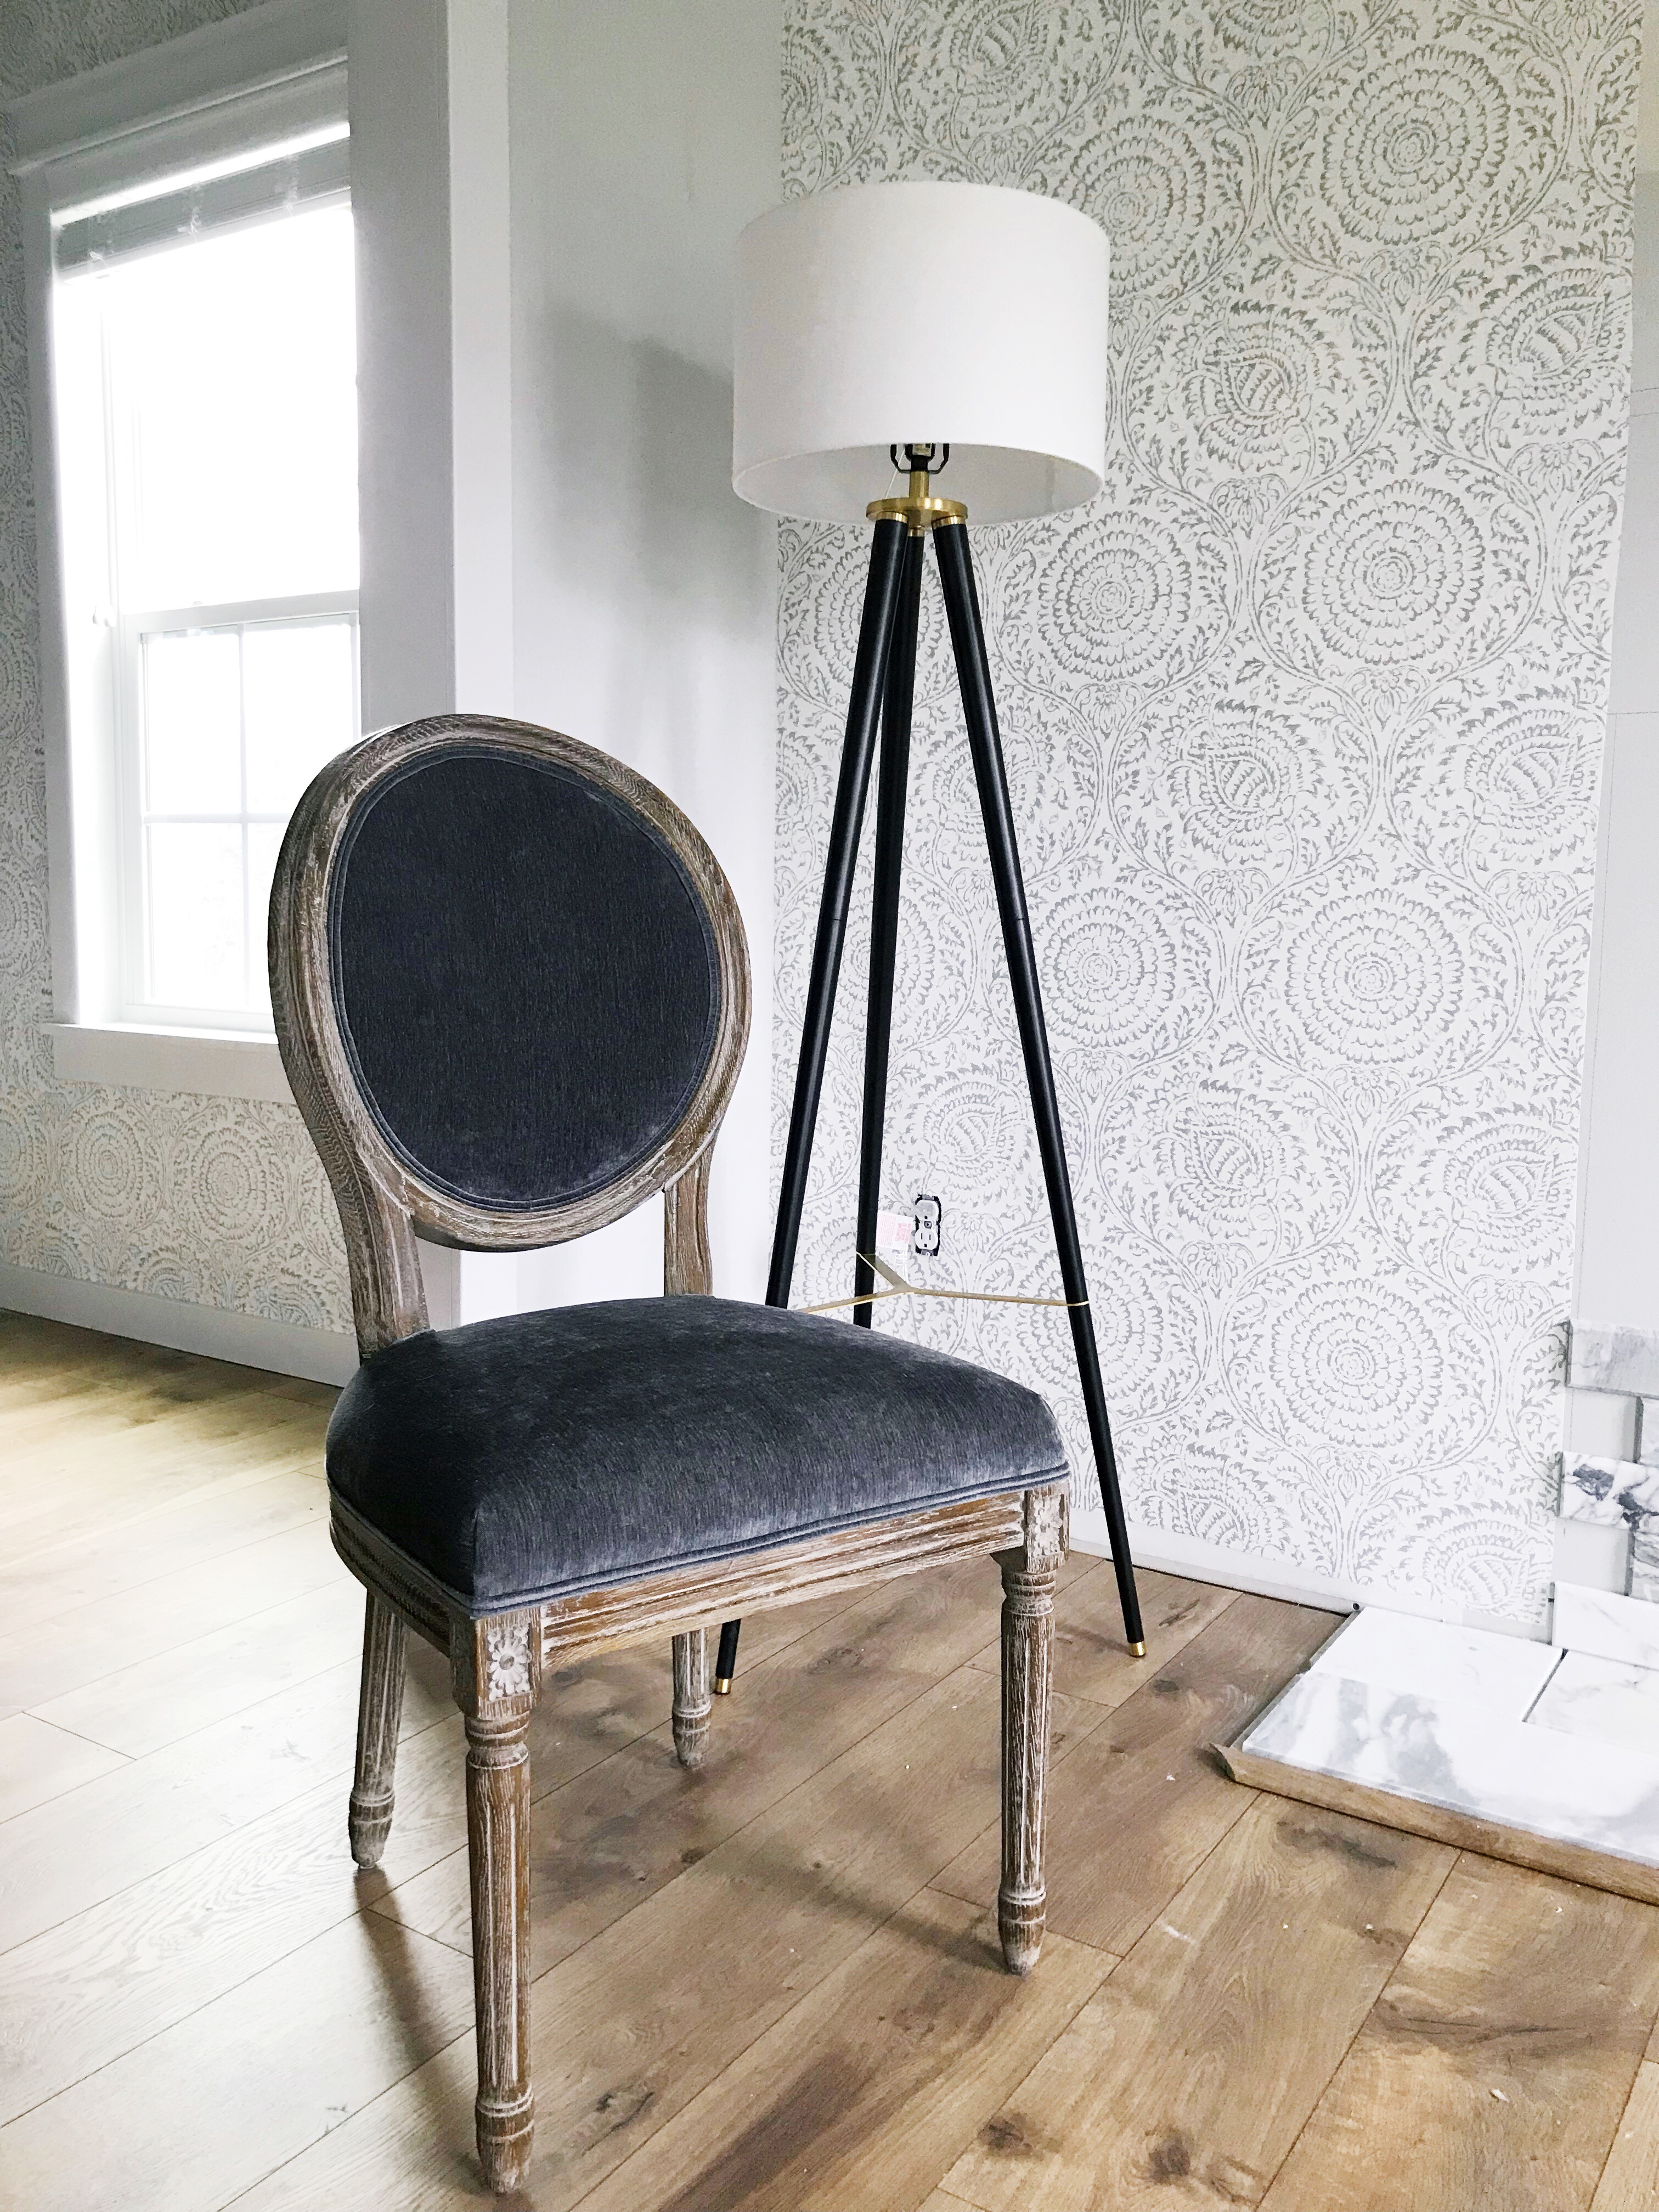
At this point in my thought process I also make sure that I identify what is missing in my room and anything that I can’t build and need to buy. For these rooms that was primarily seating both for the sitting area and the Dining Room. It was incredibly hard to find chairs for the front room, so I couldn’t believe my luck when I finally found these tweed, low backed club chairs! To balance out their modular shape, I went with an elegant gray, velvet round back chair from World Market for the Dining room.
Before I buy everything new, I always make sure I visit my favorite antique store for great one of a kind pieces; I really wanted a small round table for the corner next to the couch and the gods were smiling one me because I found this lovely little lady! I’m going back and forth on whether to paint her or not though – right now I’m thinking I will keep her as is to add some warmth to all of the grays and whites, but change out the lamp and accessories.
What am I Going to Build?
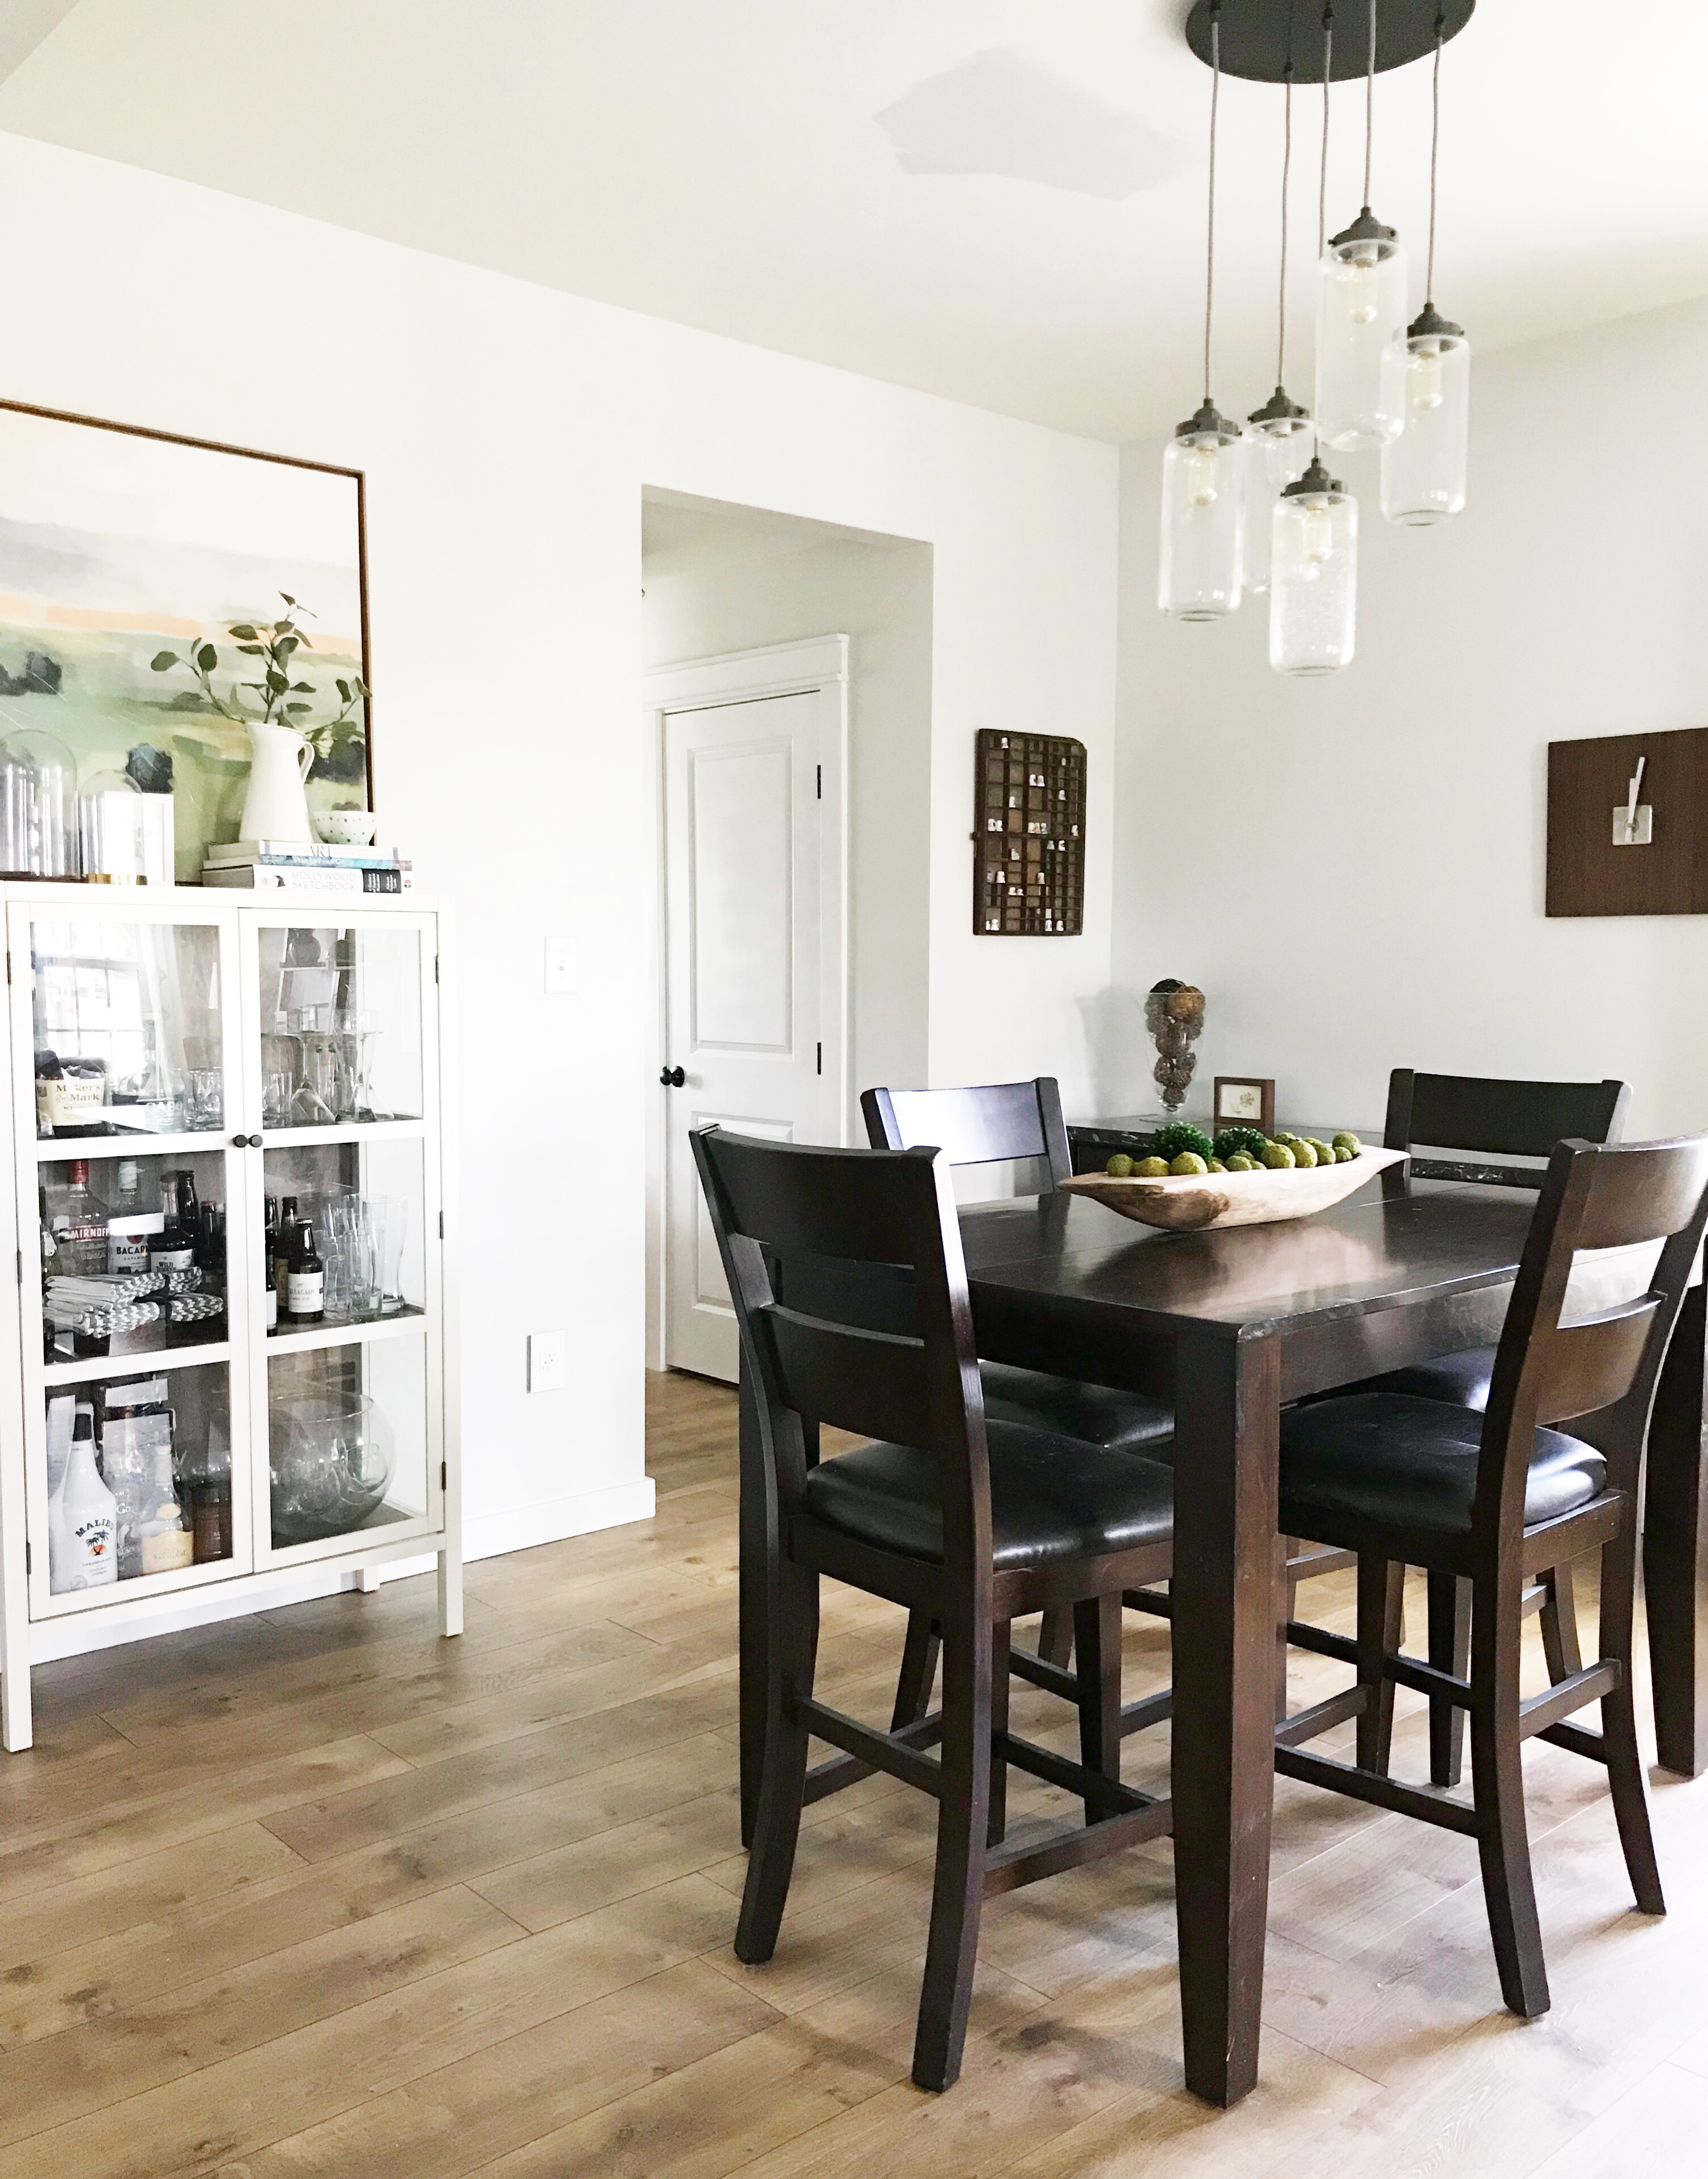
The two builds I decided on for these rooms came out of my ultimate decision to sell the other two older pieces in the dining room – the hightop table and the buffet. I thought for a long time about how to make them work in these rooms (what if I painted? re-upholstered? added upper shelving?) but in the end the problem was that they just weren’t the right size for the space, and that was something I couldn’t fix with a cosmetic change, so I went ahead and sold both on Facebook Marketplace.
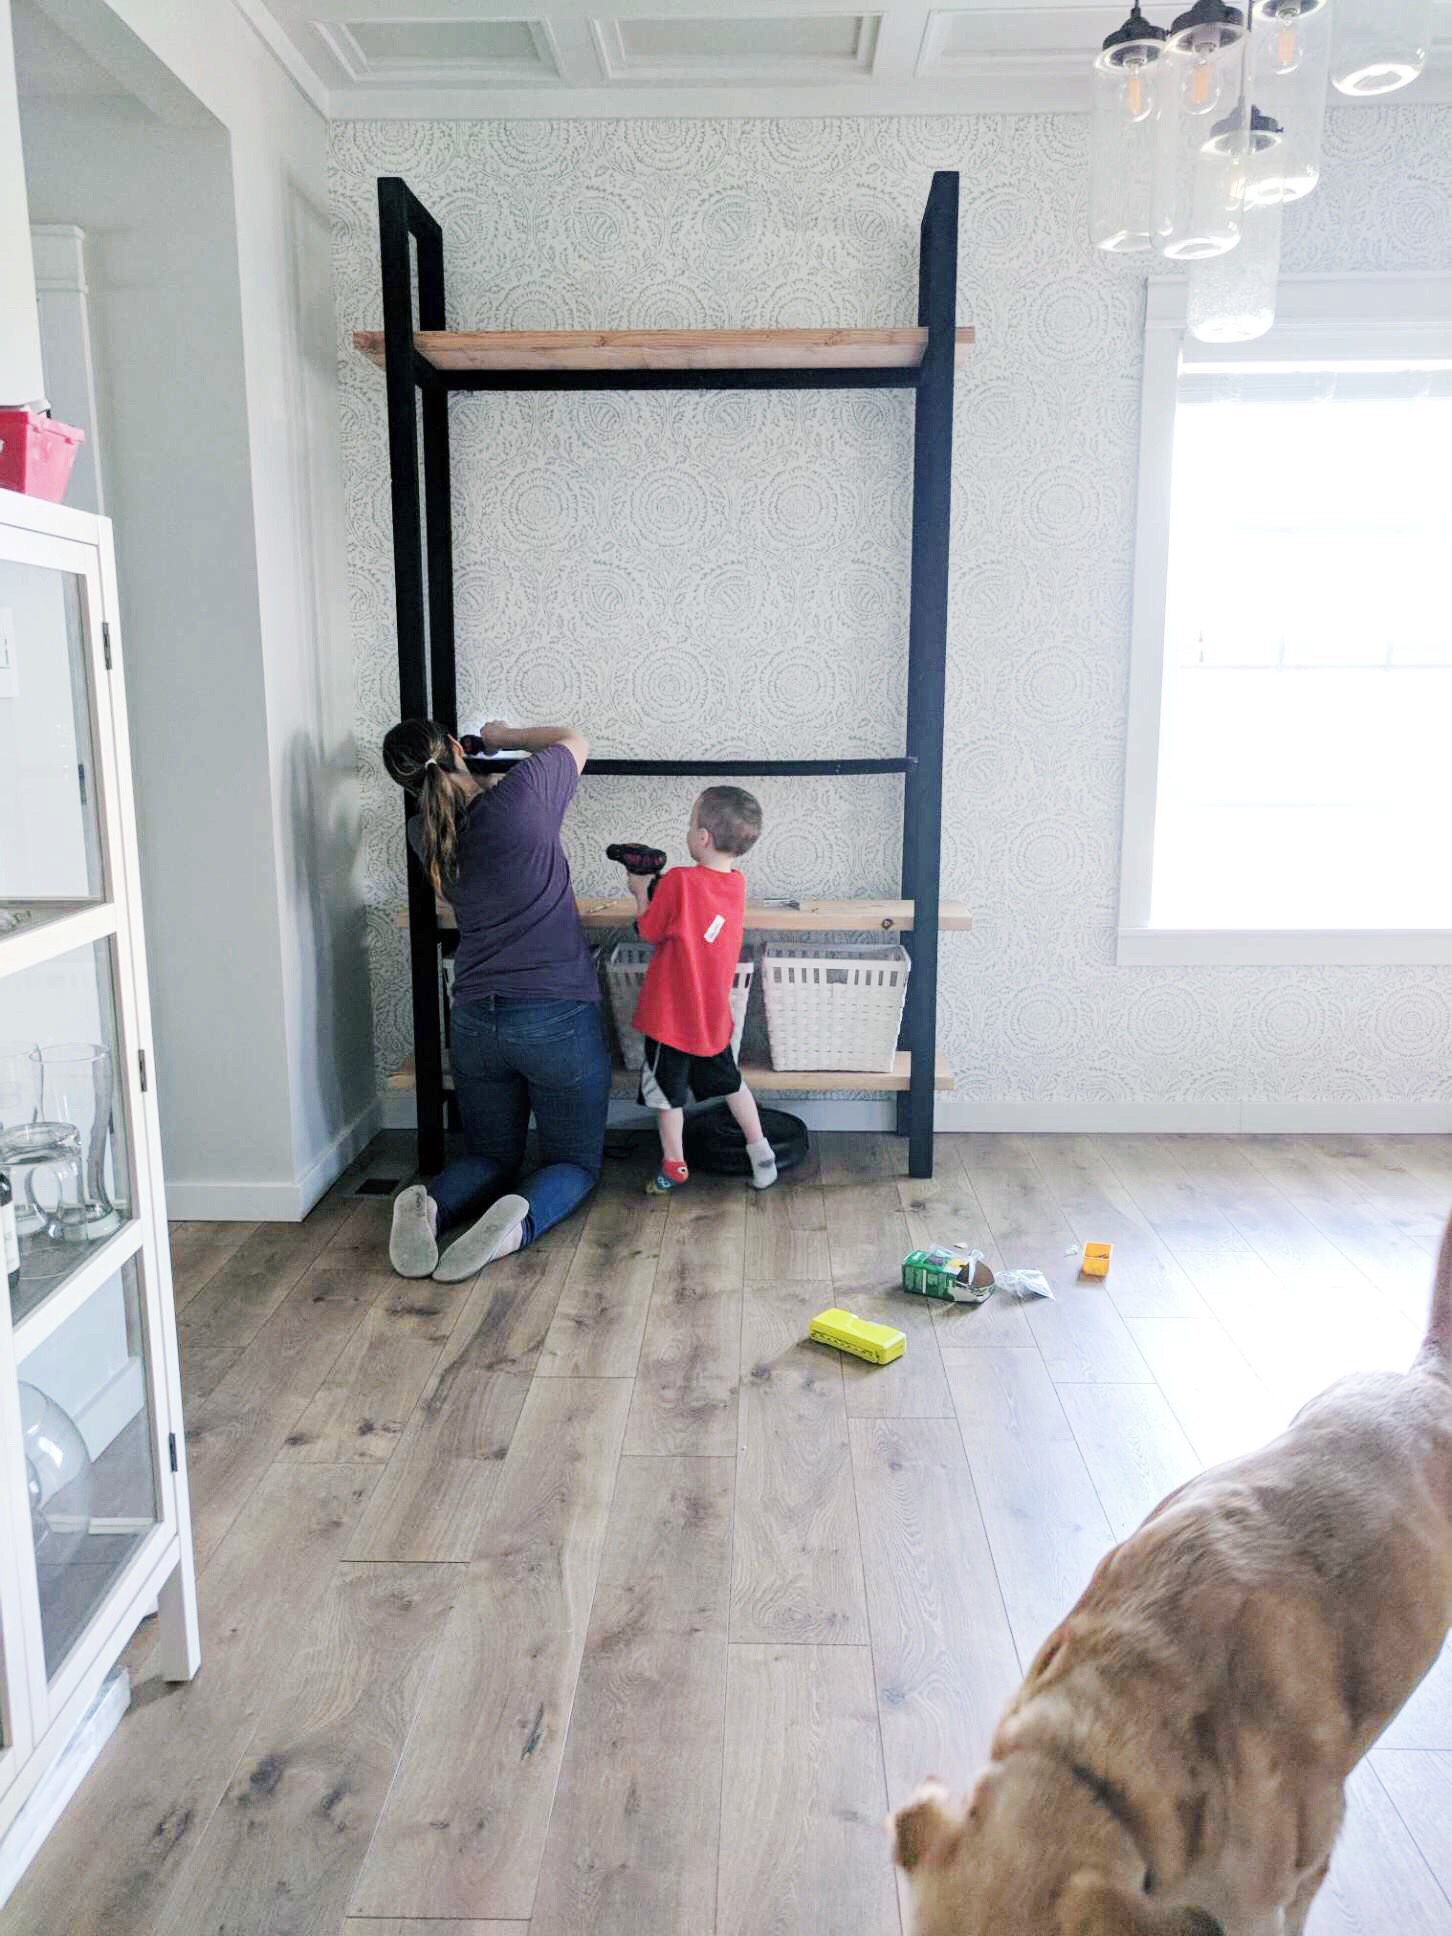
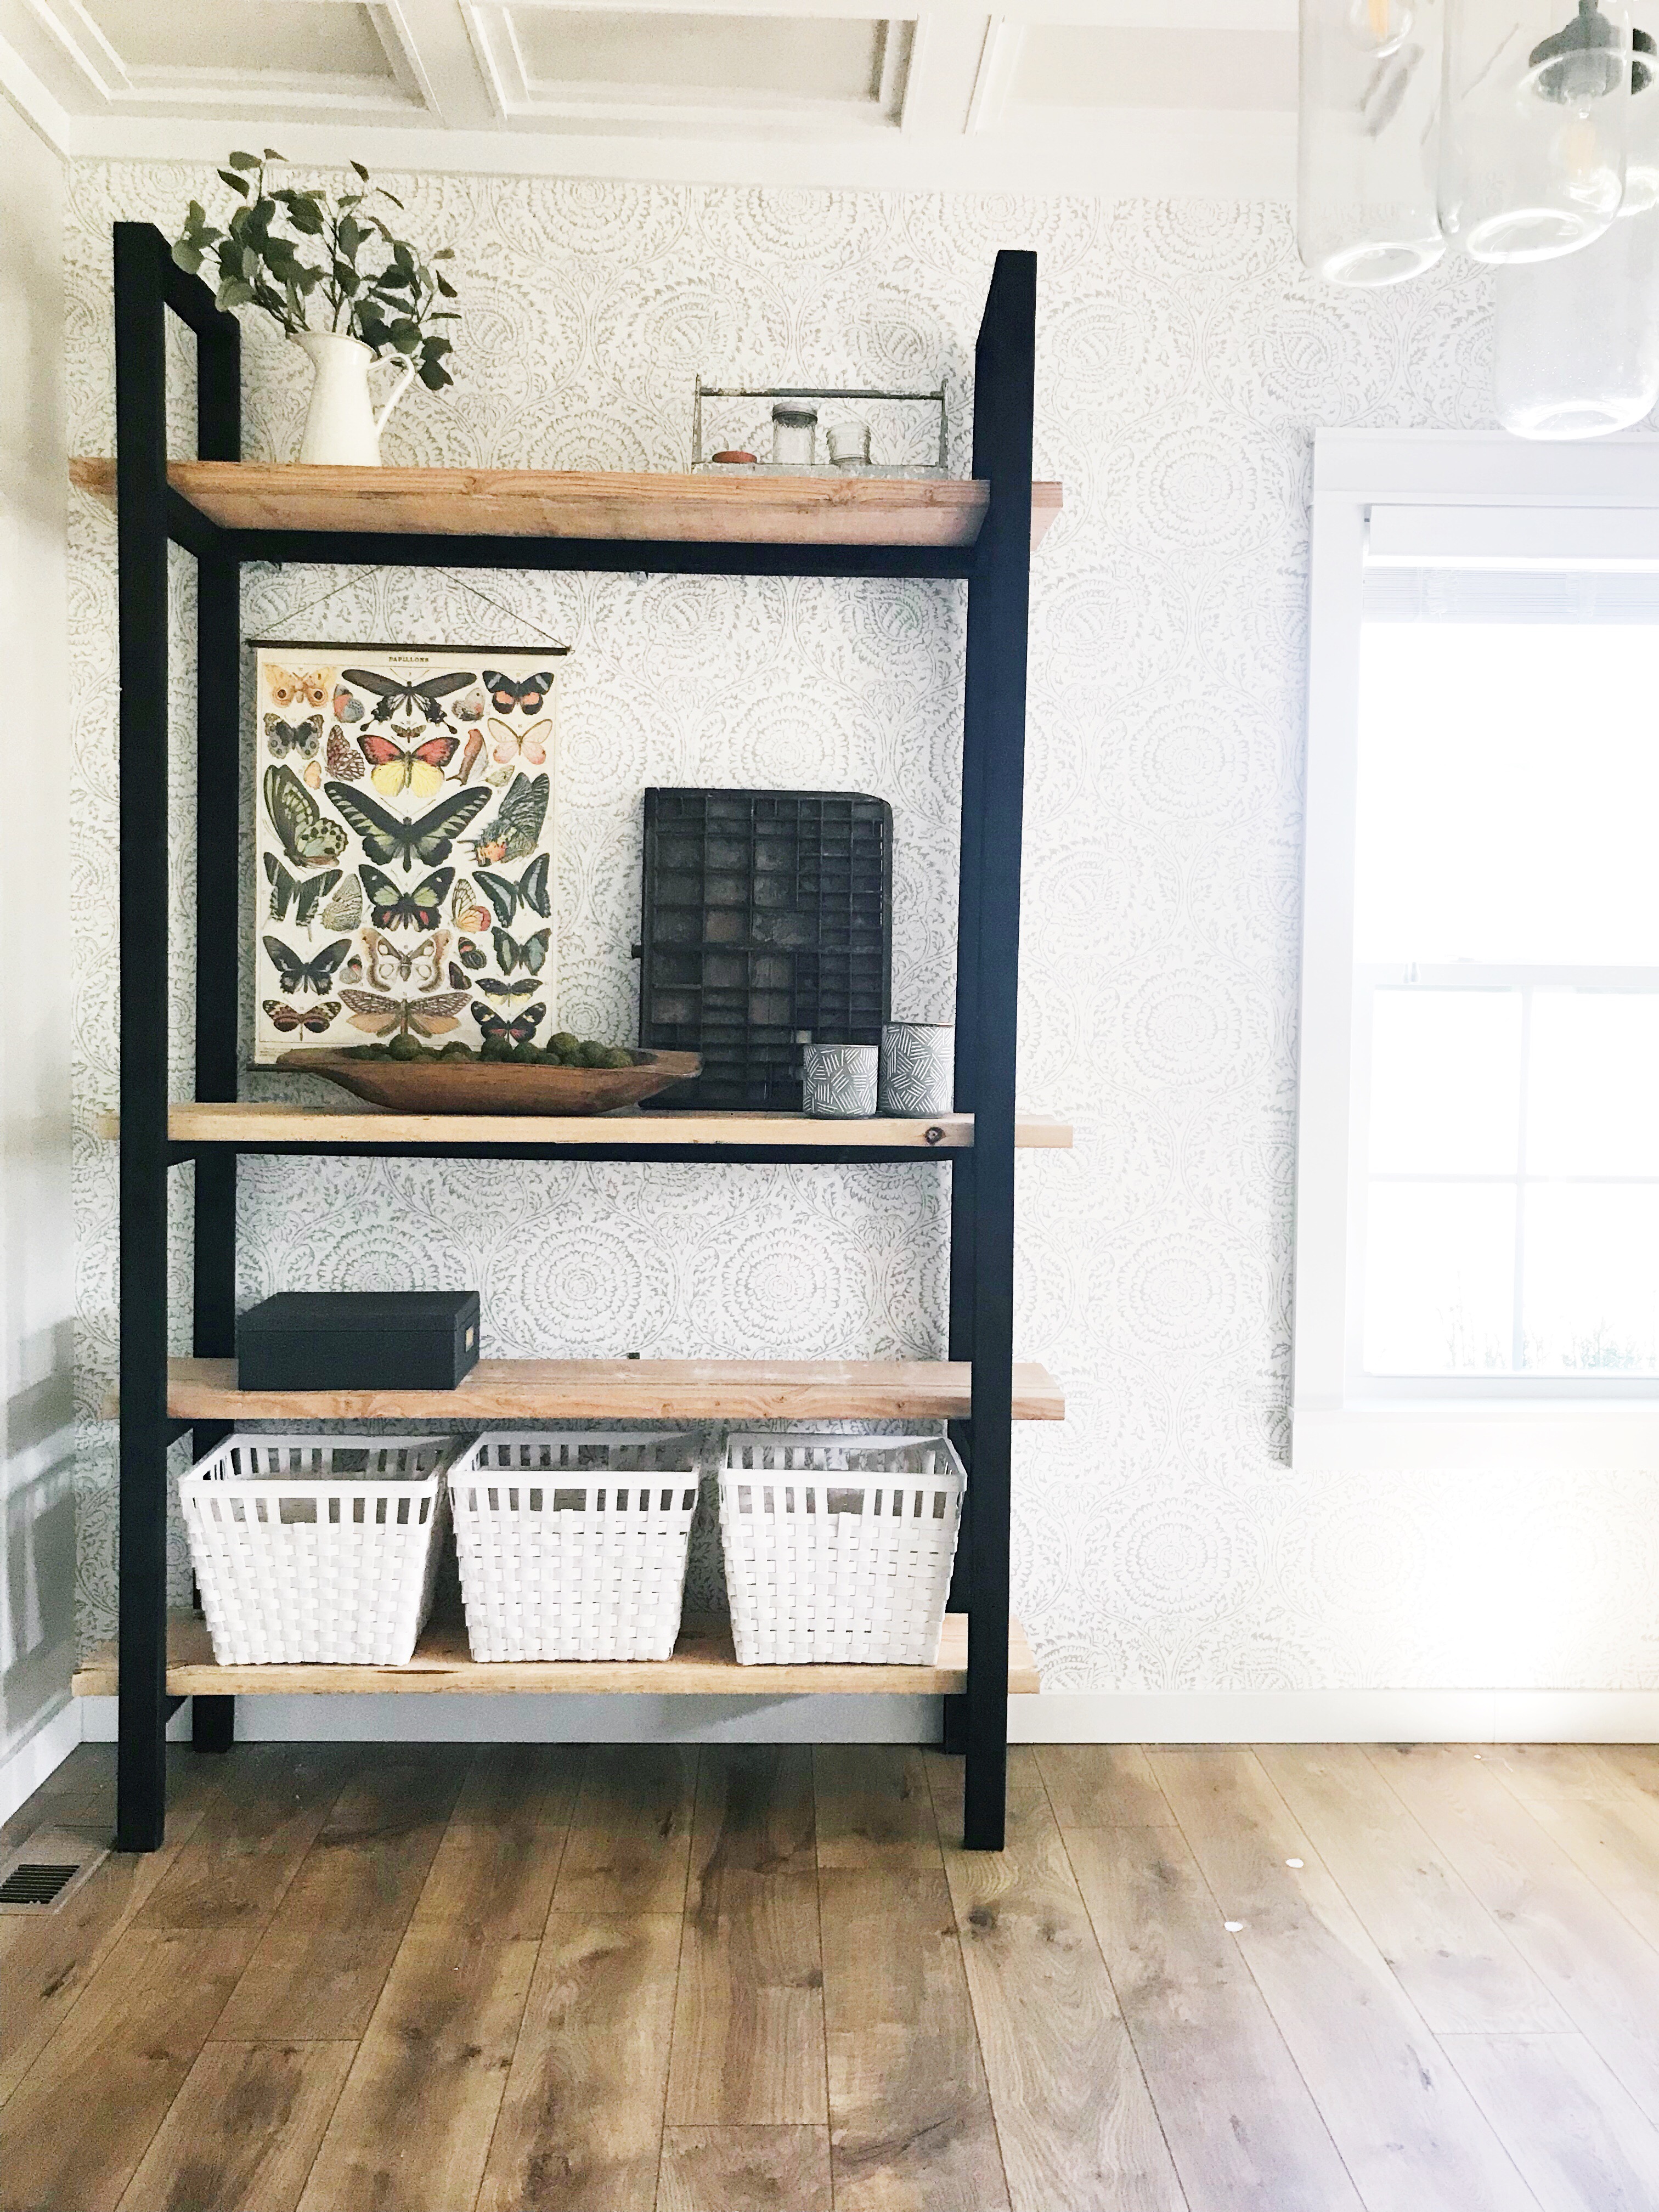
The piece I built to replace the buffet table is a not only a little bit smaller depth-wise but gives the room something it was really missing – height! By taking this shelving unit up to 8 ft, I was able to make the middle shelf taller so it can still function as a buffet top when needed. They still need to be stained, but the black brackets and the rustic shape add a needed does of masculinity to this room.
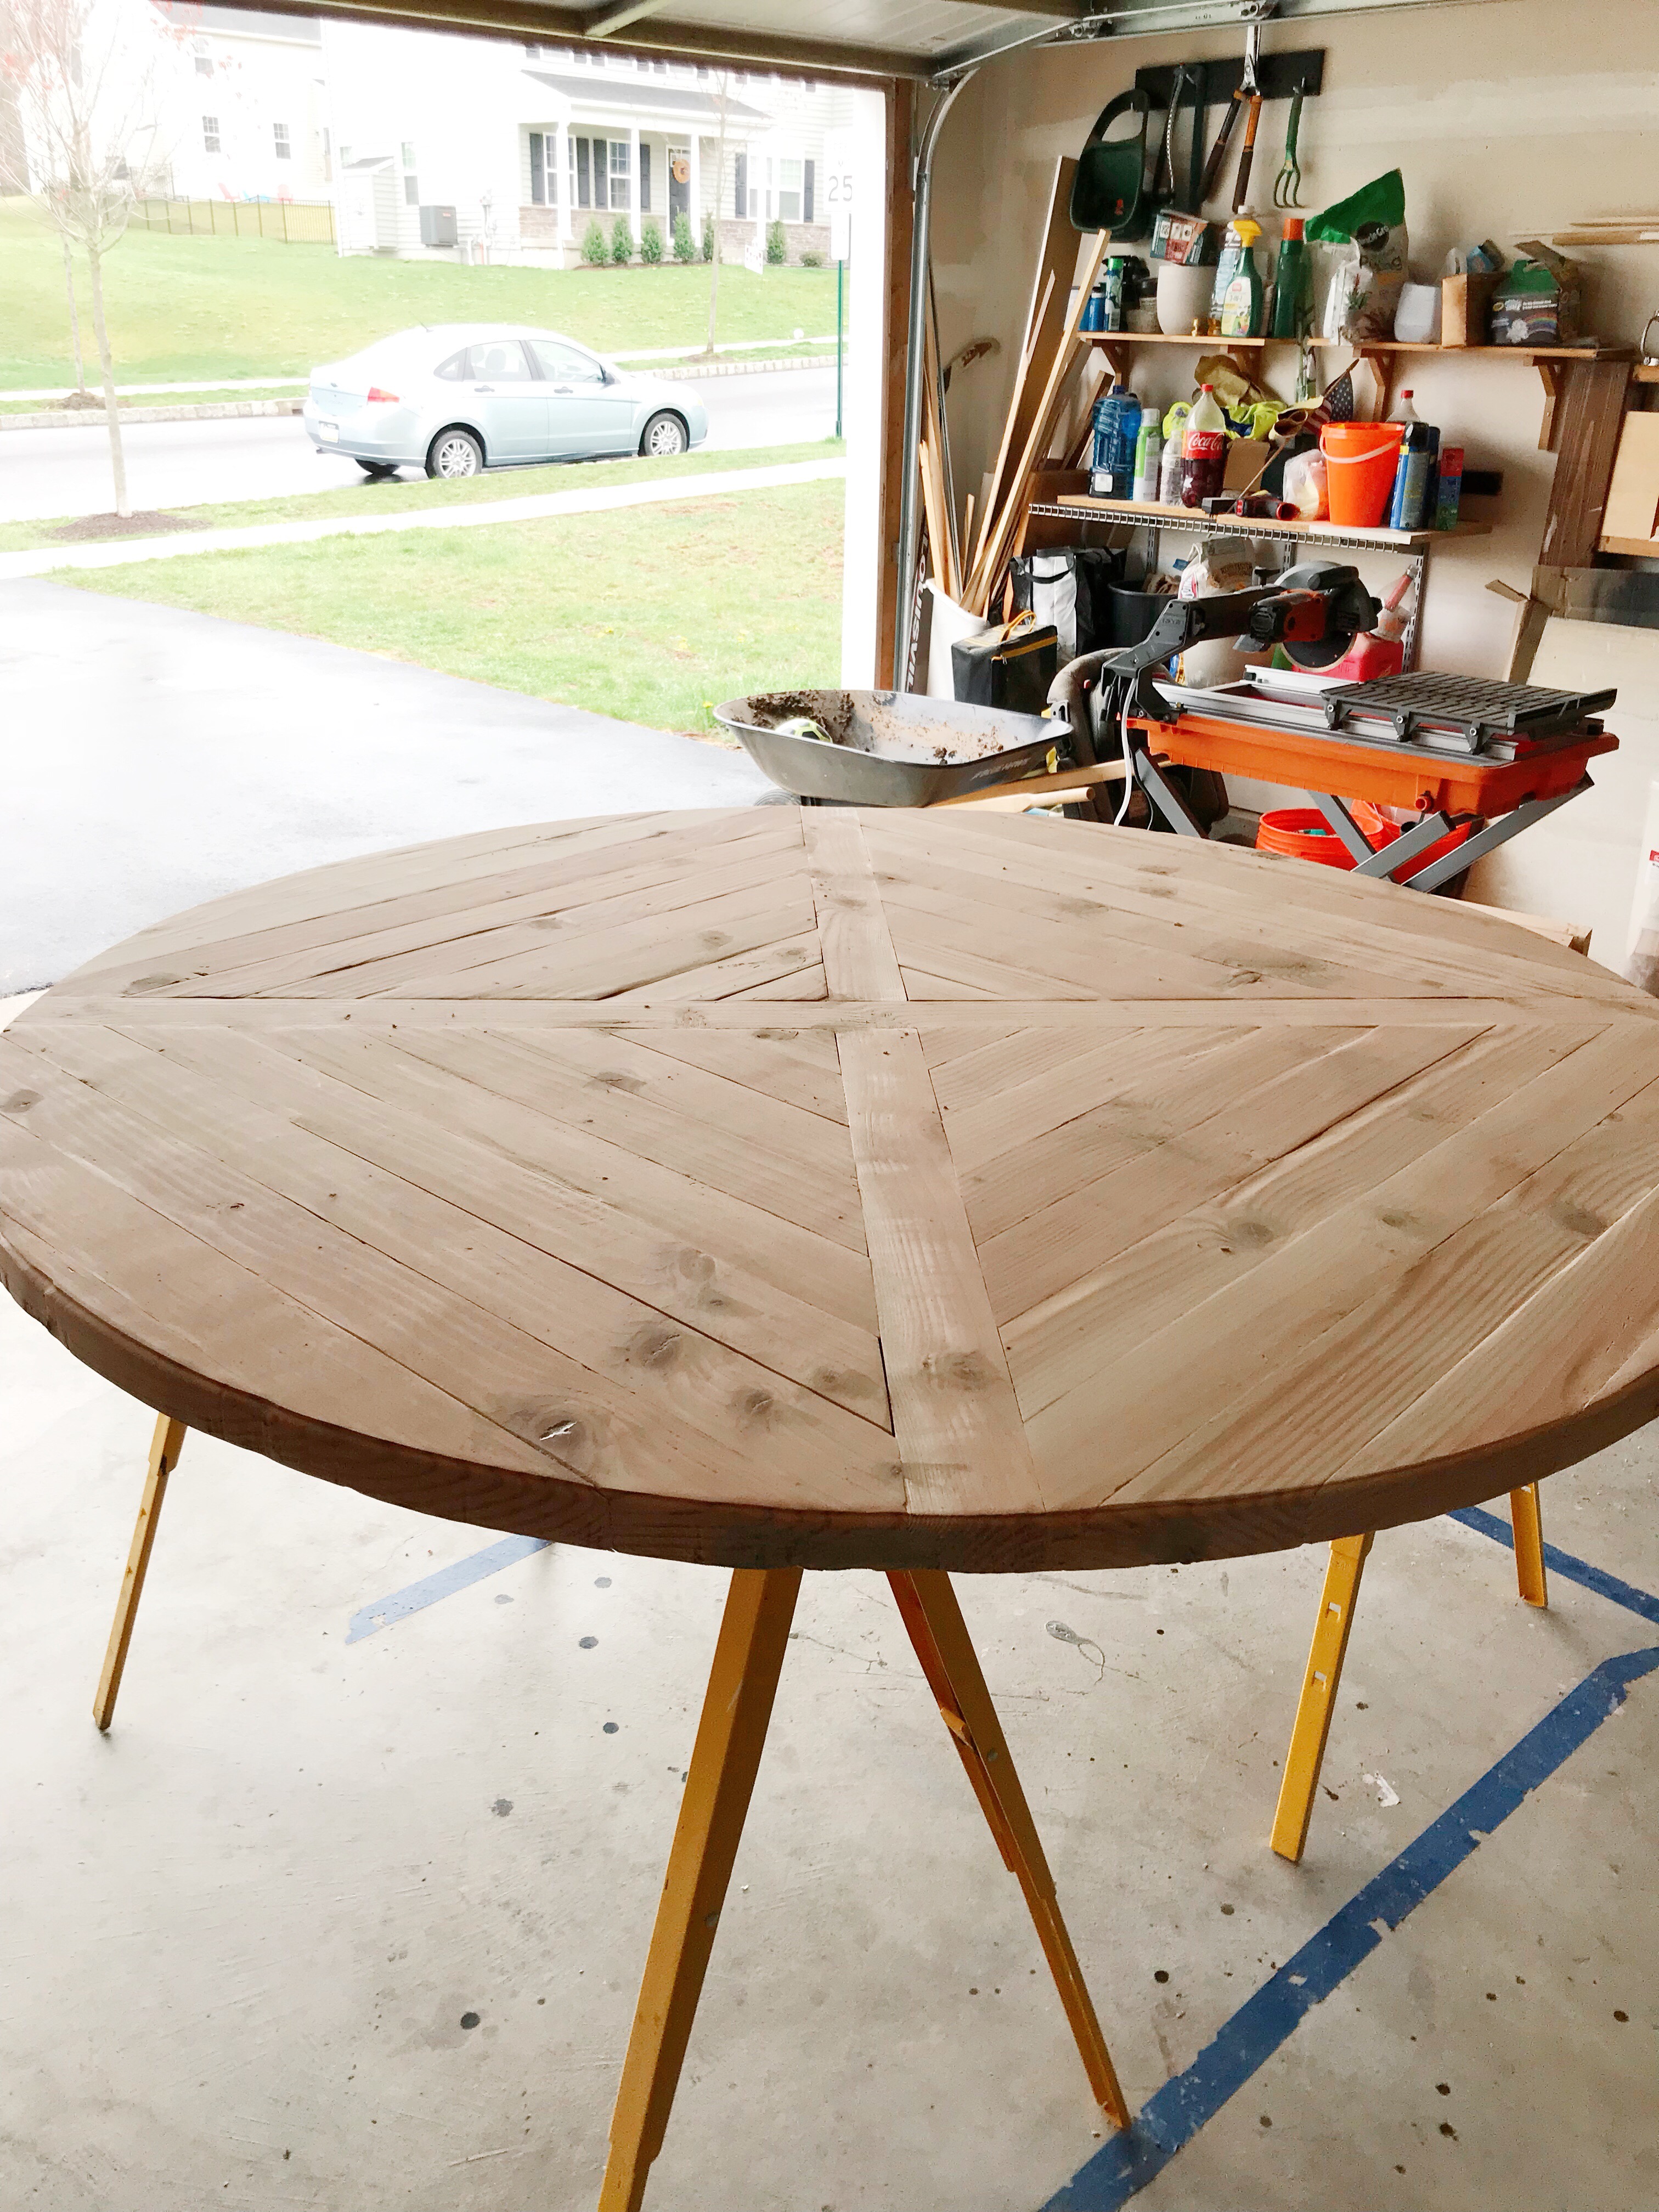
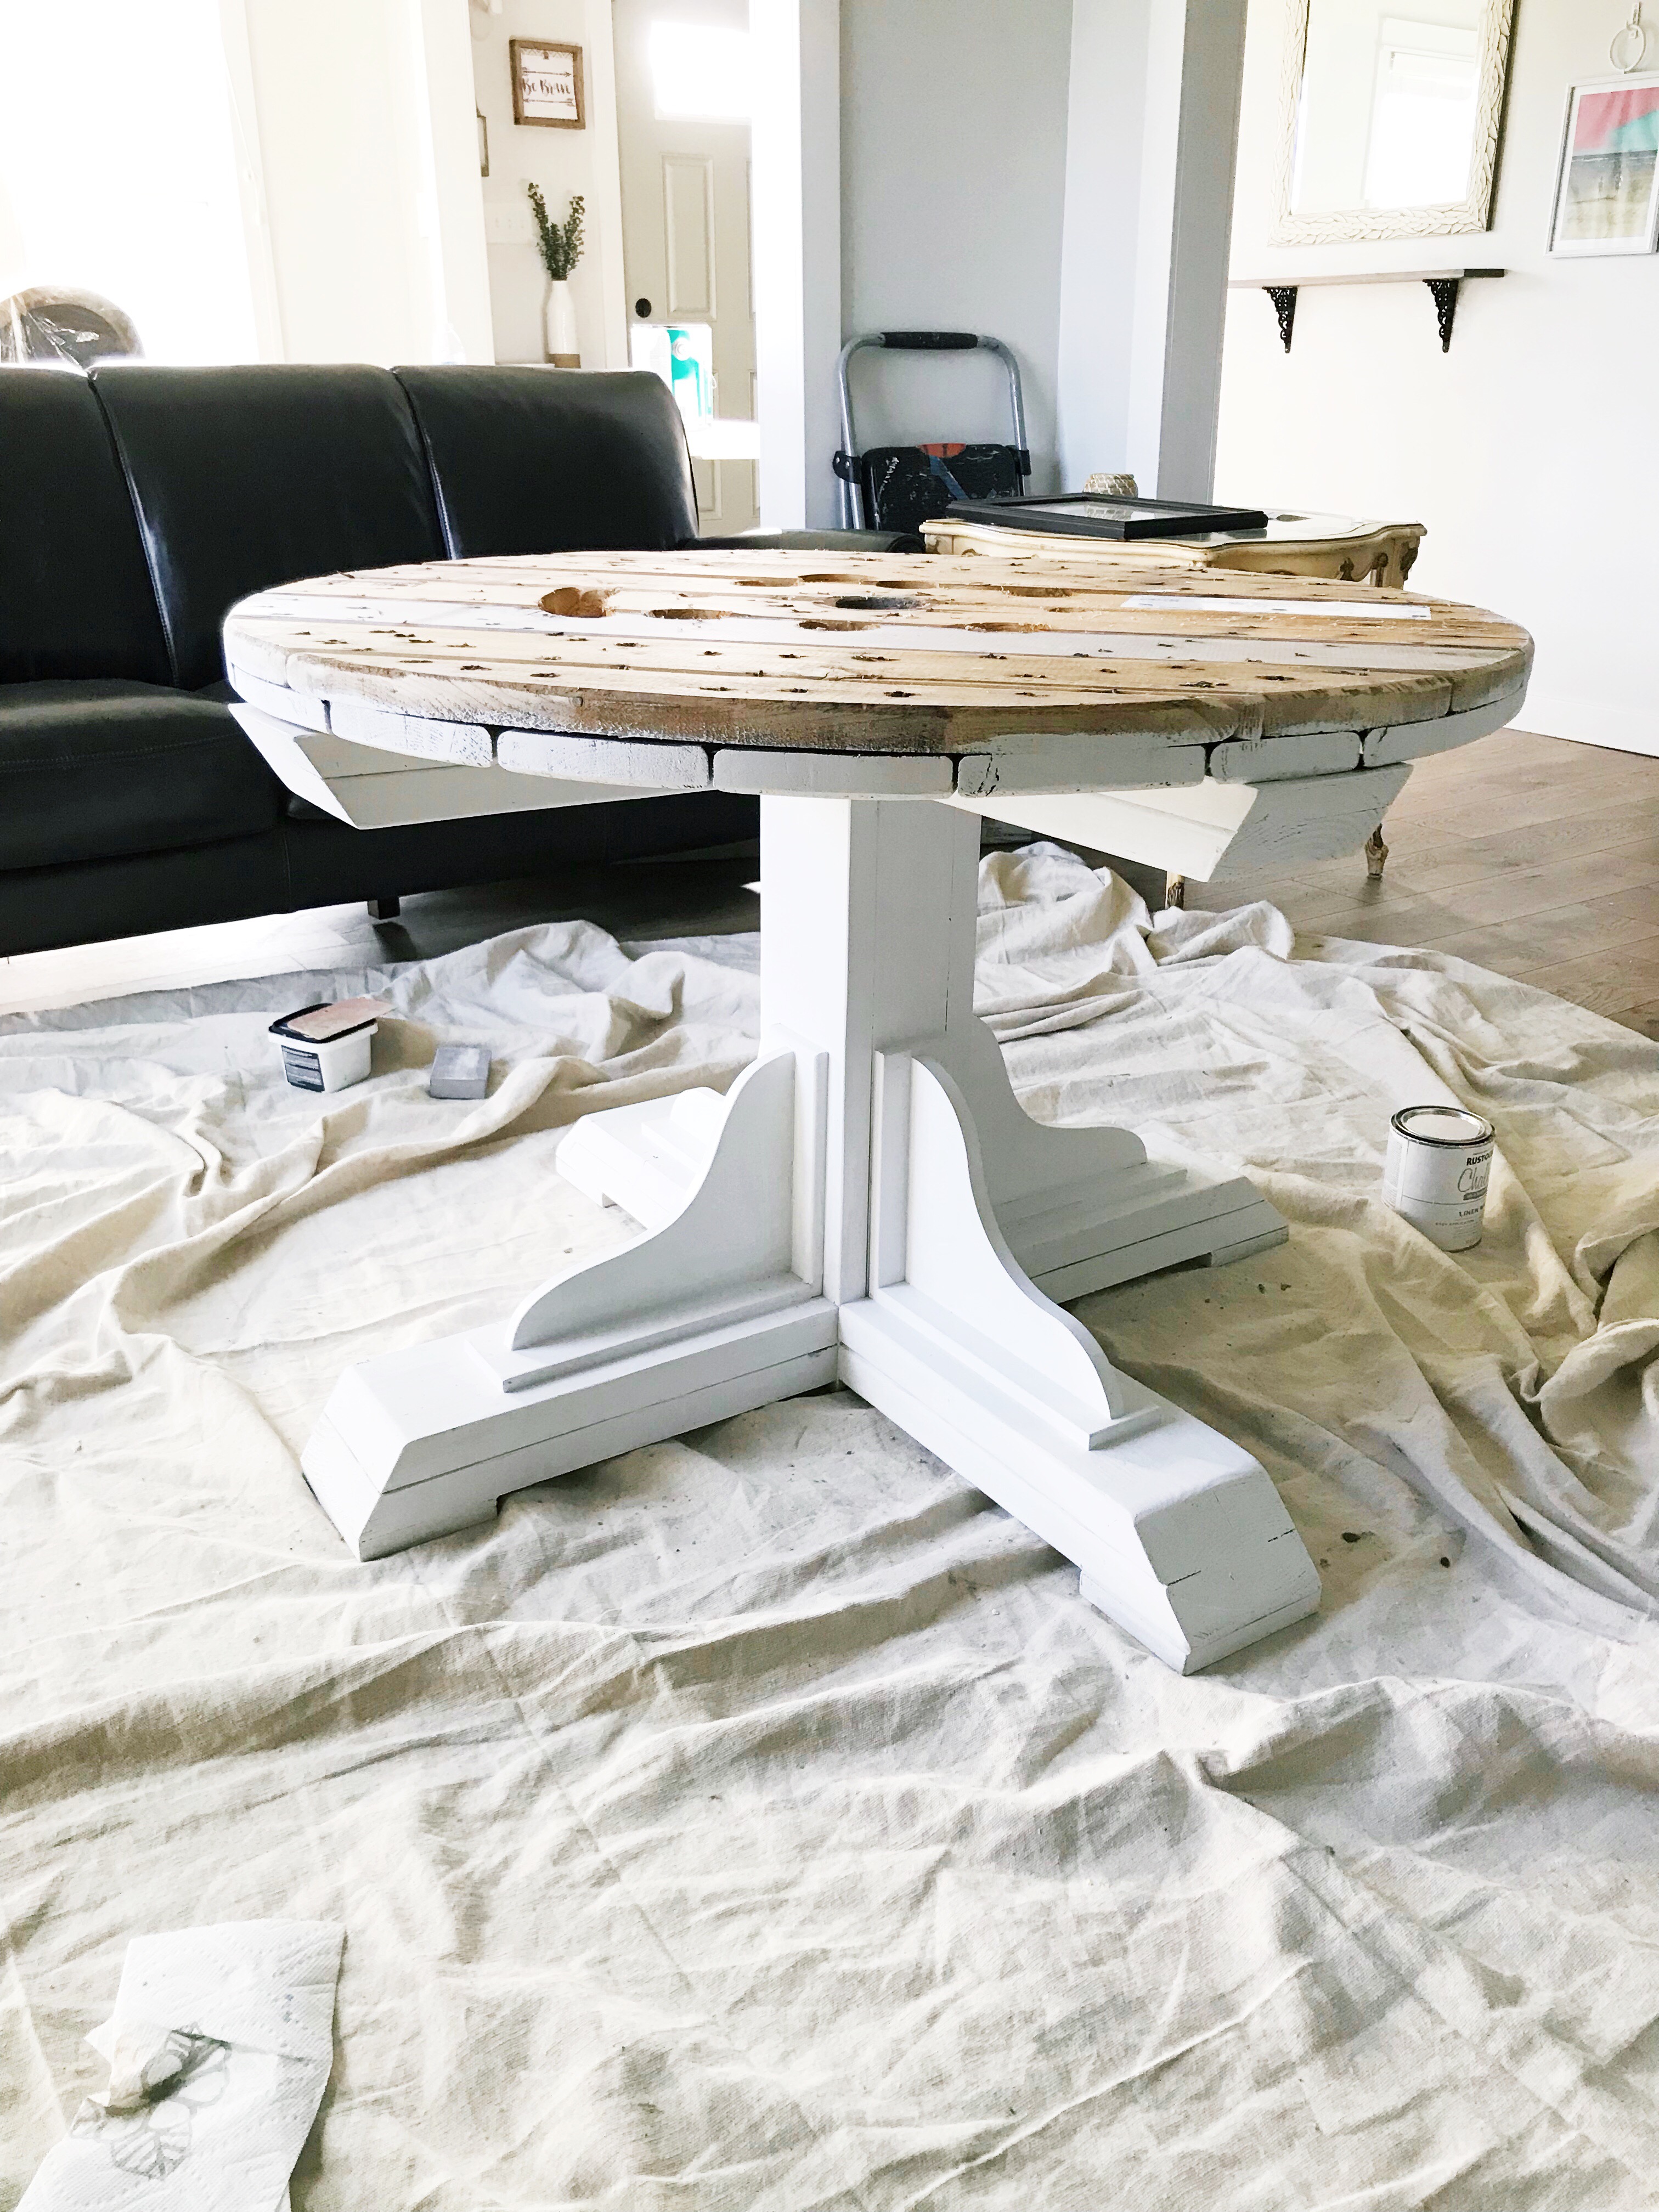
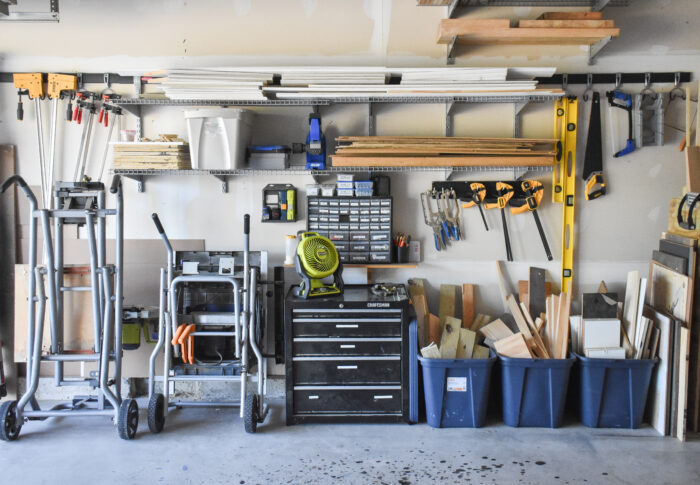
I’m taking this opportunity to build something that I have always wanted – a round dining table! The room is almost a perfect square, so while the old table always felt a little bit off center and cramped, a round table will allow six people to comfortably spread out. I was able to build the base completely from scraps in my garage mixed with the old brackets from my island and an industrial spindle top that a good friend of mine was kind enough to lug home from work. The top I wanted to make really special so I chose this inlay pattern which I am in love with. I debated the color, but I think I’m going to keep the whole thing white so it doesn’t compete with the other elements in the room.
So what’s in store for Week 5? Well I’ve got one last large project on my list, my faux fireplace, but honestly after all of the heavy lifting of the last four weeks I’m looking forward to spending some time with a big pile of beautiful tile and some grout. After that I’ve got an extremely large punch list but I’m trying to widdle it down a little each day – it’s gonna be tight but I think I’m going to make it!

I also need to make sure to find time to catch up with all of my fellow One Room Challenge participants – it’s always so encouraging to see that I’m not the only one in this crazy boat!
Thank you to my sponsor!
A huge thanks to my sponsor, Legrand. I can’t wait to share more about them and how their Radiant Collection of light switches and electric outlets can easily update any space. Stick around to see them soon!!!
![]()

Comments
I’m loving this space, Lindsey! You are so talented! I’m looking forward to hearing more about the Legrand light switches and outlets, too! Our current ones are a beige/almond color which is fine for the rooms with biege walls but not so cool for the other spaces. I plan to switch them out as we update and paint.
First off – thank you so much for the support and kind words Tiffany! I cant’ say how much they mean to me.
Second – it’s so funny you say that about the light switches because I’ve spent the weekend installing the new ones and they are looking great!! I’m actually really excited to get them installed and be able to write about them – it’s crazy how they can transform a space!
Man, I really love those shelves you’re building! The lines, the dose of black, the height…they’re awesome!
I’m so glad to hear that! When I first put them in I actually was really worried that everything you mentioned was way too over-powering, and it took me a good 24 hours to calm myself down…..so really that means a lot and is so re-assuring to hear! Thank you so much
That shelving unit is amazing!! I am totally going to use this as inspiration for a little bare corner we need to fill. Thanks so much for the inspo!
Meghan
Oh that is so great to hear Meghan!! I was worried about them when I first put them up but now I’m so glad I did and they would look so great in your house!