
One Room Challenge Week 5 – Faux Fireplace DIY and the Final Details
It’s the final stretch of the One Room Challenge and I am very happy to report that for the first time in weeks I feel like I’m going to finish everything I need to on time. Everything is installed so now it’s down to paint touch ups, a little more caulking, and then I can finally move everything out of my bedroom and back where it belongs.
If you missed any of my One Room Challenge posts you can catch up on my previous weeks here – Week One | Week Two | Week Three | Week Four
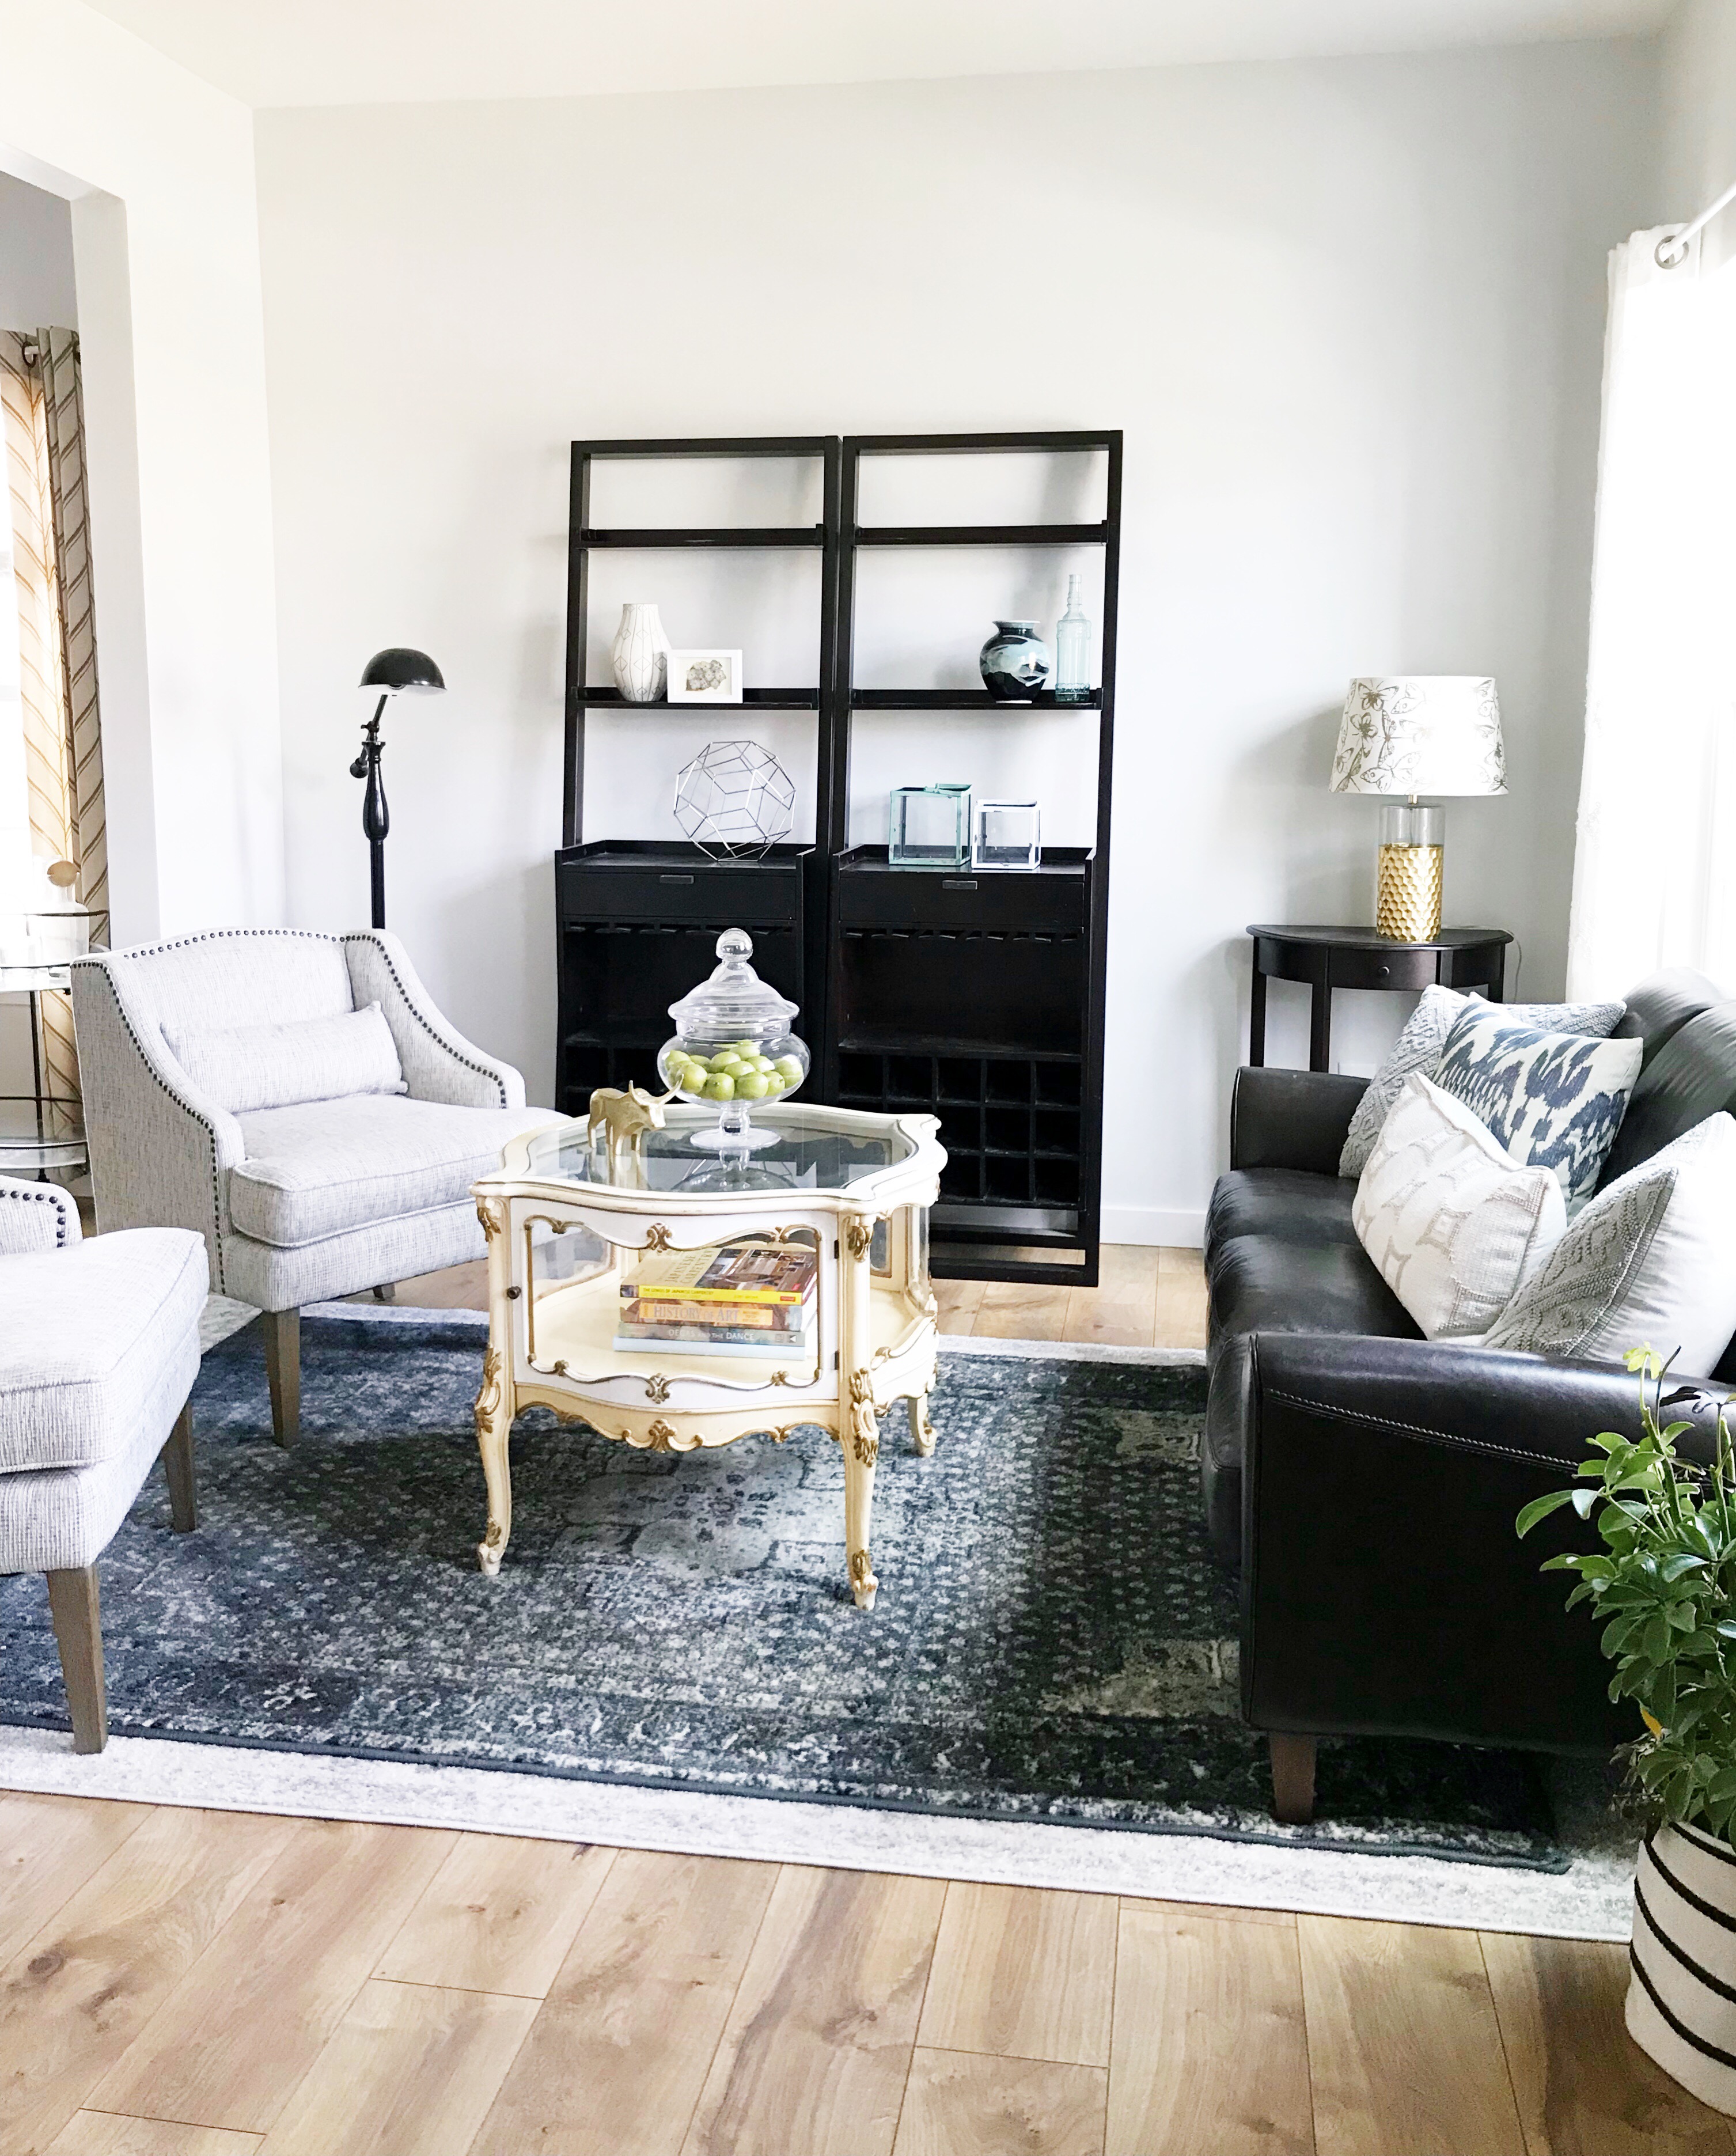
This week my focus was on creating a faux fireplace in the front room. I have struggled with this room since we moved in and gone through many design ideas that never quite felt right – primarily centered around what to do about the back wall. At first I had the couch on that wall, but that set up felt too much like walking into a furniture gallery so I rotated the seating area horizontally into a much better arrangement. I then went through lots of ideas from adding built in cabinets, to a low console table, to floor to ceiling bookcases. It wasn’t until this Christmas when I moved these leaning bookcases into the room that I realized what the space needed that was missing from all of my other ideas – a center focal point with some serious height!
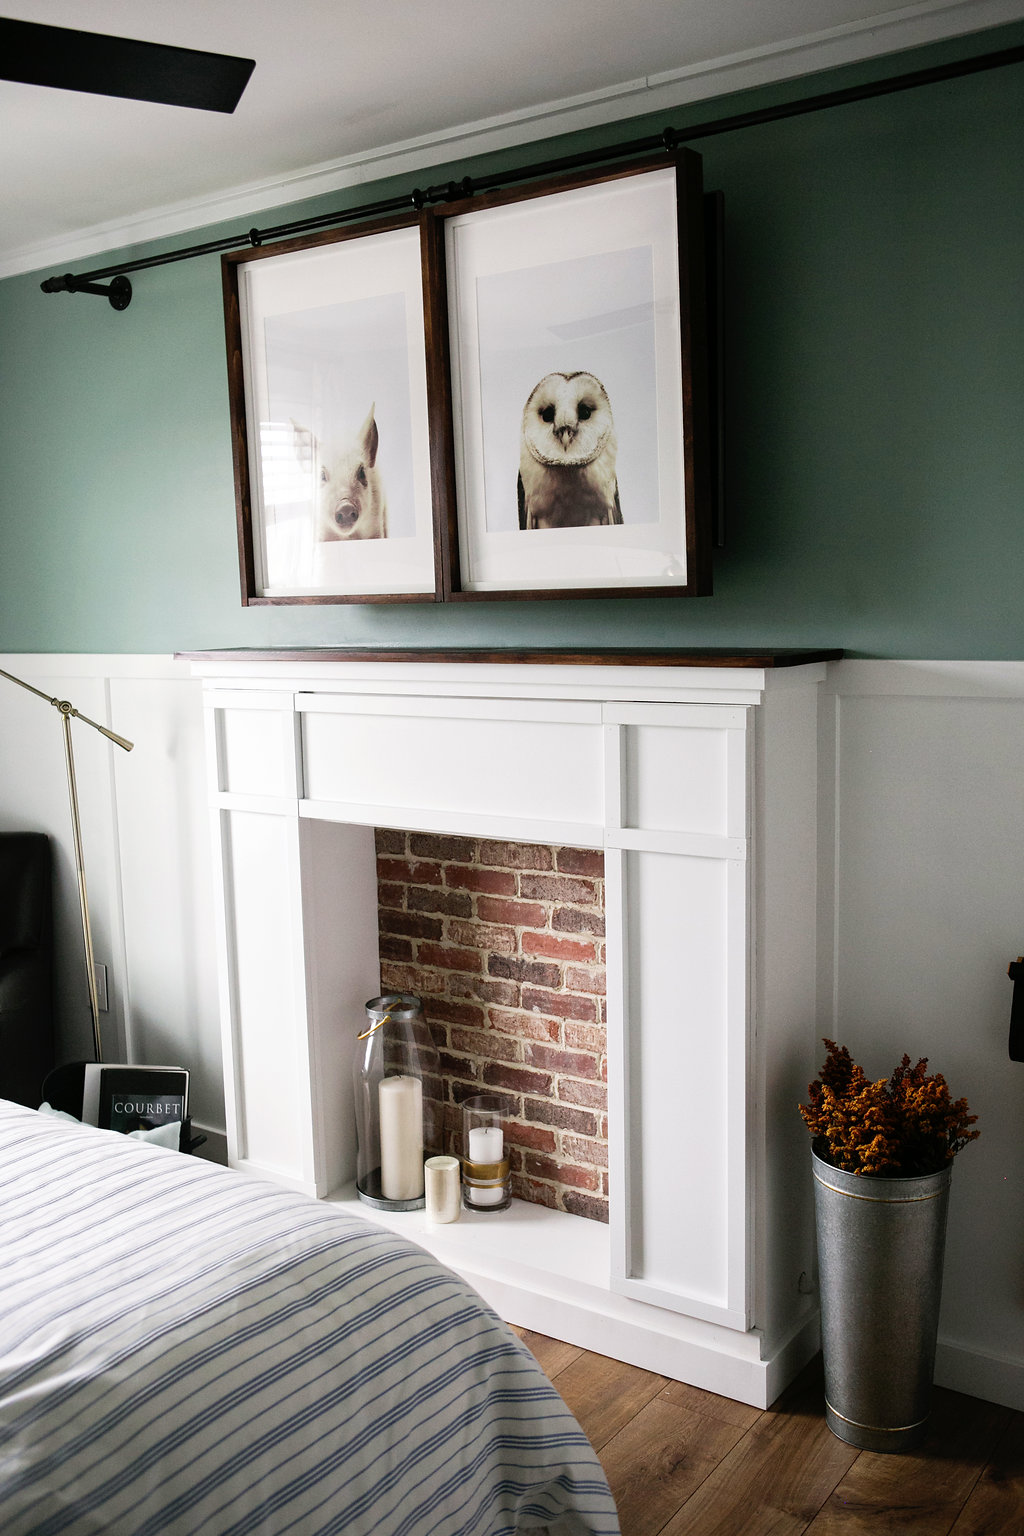
Once I realized that the idea to add a faux fireplace was almost immediate. To me, a fireplace just screams old New England farmhouse and I could probably put one in every room if it wouldn’t make me seem like a crazy lady. If you followed my last challenge you’ll know that I added one to our guest bedroom which conveniently conceals all of the television cords (check out this post if you want to read all about that project) so I knew how much warmth and character they add to a space. For a brief moment we considered trying to add a clean burning insert, but the room is honestly too small and wouldn’t be used it enough to justify the cost, so a faux version was the way to go.
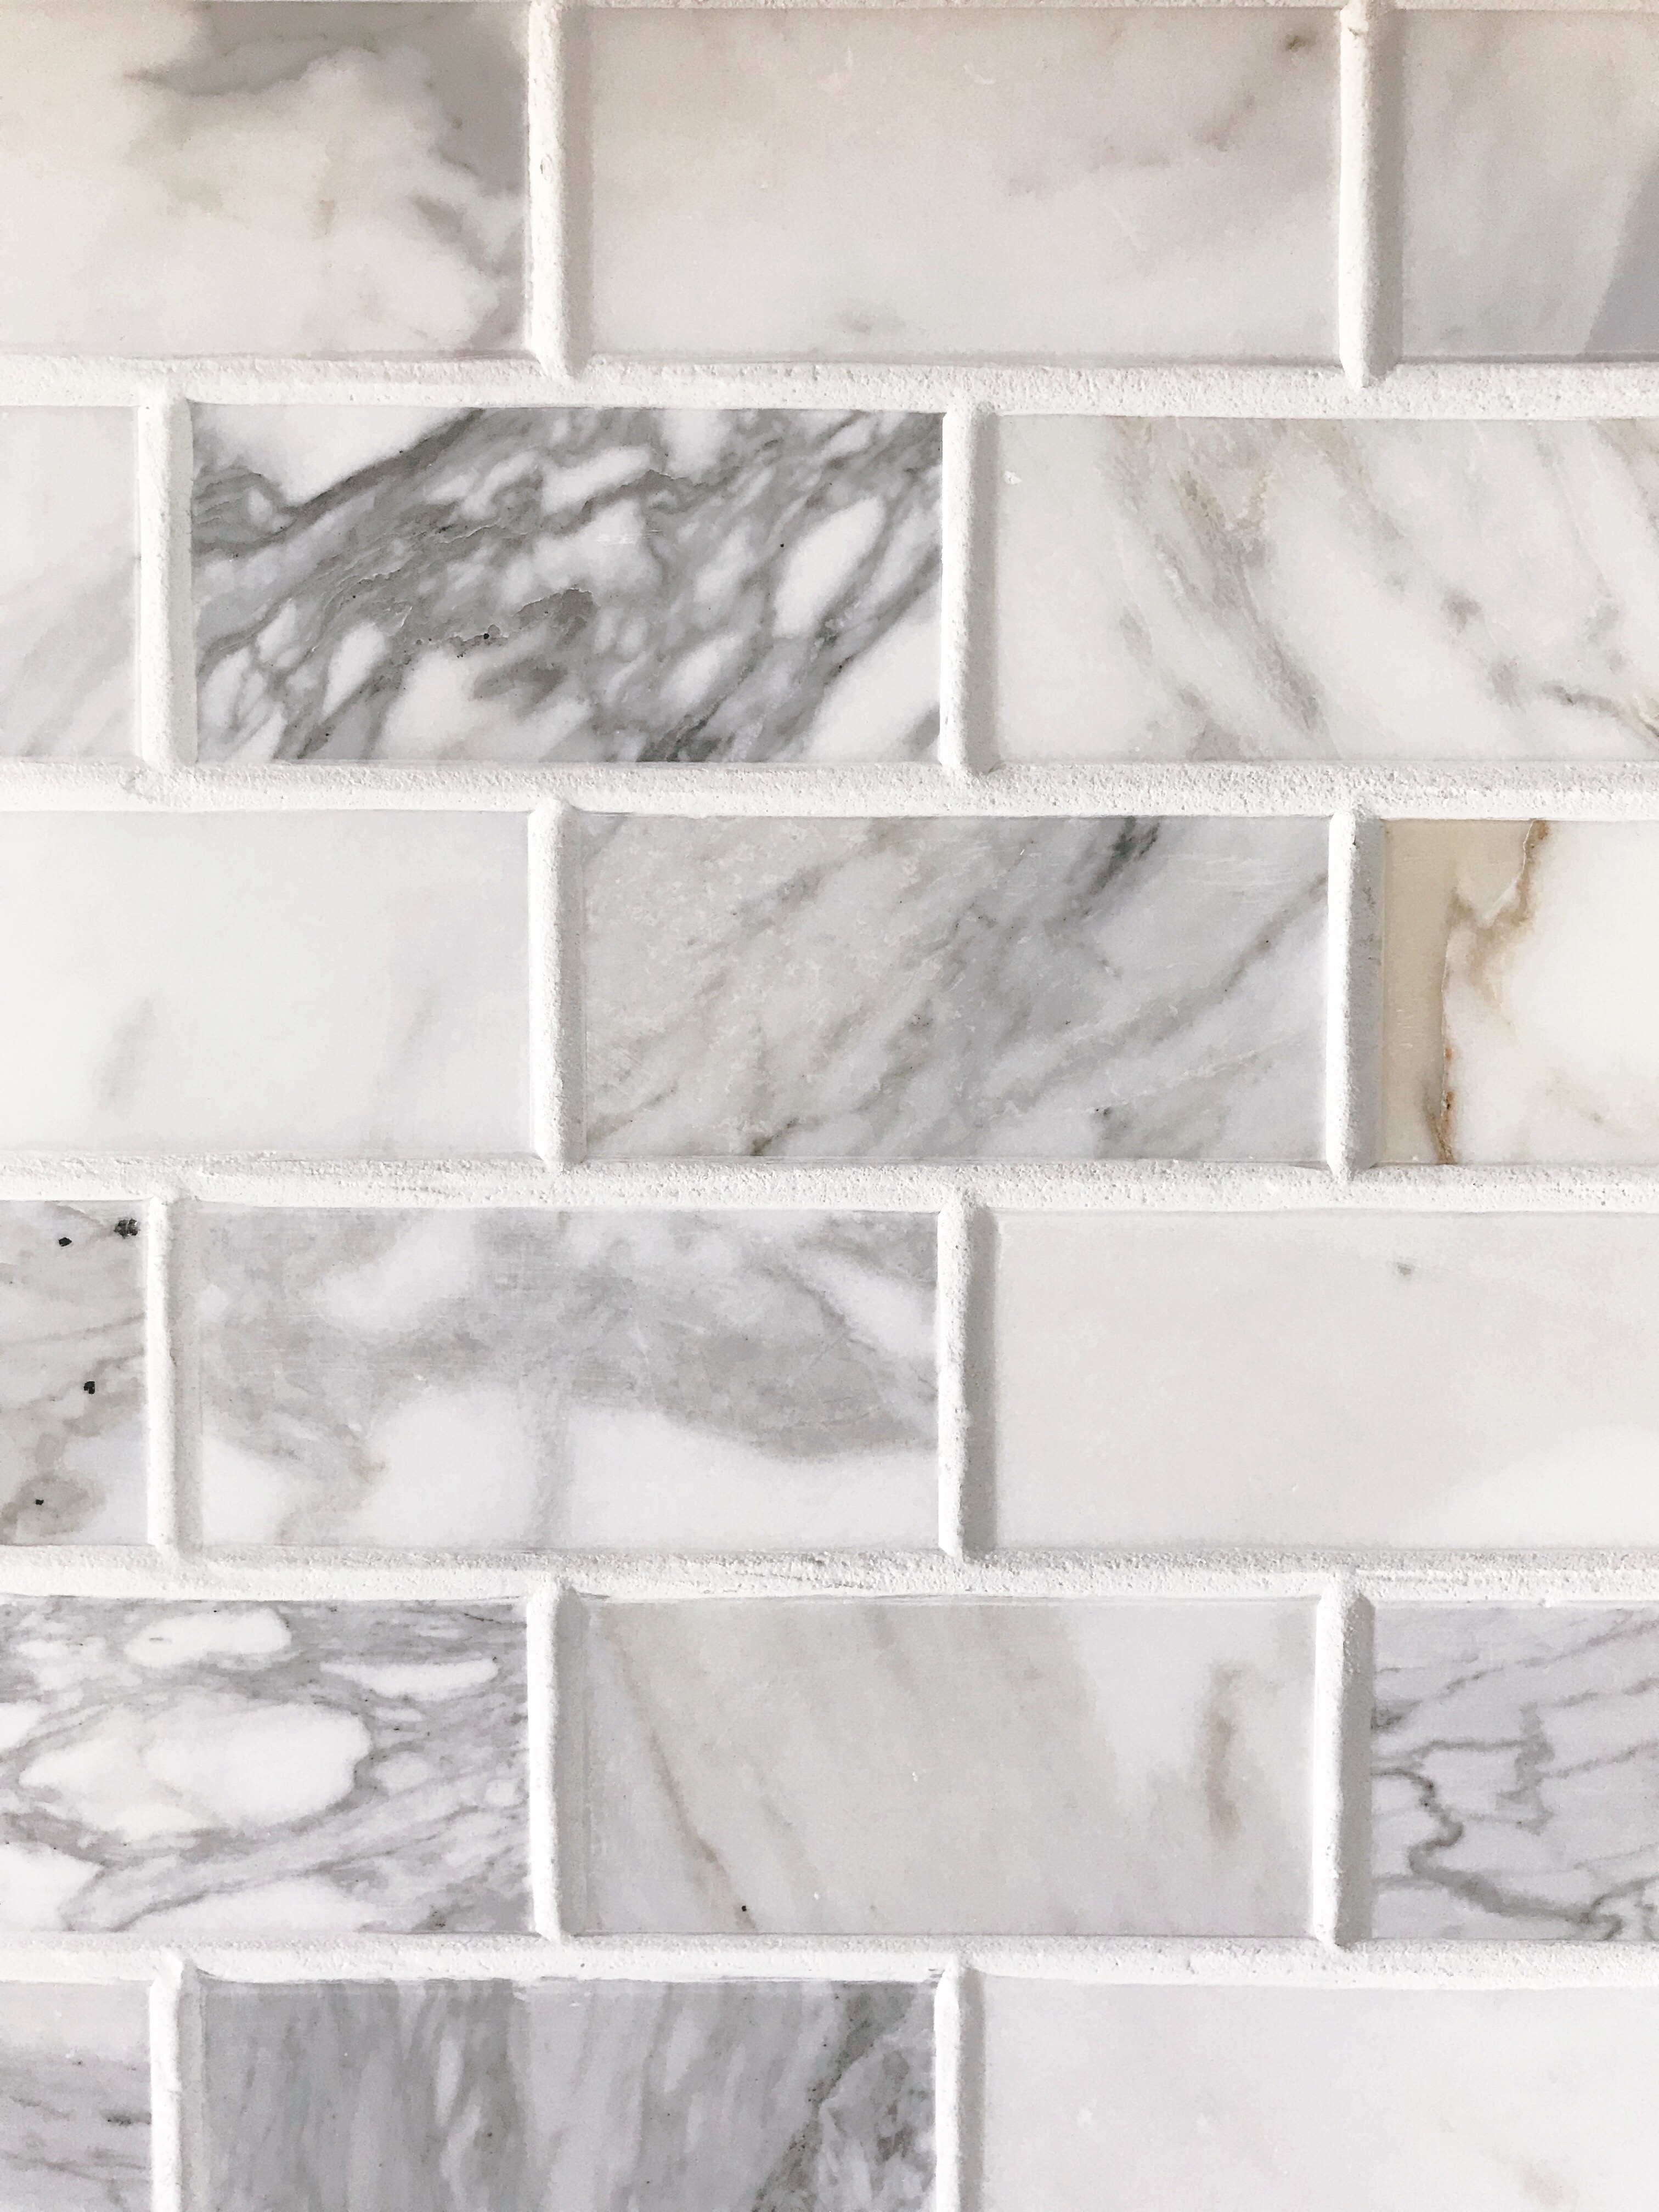
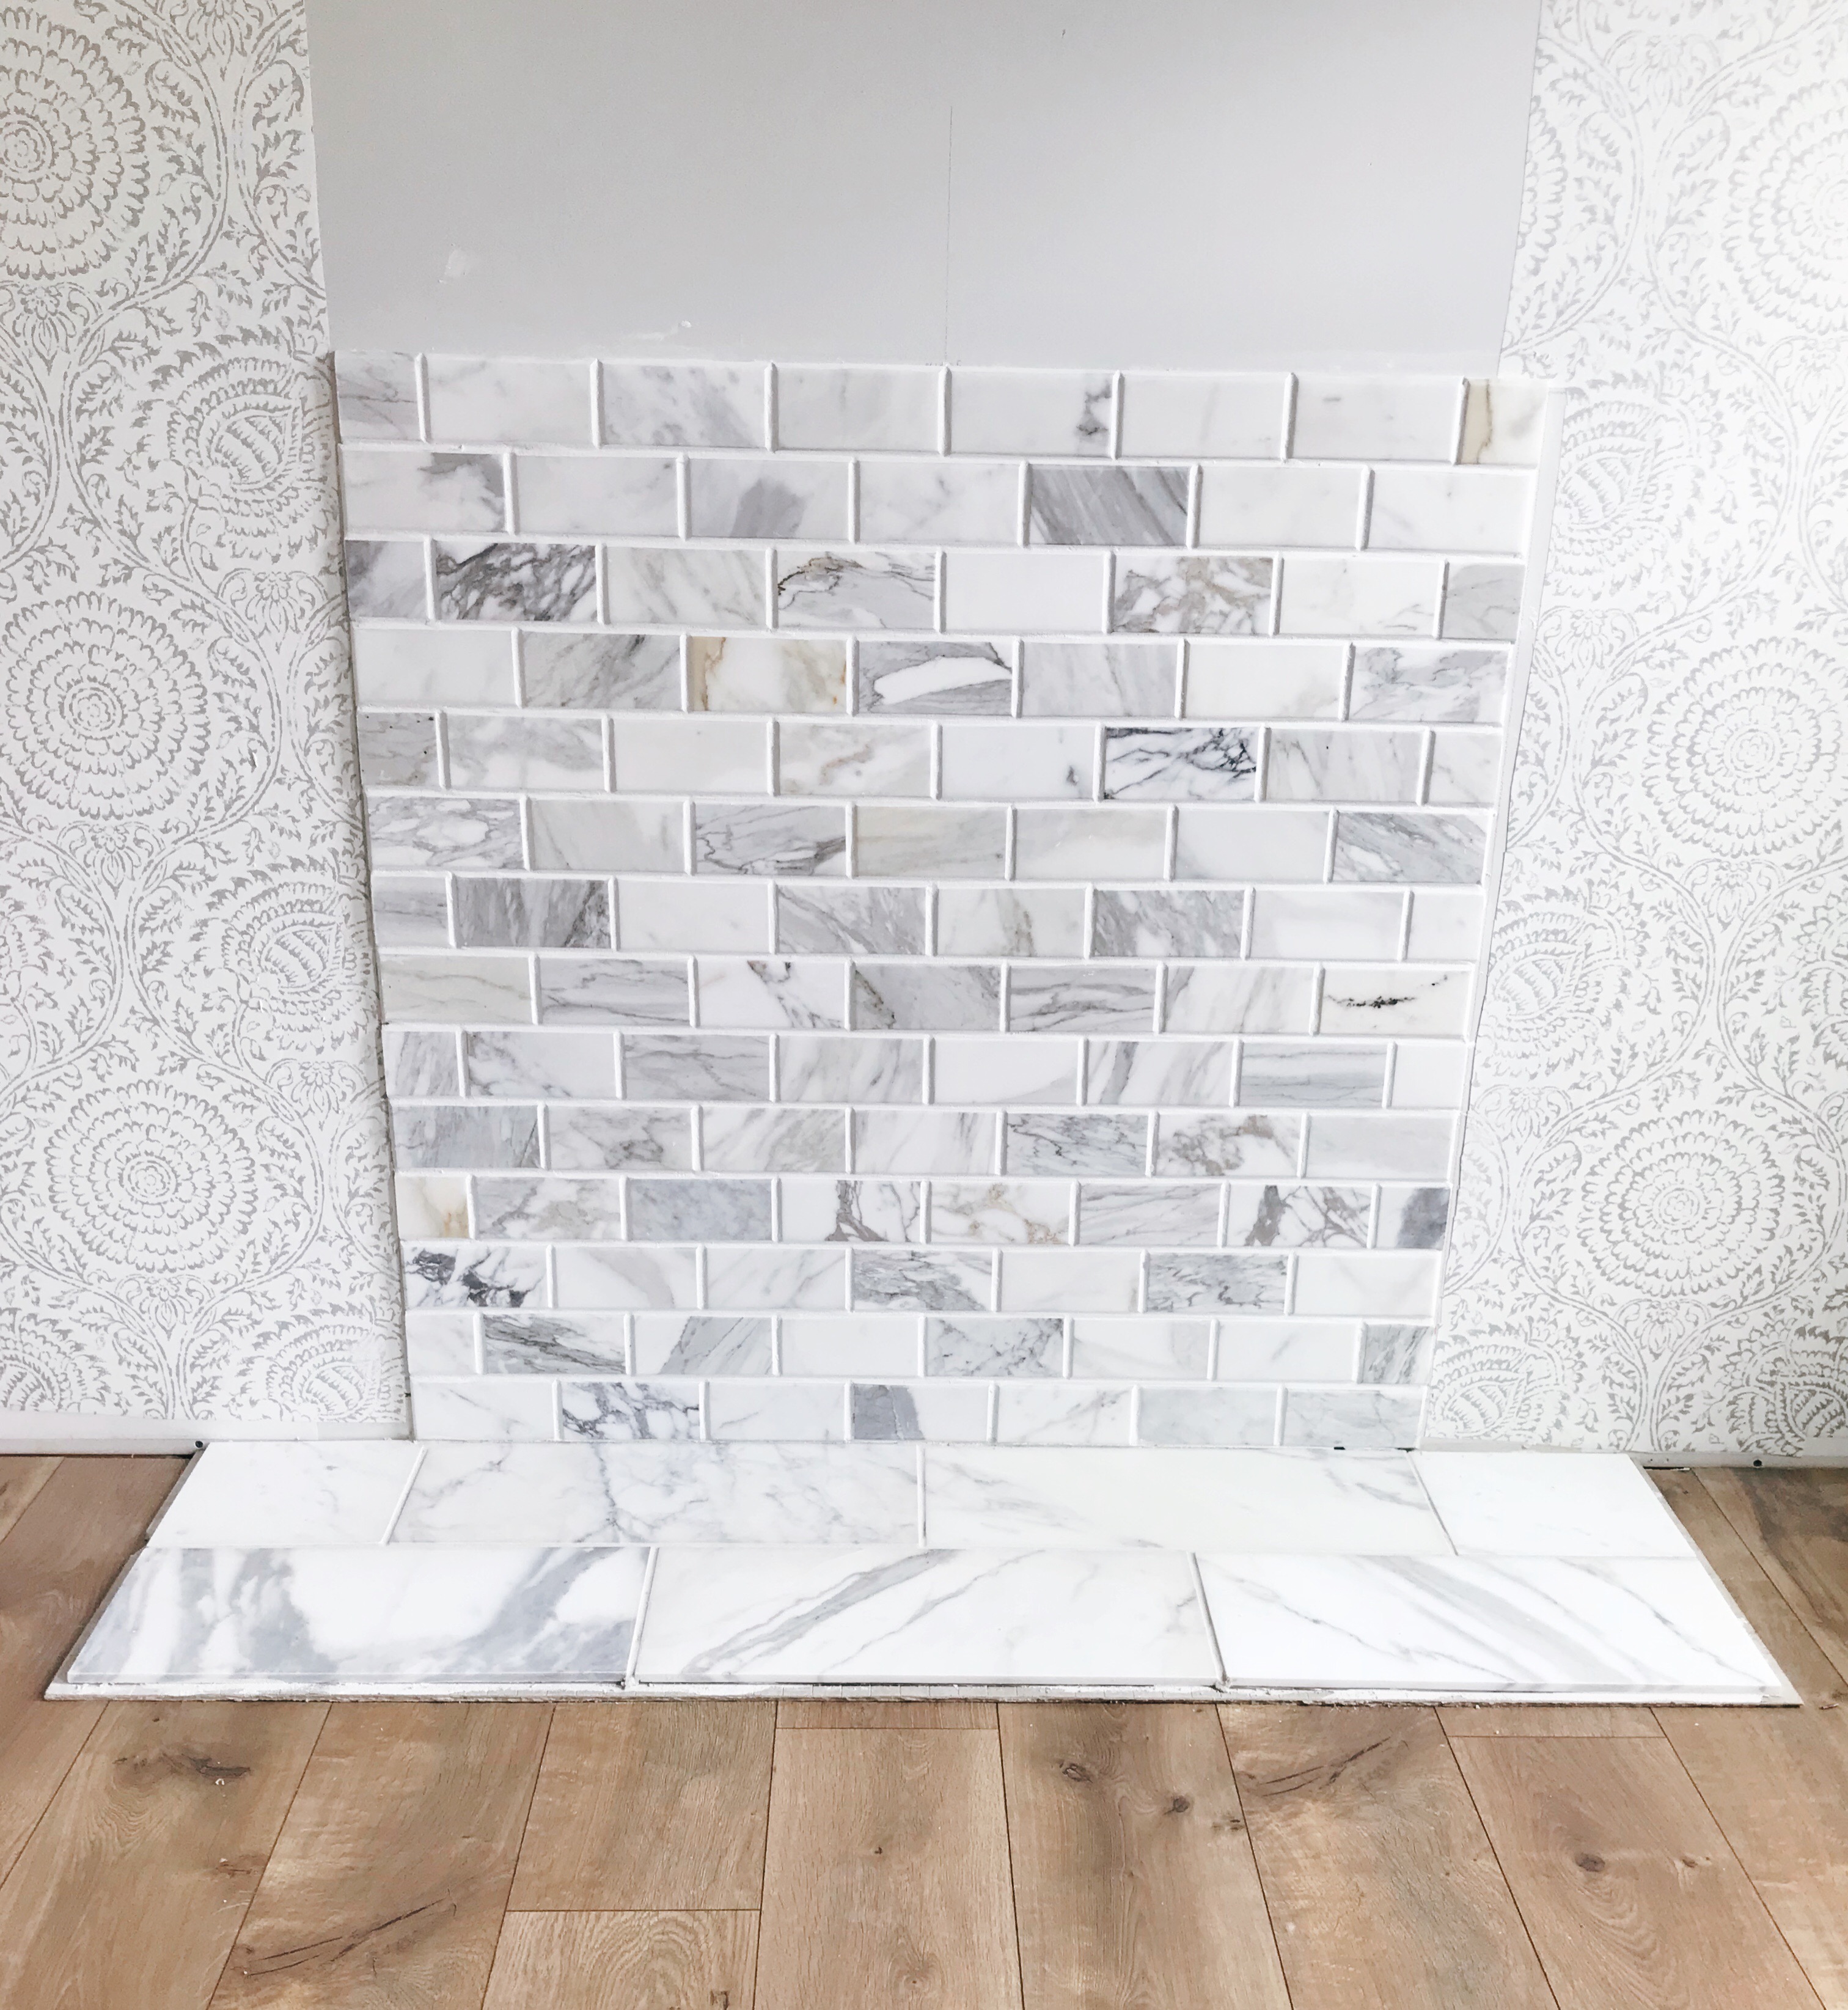
Earlier this year I had helped remodel a friend’s fireplace, and while helping her pick out tile I stumbled on this unbelievably beautiful honed Italian Calacatta marble at The Tile Shop and knew it was the one! Each piece is unique and the beautiful veins of gold and silver compliment the gray tones and hints of brass/gold that run through both these rooms.
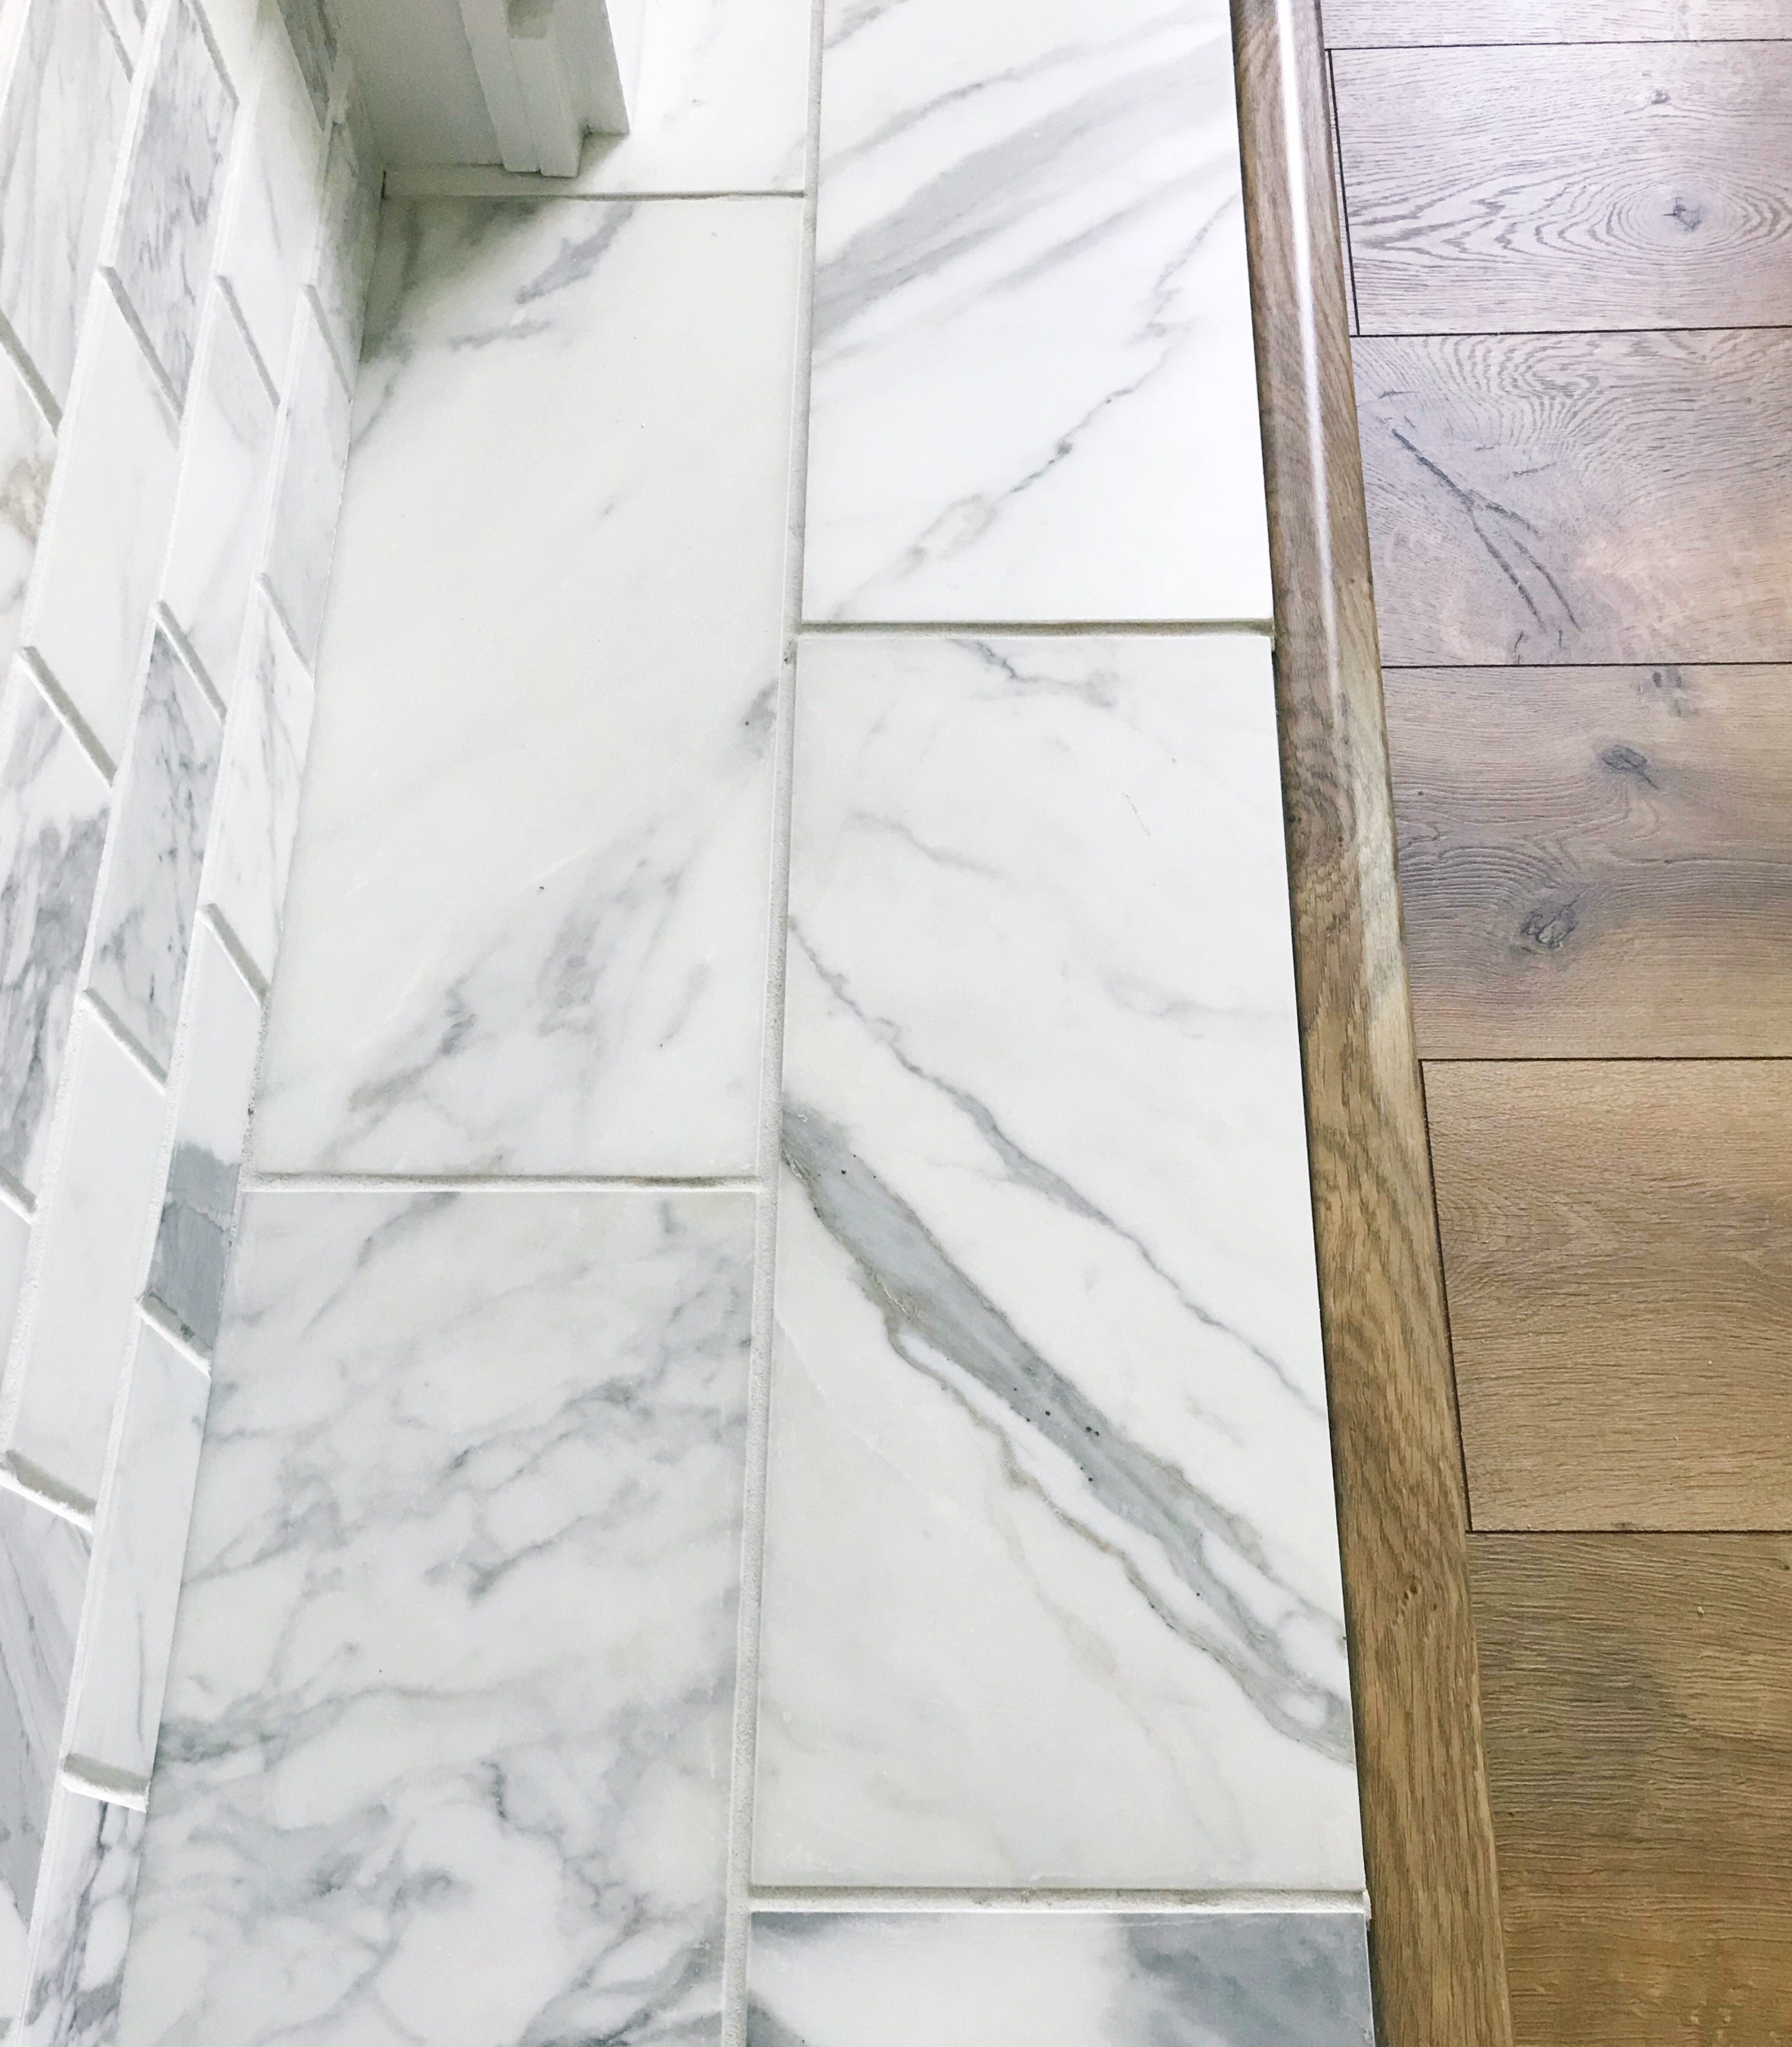
I decided to use the larger version for the hearth, and a beveled subway tile for the wall, and installed the tile before I built the surround so I could avoid any weird cuts. I used a spare piece of backer-board that I had and attached it directly to the floor for the hearth and built up the subway tile on the wall. I didn’t layout the background pattern in advance, but I did pay attention as I was installing to avoid grouping too much of the same color in one area.
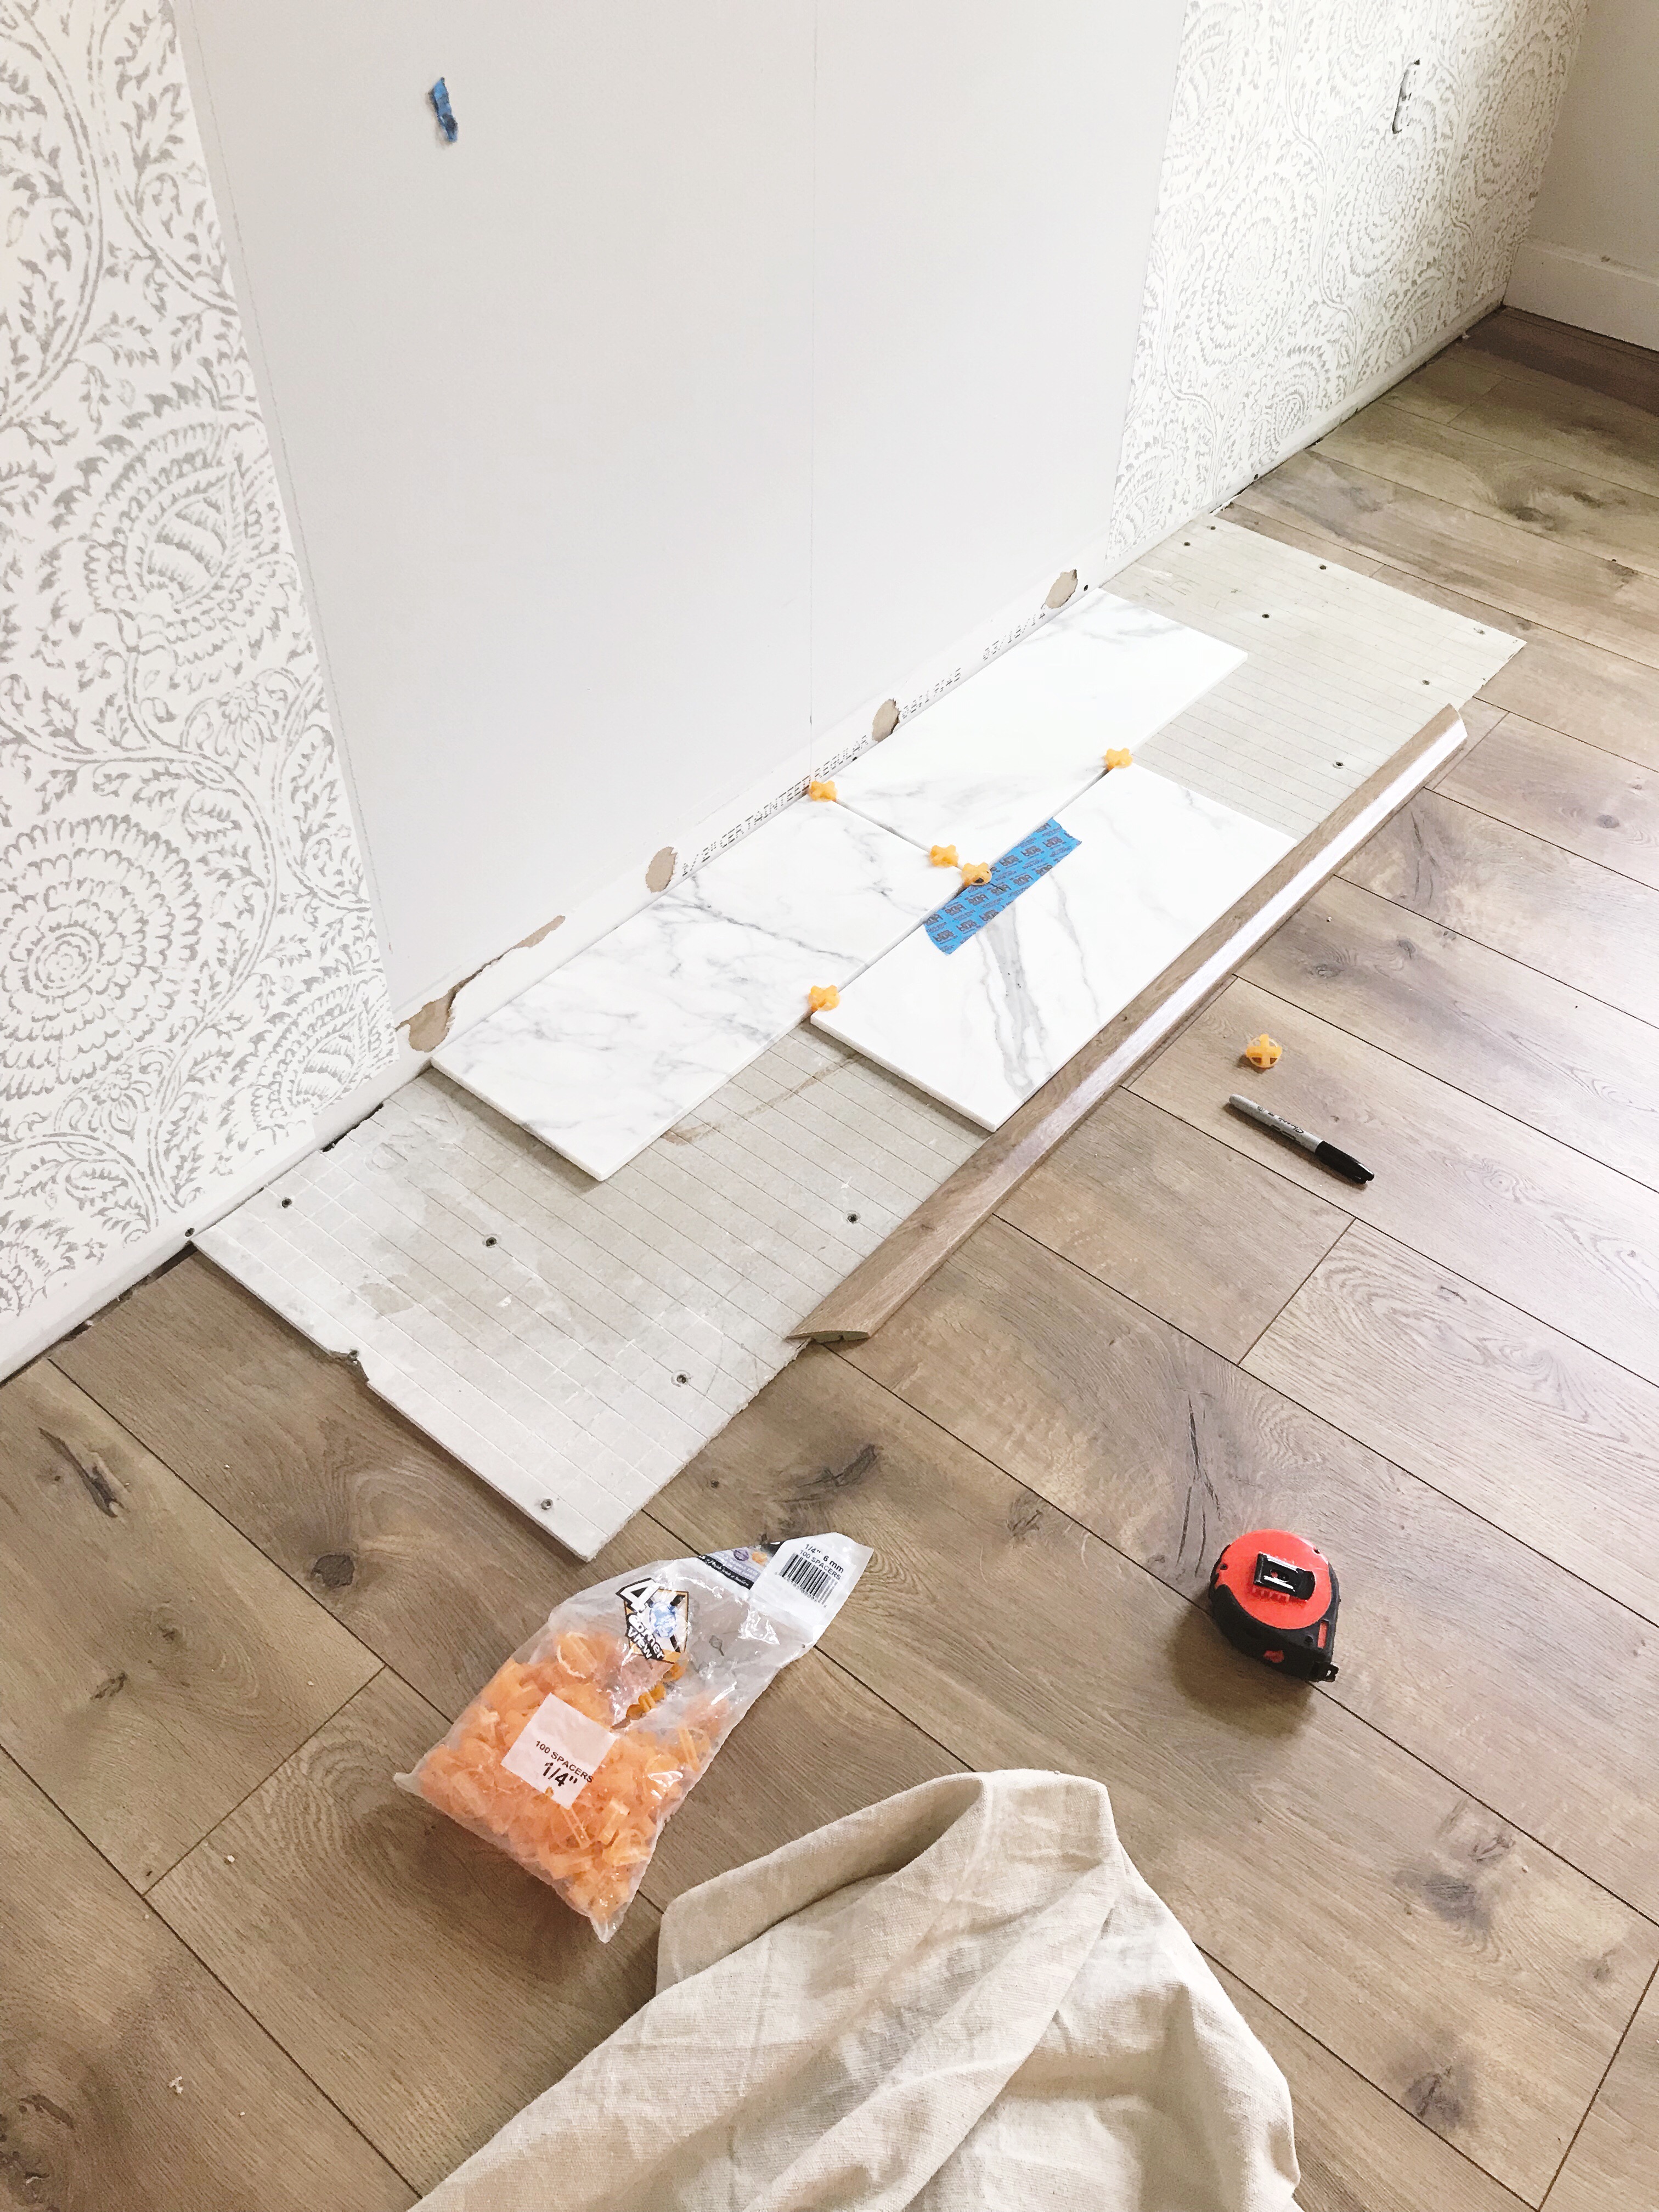
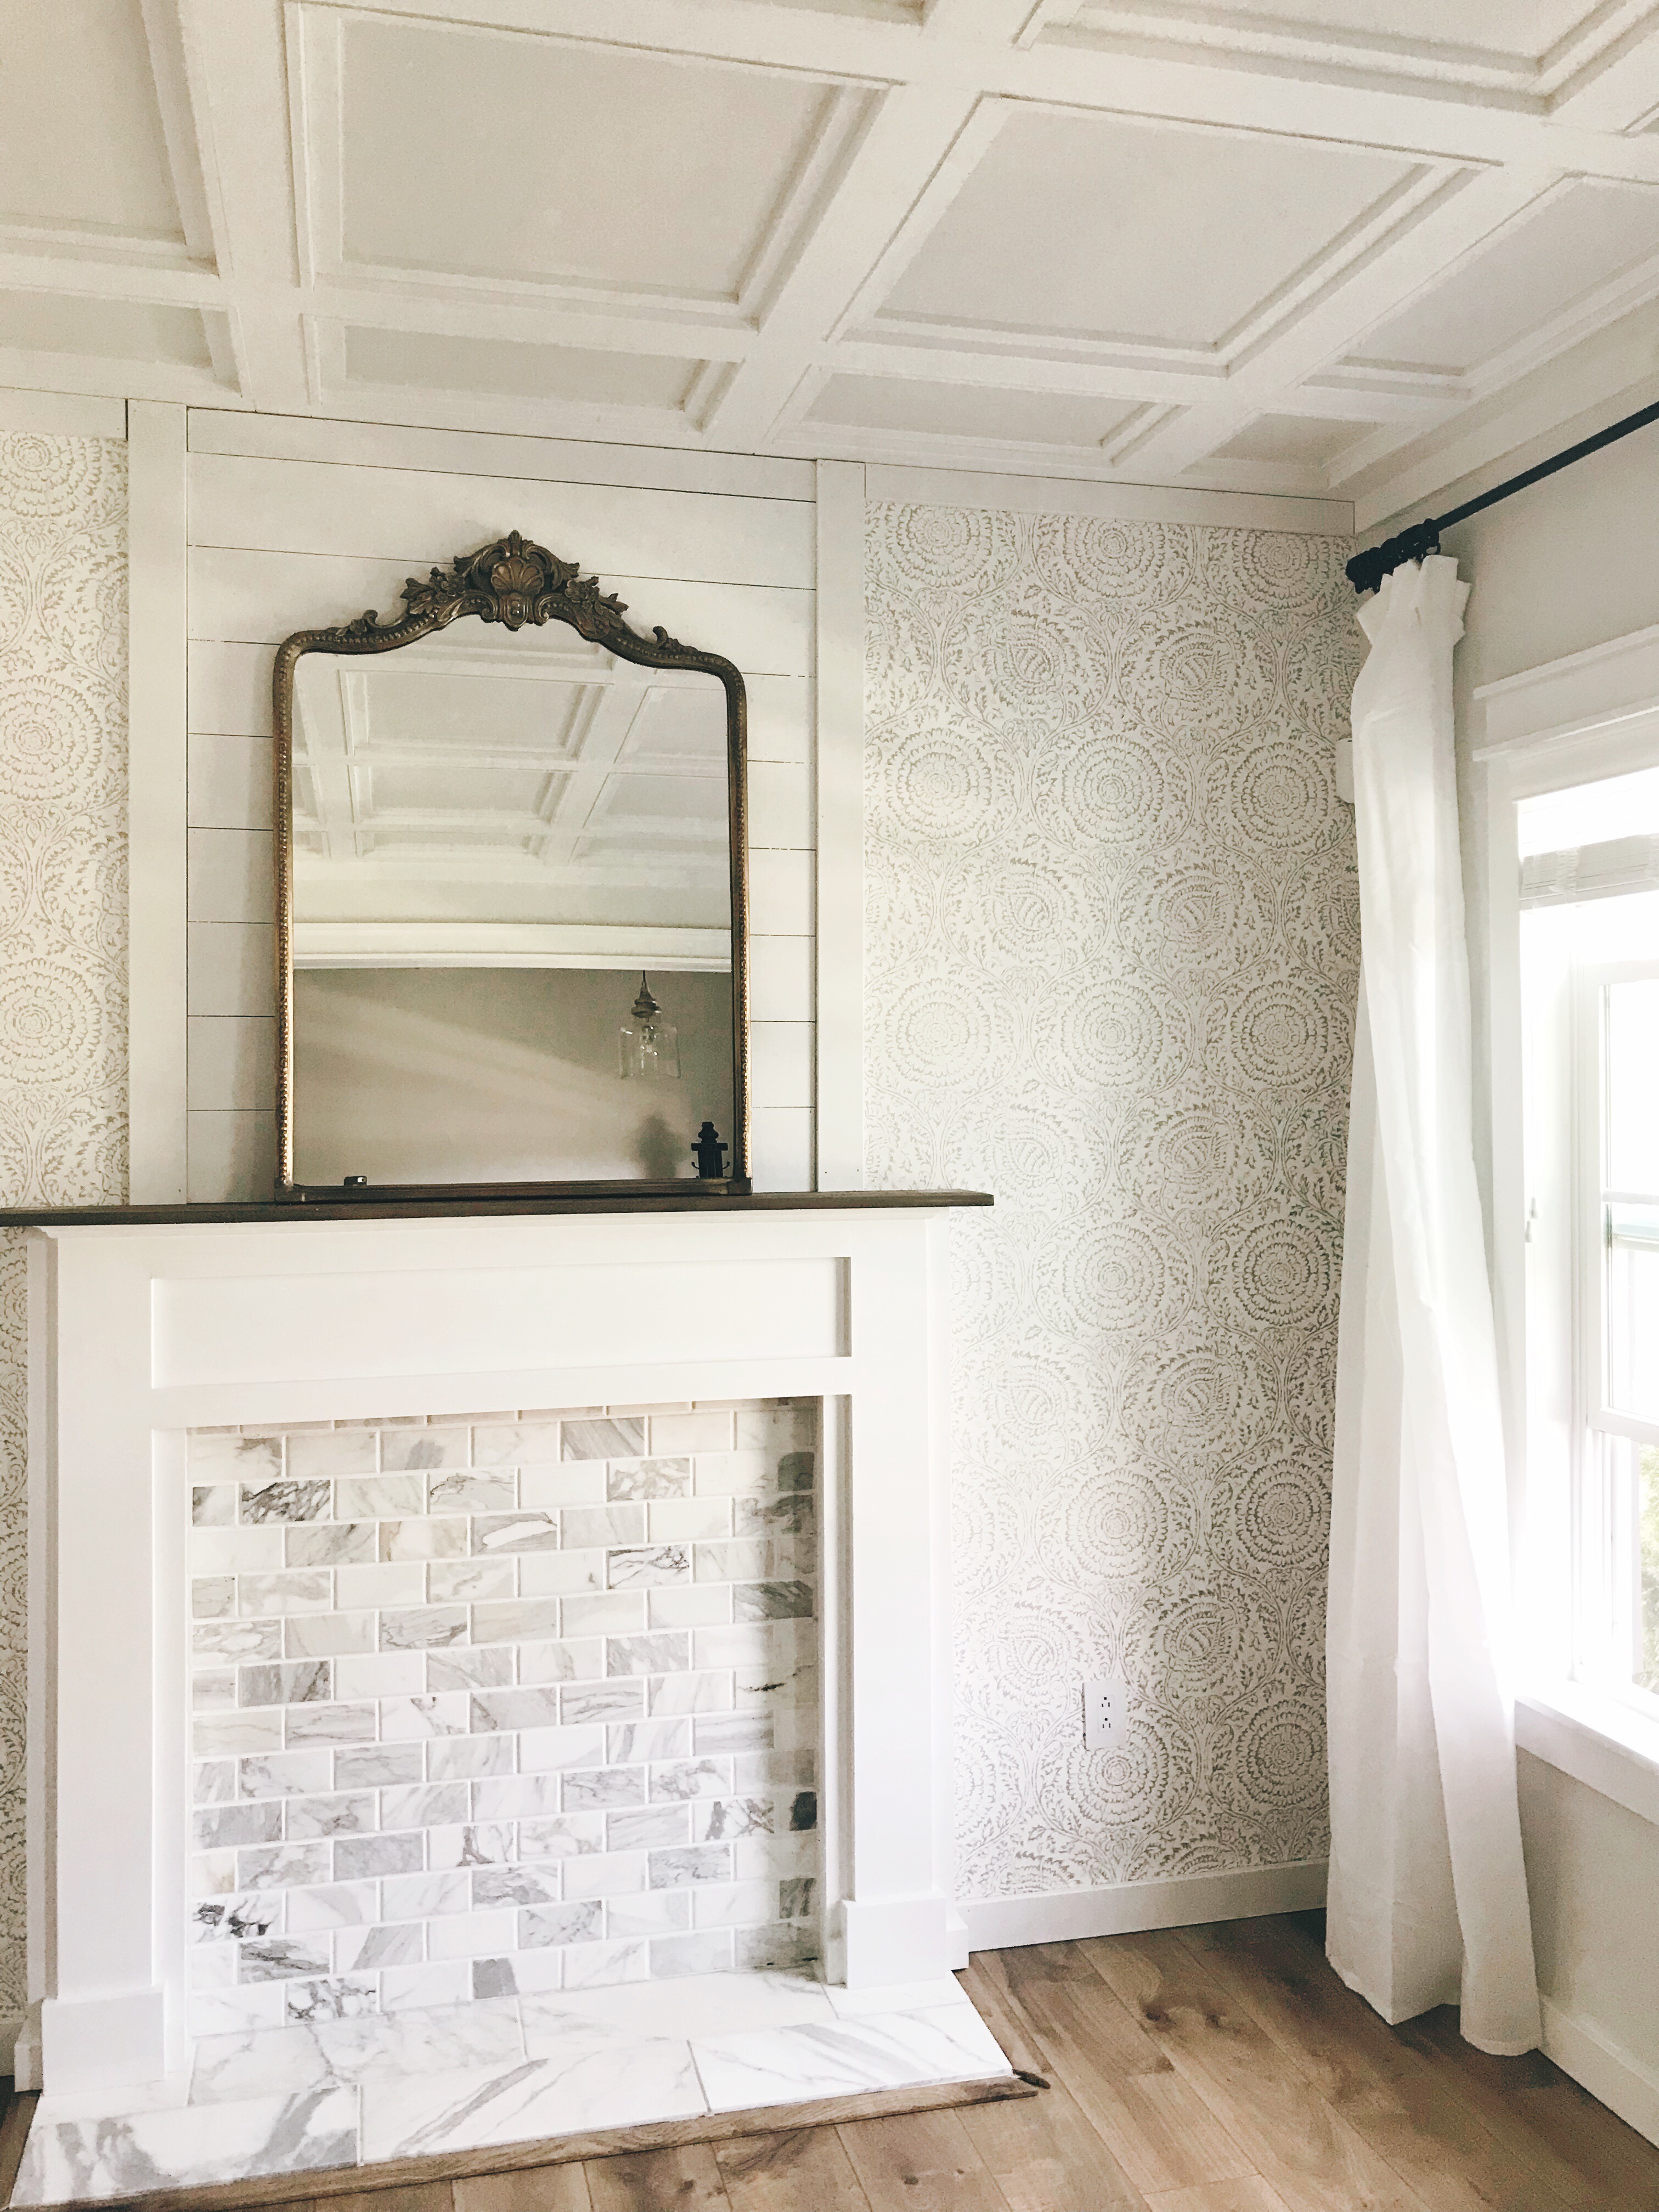
For the surround I used these plans from Ana White and adjusted to fit the tile span; I had planned on adding more molding details, but once it was installed I really loved the way the straight lines mirrored the ceiling (which still needs some final touches BTW!) so I left her nice and streamlined and finished everything off with a few coats of white paint, some shiplap, and a mantel stained the same color as the dining room shelves.

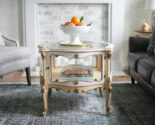
To top it all off, I treated myself to this gorgeous mirror from Ballard Designs that I have had my eye on for a while. It was one of the first pieces I picked out for the space and I love how the color and the curves mimic those in my antique coffee table.
You’ll also notice that I put up my drapery rods and started hanging curtains. This was another decision that I thought about for a while before just deciding to go with a simple white IKEA curtain that wouldn’t obstruct any of the wonderful natural light these rooms get. To hang them, I used my trusty 1/2″ black plumping pipe and some drapery rings. I think I’m probably going to use two panels in each corner of the front room but need to see how that looks once the furniture comes back in.
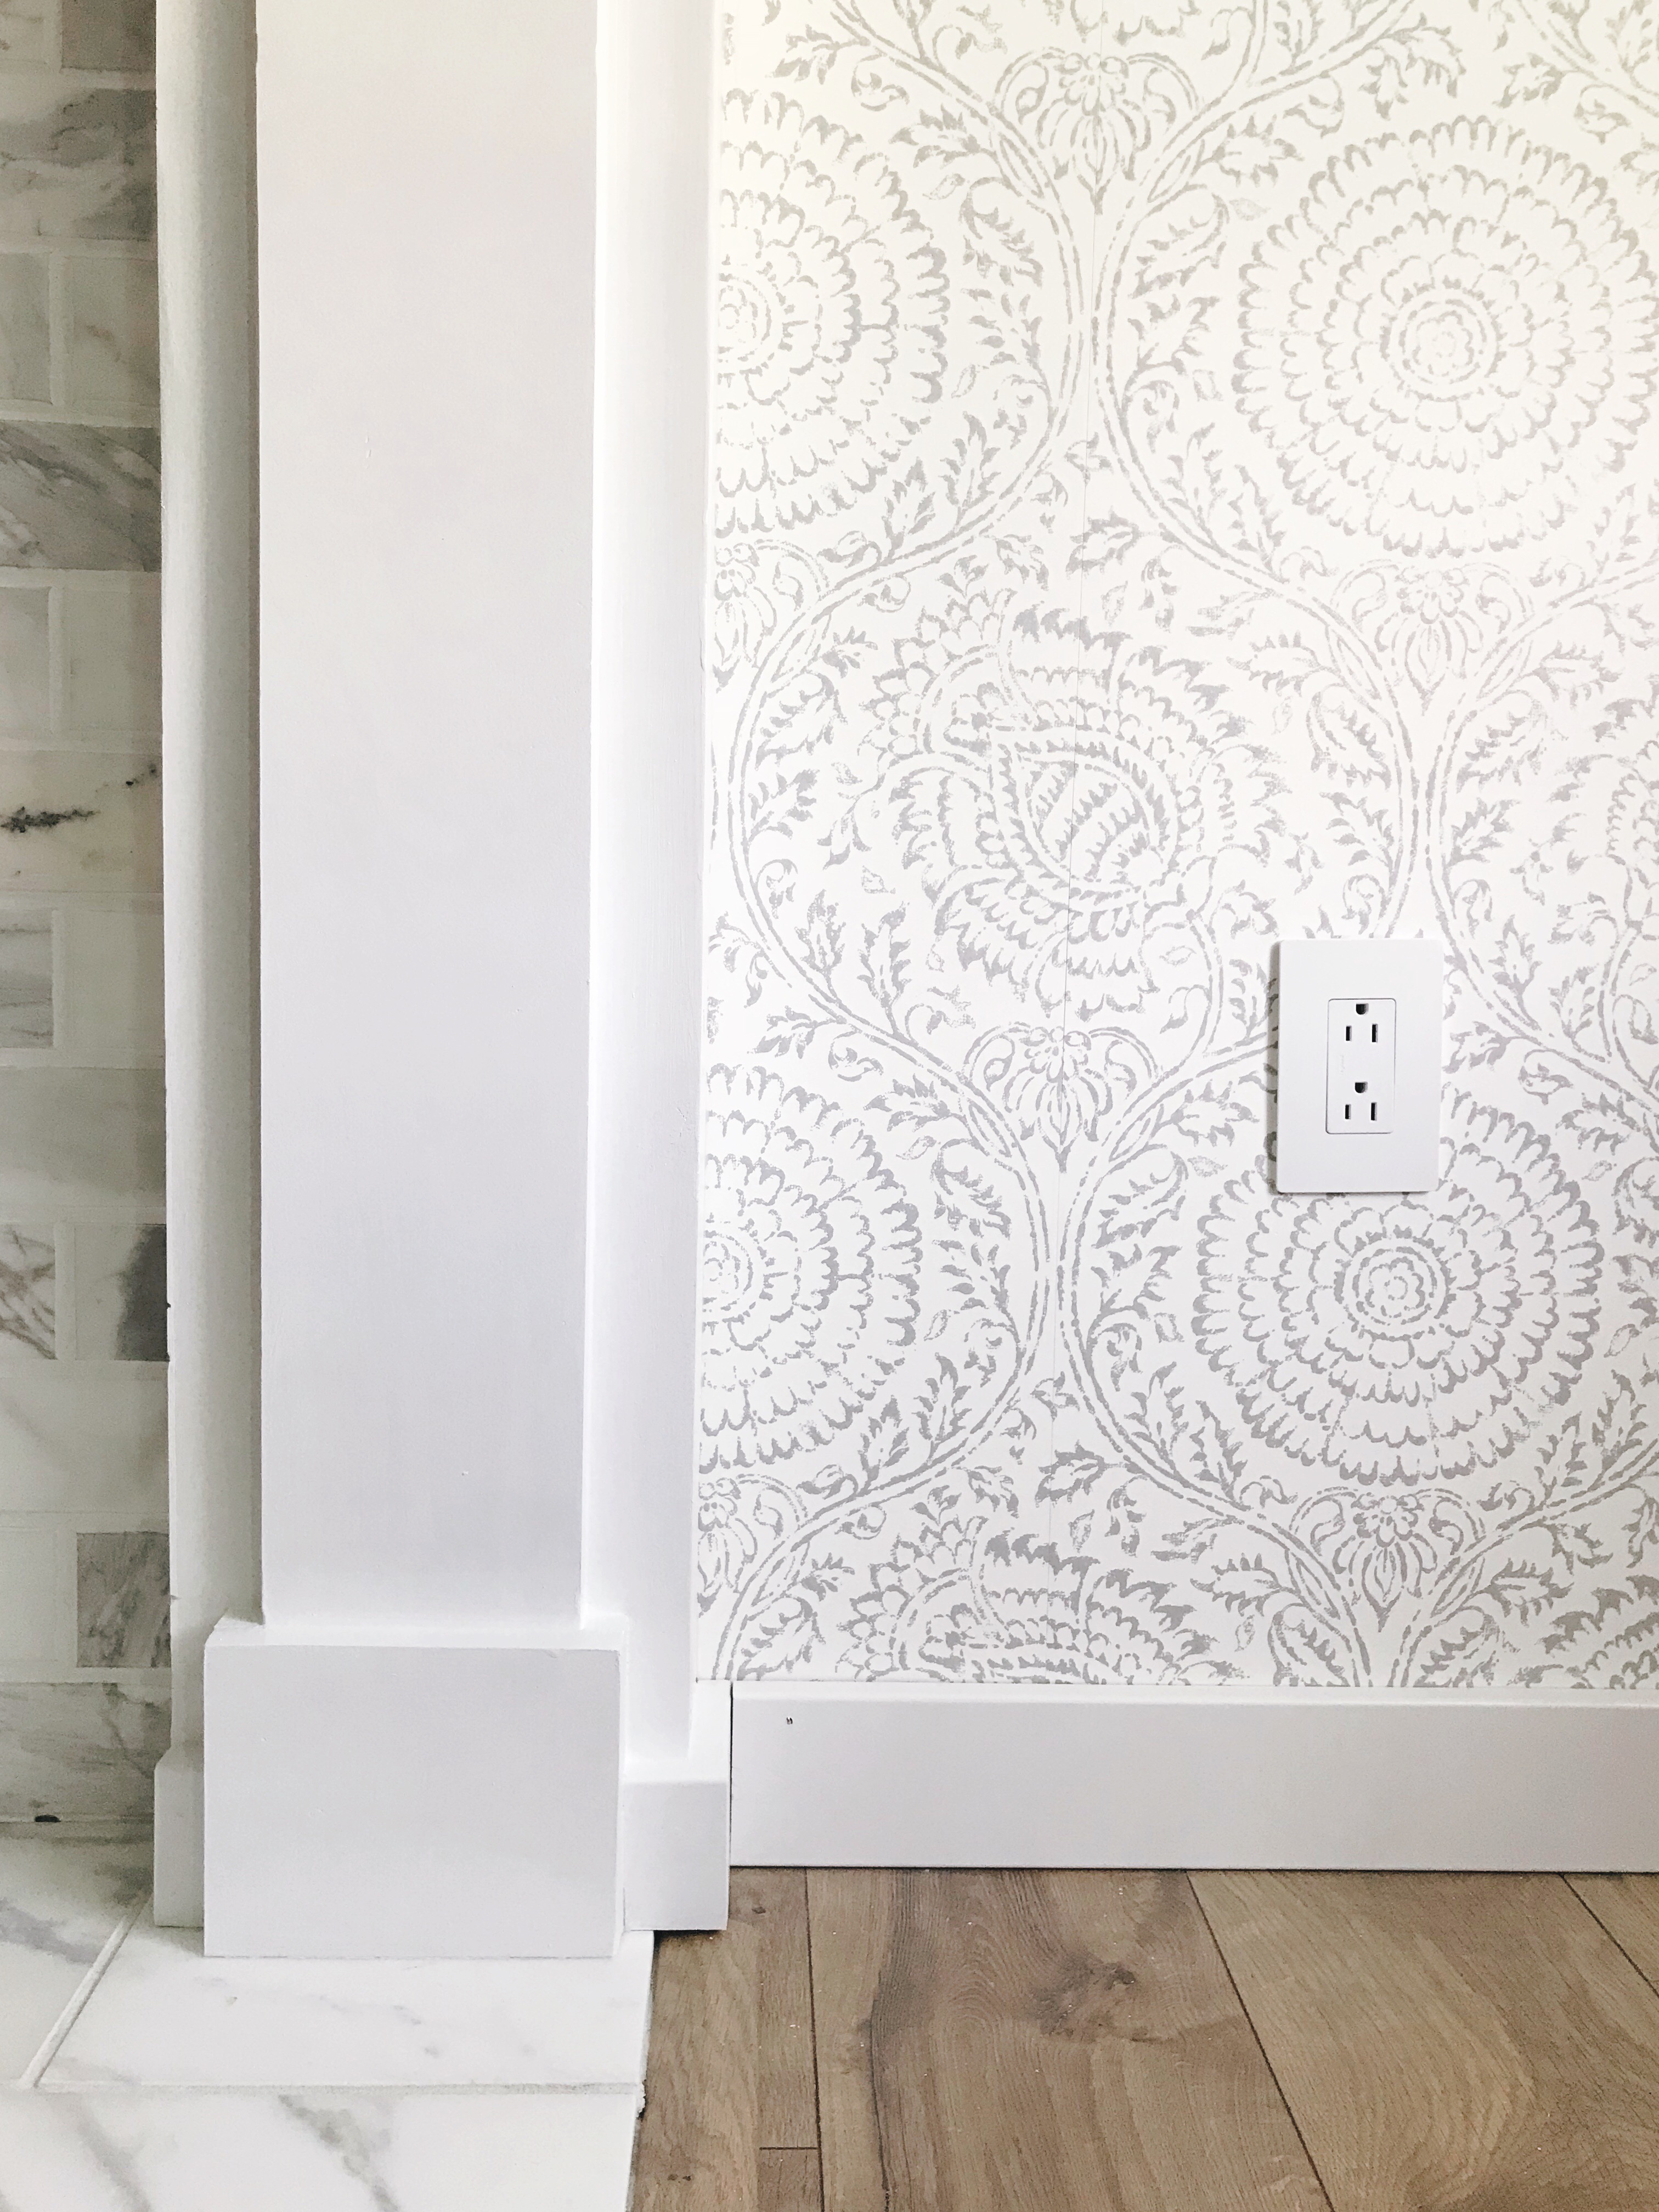
Among some other details that started to come together this week was the installation of my new outlets and light switches. As I’ve mentioned, LeGrand was generous enough to provide me with products from their new Radiant collection to finish off my space. I’ll be sharing all of the great features of this line in a later post, but wanted to give you all a sneak peek of just how beautiful this collection is.
I’ll leave you guys with one final sneak peak of the dining room and hope you’ll come back next week for the full reveal! Pictures are scheduled for Monday morning so I have 4 more days to pull it all together, which sounds so crazy to say out loud! I hope you guys have been checking out my fellow participants progress on the One Room Challenge Site, and if you haven’t seen any of the videos that the Home Love Network put together from last Fall’s makeovers make sure you head on over there because they are super enjoyable to watch.

Thank you to my sponsor!
A huge thanks to my sponsor, Legrand. I can’t wait to share more about them and how their Radiant Collection of light switches and electric outlets can easily update any space. Stick around to see them soon!!!
![]()

Comments
This looks incredible, Lindsey! I love your faux fireplace, without all the hassle of a real one (we still haven’t brought ourselves to get ours cleaned, and have lived here since November!). Can’t wait to see your final reveal!
I don’t blame you for that one bit – that sounds like a HUGE HASSLE! Thank you so much for those sweet words…..I’ve got a box full of candles waiting to fill this baby up!!!
BEAUTIFUL! You can never go wrong with marble!
Thank you! And isn’t that the truth!!! It can make anything so special
This room is so gorgeous, I love everything! Where did you find the mirror above the fireplace?
Thank you so much Kalila – so glad you like it! The mirror is from Ballard Designs – it’s called the Beaudry Mirror and it comes it a larger size and also in Oil rubbed bronze…I just checked and it’s actually 25% off right now too!
https://www.ballarddesigns.com/bd/381645?SourceCode=BDG006&intlShippingCtx=US%7CUSD&CAWELAID=120245430000112002&CAGPSPN=pla&CAAGID=13766618185&CATCI=aud-287986301403:pla-195577000105&catargetid=120245430000497875&cadevice=c&kclid=381f5501-6aec-455f-933c-60fec0a04670&gclid=Cj0KCQjw5qrXBRC3ARIsAJq3bwqkJmFVse2eh3AbtihNmA6P2Hu4KaD59ZrZ-_BYPoW2t2Cg3hMfBEMaAre9EALw_wcB
I love how spare your bookcase is, just the right balance for the room.
Thank you! I like to make sure things look full but not too cluttered and take a decent amount of time planning my shelves out so it’s really nice to hear that