
One Room Challenge Week 6 – The Dining and Front Room REVEAL

I can’t believe that we’re already at the One Room Challenge Reveal day! These last 6 weeks flew by and the end crept up on me incredibly fast – but somehow I got everything I had on my list done.
If you missed any of my previous week’s posts you can catch up on all of them at these links:
Week Three – DIY Coffered Ceiling and Trim
Week Four – Furniture Decisions
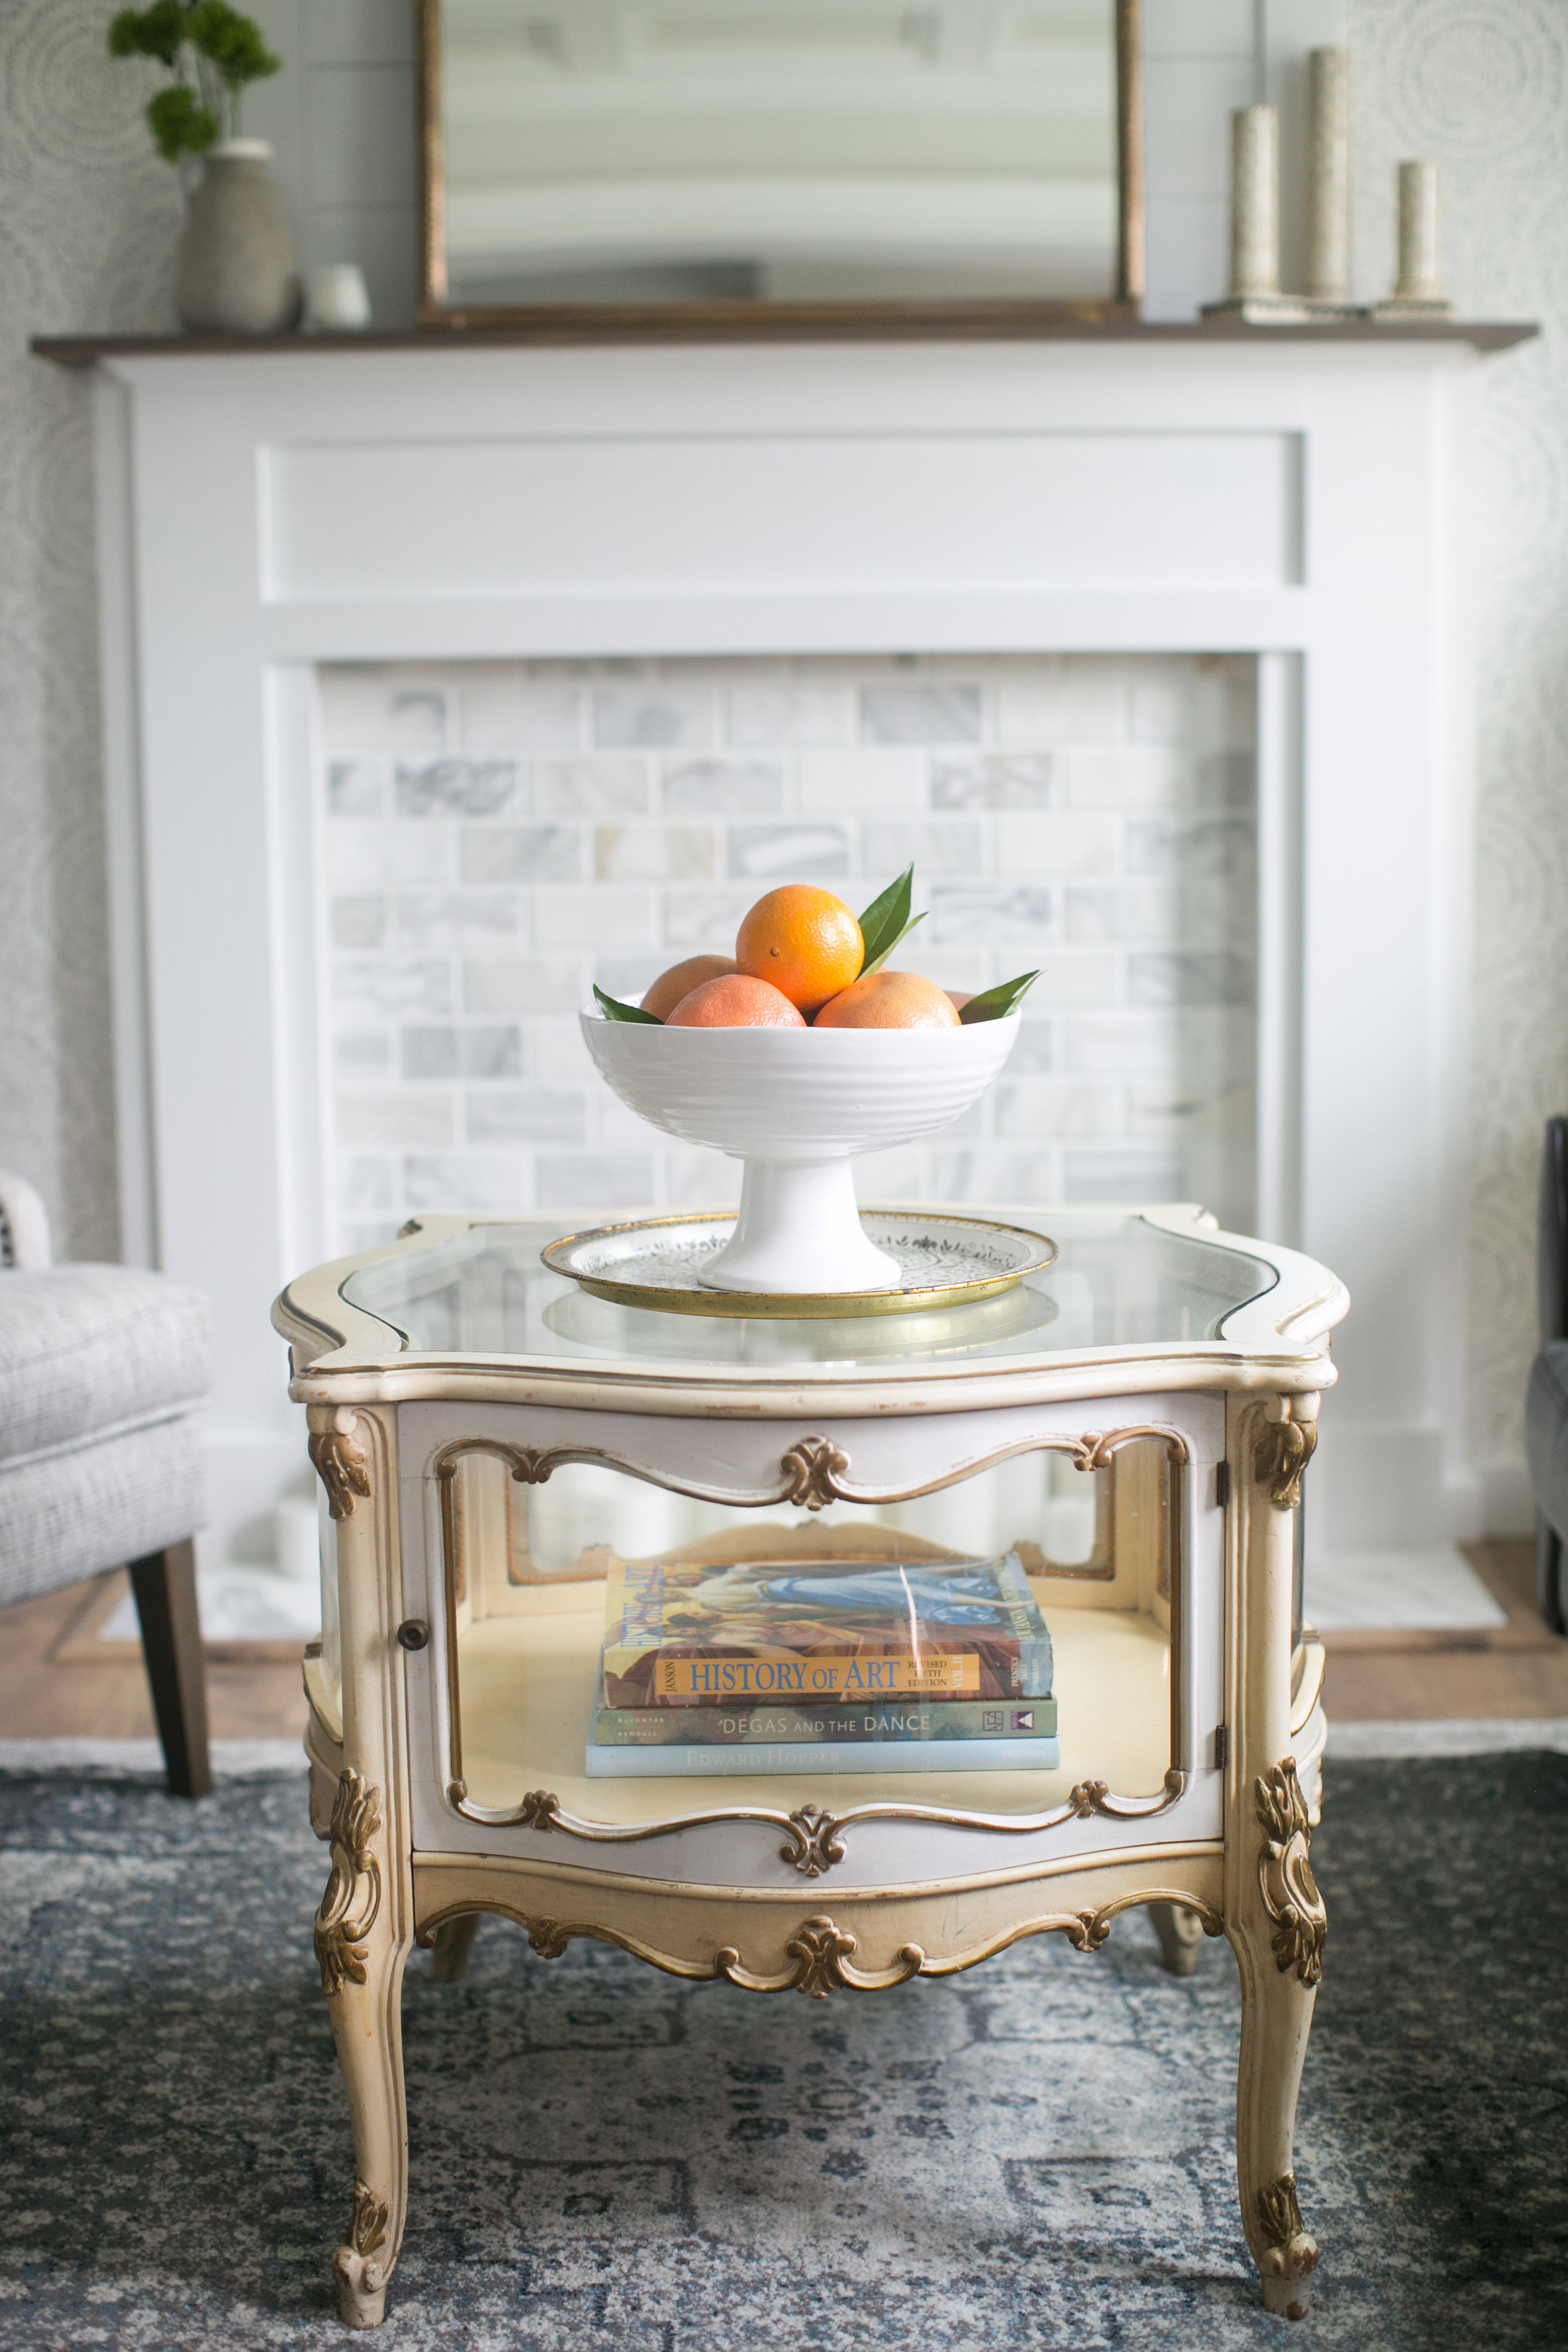
Week Five – DIY Faux Fireplace
Before I get too far into this post I have to take a moment and thank everyone who has supported me through this wonderfully crazy process – my boys, my family and my friends who have been so understanding with my mess and scatter brain, and also all of my virtual friends who have taken the time to read my posts each week and leave words of encouragement! All of that kept me going when things got rough and it means more to me than I could ever properly say. And of course I have to thank Linda from Calling it Home for being an incredible organizer and supporter of all of us, as well as House Beautiful and the Home Love Network for helping make this event possible each season.
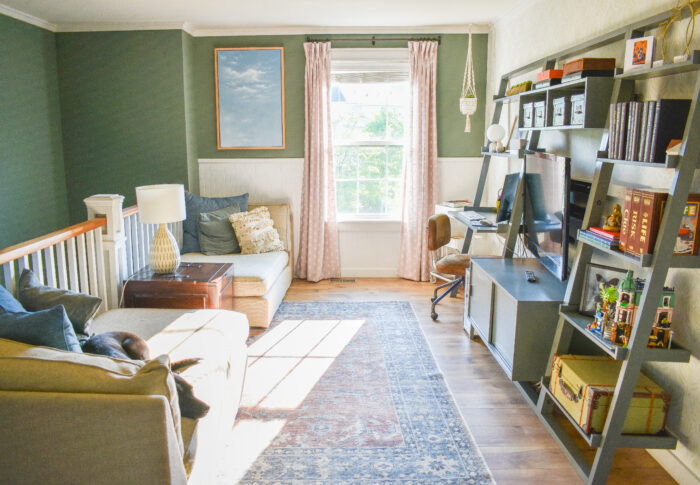
Now – ONTO THE SHOW! Before these rooms were dark, uninspiring little boxes and now, they are the perfect welcome into our home.
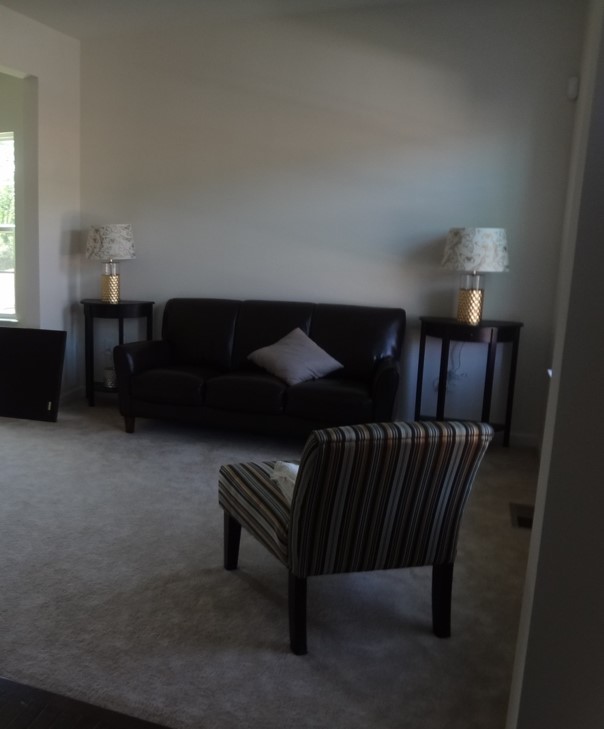
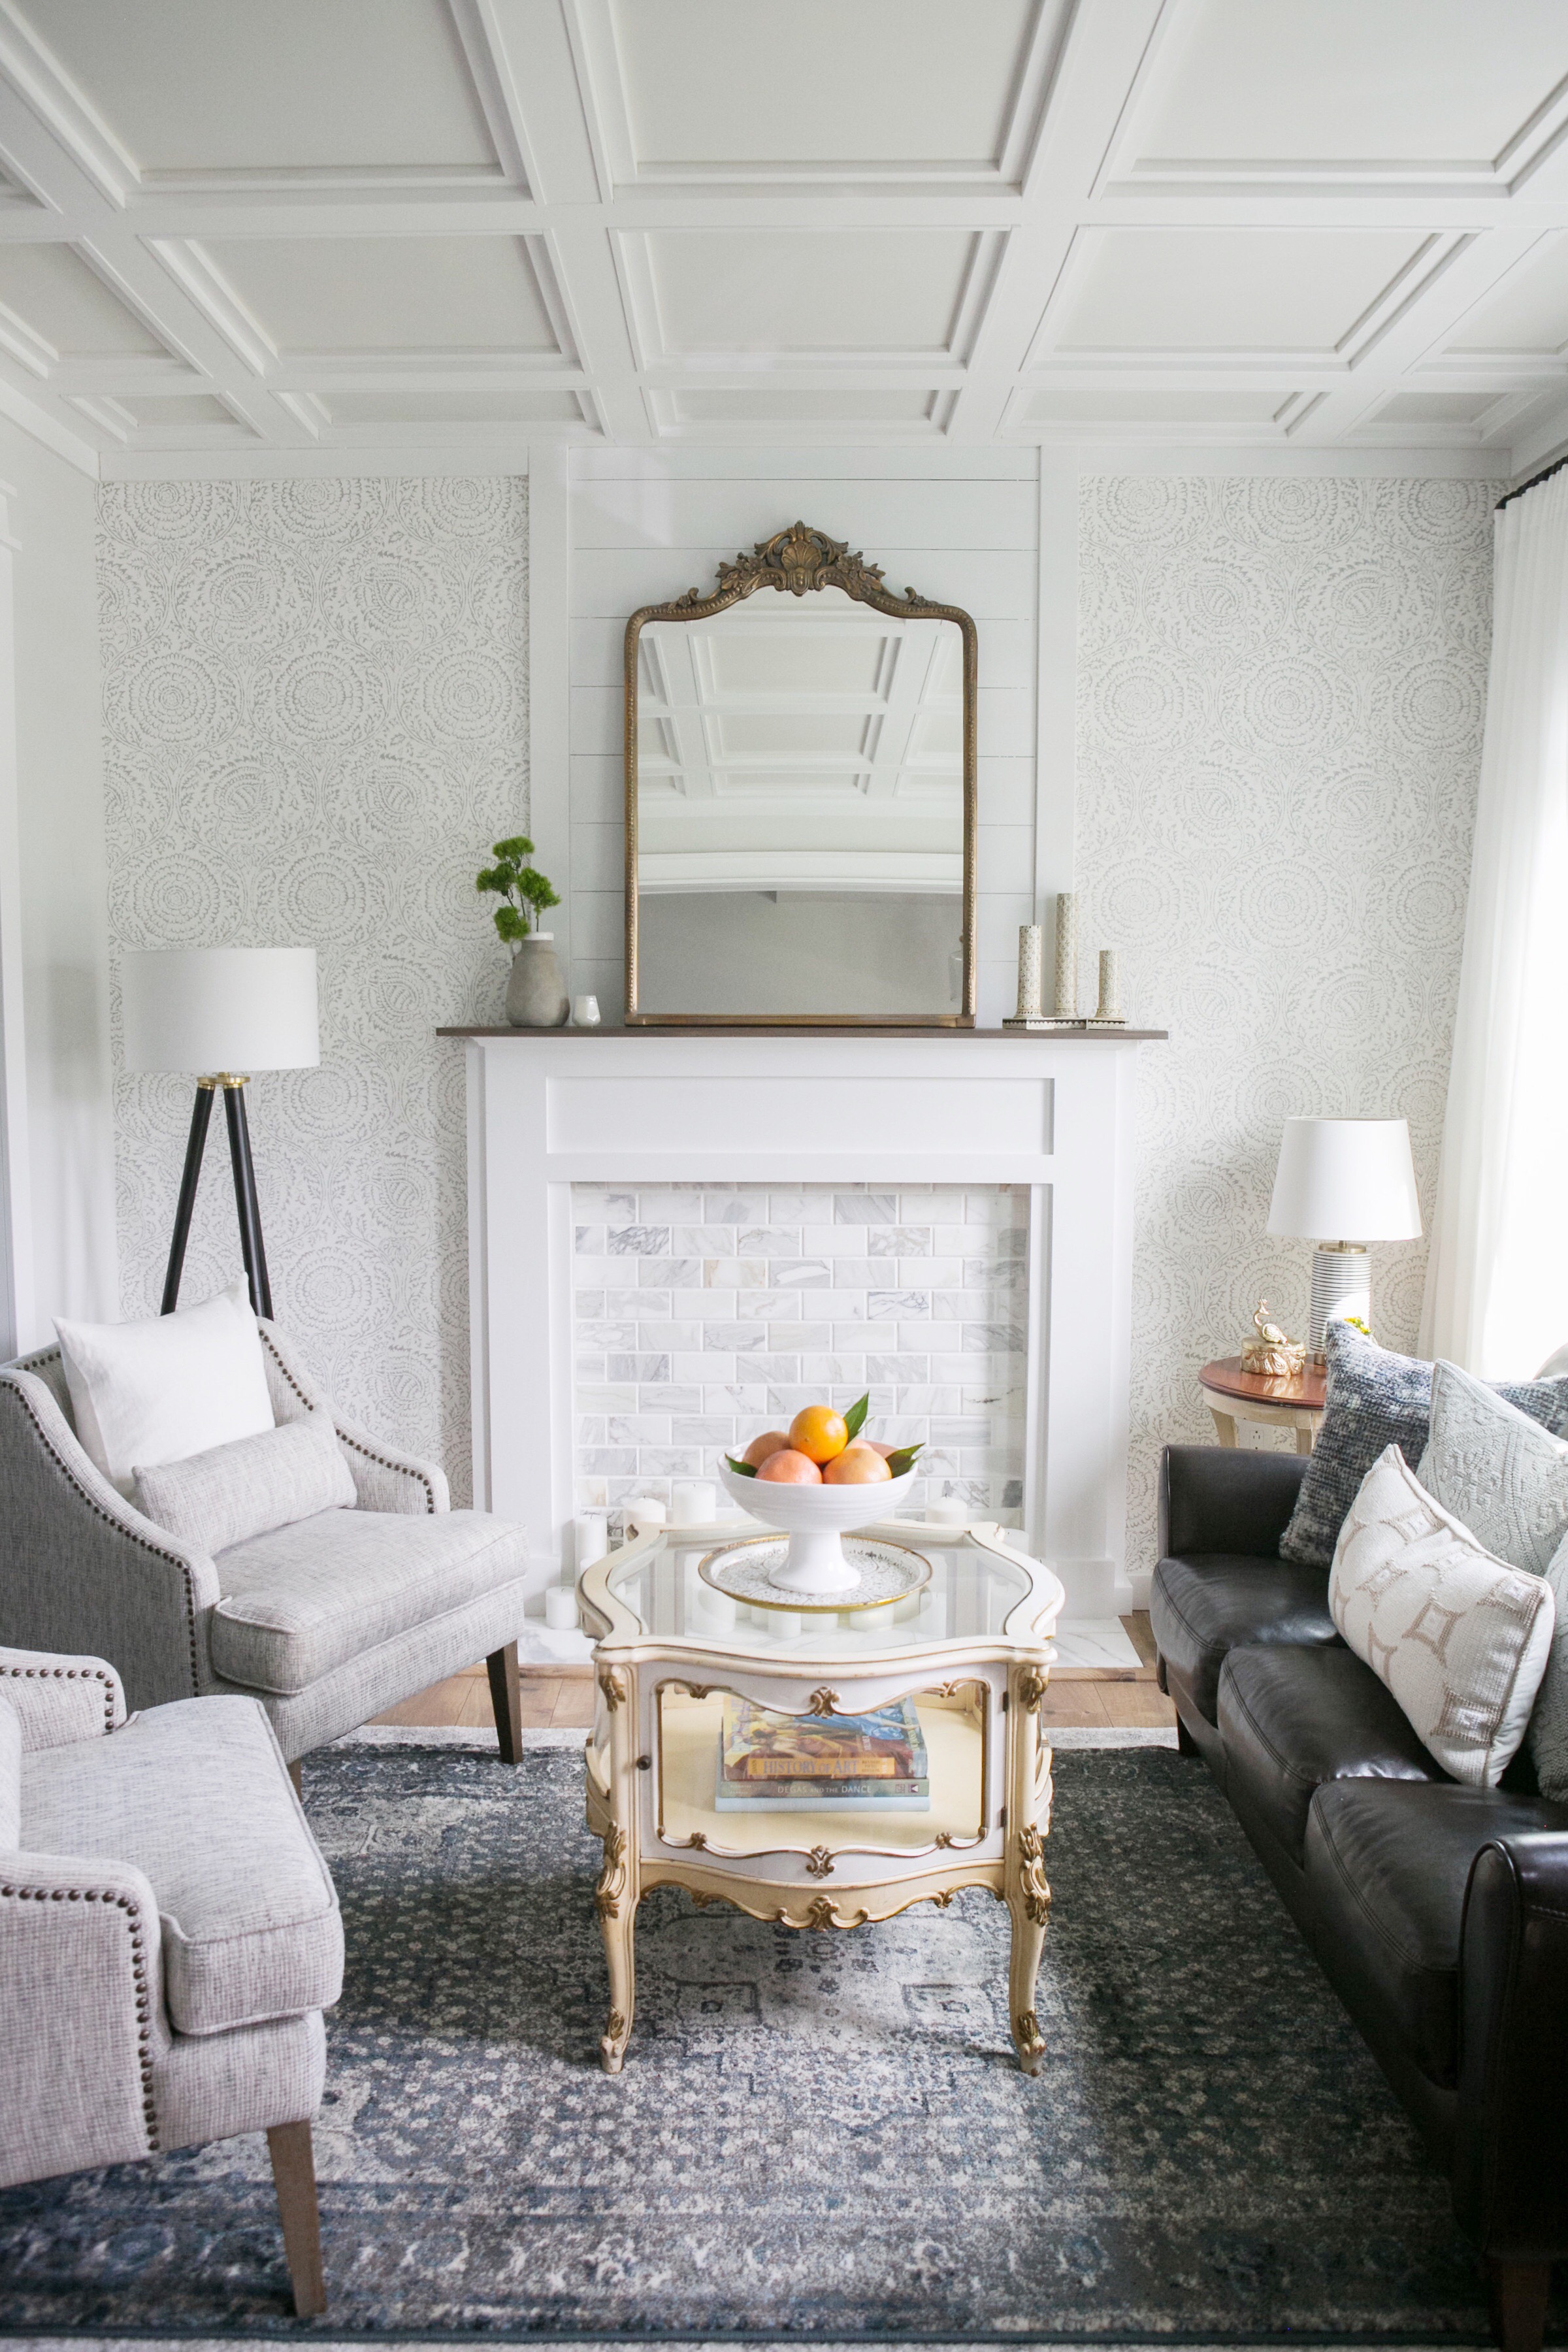
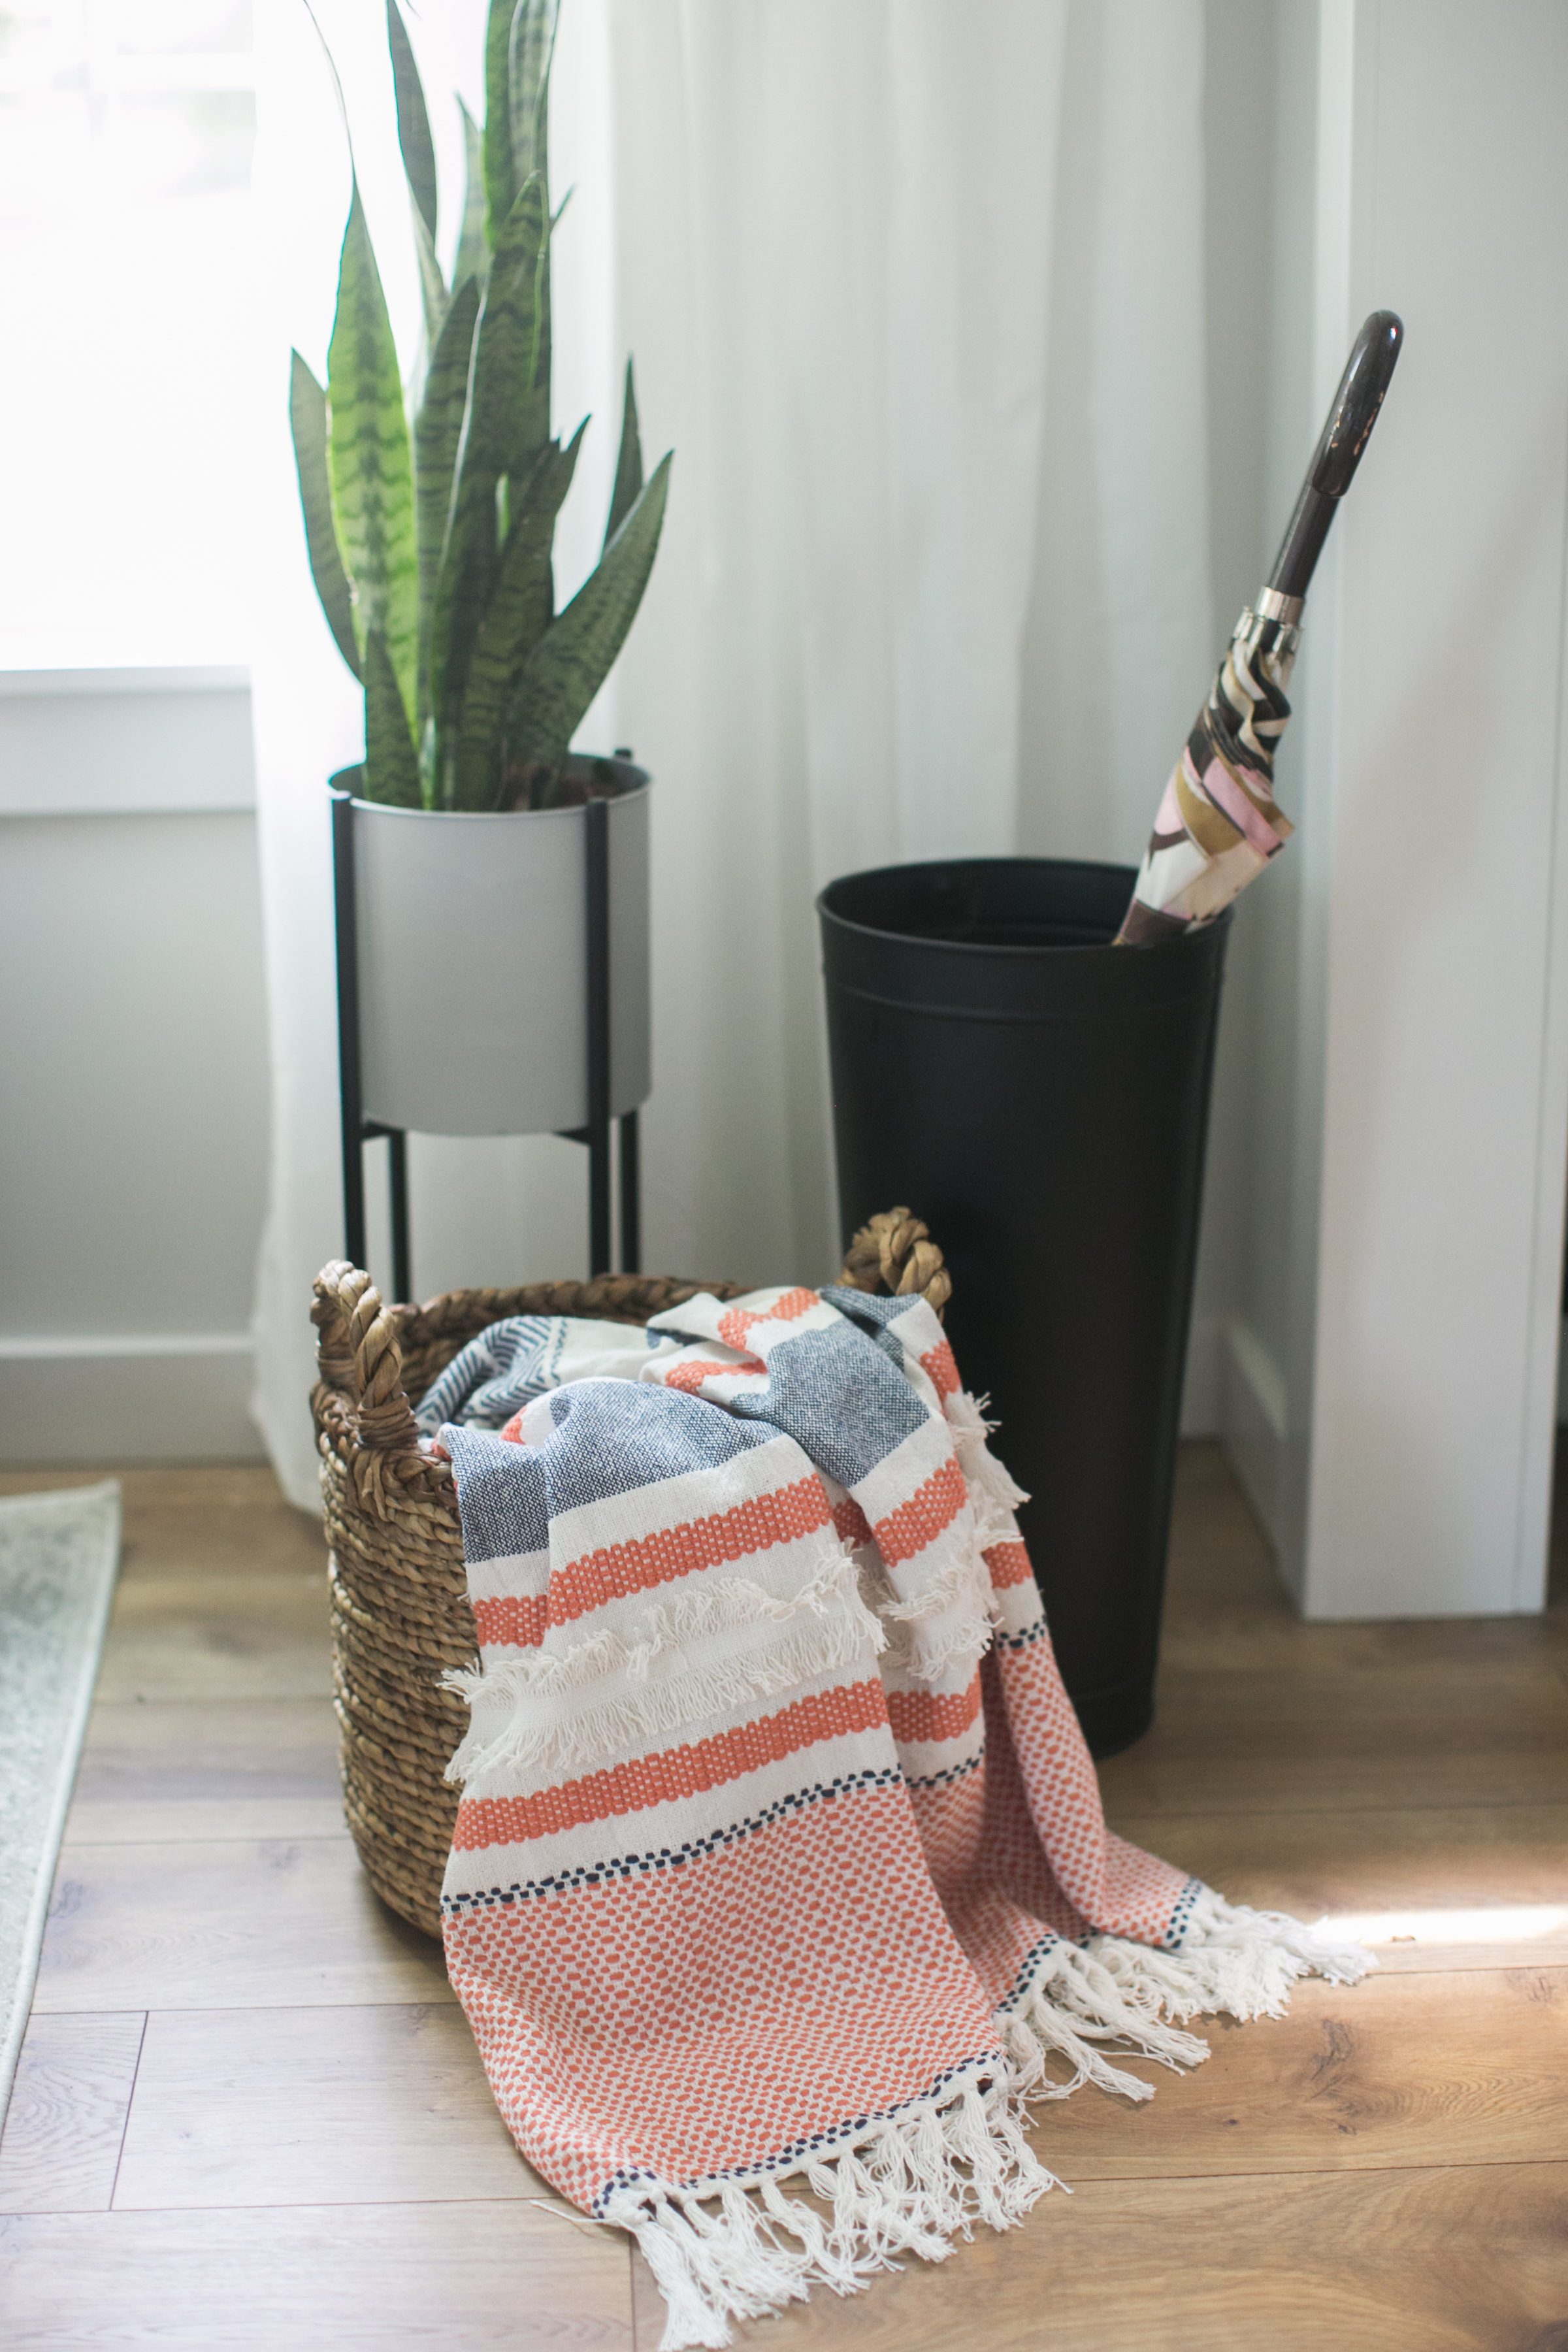
Front Room Before / After
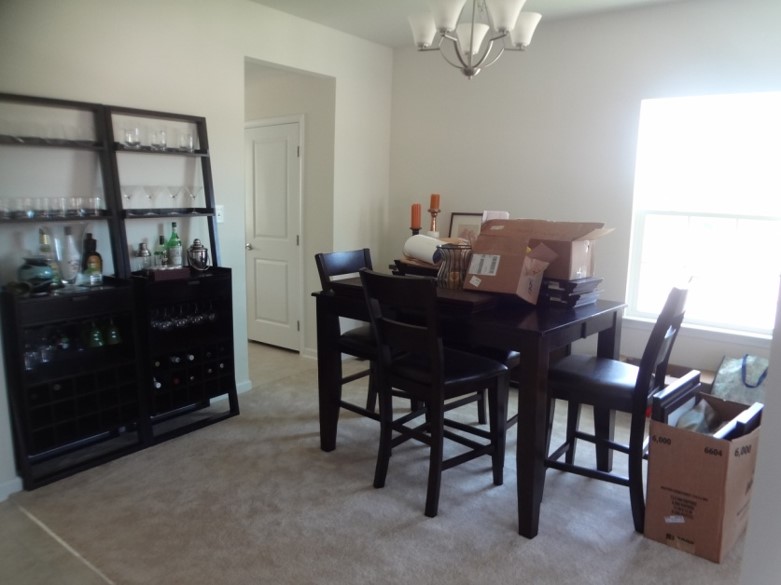
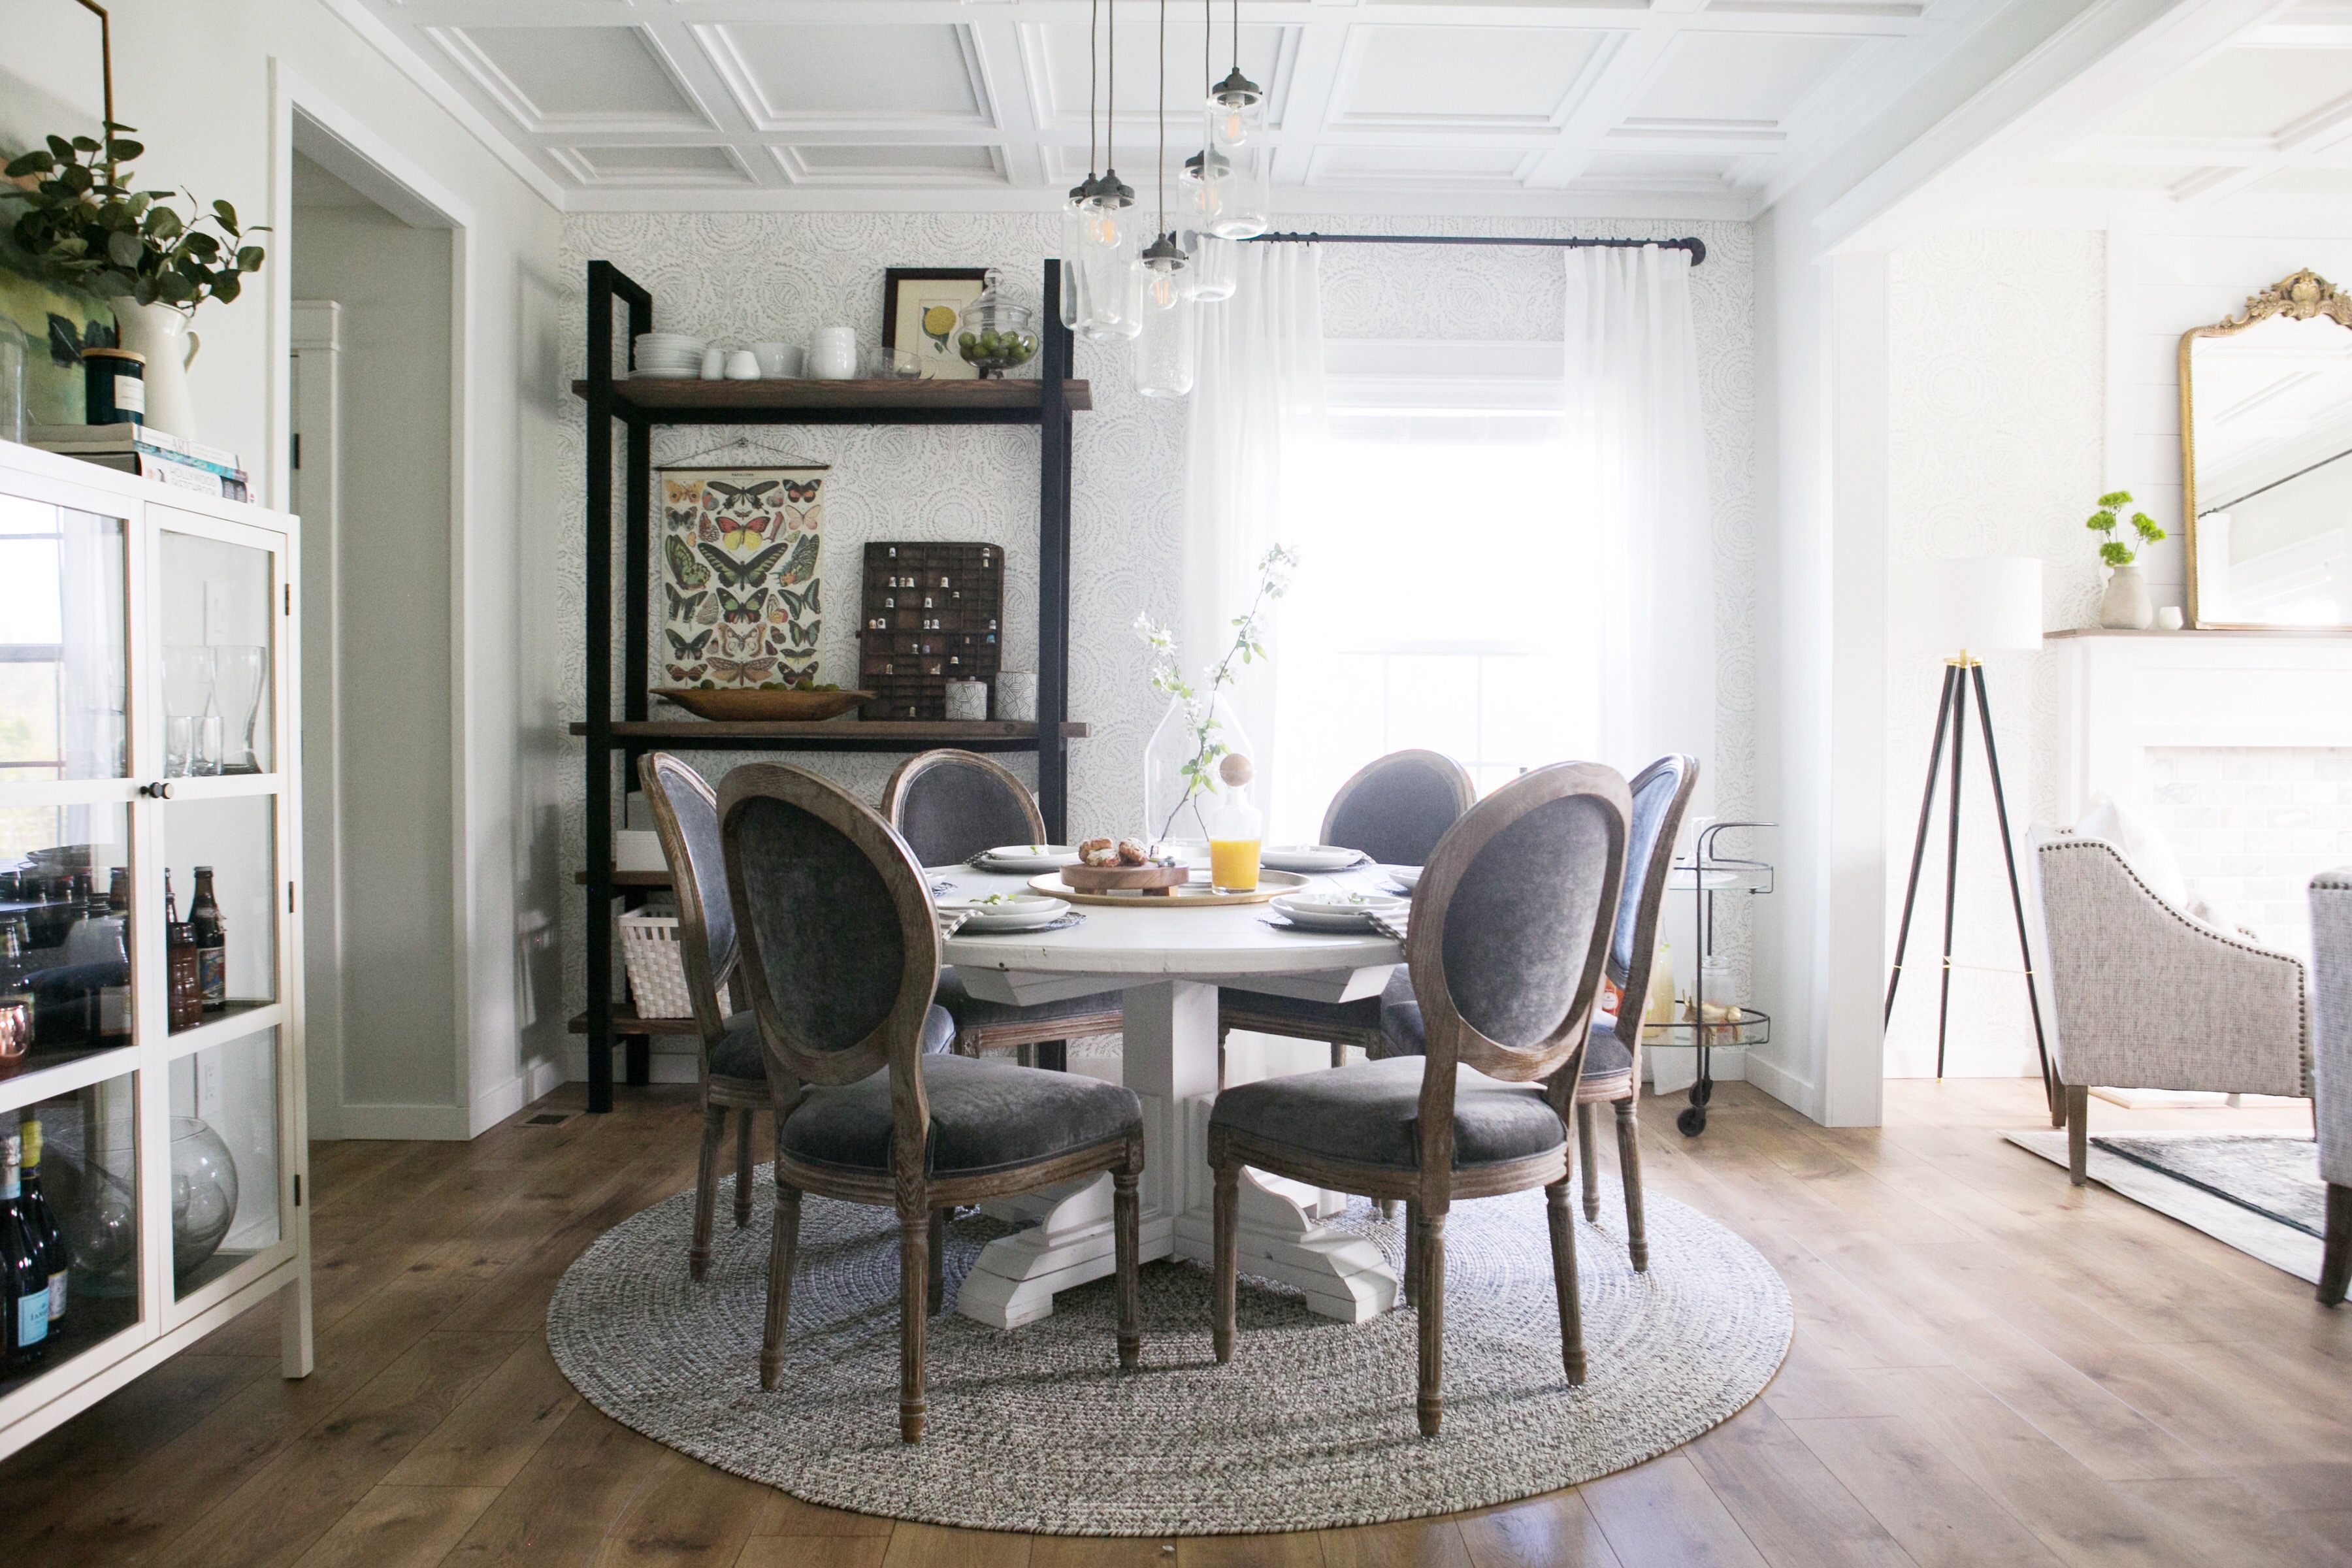
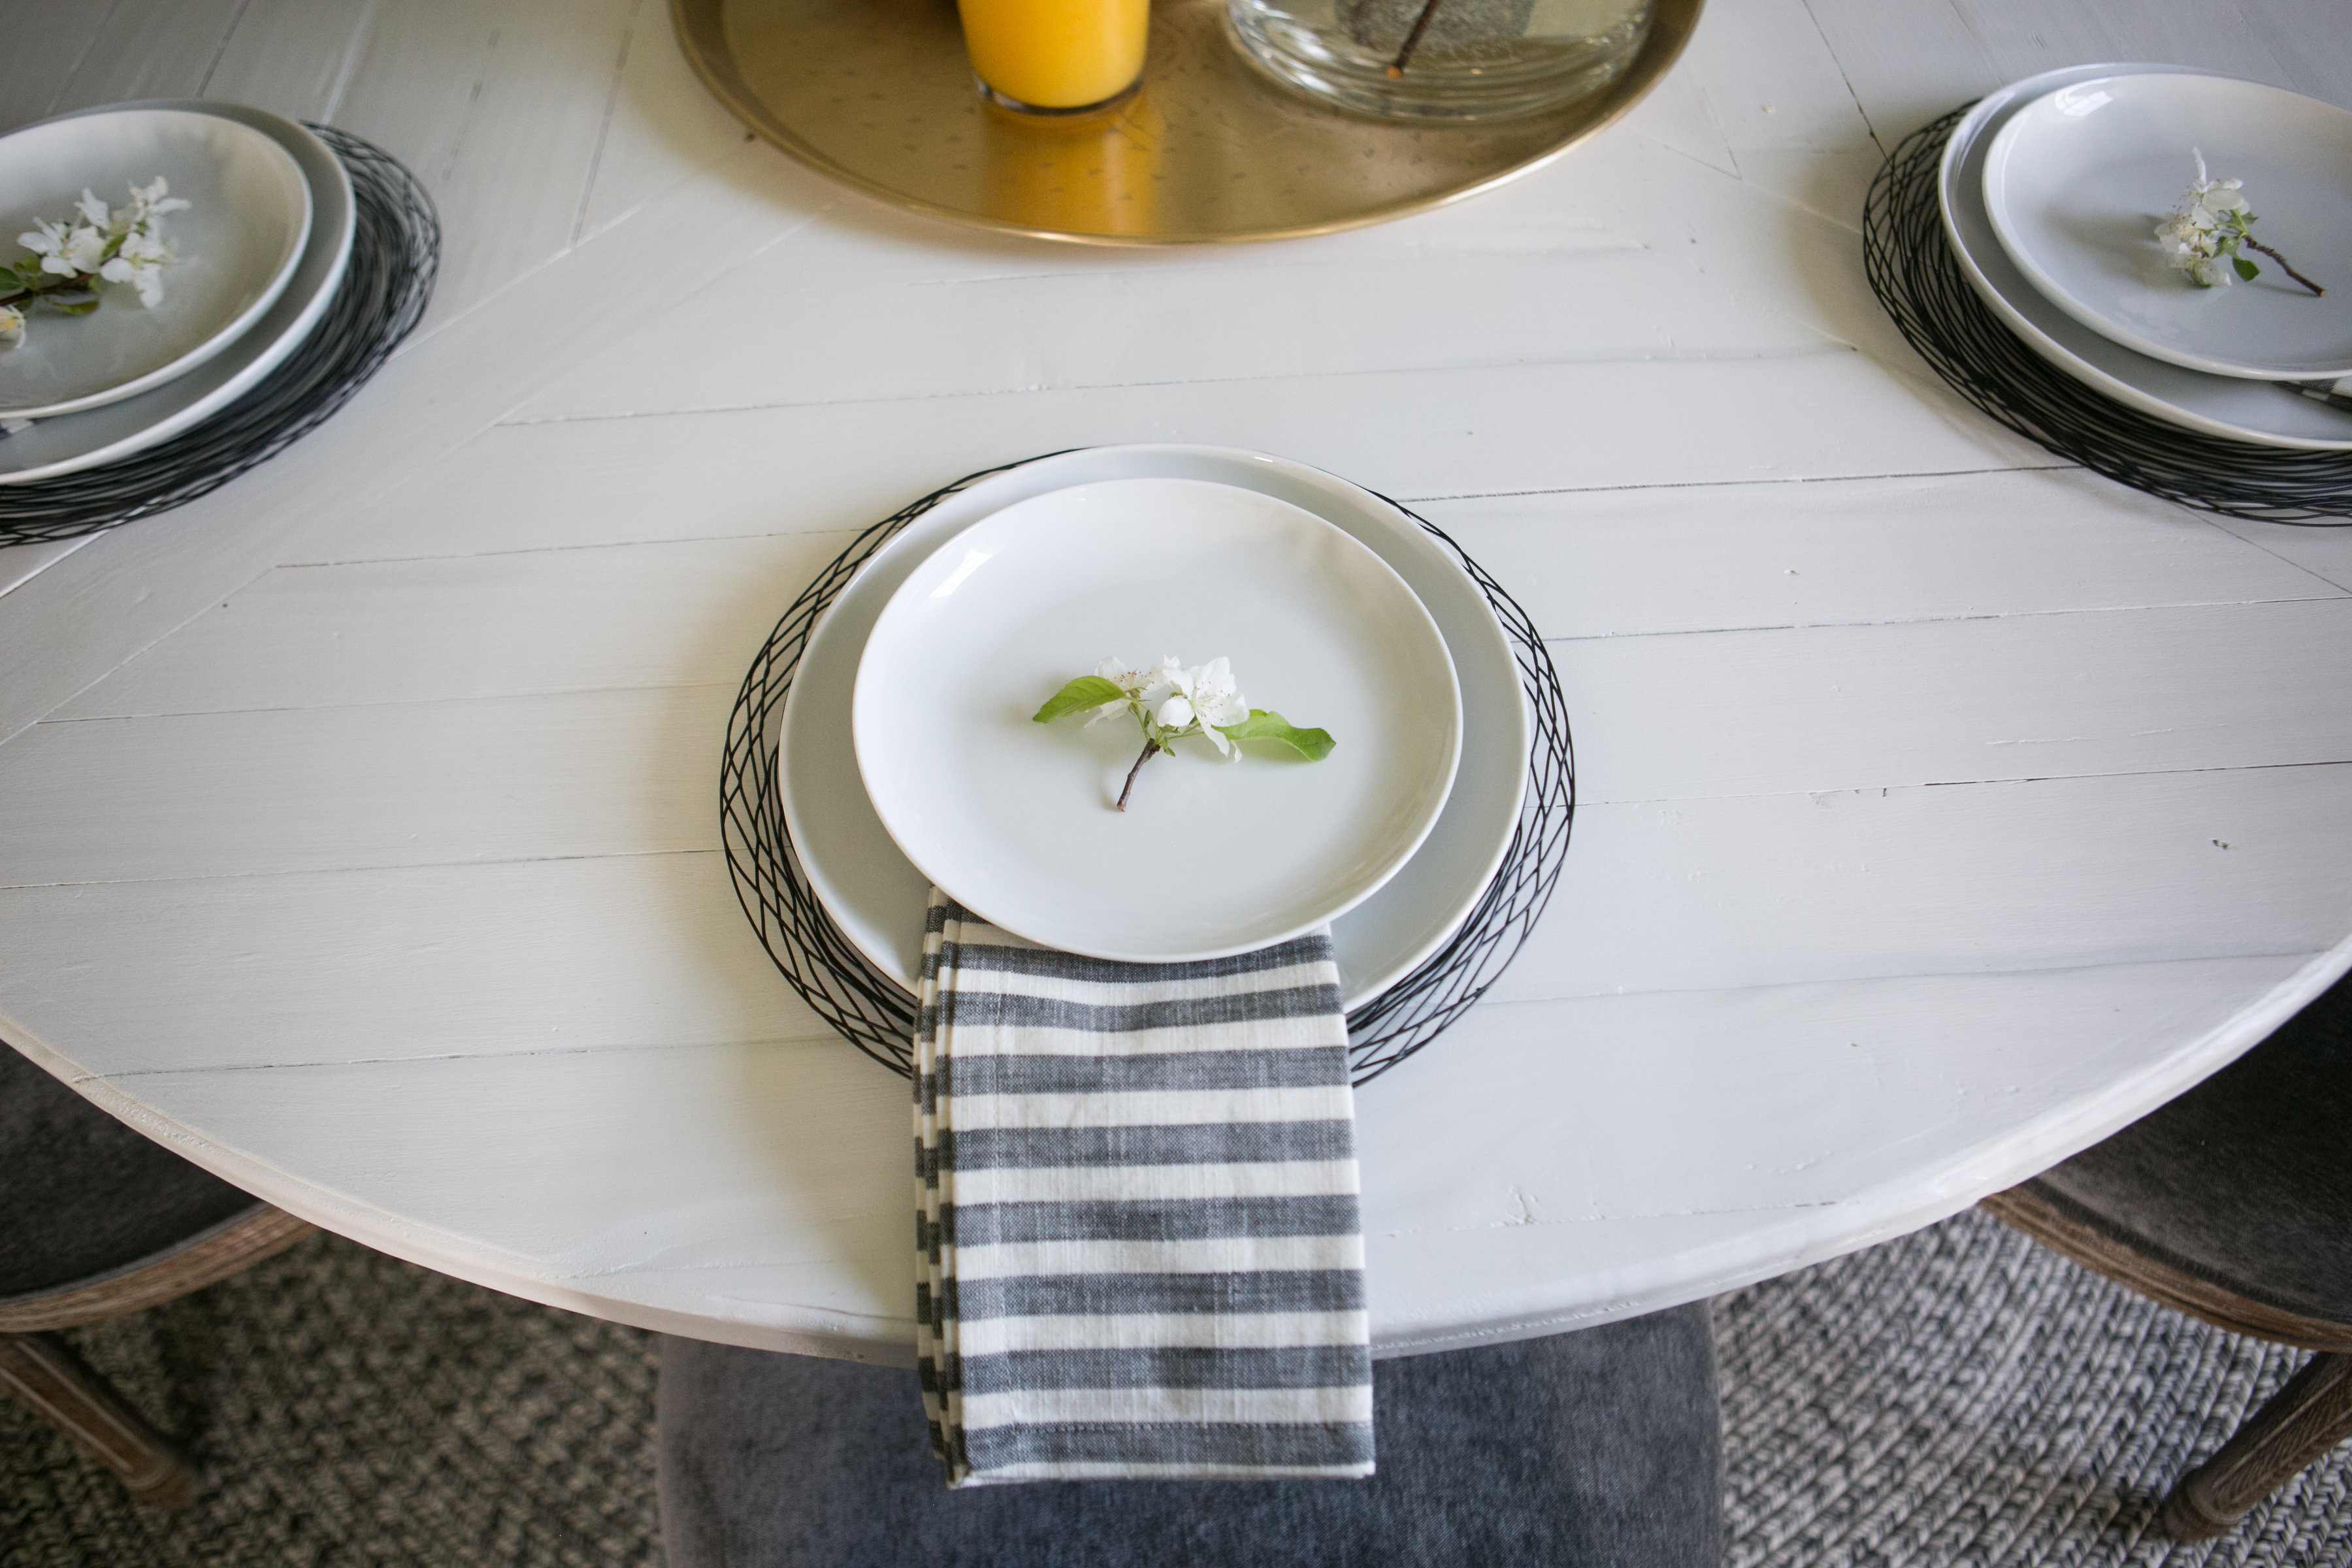
Dining Room Before / After
While it would have been a lot more manageable to tackle one room at a time, since there are elements that carry through both (like the wallpaper and trim) and design decisions for each that couldn’t be made in isolation (how do I tie the rugs in both spaces together?) it really just didn’t make sense to do it that way. While it was a challenge in every sense of the word, I am extremely happy that I took on both AND extremely proud of myself and all of the work and love I put into these rooms.
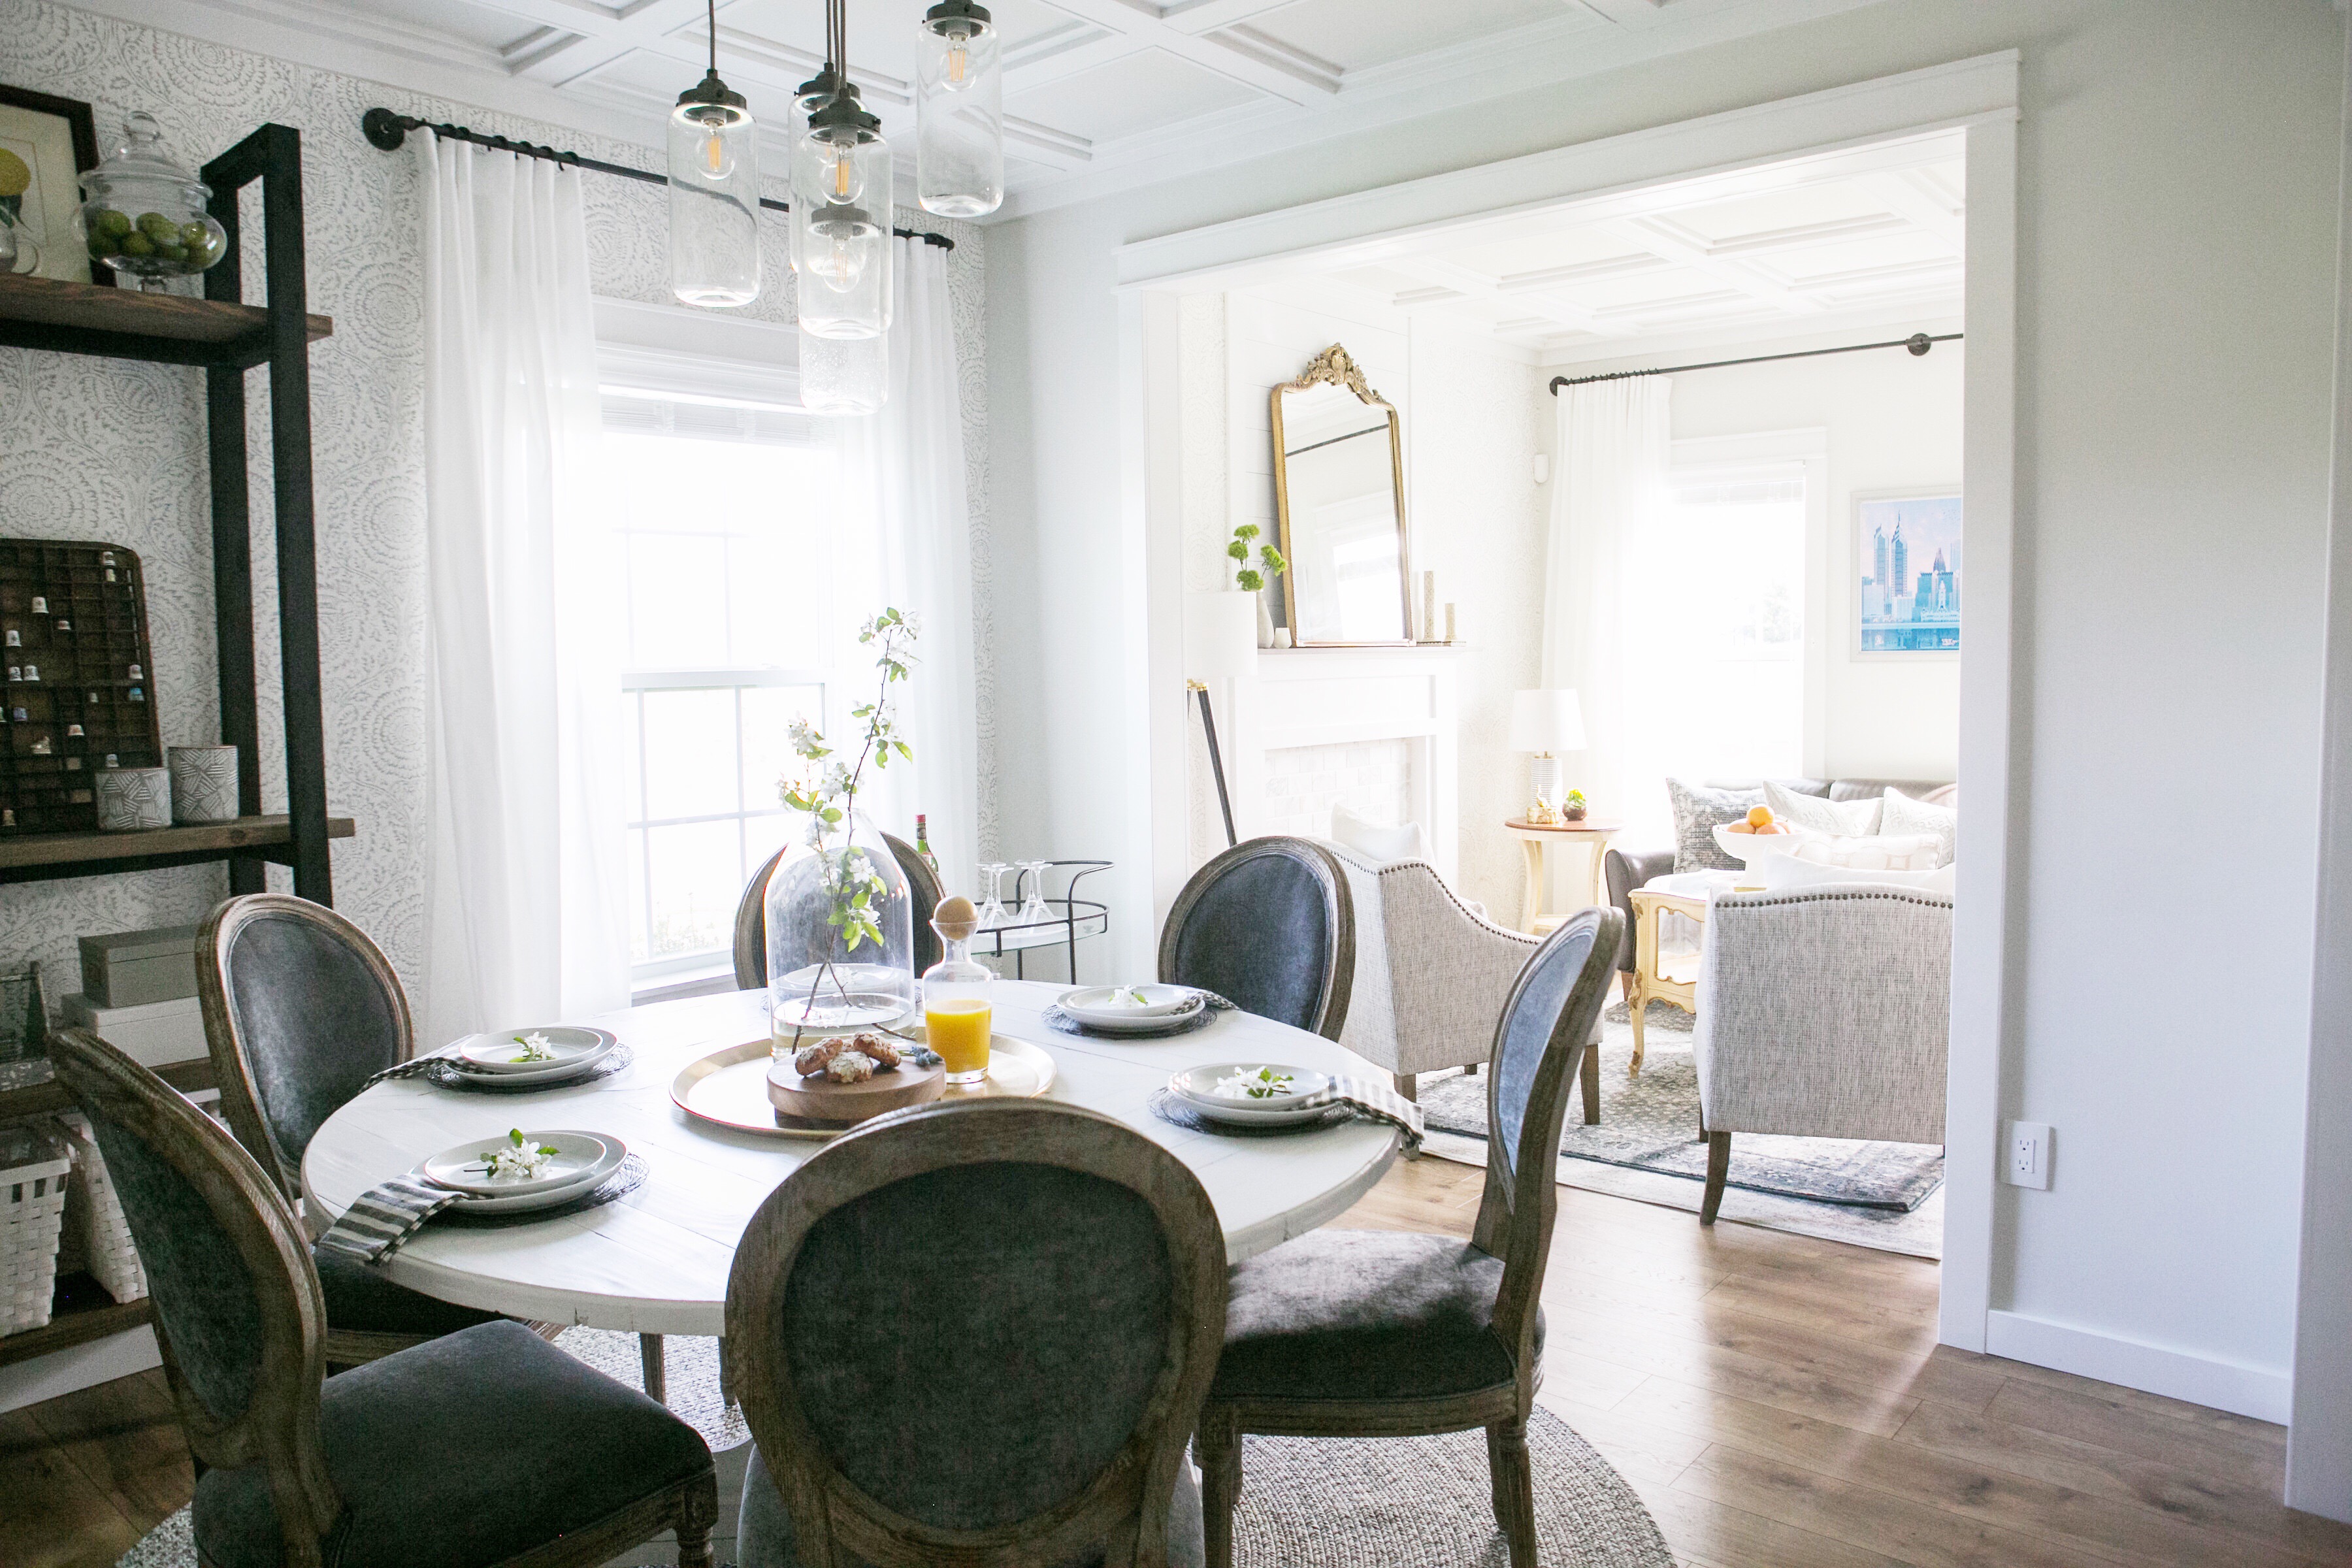

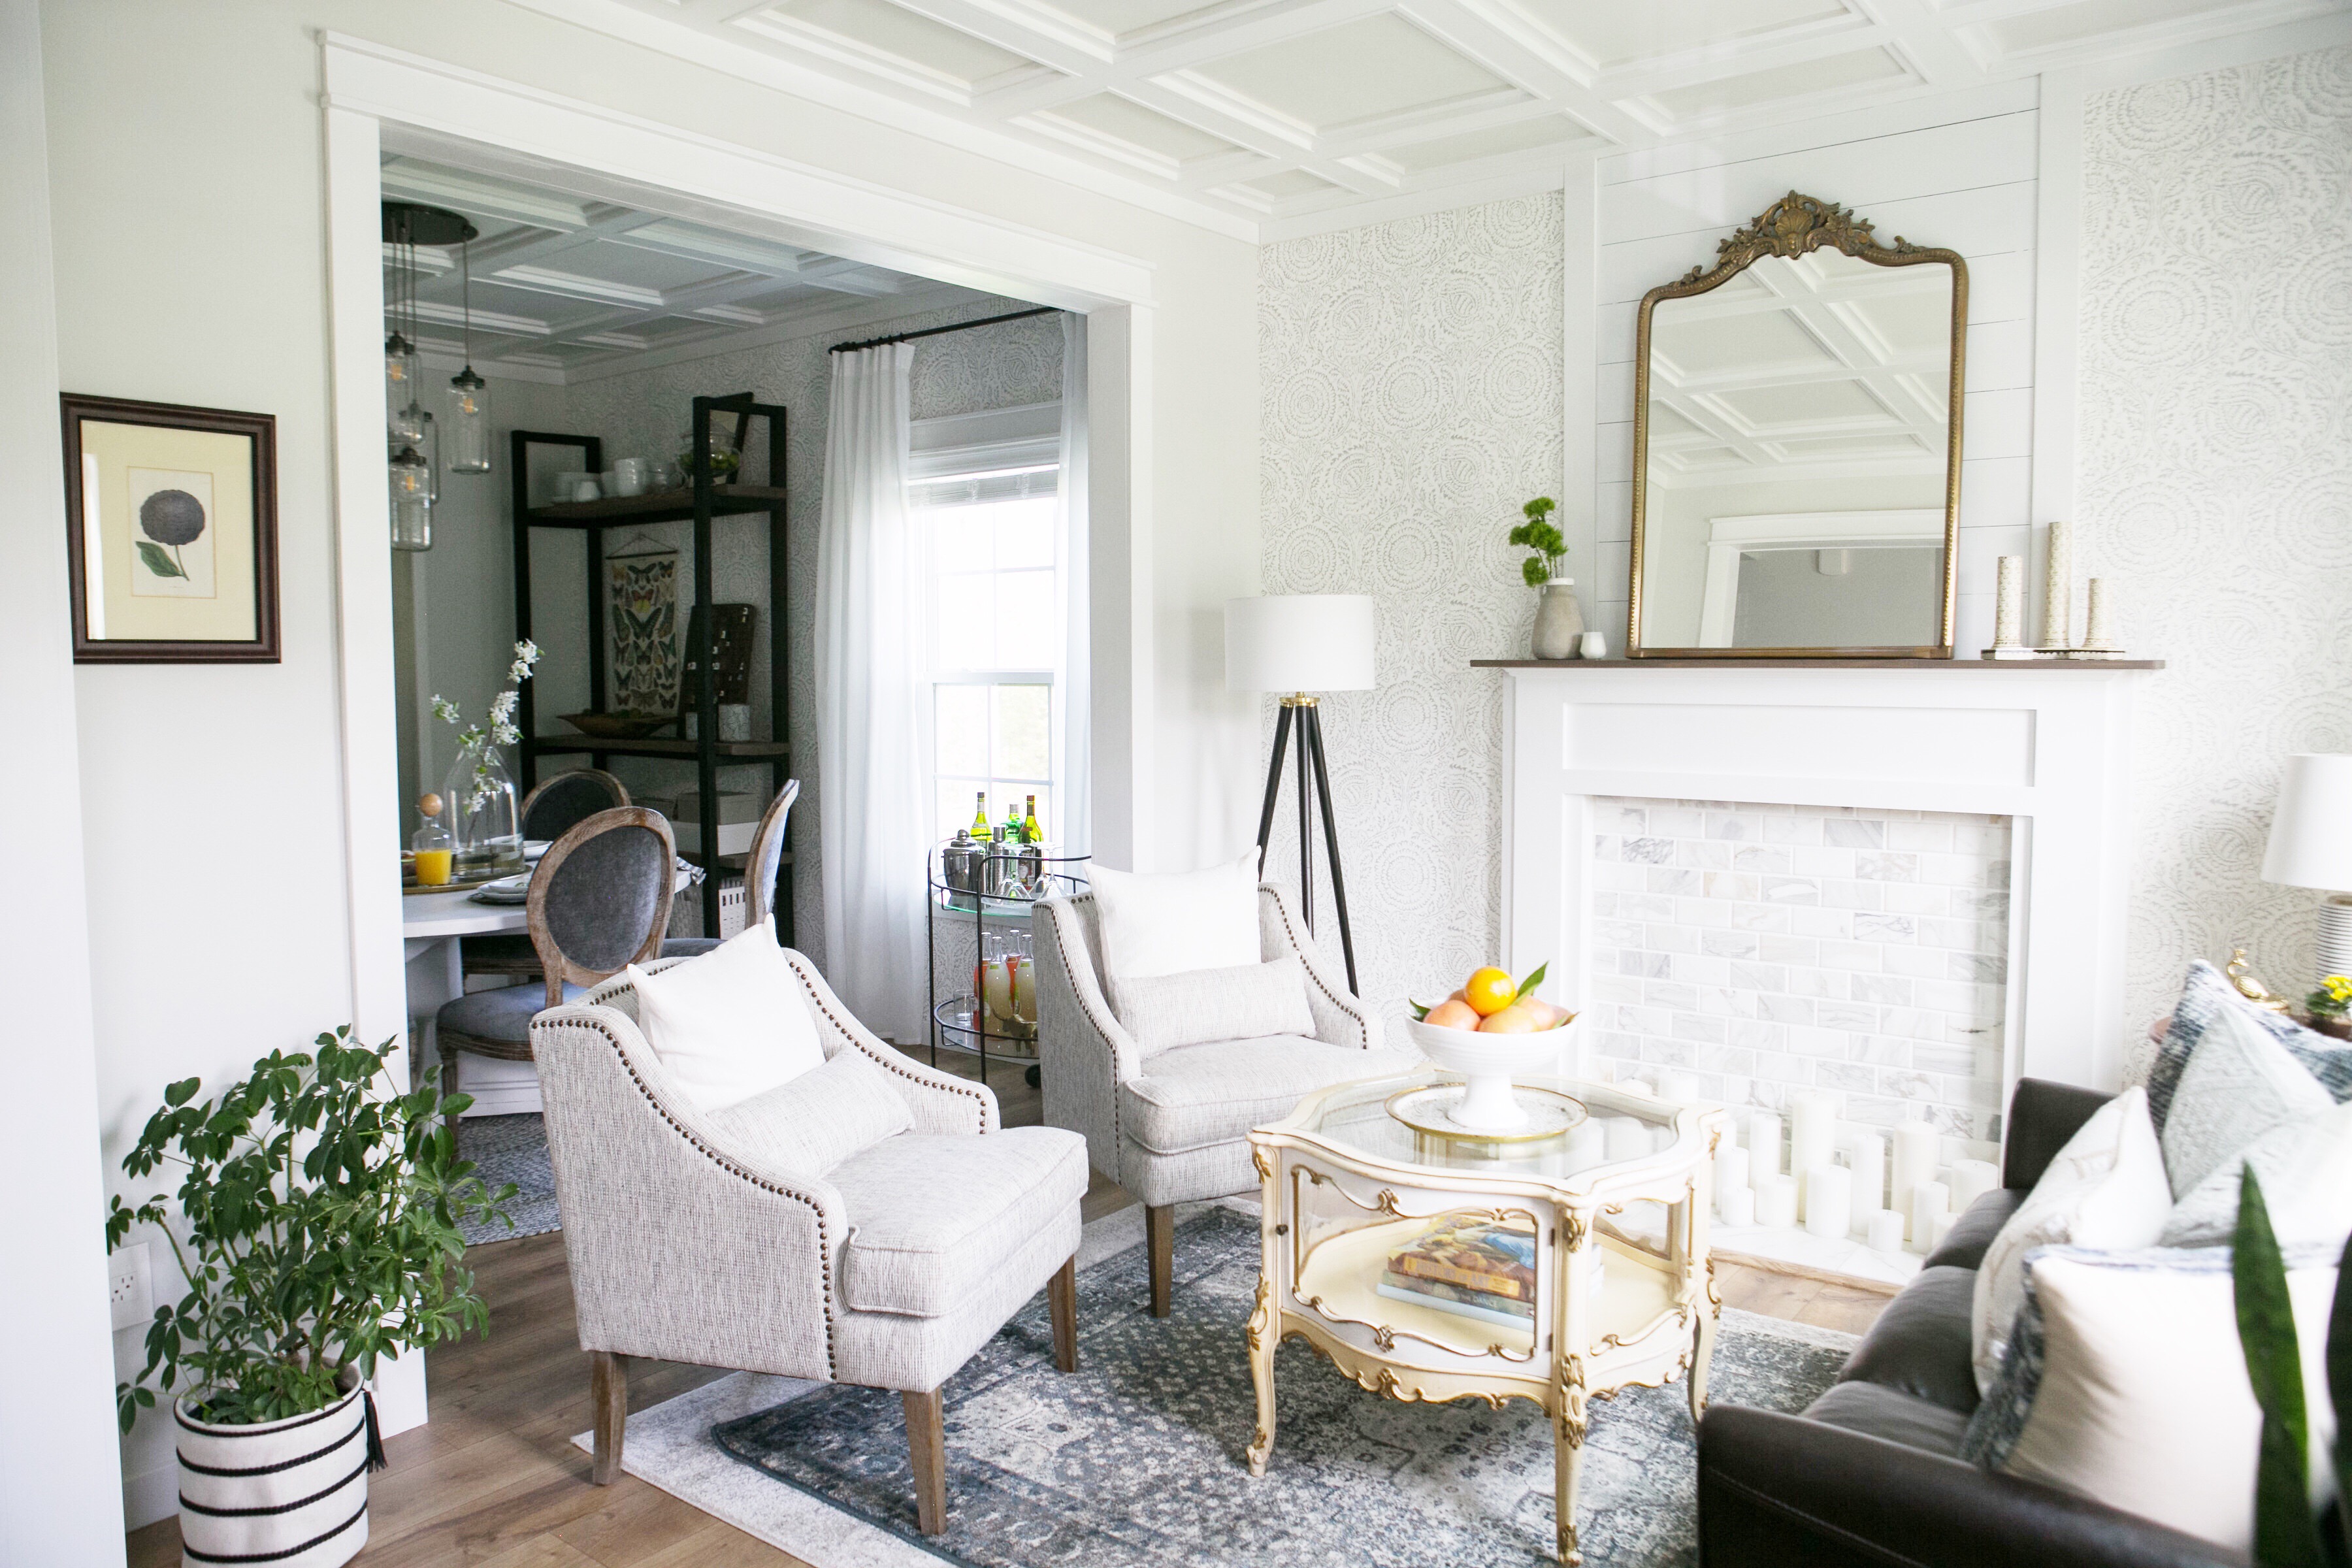
The largest element in the room is of course the new coffered ceiling. I love to be able to tell people that a project is a lot simpler than it looks – but that’s not the case with this one. It took a lot of time, a lot of planning, and a lot of physical labor (not to mention two bloody fingers from so much caulking!) Could I have designed these rooms without this element – definitely – but they wouldn’t have been nearly as special. All of the hard work was so worth it and I don’t regret tackling this project for one second.

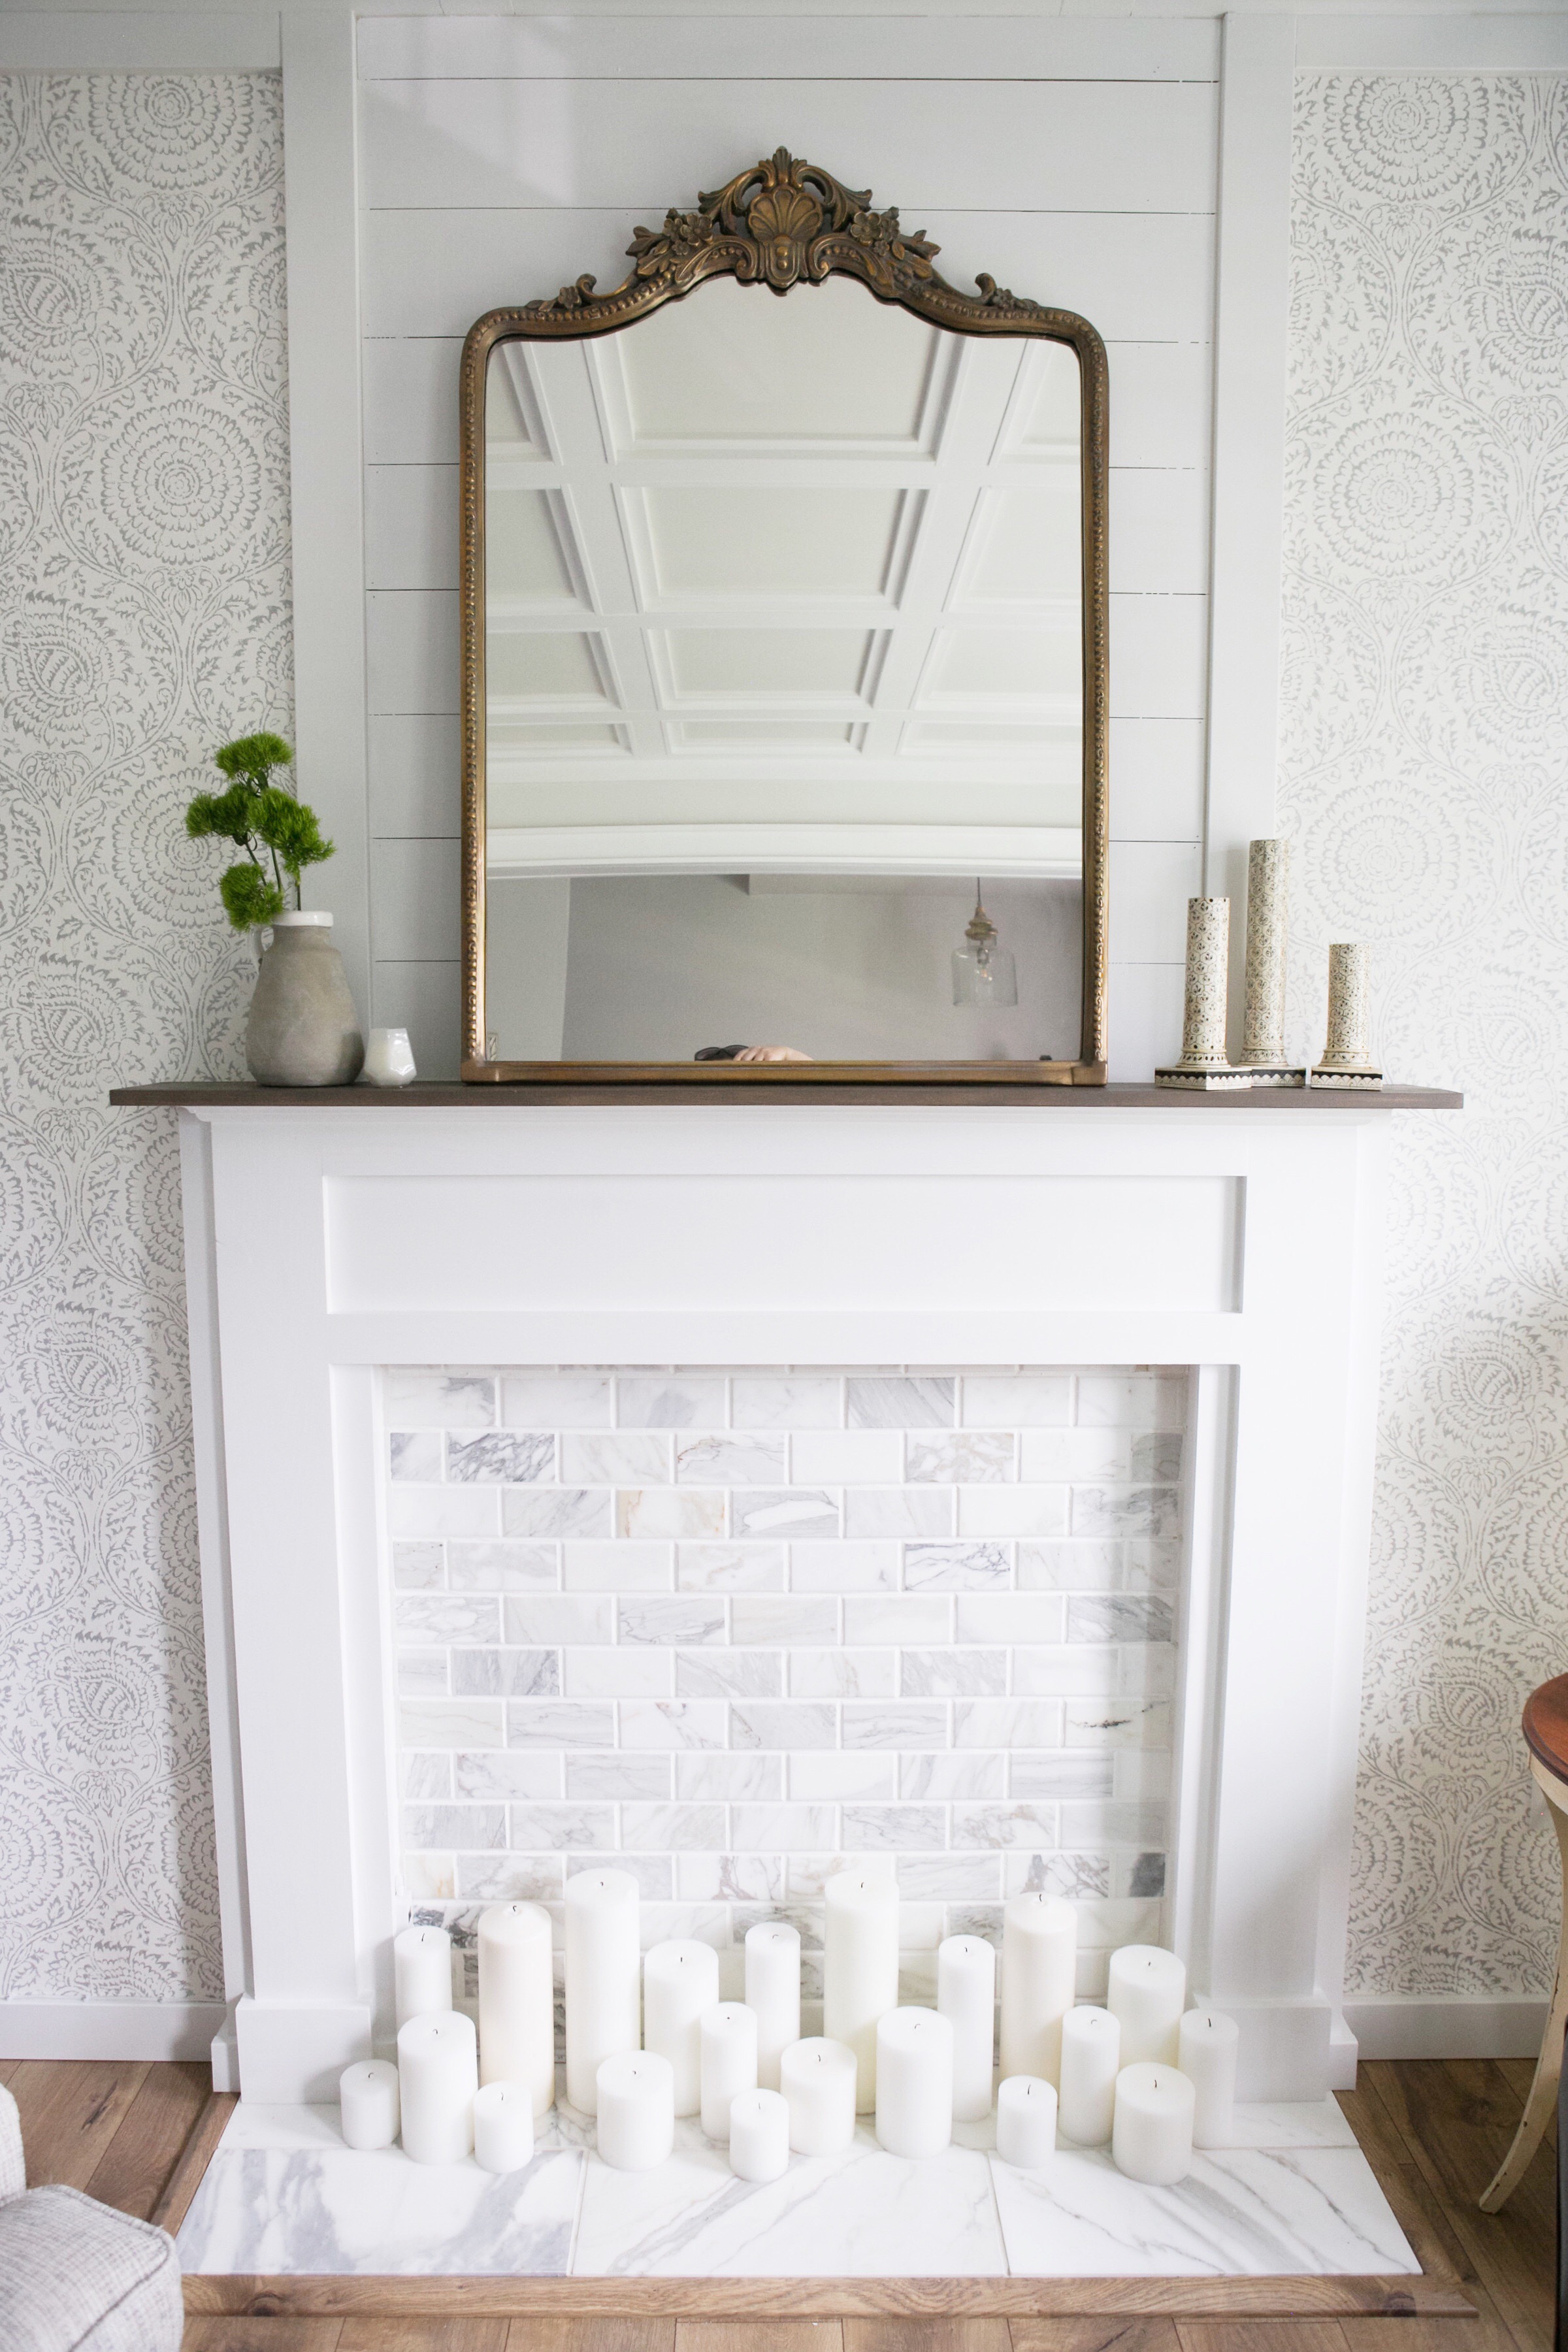
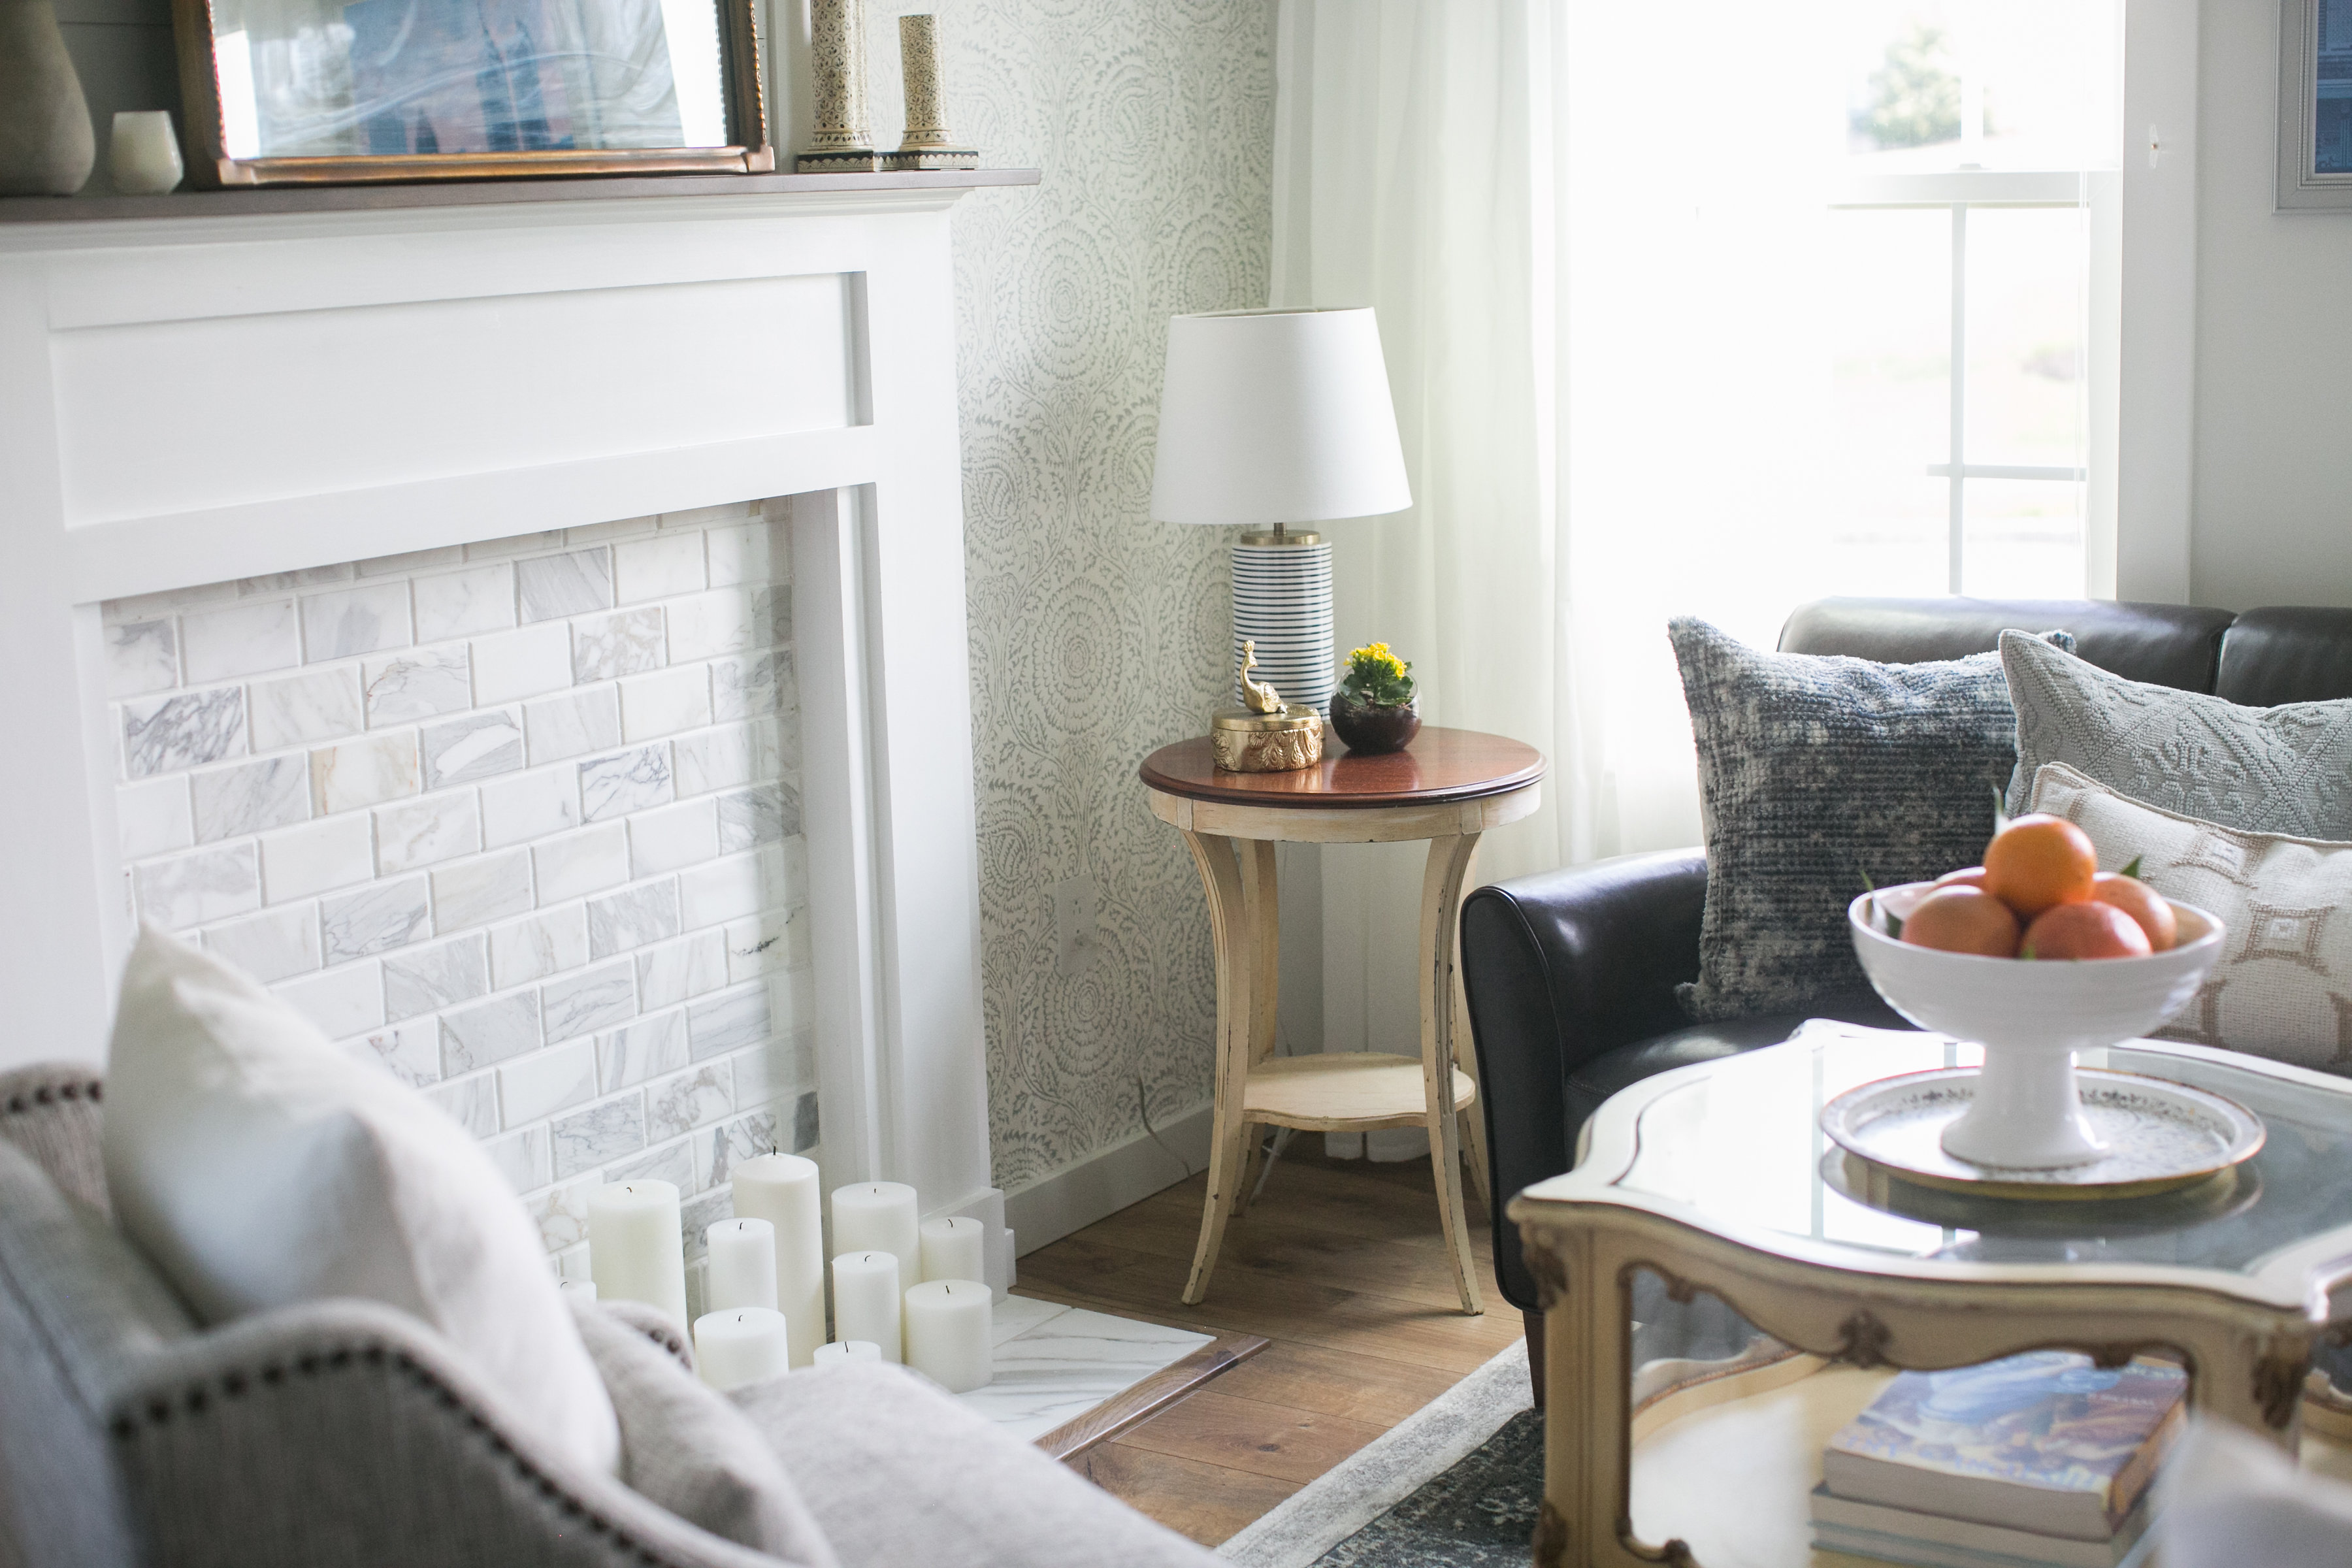
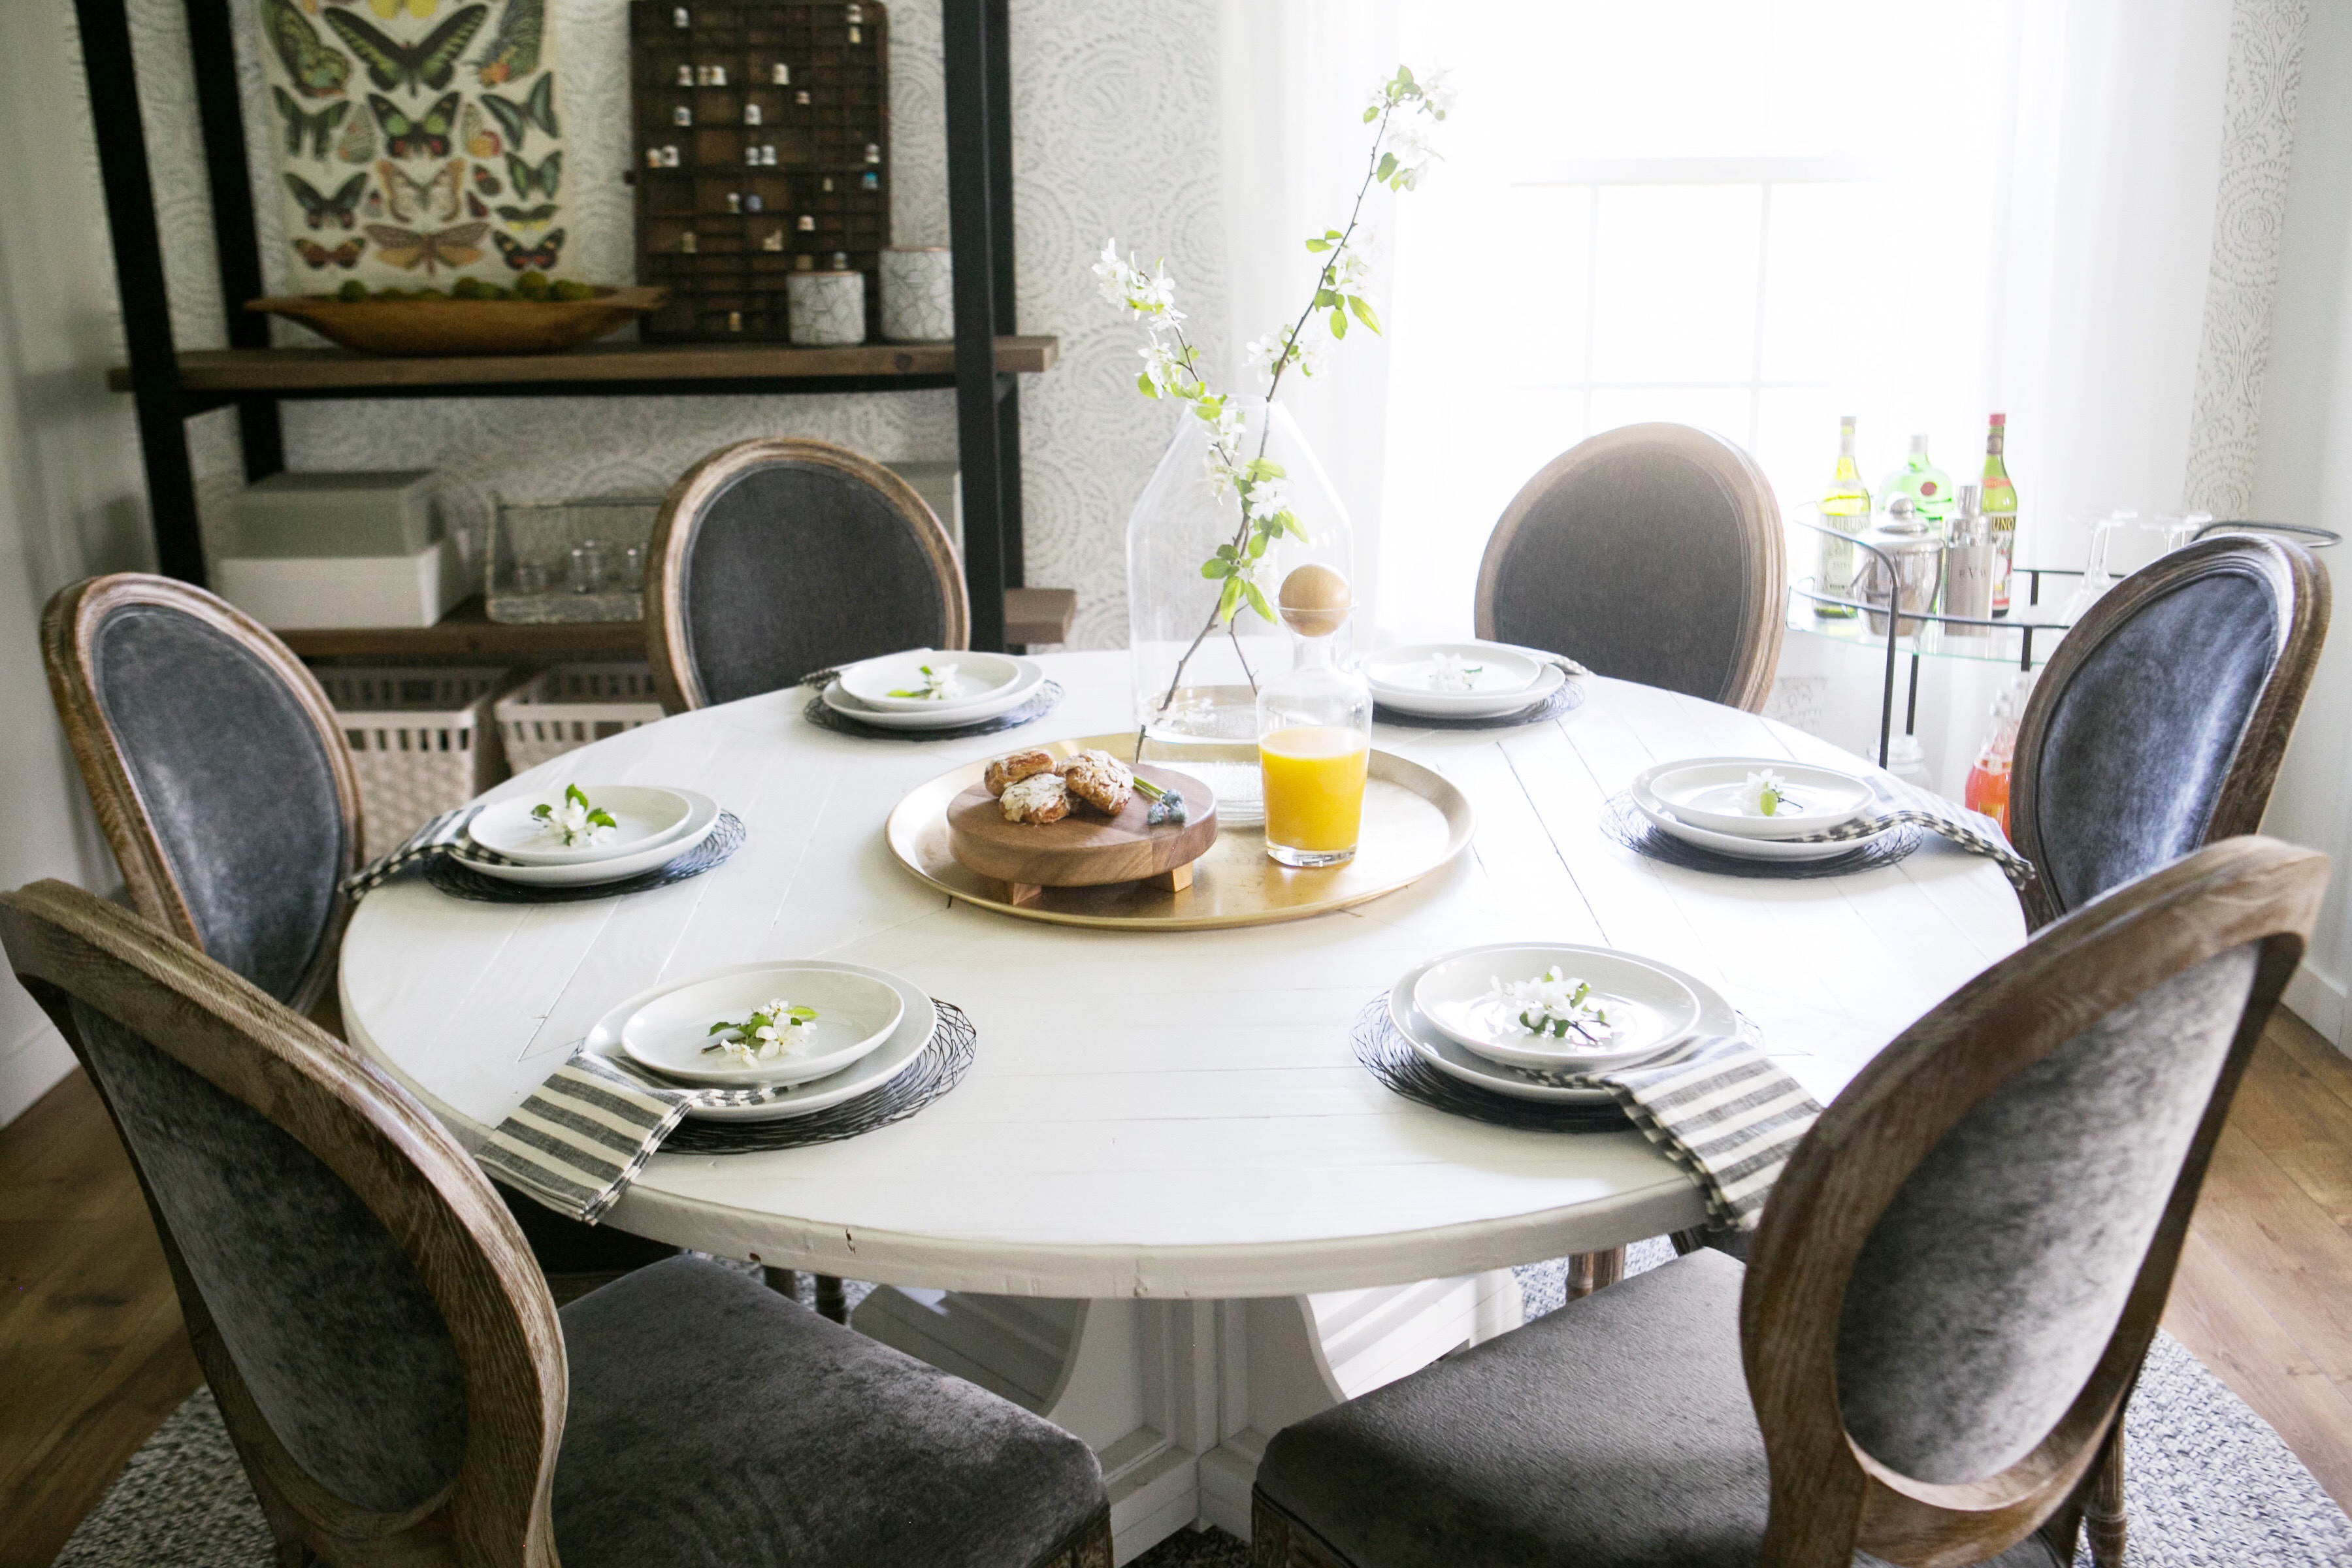
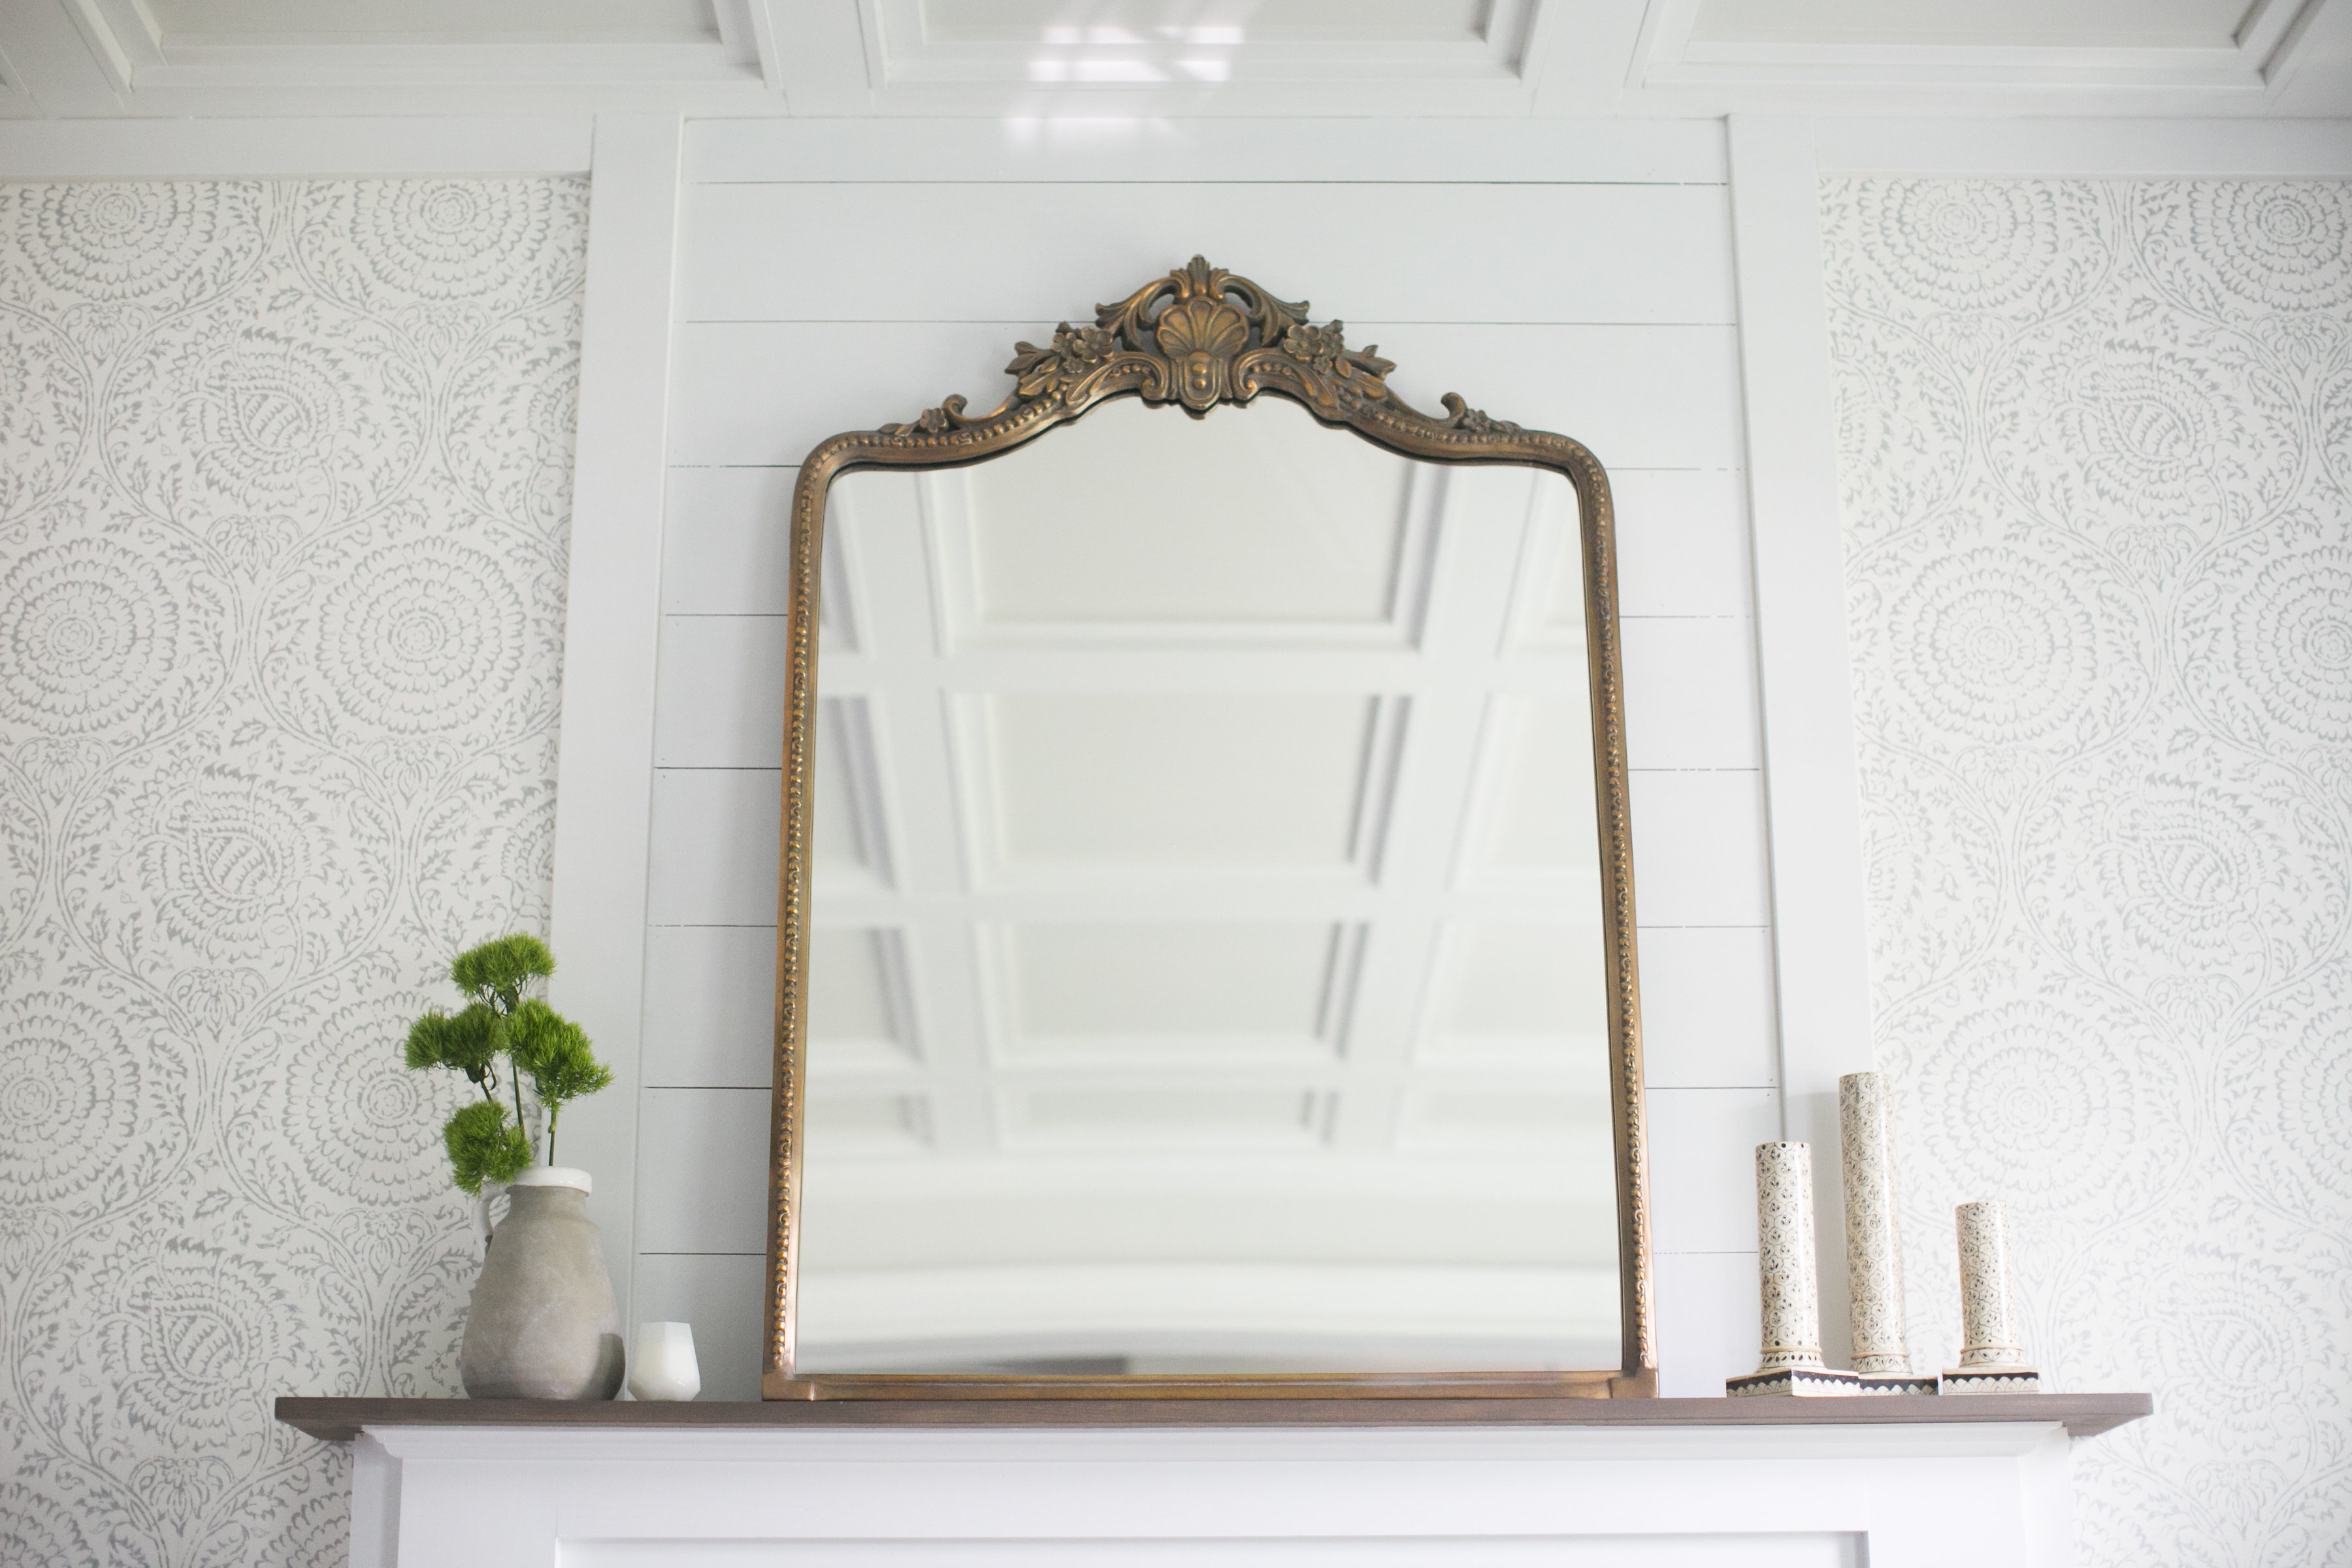
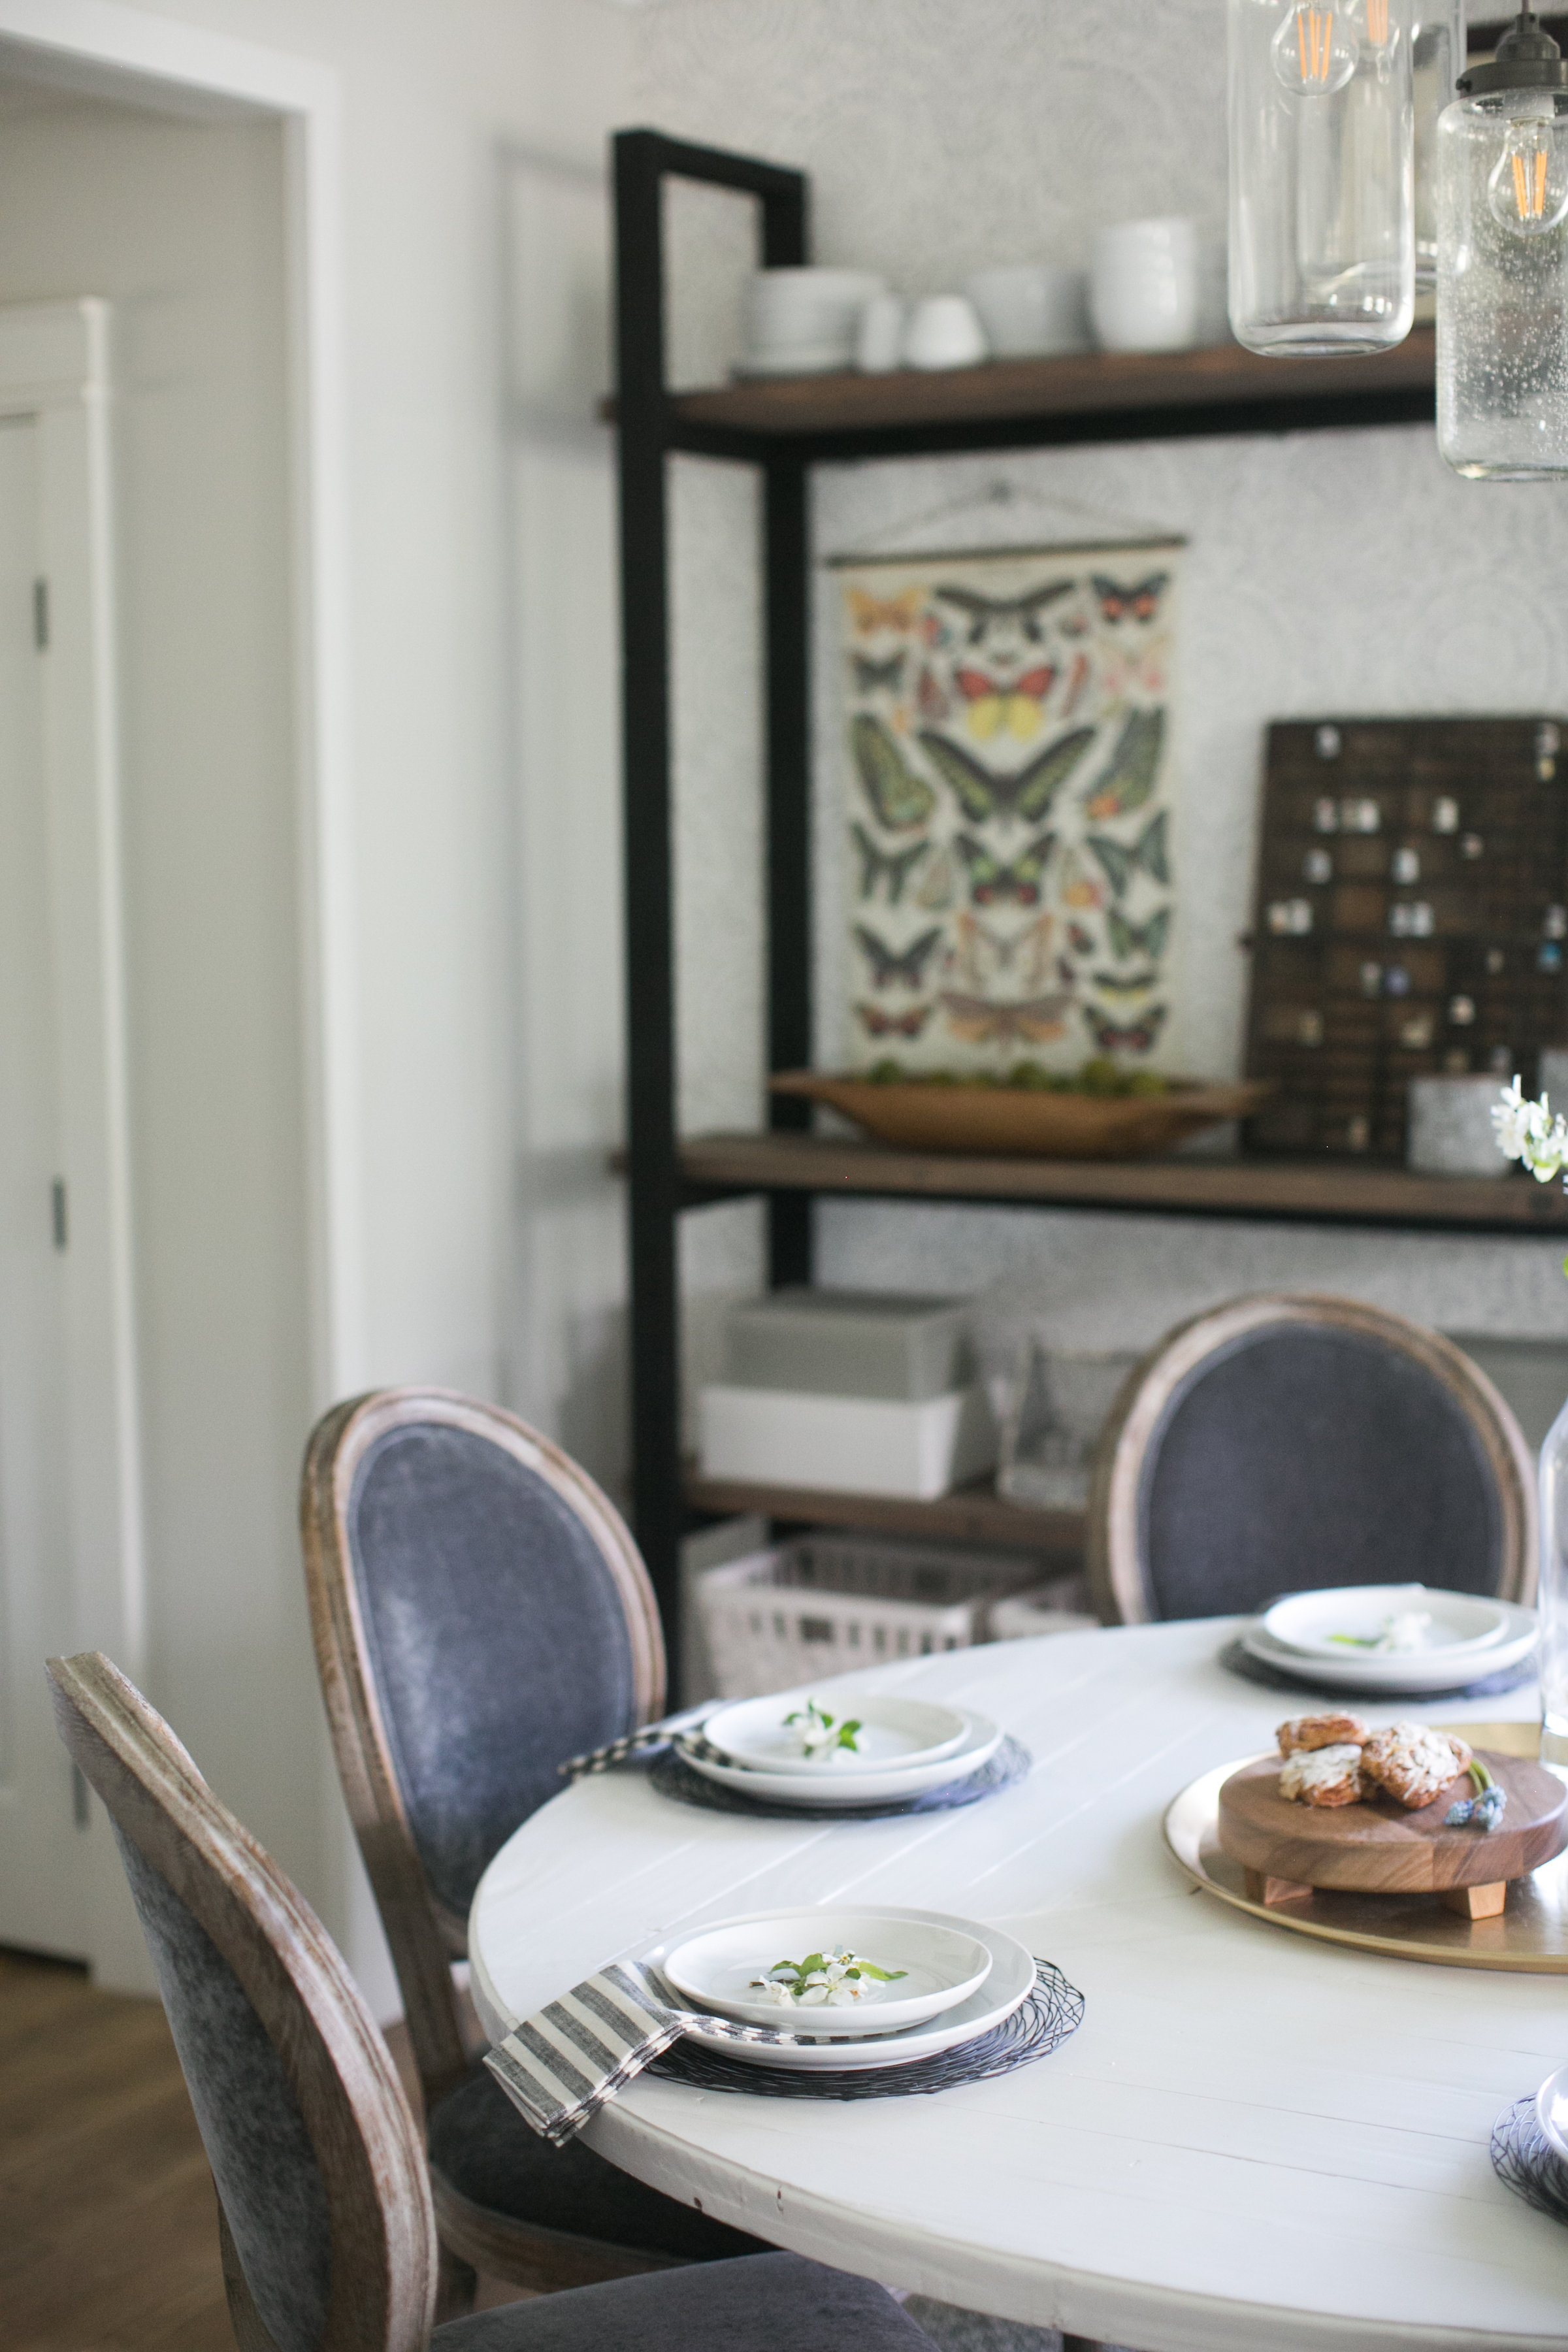
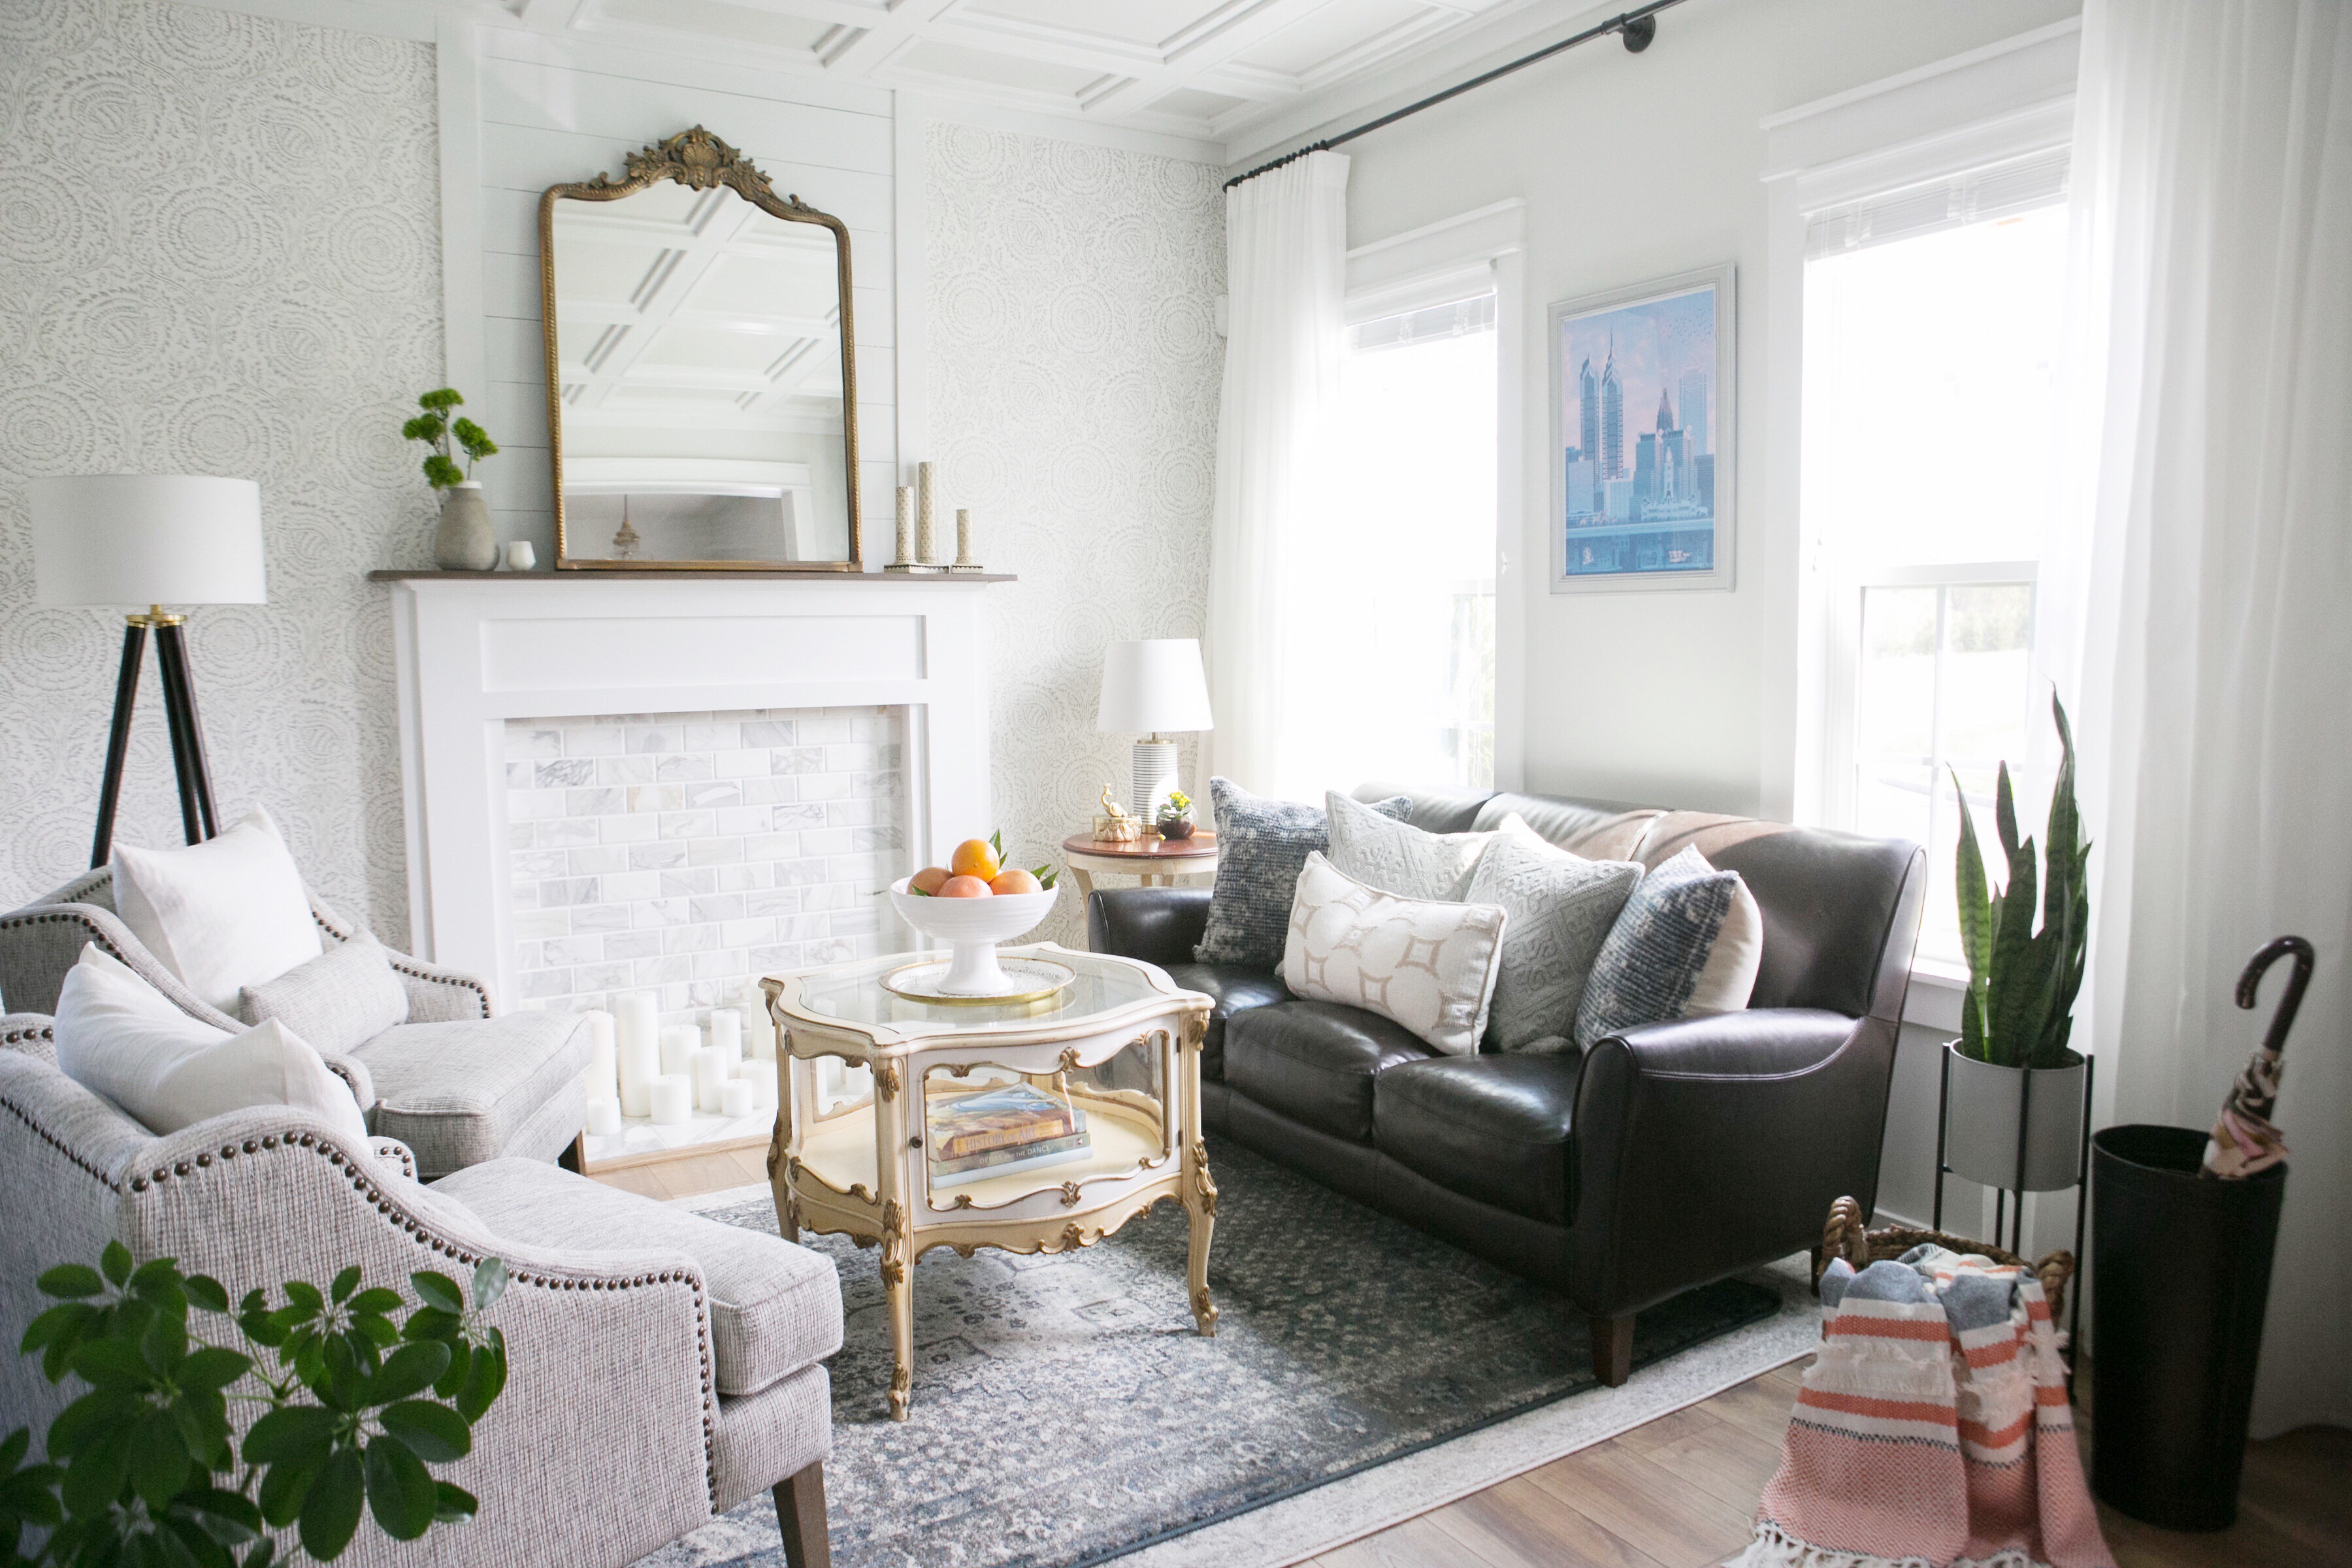
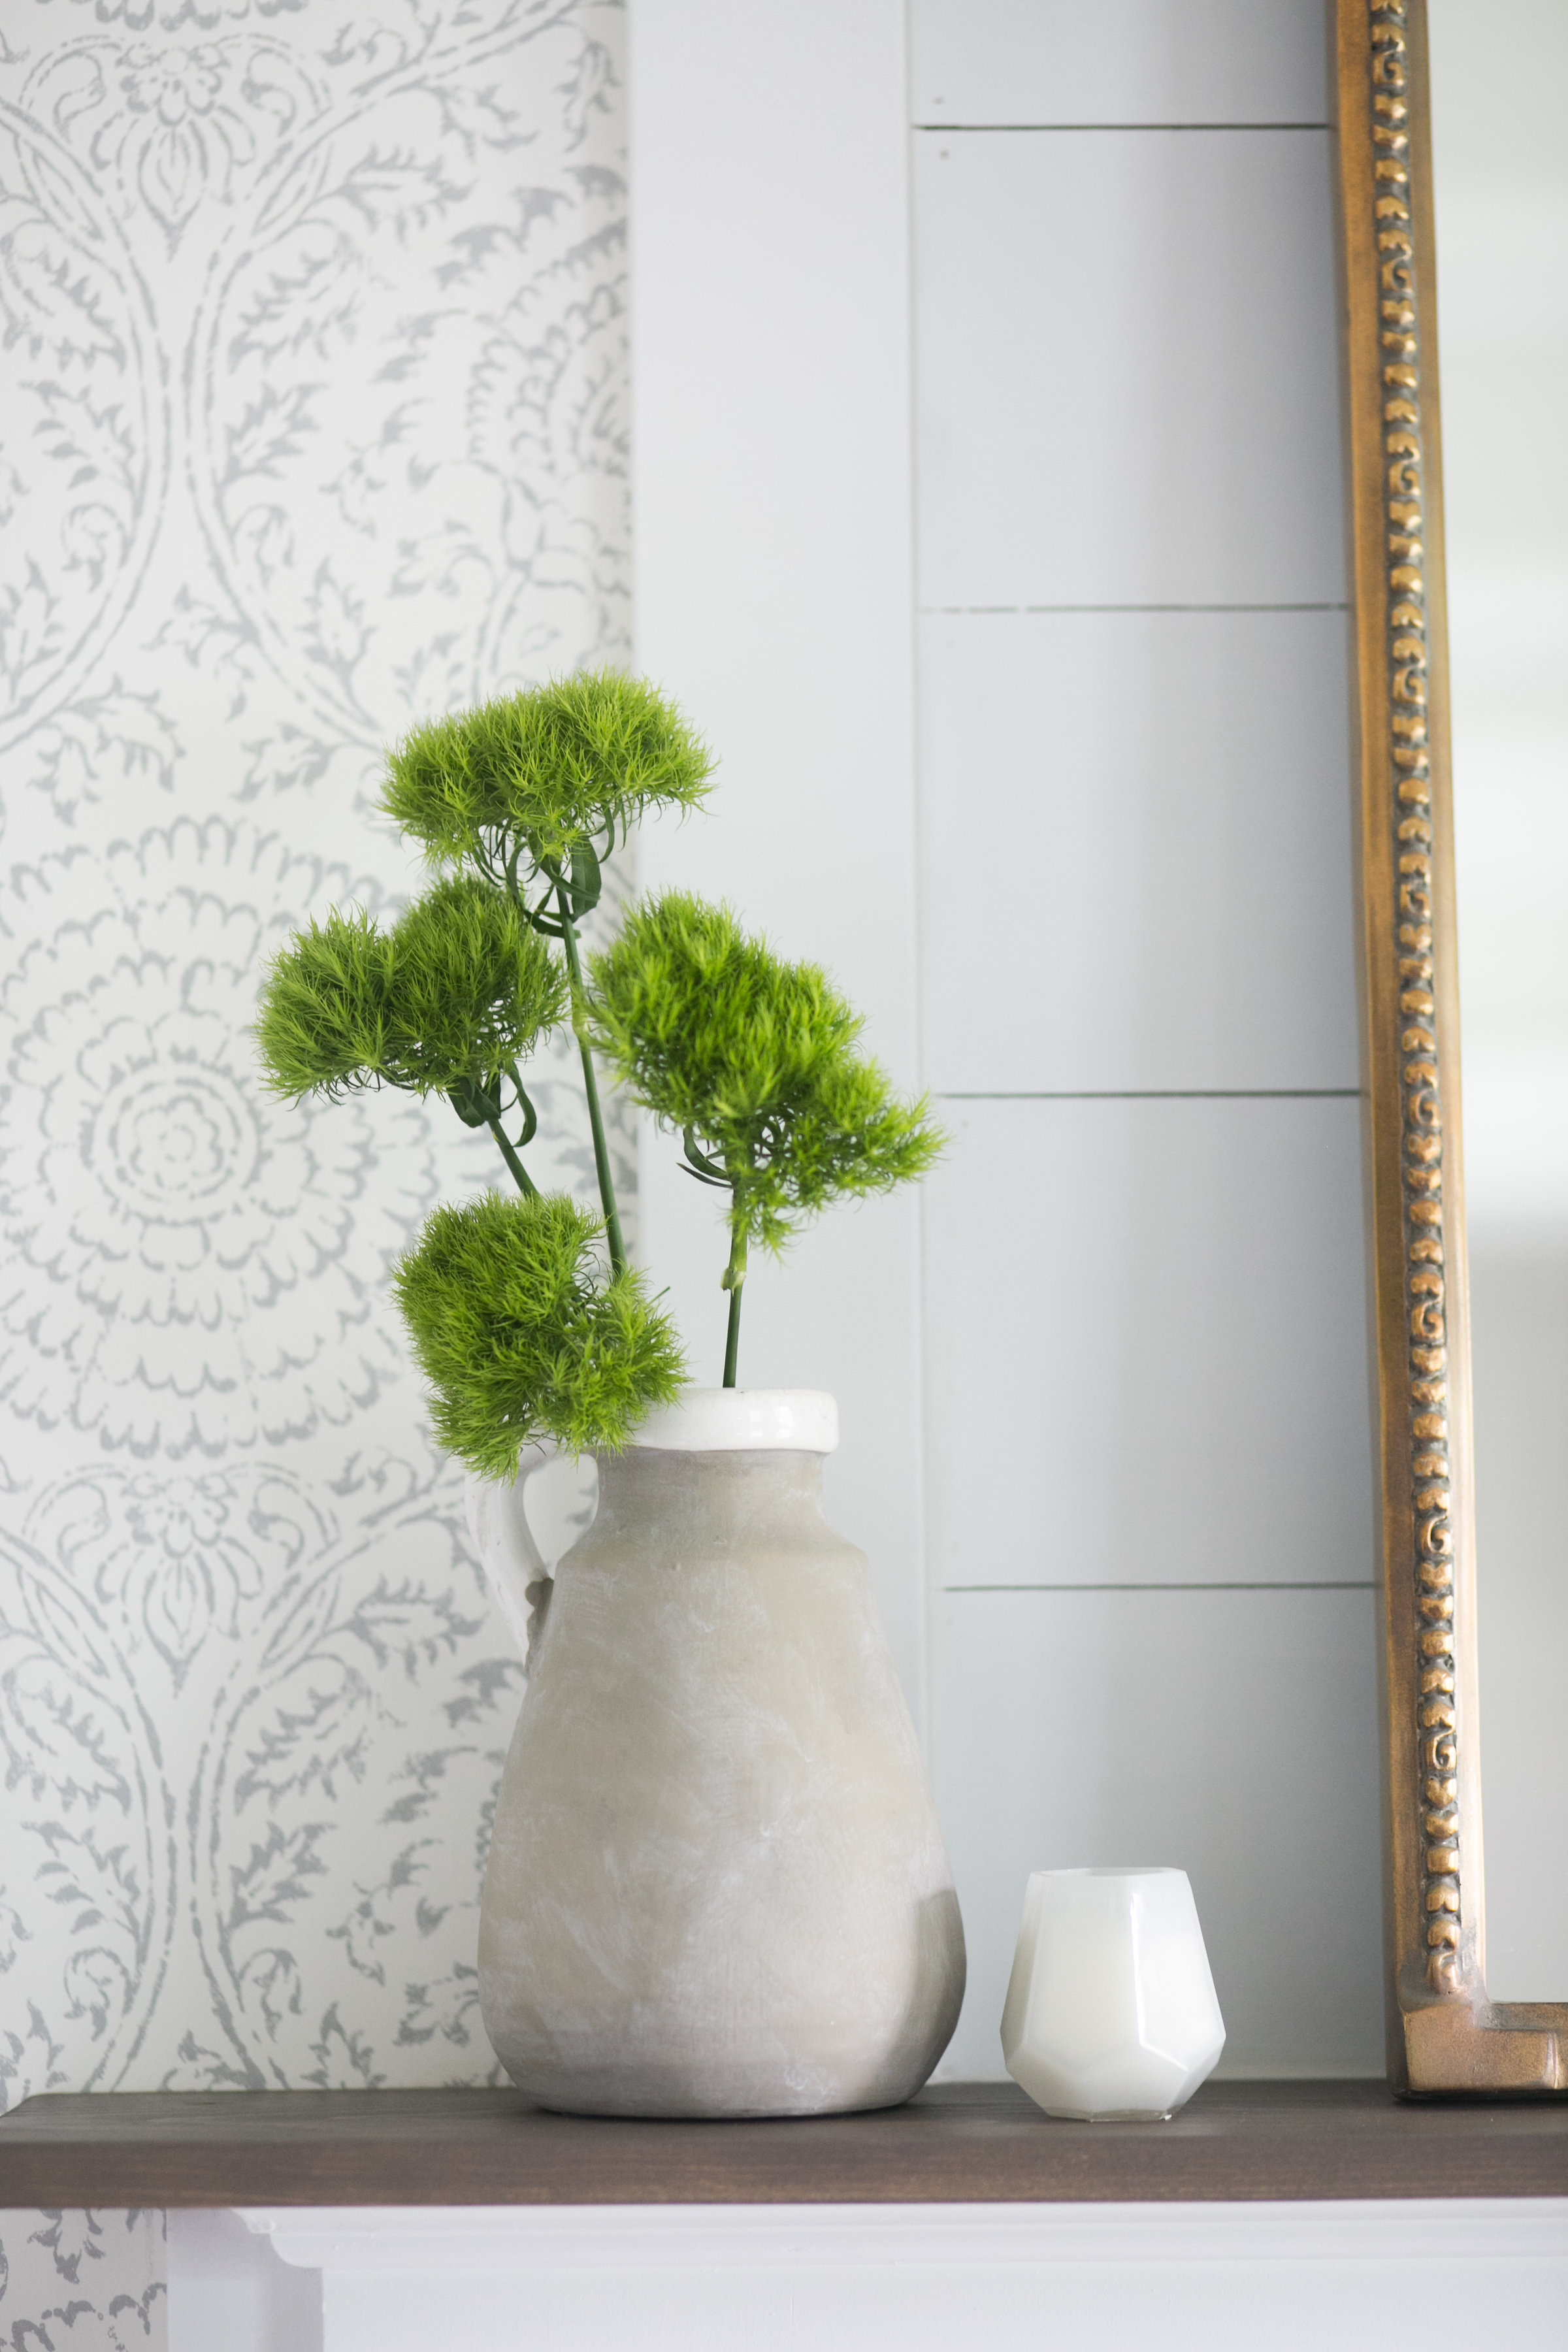
Both of the rooms are pretty small on their own, but the one thing they have going for them is the 9 foot ceilings that we have on our whole first floor, so in addition to the ceiling I made sure to add height anywhere I could. In the dining room I built the custom shelves at a towering 8 ft, and in the front room I extended the fireplace up to the ceiling w/shiplap and a gorgeous mirror from Ballard Designs. Additionally, in both rooms I hung the curtain rods as high as I could and added light, inexpensive white curtains from IKEA, doubling them up in the front room to make them look more substantial.


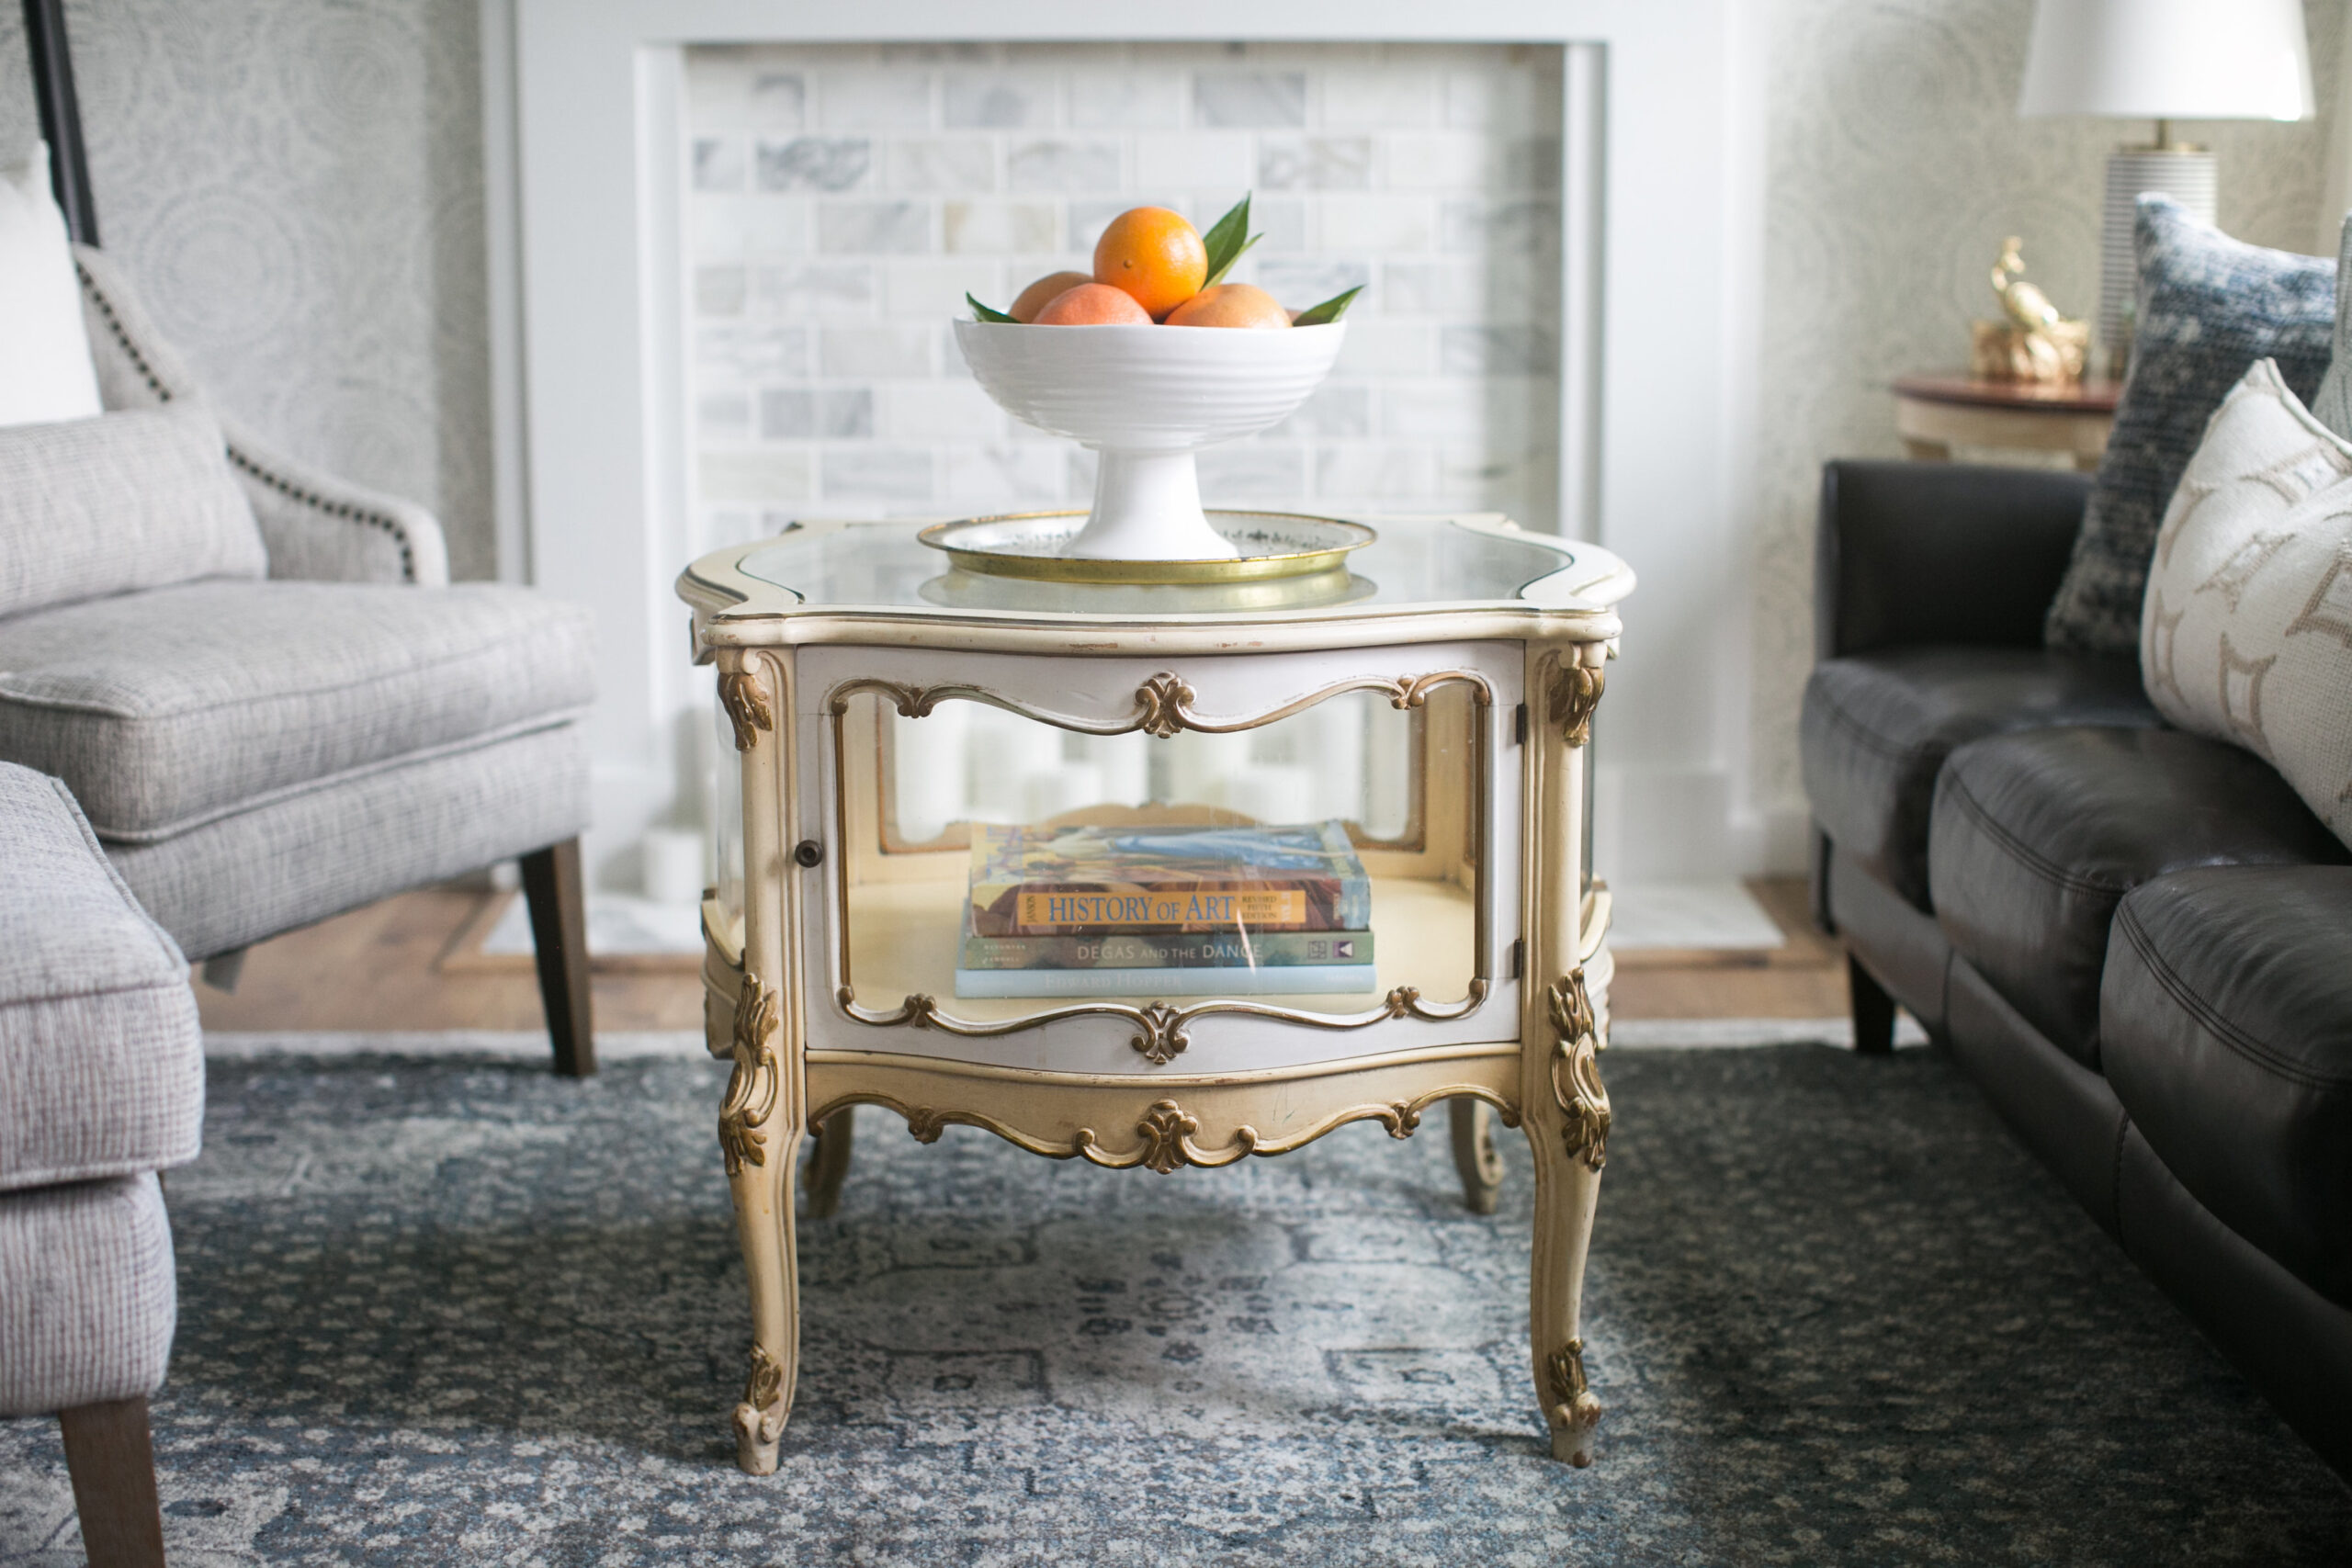
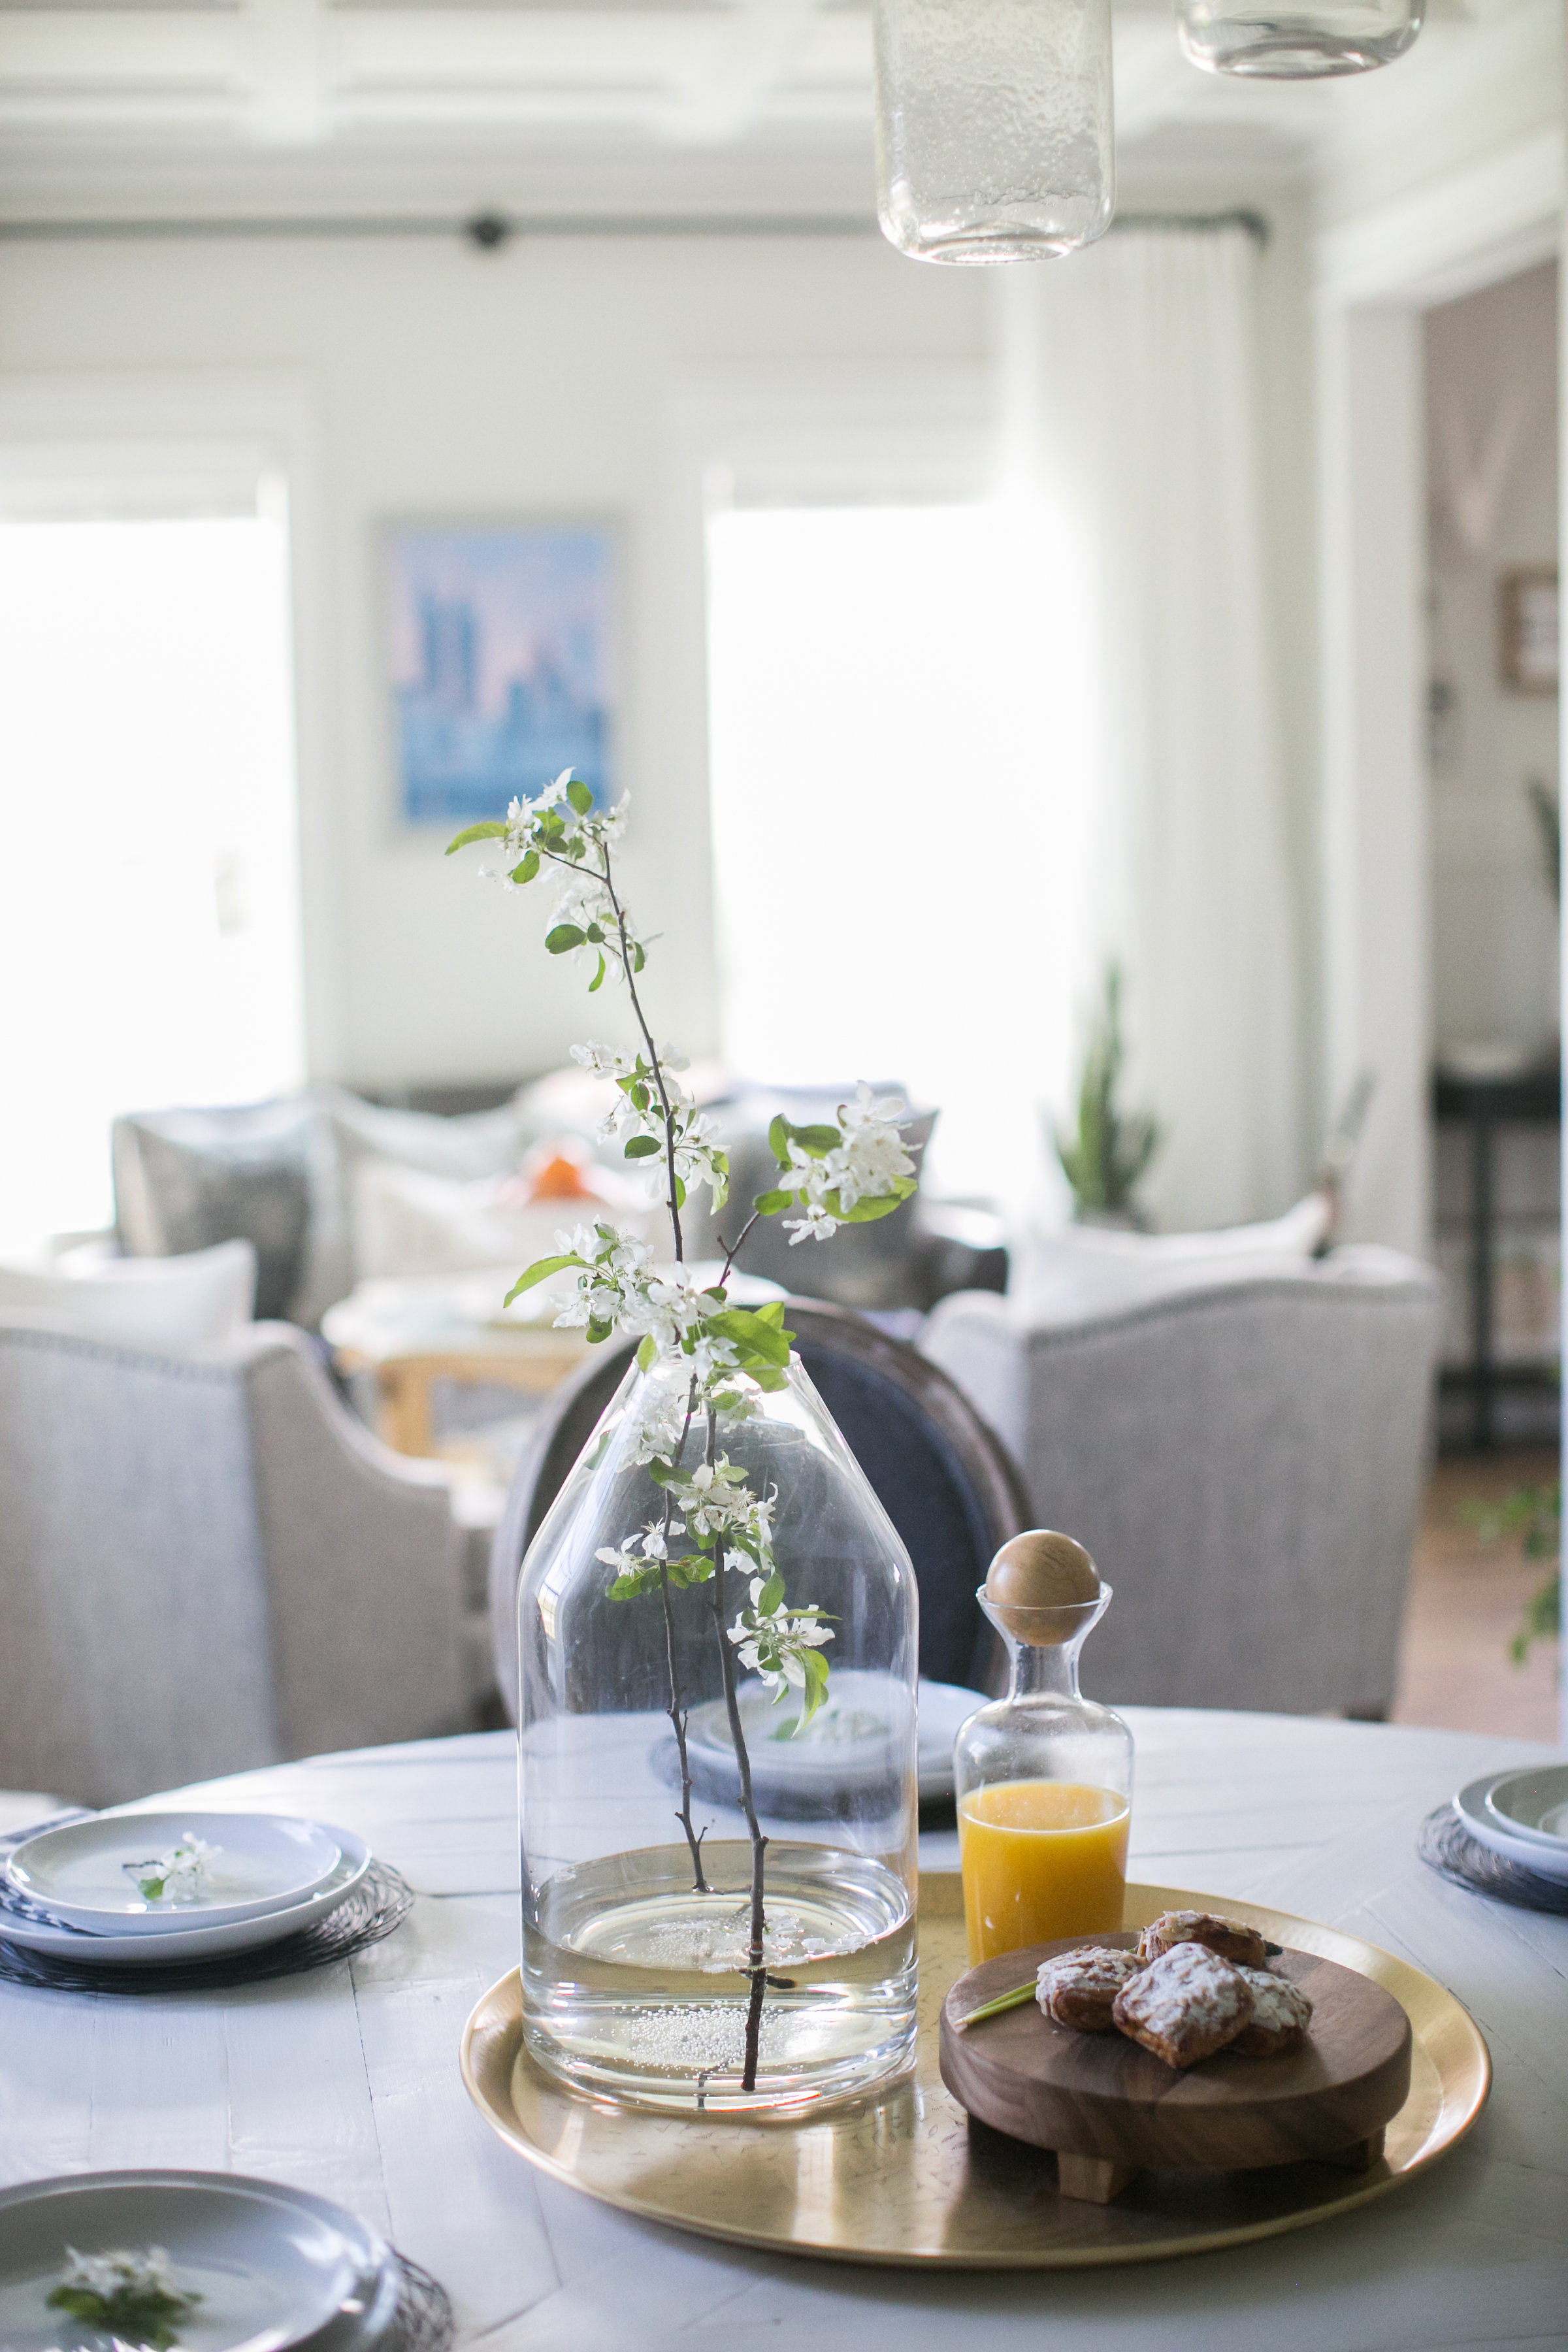
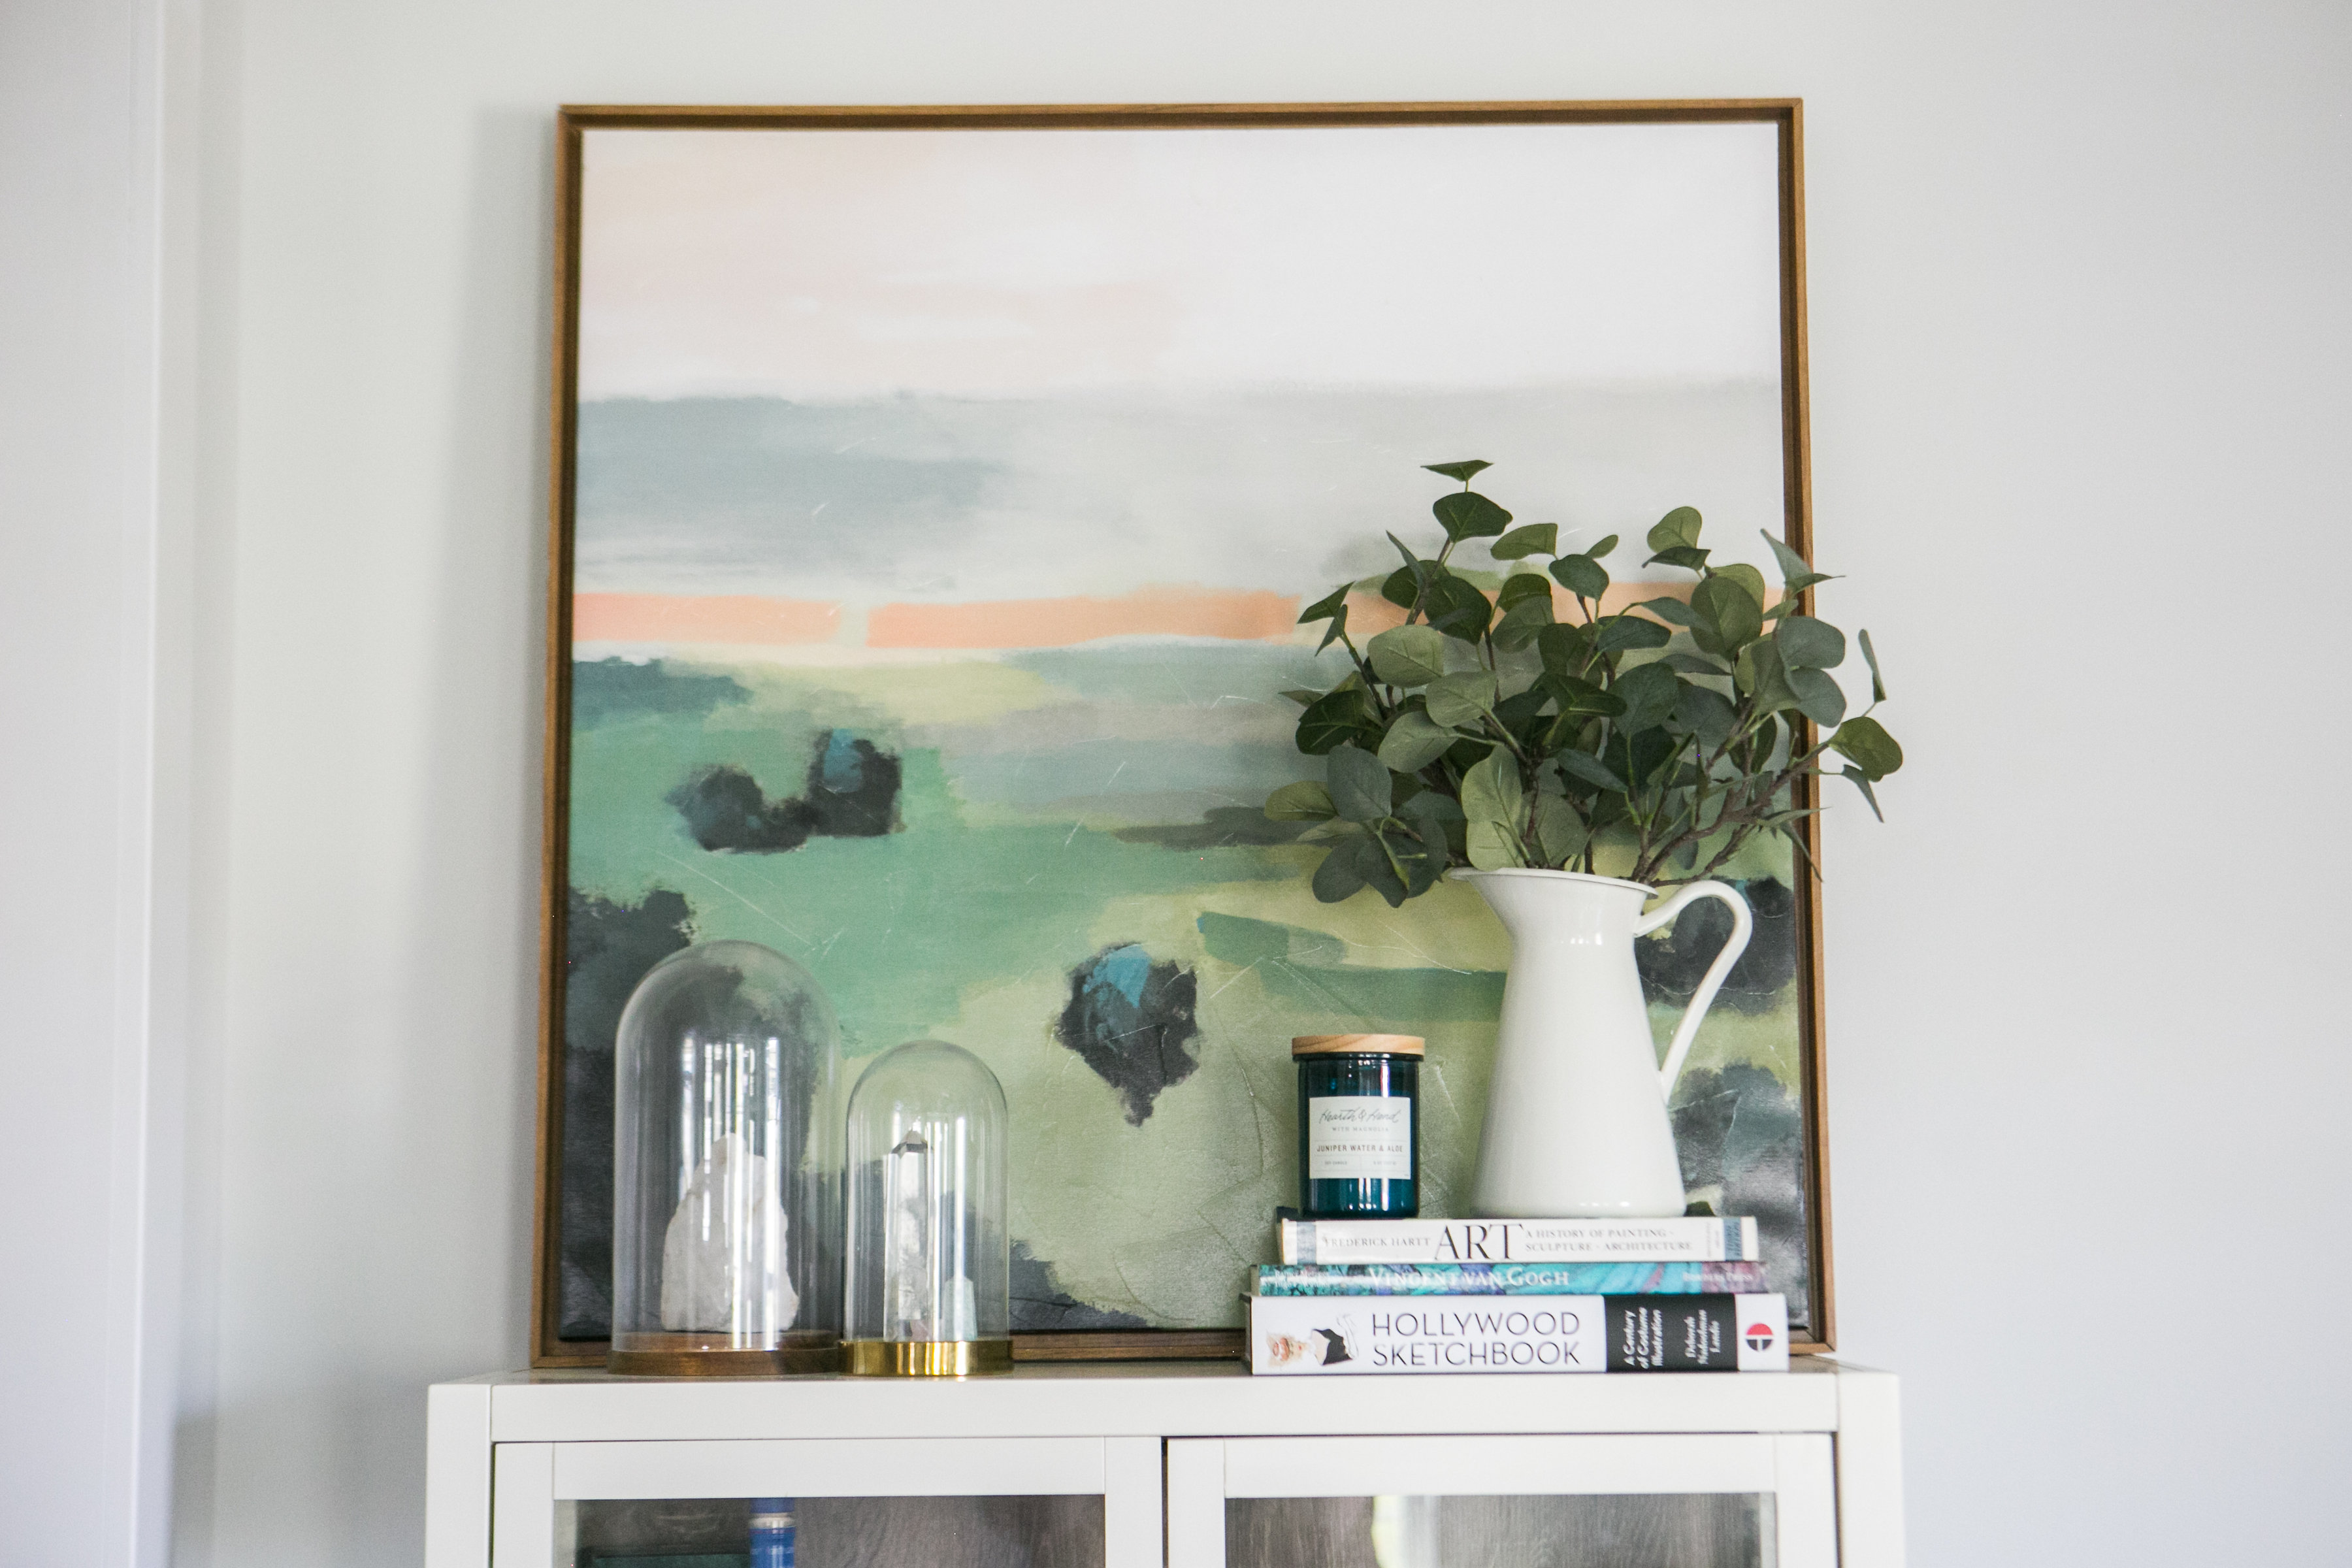
My jumping off point for the design was actually my beautiful little antique coffee table that was given to me by family friend while I was still in high school. When I paired this very feminine, light piece with our heavy dark brown leather loveseat, I knew that the key to making these spaces work was to pay close attention to balance. It took many iterations of my plan to strike just the right note, but all of that planning paid off and the spaces are as fresh and bright as I had imagined with unique touches sprinkled throughout to keep things fun as always – like my favorite Philly Skyline/Twelve Monkey’s print from my amazingly talented friend Tim at Timothy Anderson Design.


I also have to thank my incredibly talented friend Lauri from Lauri Tripaldi Photography for these beautiful images. All of this would be for nothing if I didn’t have her amazing talent to capture things in a way I never could.
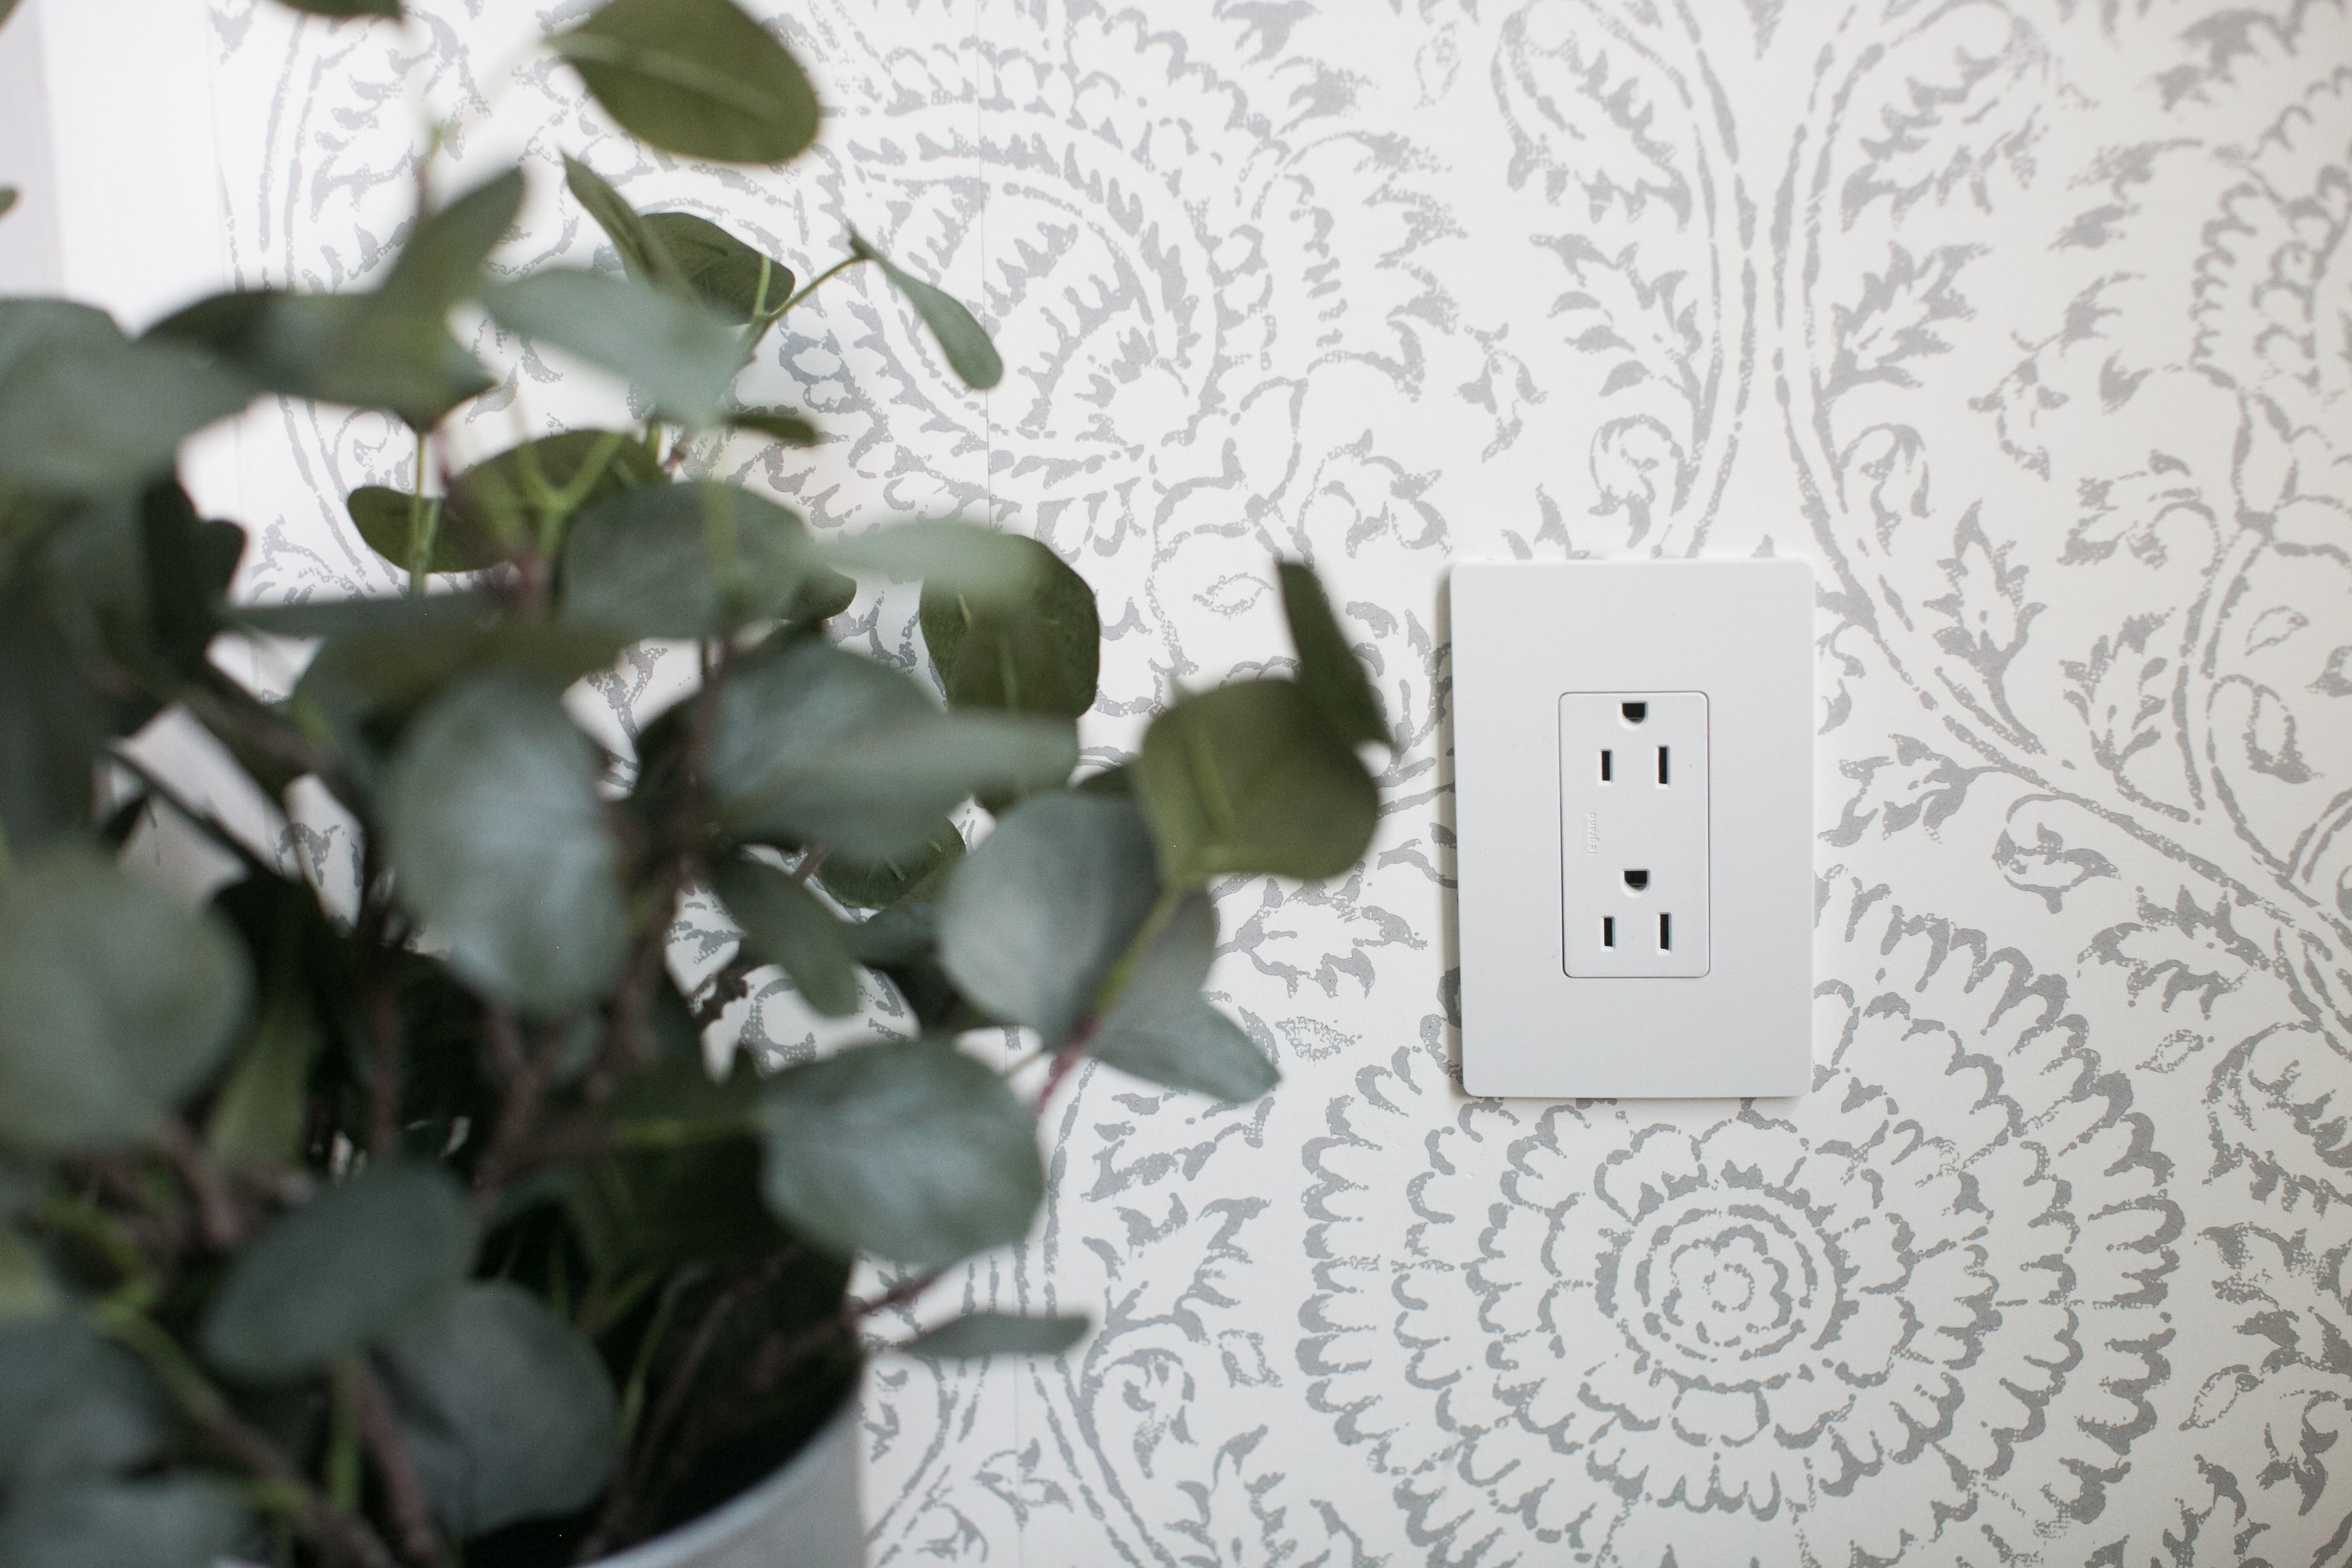
And of course, one last time I have to thank Legrand for providing me with products from their new radiant® Collection of electrical outlets and light switches. You can cread all about my experiences with the Legrand radiant® Collection, and why I was extremely happy to be able to work with a company that I already trusted enough to have in my home. I cannot think of a better final touch to add to my new spaces – and you can believe that I wouldn’t let anything other than the most beautiful outlets around near my new wallpaper!
Once again, thank you all for spending the last 6 weeks with me and I hope you have enjoyed this journey as much as I did!

If you are interested in the products used in these spaces I am including links to those that are available below. (Disclosure: Some of the links below are affiliate links, meaning, at no additional cost to you, I will earn a commission if you click through and make a purchase)
Wallpaper | Floor | Fireplace Tile | Paint color is Frosty White by Sherwin Williams
The dining table, shelving unit, and fireplace surround were all handmade by myself.

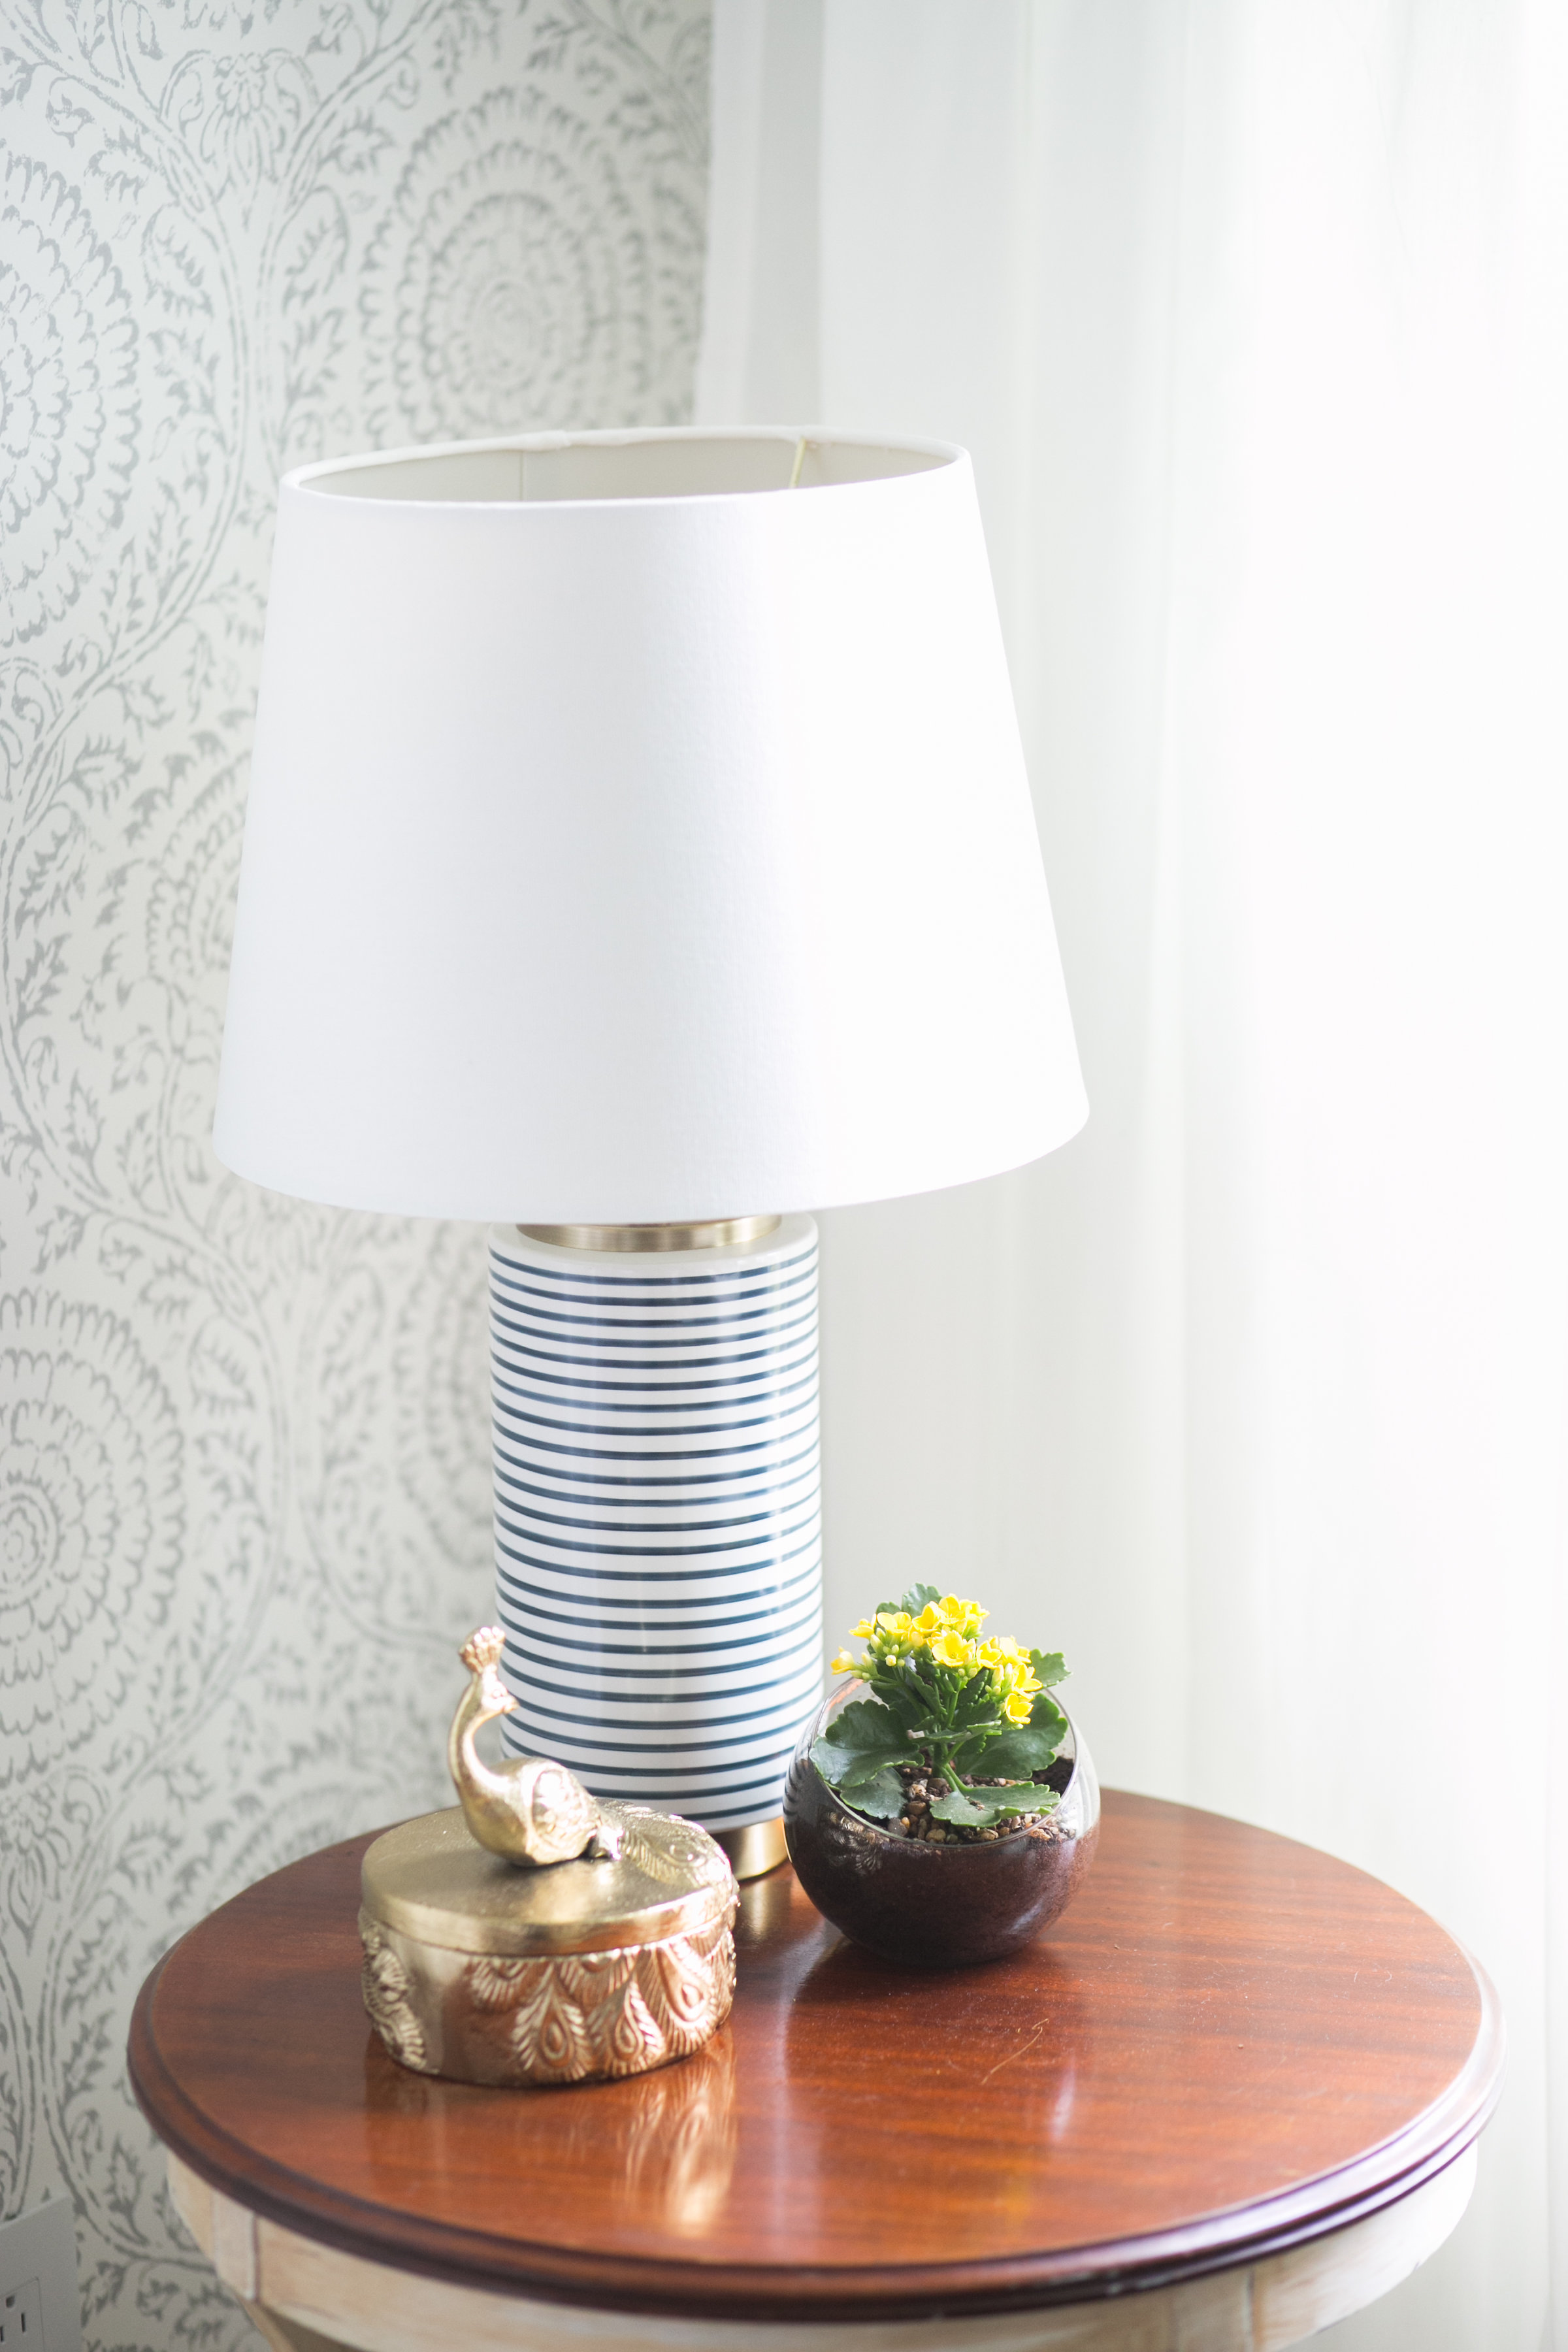
Dining Room Chairs | Mirror | Striped Lamp | Ivory Rug | Blue Rug | White Storage Box | Gray Storage Box | Accent Chairs | Peacock Dish
Landscape Painting | Round Rug | Wooden Trivet | Tripod Lamp | Curtains | Striped Throw | Glass Cabinet | Chargers | Striped Napkins
Brass Tray | Large Glass Vase| White Baskets| Umbrella Stand
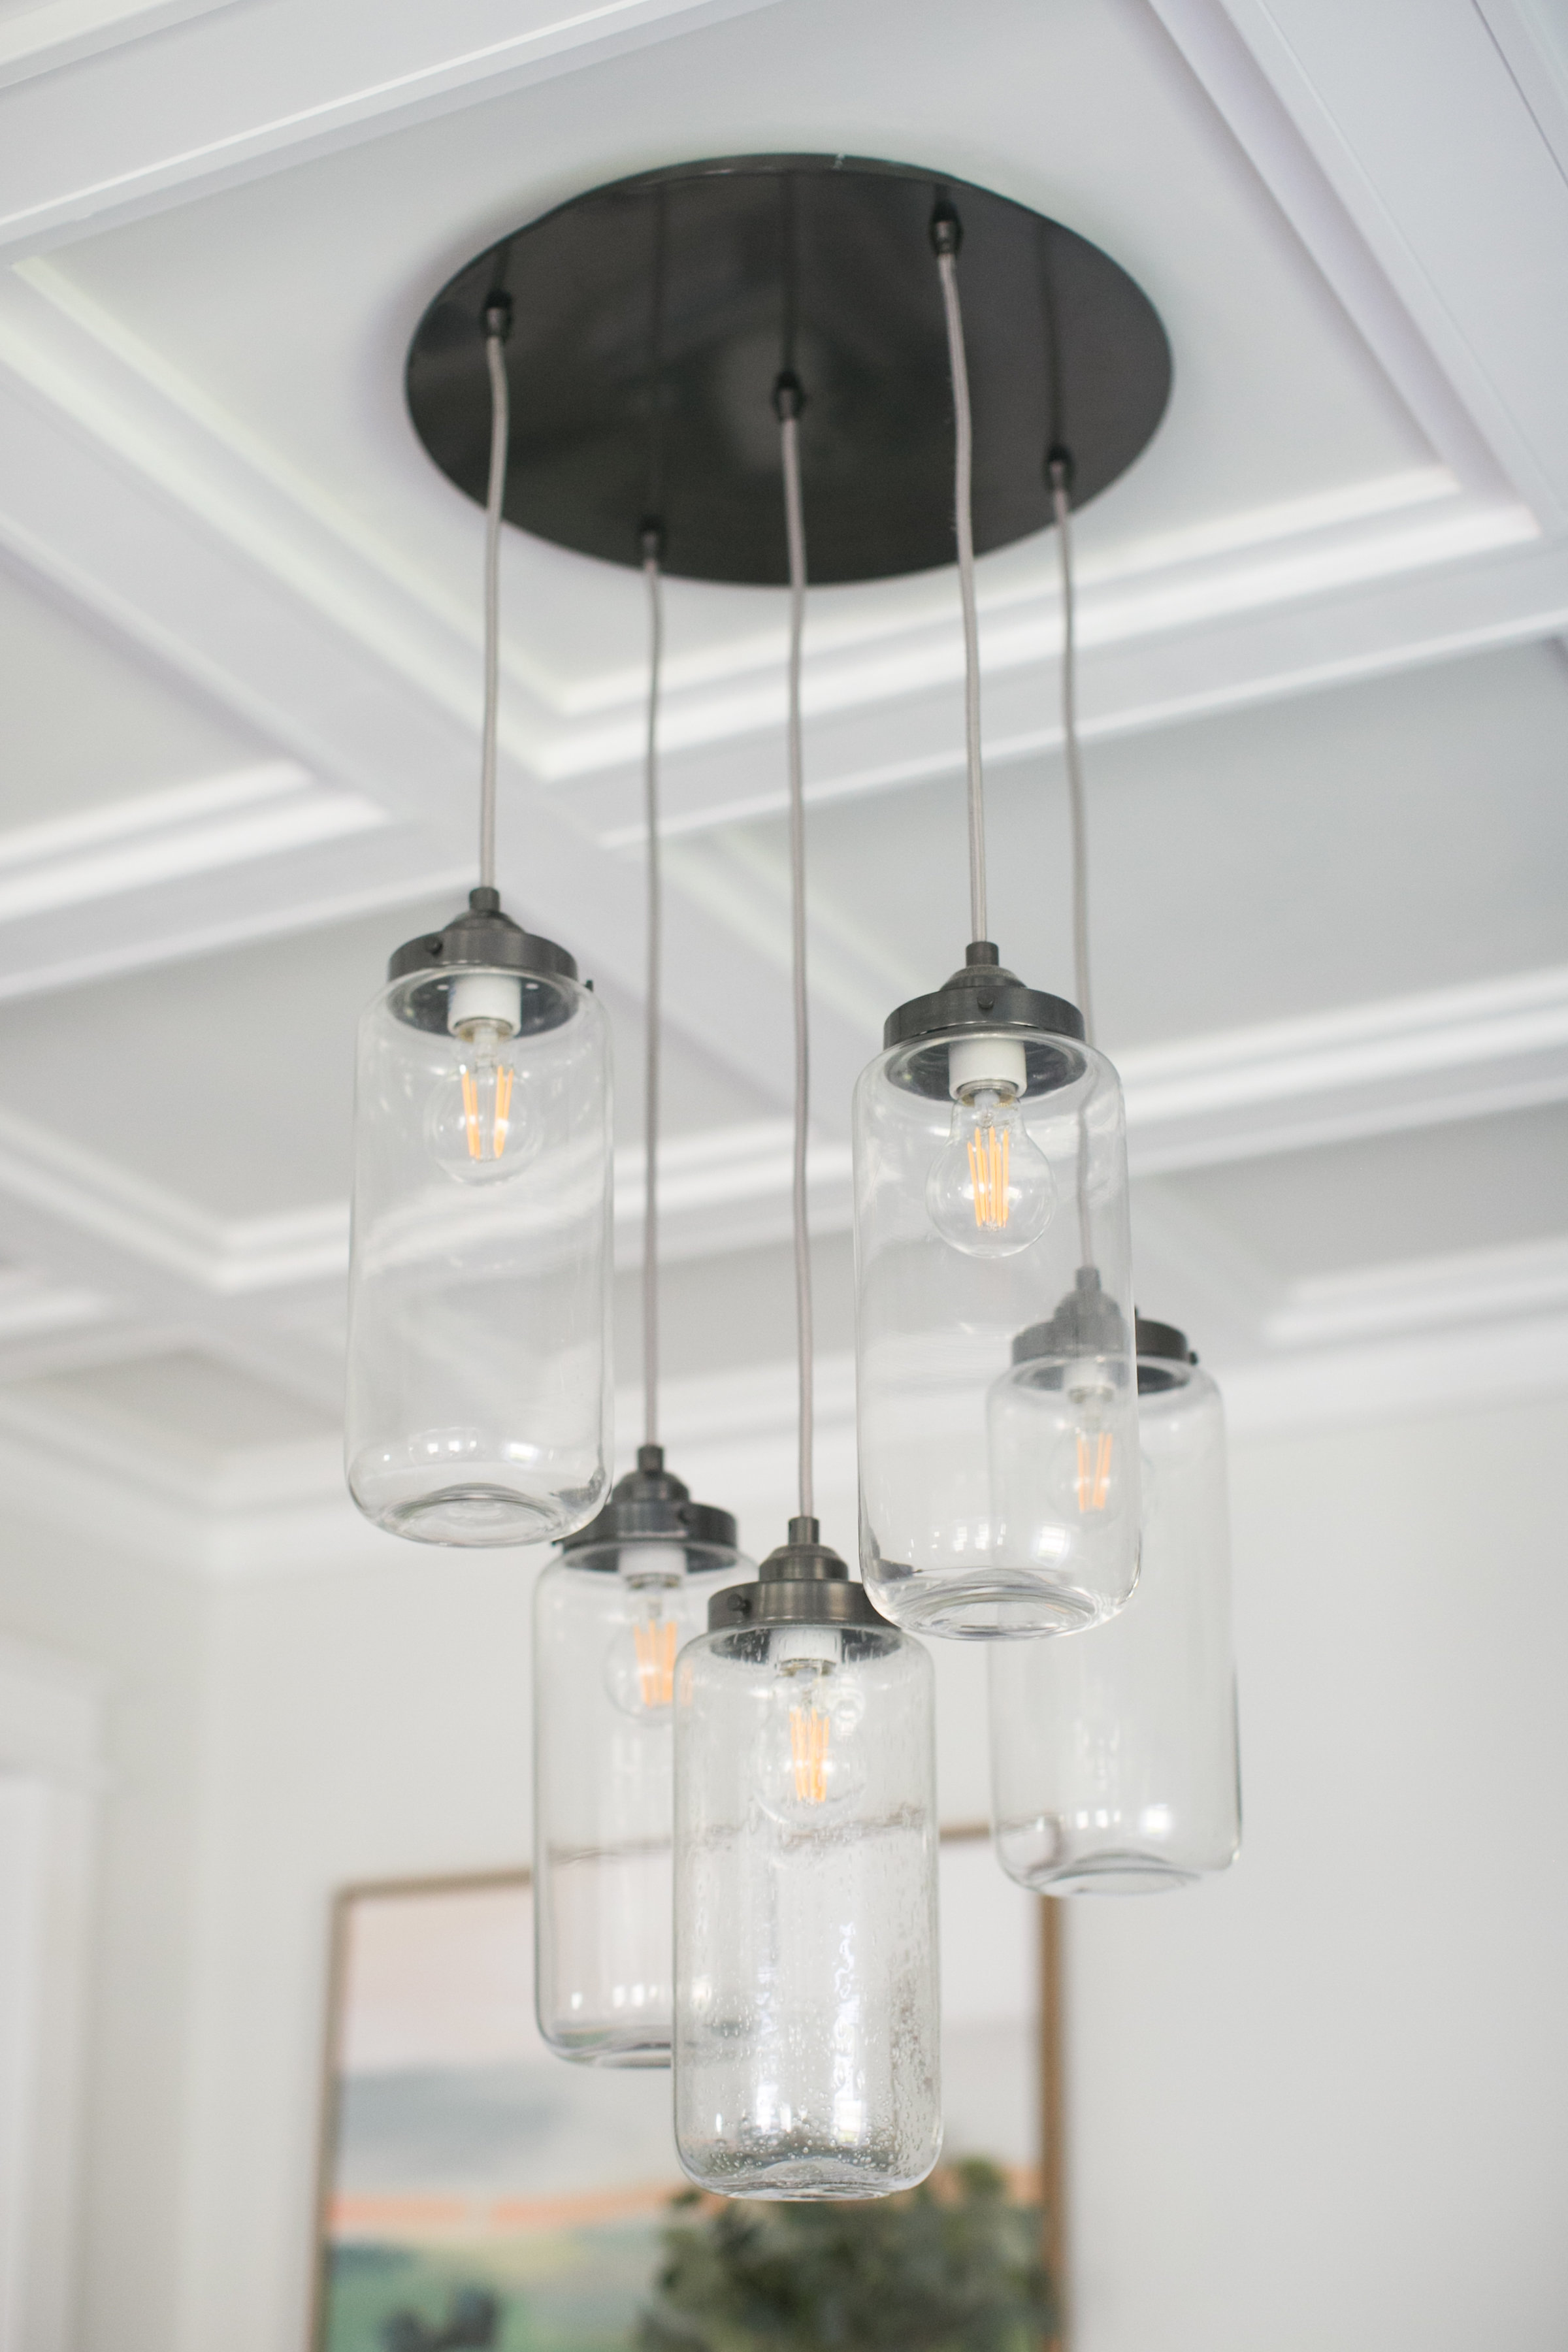
The light fixture is from West Elm and is no longer sold but This Collection is similar

Be sure to check out all of the amazing One Room Challenge reveals here
Thank you to my sponsor!
A huge thanks to my sponsor, Legrand. Please check out my post featuring their radiant® Collection to learn more!


Comments
Lindsey,
I just want to look everywhere at once! The fireplace with those two complementing tile patterns. That coffered ceiling. All of your gorgeous vignettes and amazing art finds! That beautiful shelf that I am determined to find a place for and recreate!!! Honestly I want to meet you and be best friends so we can hang in your gorgeous space and sip sweet tea…to be clear, I also like you for you;) You did an amazing job, girl. What a beautiful space to come home to. Mind blown!
Meghan
That would be such a nice afternoon LOL I’m so glad I got to “meet” you this time around : ) Thank you for all of the amazing support over these last 6 weeks – it has truly kept me going on those late nights and early mornings…I can’t wait to see where you add the shelves – I will be figuring out a way to re-create your mirror in the meantime!!!
It turned out so beautifully all the way around! I love how the rooms flow together too. Wonderful job!
Thank you so much! I spent a lot of much time (probably to much LOL) trying to figure out how get these rooms to work well together so it’s really wonderful to hear that : )
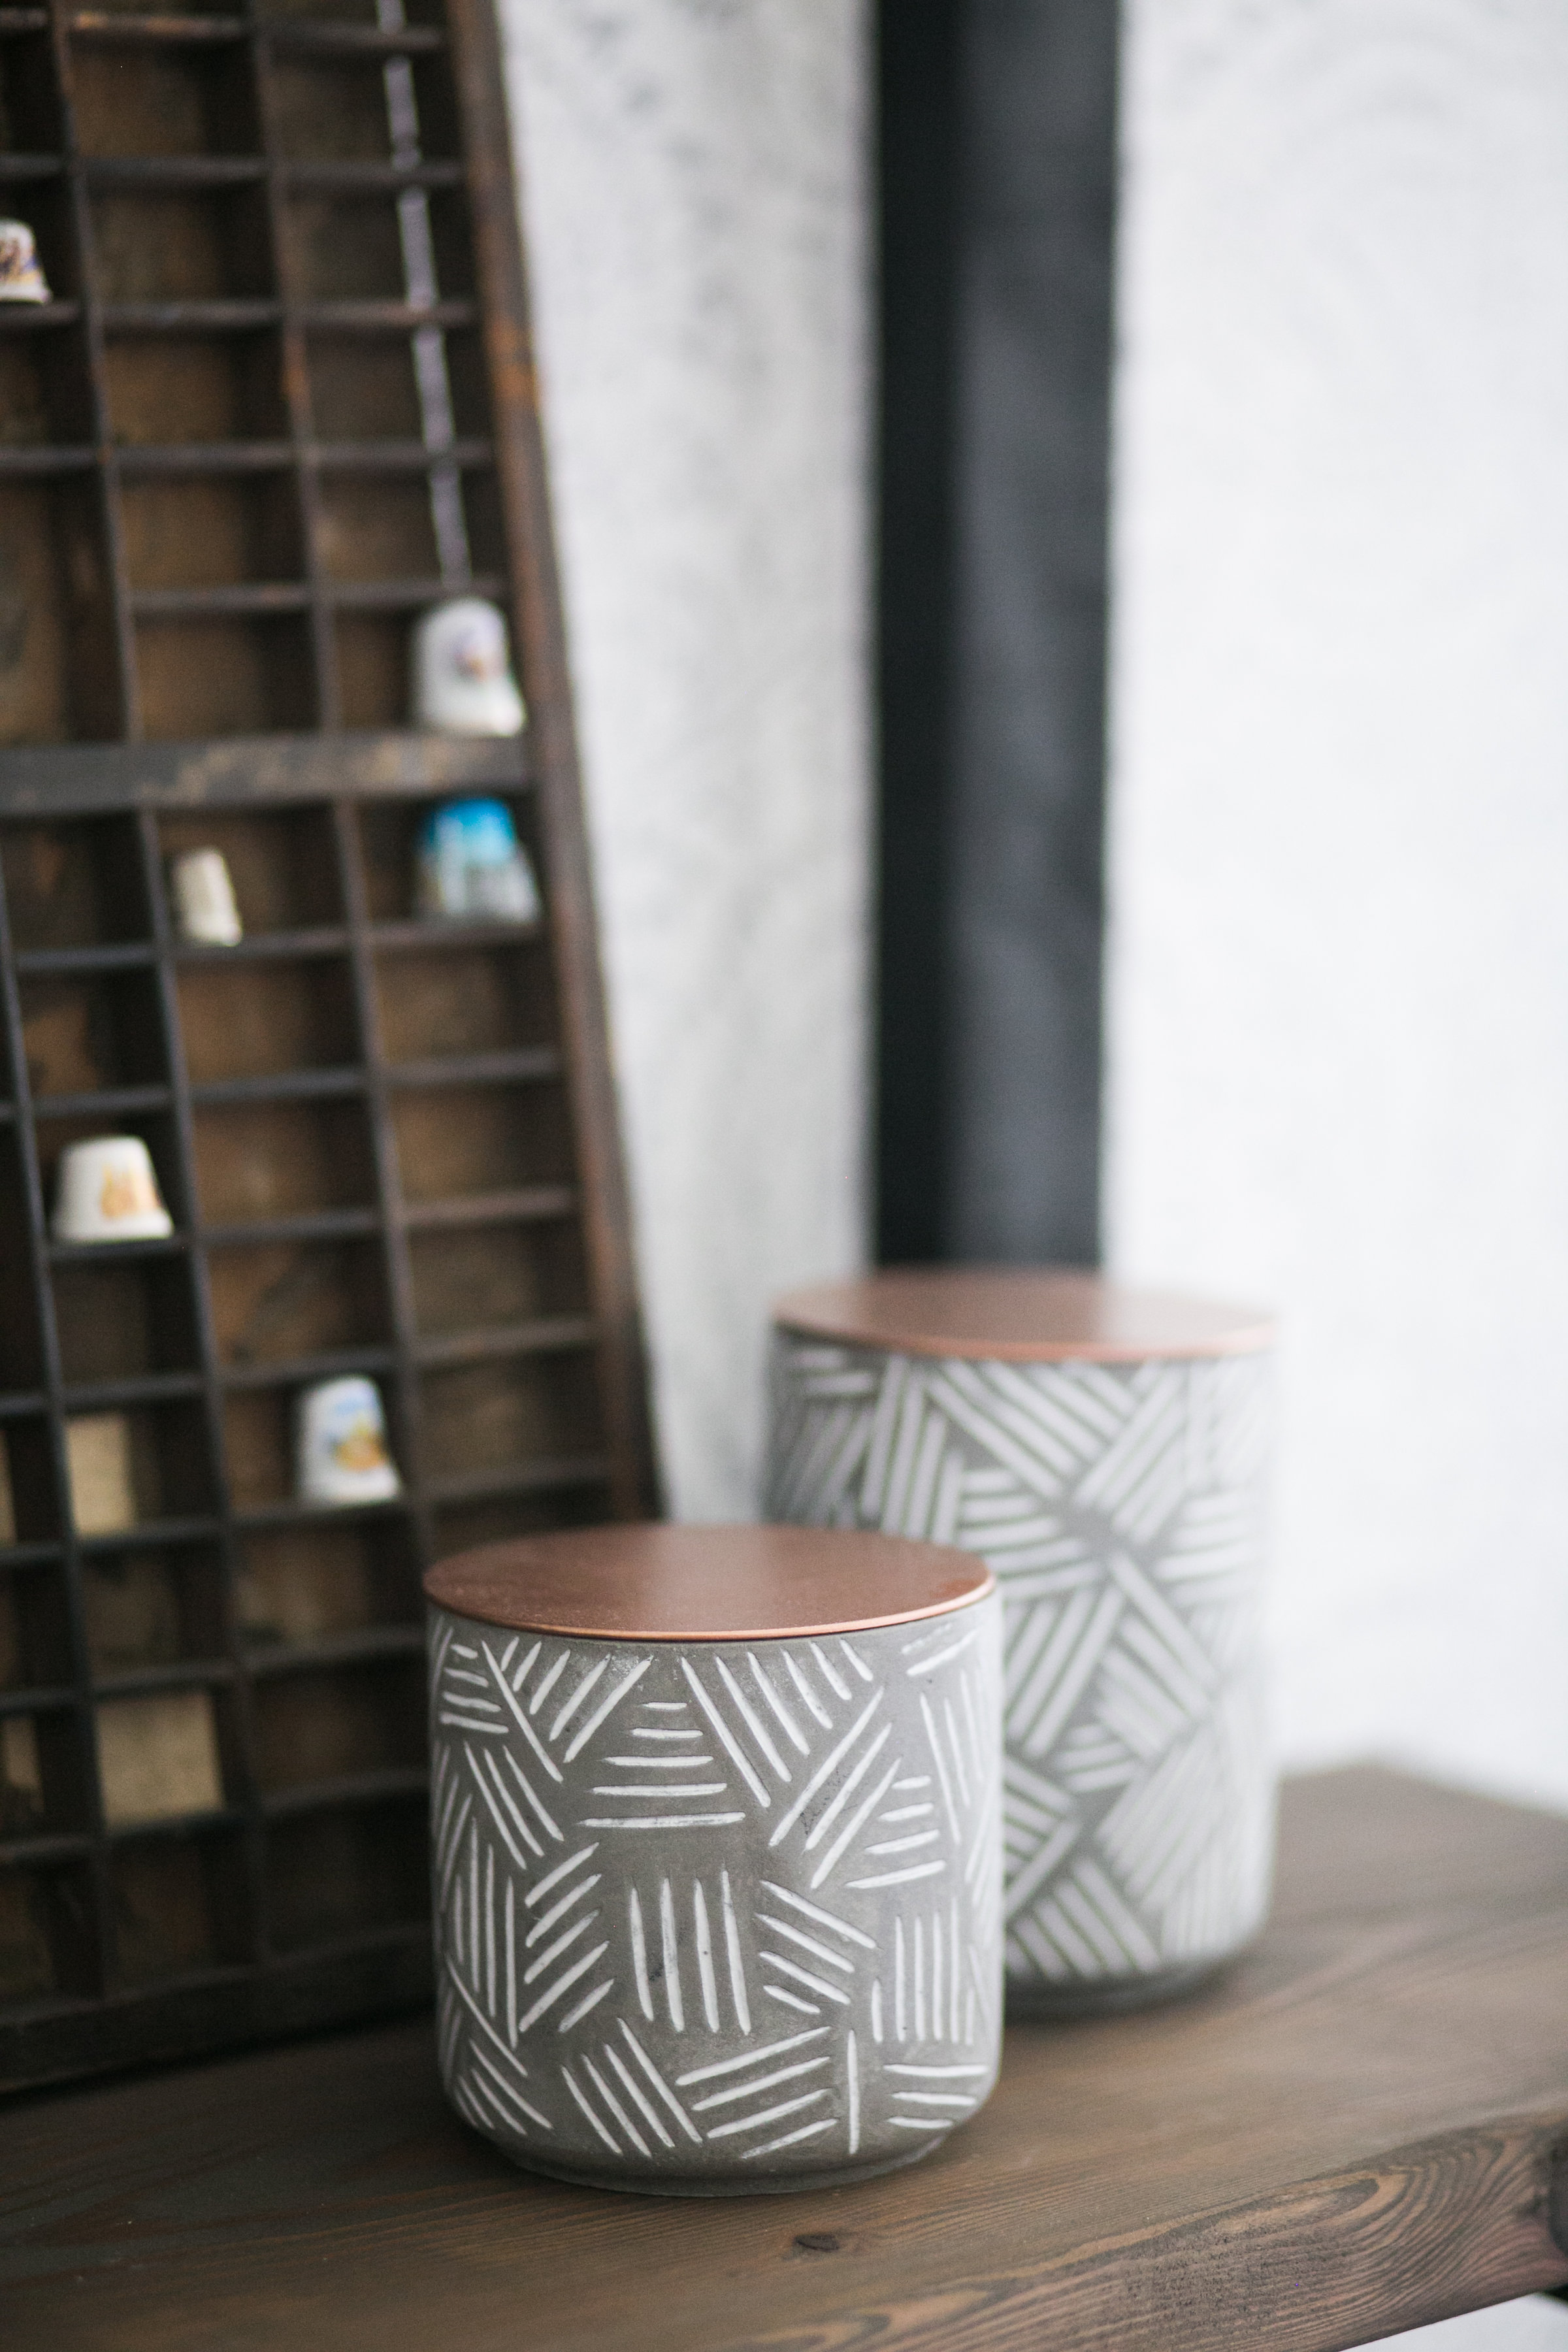
Wow! What a gorgeous space! It’s hard to have a favorite part but I cannot stop staying at that fireplace and those candles! So beautiful!
Oh thank you – I’m so glad you like the fireplace! I’ve always wanted a big group of white candles somewhere in my house so thought this was the perfect opportunity to make that dream come true
I love it, Lindsey! Like Meghan, I too wish I could come over and sip tea with you there. Such a beautiful space, and I really like your design style–clean and airy. Congratulations!
Wouldn’t it be wonderful if we could all sit together and sip tea and laugh about the craziness of the One Room Challenge! Clean and airy words two words I kept in my head the whole time so I’m extremely happy to hear that it came across. Thank you so much for your kind words!
Wow! Beautiful transformation. Well done.
Thank you Brenda so much for those kind words – and for stopping by to check out my rooms! I really appreciate it.
It doesn’t even look like the space! I’m dying over that ceiling! Everything is so gorgeous and the styling is perfect! I’m so impressed by how much you accomplished in 6 weeks!
That is so sweet of you to say Sam – thank you so much! I was honestly really worried that I wasn’t going to finish around week 4 so I’m very relived to have gotten it all done. I’m so glad you like how it turned out!
Beautiful space Lindsey – so much patience for that coffered ceiling but so worth it. And the wallpaper is perfect.
Thank you so much Caireen! That ceiling definitely tested my patience on many occasions LOL…good thing I had that wallpaper to keep me company while I was installing it. I really appreciate you stopping by and those kind words!
Oh my goodness! You added so much texture and character. It looks like your restored a 100 year old home with all that character! I love the wall paper and how it fits. Great job!
Thank you SO SO SO much for that very sweet comment! It’s 100% the vibe I was going for so it means an great deal to me to hear that – I’m so glad you like how it turned out.
Wow! I am blown away by what you did in these rooms! The coffered ceiling is just stunning! I know it was a lot of work, but it absolutely makes the room! Love the wallpaper and all of your details too! Amazing job!
Thank you so much for those incredibly kind words! I totally agree with you that that ceiling was worth all of the work in the end – I’m so glad the hard work shows and I’m so glad you like the final result!