
One Room Challenge Week 4 – How many Accent Walls is too many?
Remember way back in Week 2 when I said that my design plan was “a lot of look?” Well here we are already wrapping up Week 4 of the One Room Challenge and thankfully most of that “look” is installed so it’s too late to turn back now! As I sit here and type this I’m also writing up my list of things still left to do and realizing I’m going to put in many many late nights to pull this off, but for now let’s celebrate what has already been checked off! if you missed any of the first three weeks you can check them out at the links below:
Week 1 / Week 2 / Week 3 / Week 4 / Week 5 / Week 6
(Some of the links included in this post are affiliate links, meaning, at no additional cost to you, I will earn a commission if you click through and make a purchase)
When I was in high school I painted my bedroom one weekend when my mom was out of town; each wall was a different color and it was glorious. Well when I started to put together my plan for this project I was reminded of that room and very scared that all of my different wall treatments would end up like a 90s teenagers dream instead of the elegant entryway I was envisioning. Which side of the coin did I end up on? Well, I’ll let you be the judge.
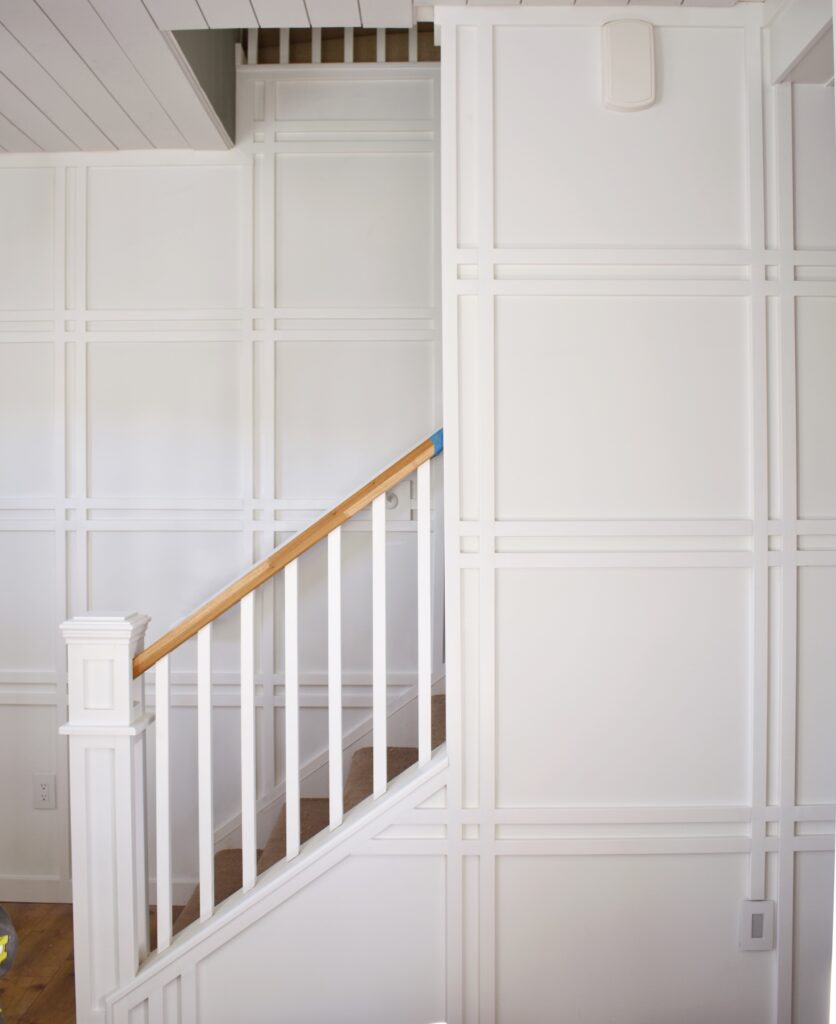
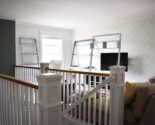
One of the reasons for the multiple wall treatments is that I’m not dealing with a normal 4 sided room this time – there are nooks, 2 story walls, lots of doors, and the challenge of connecting basically every part of my home together through these 3 spaces. So I started with the one feature I 1000% knew I wanted – a grid wall treatment on the staircase (TBH at one point I was 1000% sure I wanted this wall to be brick but after the front/dining room came together I realized that this girl needed to step up her game a little bit). I wasn’t sold on a traditional grid, though, so after cruising around Pinterest I found my dream inspiration pic (which came from a bloggers review of the 2018 Utah Valley Parade of Homes of ALL places!) Not only was it a grid wall, but it was a PLAID grid wall!
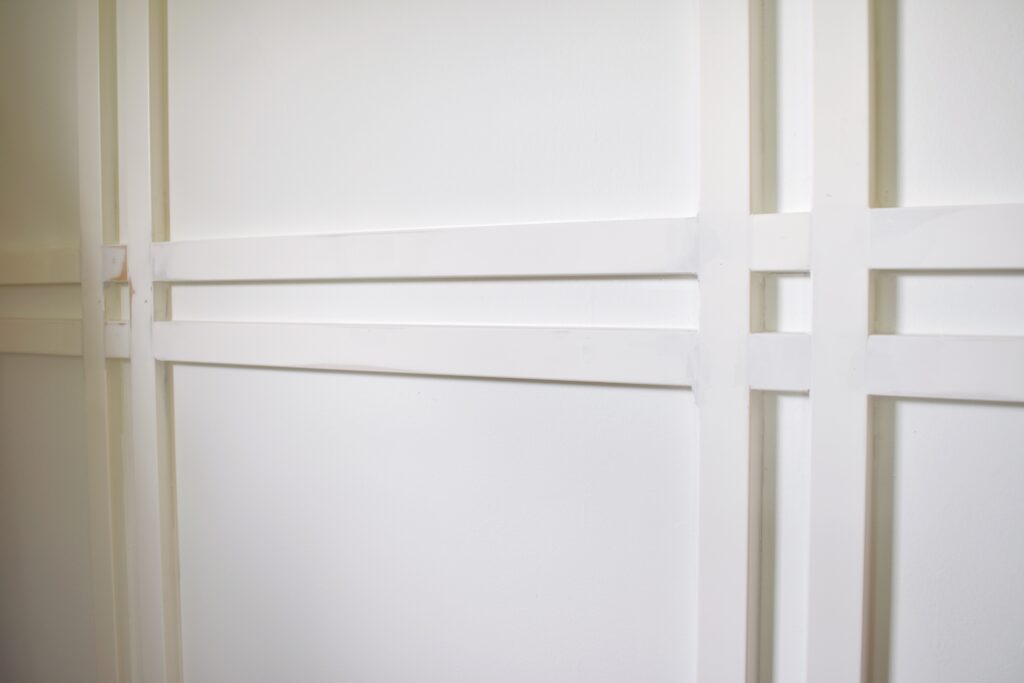
In terms of installation – this was a lot easier than it may look! To get my measurements I used the smaller wall, figured out what the center would be, and then plotted out squares off of that. To make things even easier, I kept the spacing between each piece the same width as the trim so I could use scrap pieces to keep things even. And since I’m old school, I just used a good old fashion pen and level ruler to draw out my grid before I started building – actually as I was doing this step I thought “How cool would it be just to draw out this pattern in sharpie in a smaller space?” I’m actually thinking of putting that idea to the test in the linen closet.
I may write a full tutorial for this wall treatment after the challenge, but for now I’ll just share a few tips for those interested:
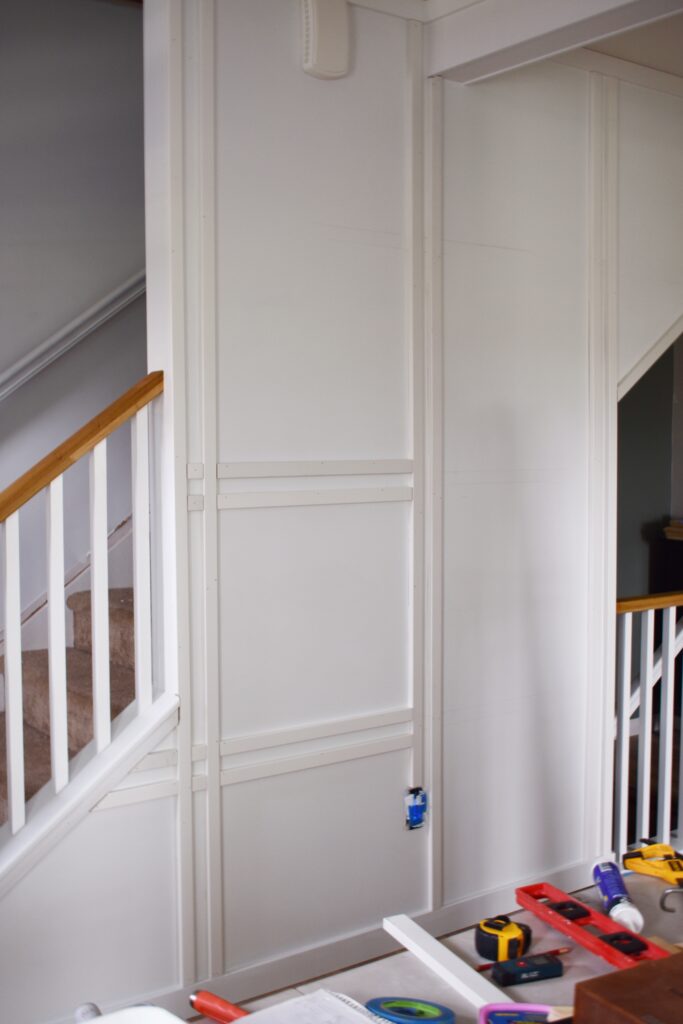
Tip #1 – Paint the wall first!
Tip #2 – Install the vertical pieces first and caulk them before starting the horizontal pieces (it makes caulking those tiny boxes more manageable)
Tip #3 – This little Gator Micro-Zip Sander is a MUST for tackling those tiny corners
Tip #4 – To make dusting easier I edged the inside of each box with the SW Emerald Urethane Trim paint in semi-gloss paint, making sure that each caulk line was covered. I will go back over the walls with the Matte paint once I do my final touch ups so I can catch anywhere I may have crossed the line and then these beauties will be ready to shine.
Although I had known that I wanted this wall treatment for a while I spent quite a while (and by a while I mean months!) toying around with the idea of whether or not I should carry this trim down the hallway and up into the loft. For a long time my gameplan had been to add it to the nook leading down to the basement AND to the loft behind the leaning shelves and it was only weeks before the challenge started that I came up with ways to deal with these two spaces that made much more sense.
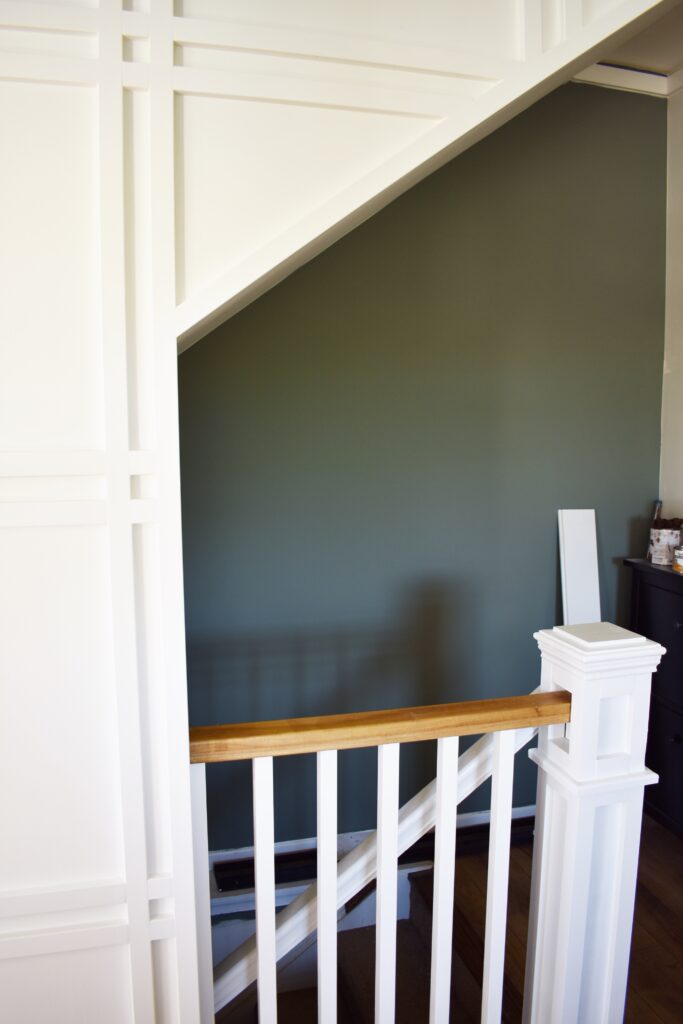
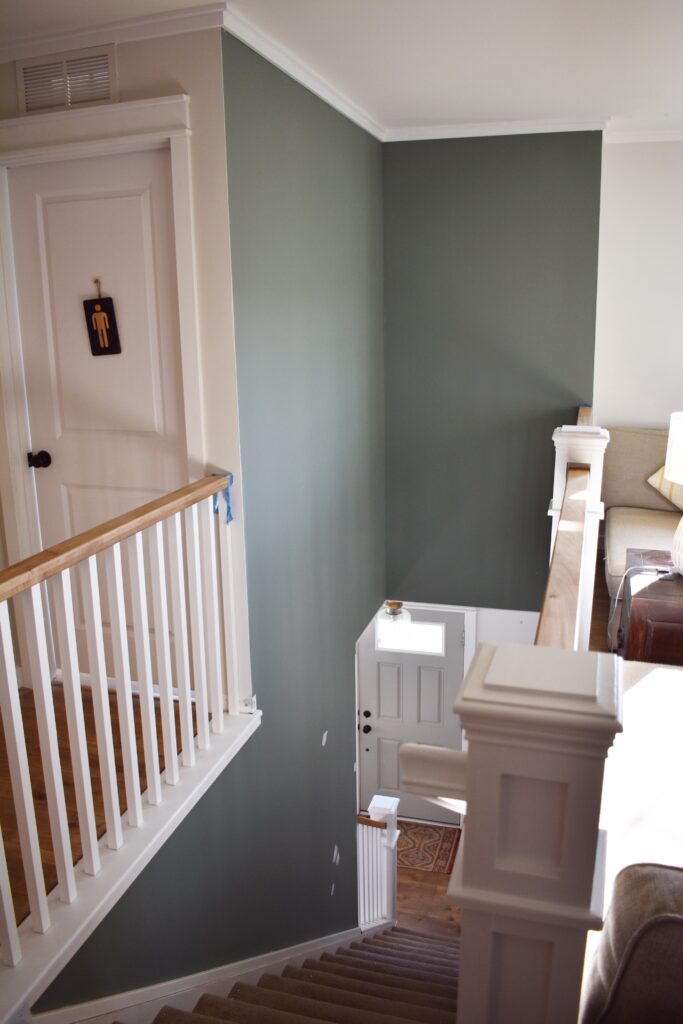
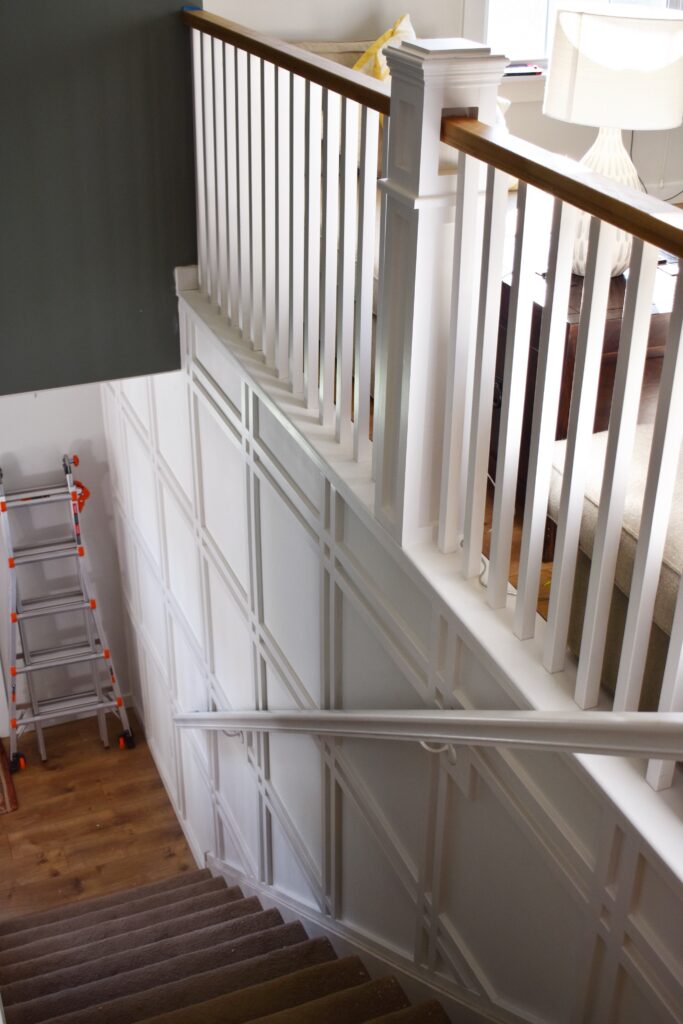
The nook that leads down to the basement is just as dark as you’d probably expect, so instead of hiding the trim work in the shadows I decided to embrace the darkness and go with a deep moody shade of green (Retreat by Sherwin Williams). I didn’t want this to be the only spot in the house that had this color though so I started brainstorming and realized that the two story wall that connects the stairway and the loft would be perfect to paint! You don’t see the wall unless you’re walking up the stairs or are in the loft so the dark color doesn’t interrupt the sea of white trim that’s downstairs. Now that I’m used to it it actually blends into the background for me while letting all of the lighter elements shine.
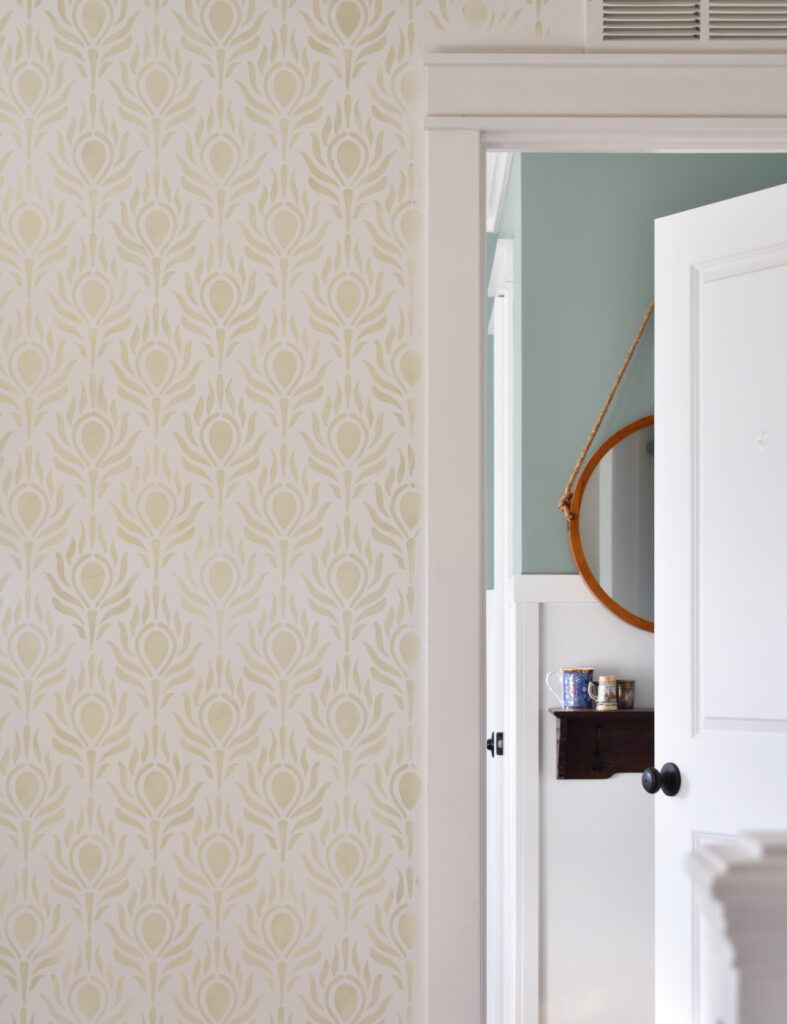
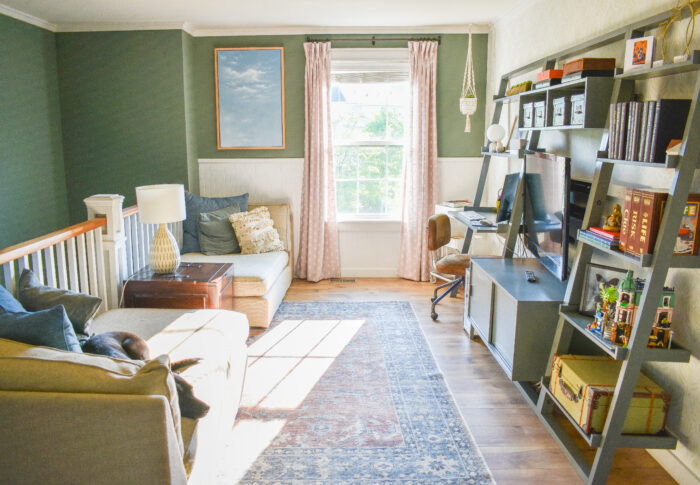
Now, onto the loft! As I mentioned I originally planned to carry the trim upstairs to the wall behind the leaning shelves (which is really the only full wall in this space), but the more I thought about it I realized that 1/2 the wall wouldn’t even been seen so why waste all that work? Next I thought about wallpaper to tie it into the front/dining room – but again 1/2 of it wouldn’t be seen and the shelves would most likely scratch the paper – so that idea got scrapped as well. Finally I decided to use the same technique I used in the powder room and just stenciled a pattern on the wall. After painting the wall white I applied this amazing Royal Design Studio stencil of peacock feathers using Valspar Chalk Paint in Moonstone Ring – I really wanted to find a color that matched the wall and this slight green/gray seemed perfect, it actually came out with a little touch of gold in it which makes me like it even more.
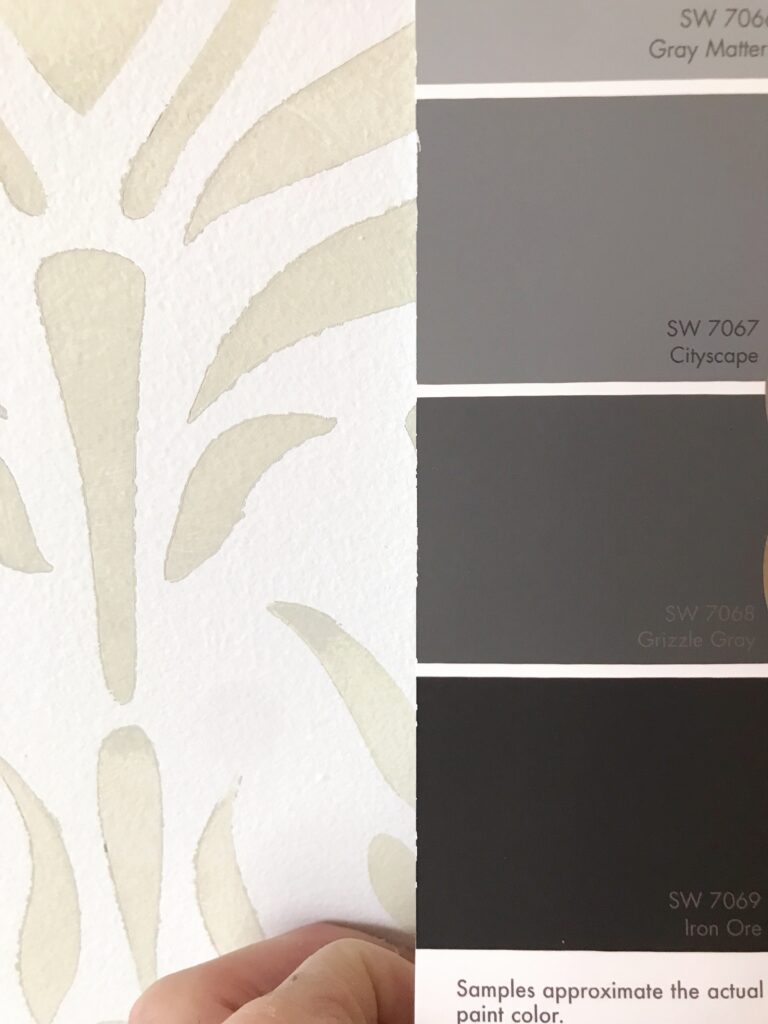
I was hoping to get a few progress pics for you guys but it was too gloomy the day I was painting to take pictures – luckily there are lots of tutorials out there on stenciling for you to check out (Royal Design Studios has a collection of videos on their site). I know a lot of people use paint rollers for their large scale stencils, but I personally love the variation of color you get using a stencil brush – which you can see in the close up above (you can also get a sneak peek of what color I ended up painting the leanings shelves – SW Grizzle Gray).
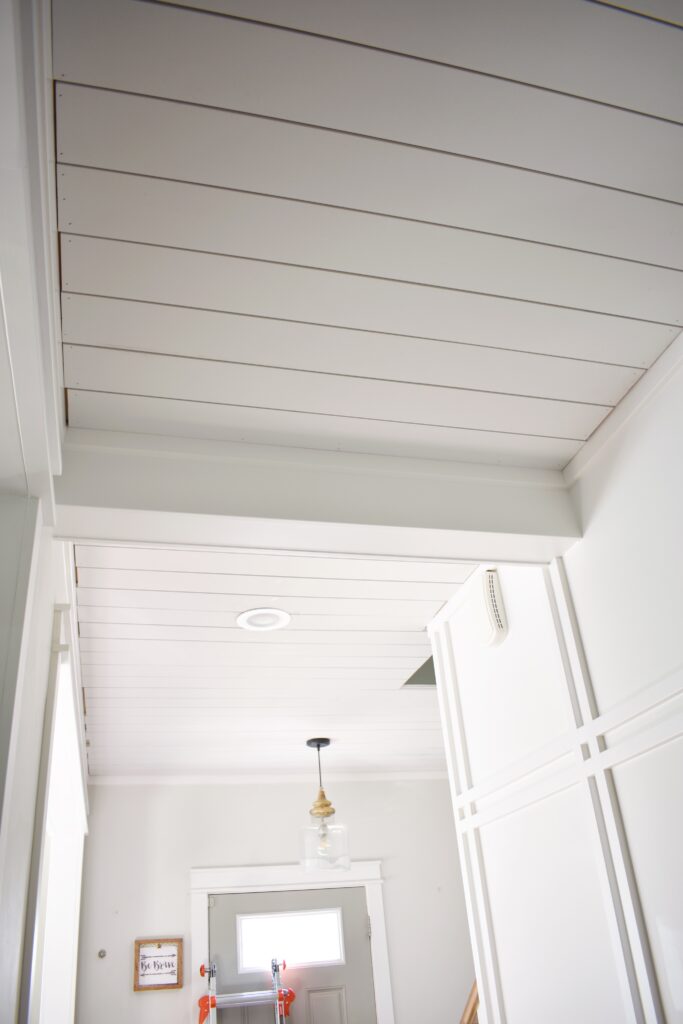
We’re coming into the home stretch friends – next week I’ll be sharing a few fun and easy DIYs with all of you including a Pottery Barn inspired mirror and a modern spin on a gallery way, but for now I’ll leave you with your last two progress pictures before the full reveal. This week I”m working on knocking out the Metrie Shiplap ceiling before we go on a quick weekend vacation, and then next week it’s all about the stairs!! As much as I’m worried about losing a few days on my timeline, I gotta say I’m looking forward to sitting next to the pool and reading all of the huge progress my fellow One Room Challenge participants have made this week – make sure you check them out too!

BETTER HOMES & GARDENS IS THE OFFICIAL MEDIA PARTNER OF THE ORC!


Comments
LOVE that moody green! And that wall! Wow! Well done! 🙂
I’m so glad you like it Angela! The green really was a last minute idea so I’m really glad that it worked out as good as it did. Thank you so much for the support
Your diversity works …
Thanks dad – next time you come over you’ll have to inspect the wall more to see that it’s not wallpaper LOL
I LOVE the plaid grid wall- such a good idea!! It’s all coming together so beautifully!!
Thank you Meredith! I knew some type of grid wall would work great to tie the hallway to the ceiling in the other two rooms but I wanted to do something a little bit different – and I’m a little obsessed with plaid LOL
This is epic! I cannot wait to see the full thing. So much inspiration!! I’m gonna need that tutorial one of these days lol
Thank you so much Christin! It warms my heart that others are just as excited to see the final reveal as I am. And I will definitely be writing the full tutorial right after the ORC is done!!
This looks FANTASTIC! I want to do this in our new house. Do you know the dimensions on the trim for the lattice, and how large the inside squares are? The size of the squares look perfect for what we are looking for. Thanks for sharing!
This looks amazing! I’m going to put this in our house that we’re remodeling now. I was curious if you wouldn’t mind sharing the dimensions on the trim that you used, as well as how big the inner big squares were. Thanks so much for sharing!
Hi Lorin! I used 1×2 MDF trim and the boxes were about 24″ wide, but that can change depending on how big your wall is. I’d recommend finding your center and drawing it out first to make sure that size box works for your space and then you can adjust as needed