

Installing Built Ins in a Newly Finished Basement
Earlier this year, before the One Room Challenge consumed my life, I wrapped up one of my biggest customer projects to date – helping to finish a basement by installing a custom set of built-ins. I’m extremely proud of how this came together and excited to finally share the reveal of this beautiful space!
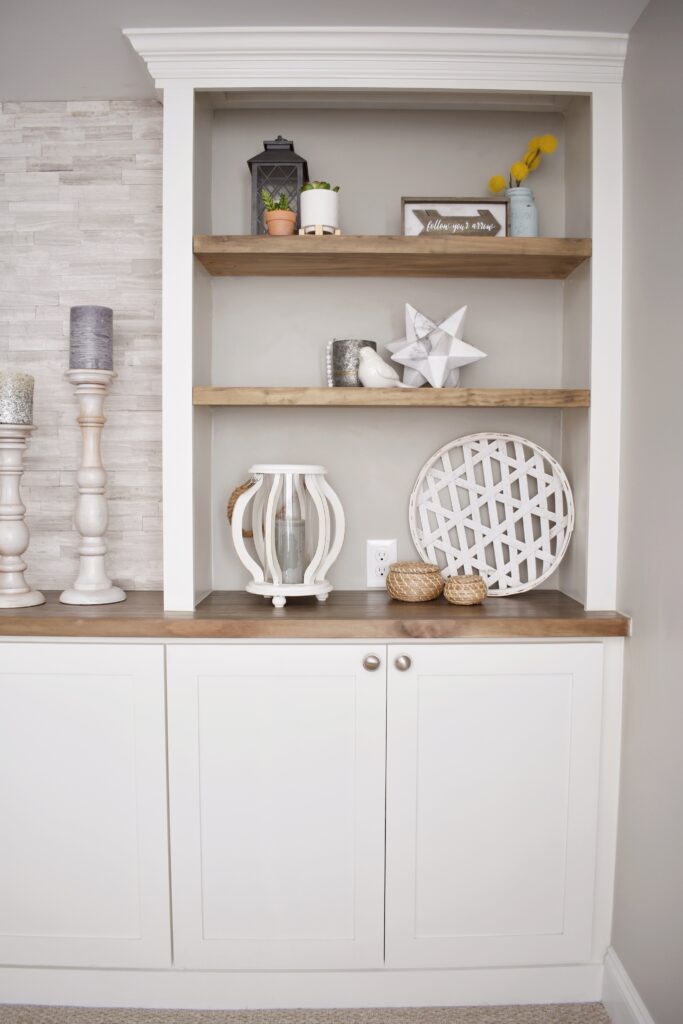
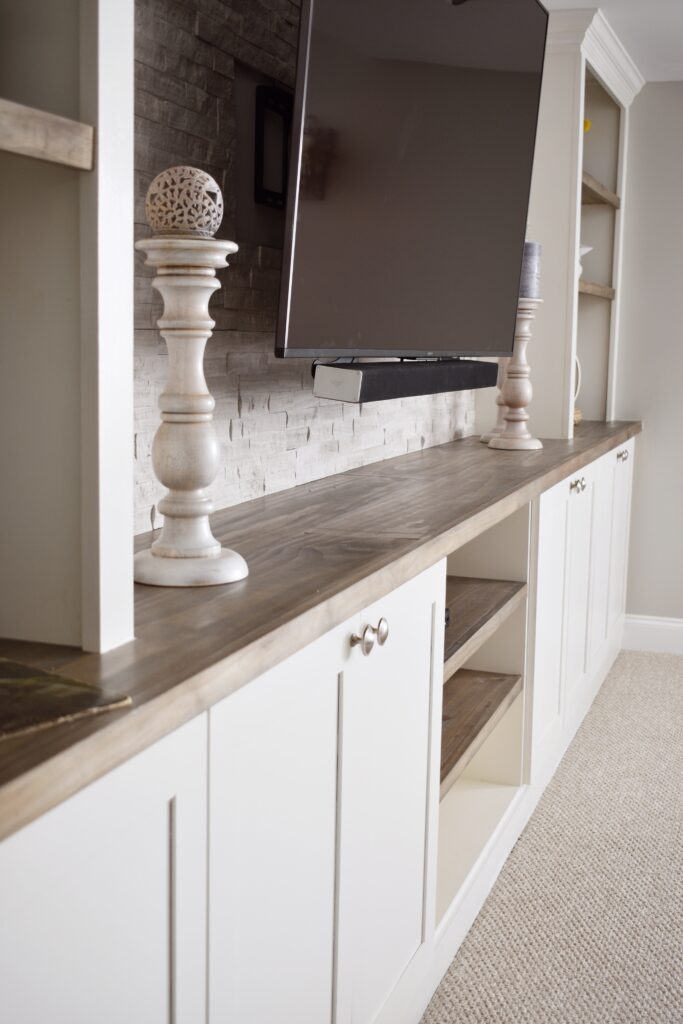
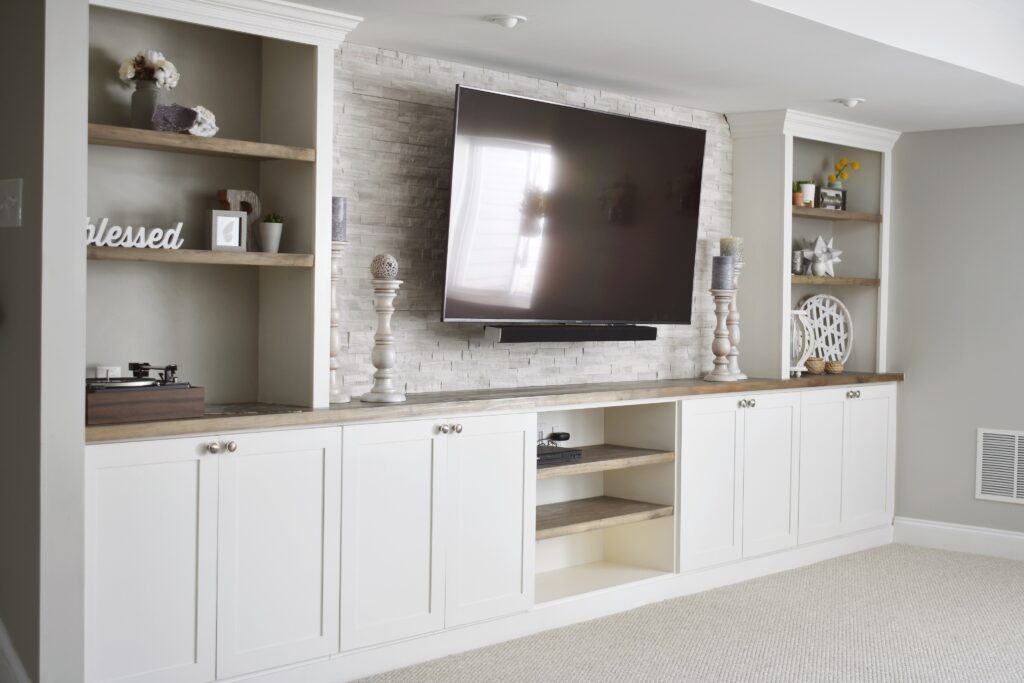
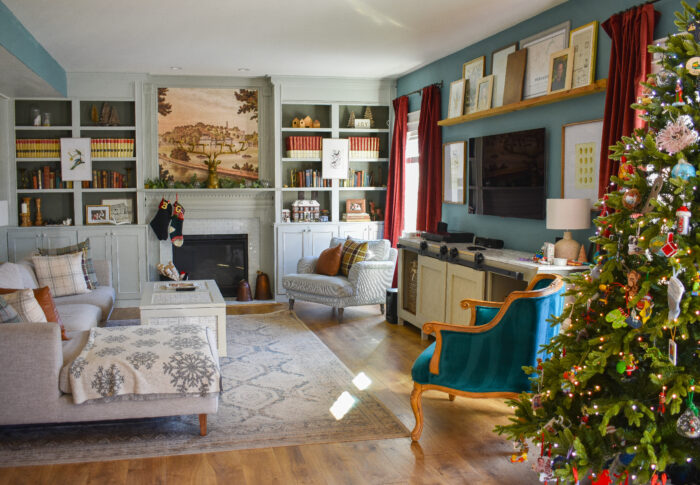
The homeowners had taken on finishing most of the basement themselves (impressive right!!) but asked me to help build a set of bookcases to flank either side of a stacked-stone wall that would house the TV. We wanted to maximize the closed storage space, while incorporating some open shelving underneath for electronics and still leaving plenty of upper shelving for styling. I like to use IKEA base cabinet whenever I can to save on time and cost, and then customize them by adding my own countertops, doors, shelves, and trim.
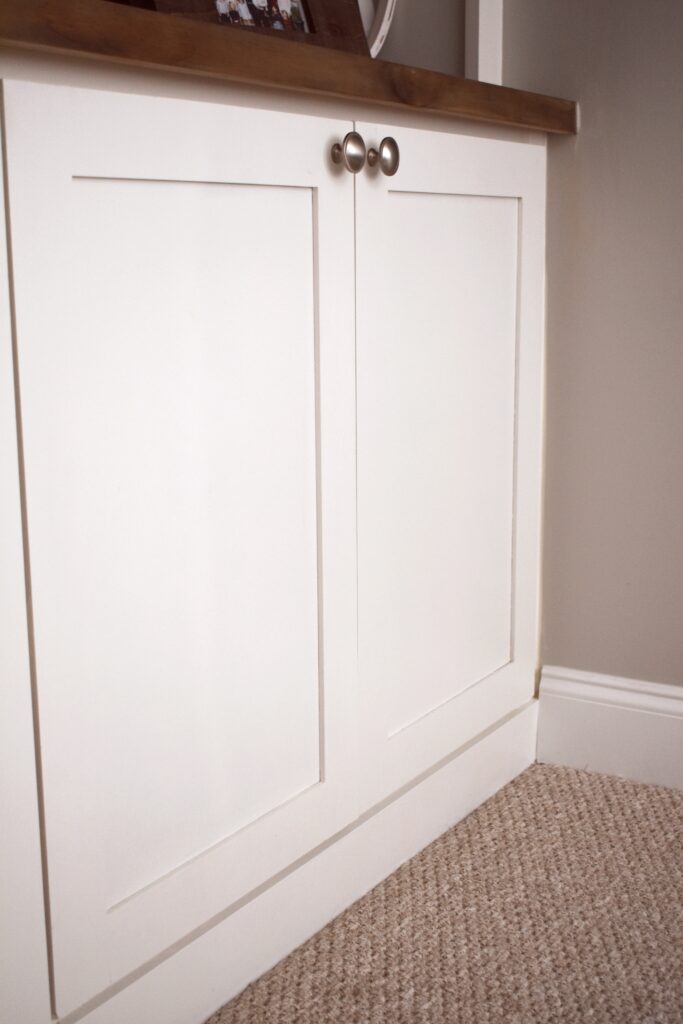
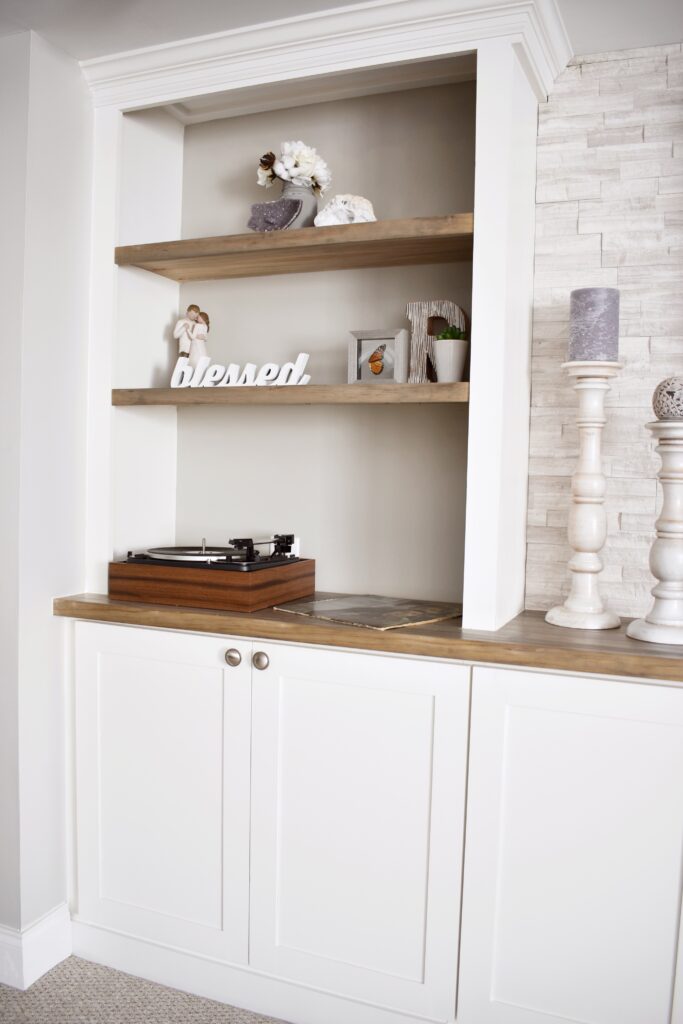
For this design we wanted to pair the white cabinetry (which was painted with Sherwin Williams Alabaster) with a slightly rustic style countertop, but we wanted to shy away from anything to distressed. Instead I opted for a natural aging effect with one of my new favorite products – WeatherWash. Their Pine aging stain brought out the natural differences in the wood while adding a beautiful smoky gray finish that mimics that “Restoration Hardware” look.
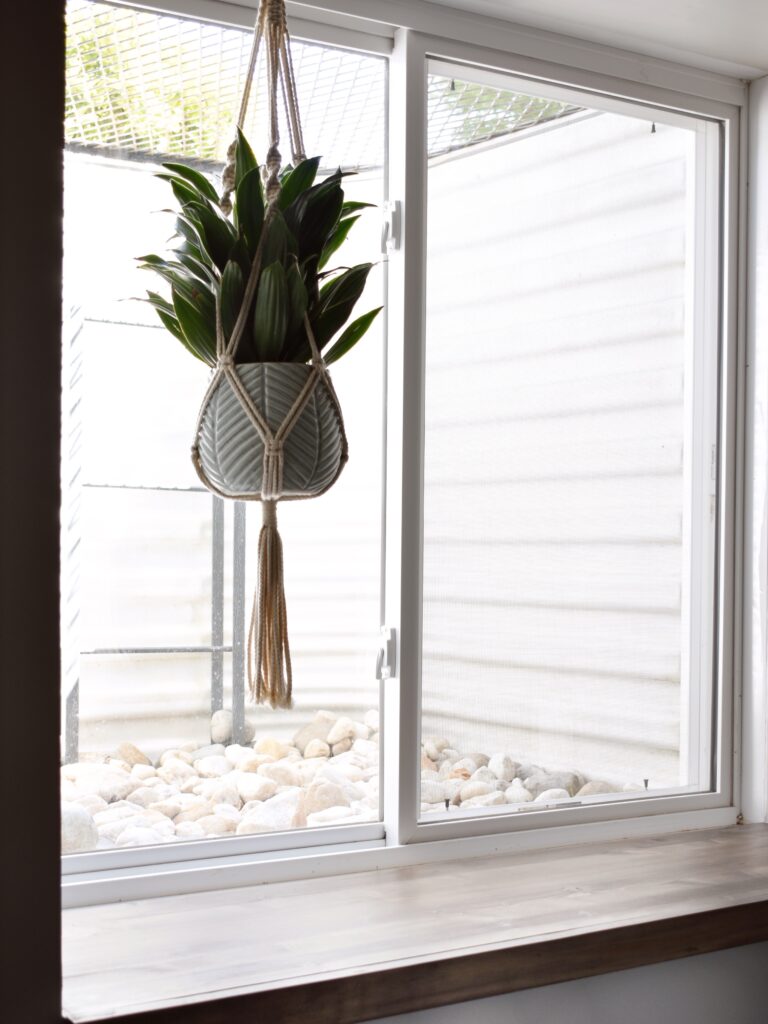
To carry that look throughout the basement, I ended up adding some great finishing touches in the same finish including wooden ledges in the bathroom, on the staircase, and in the window sill. I also have to say that I just love how the homeowner dressed up a usually dreary egress window by adding a hanging plant and some beautiful river rocks outside.
In the gym area I built a super cute towel holder based on an Pinterest idea the homeowner had seen using some plumbing pipes (which you know I just love to use!), and a small floating shelf in the corner to hold the DVD player.
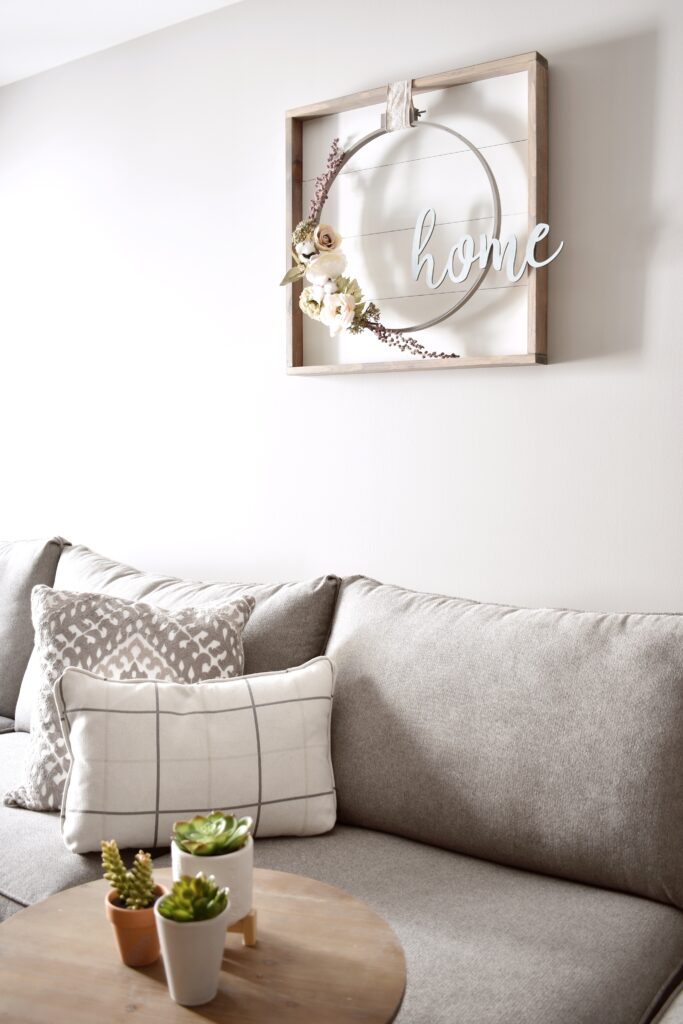
My favorite final touch has to be the shiplap and wood frame that I built to go over the couch. It serves as the perfect background for the homeowners cute DIY wreath, and mirrors the white/wood combo of the built ins across the room.
2019 may go down as the year of the built in as I have two more in line to finish up before the year is out! But I have to say, if you have the room and the need there’s no better use of space, and hopefully as the year goes on I’ll be able to show you how versatile they can be.

Comments
Hello,
Love the built Ins! Looking to do something very similar. I would love to know what the over all size of the wall is. I’m trying to figure out the TV placement and size. Thanks.
I’m sorry I don’t have the exact measurements for the TV or the wall since this was a clients house but I believe the wall was somewhere around 14 feet long
Quick question – do you carpet underneath the cabinets? OR do you only carpet up to the cabinets? Trying to figure out if I should add in new carpeting first or last?
If you’re working in an unfinished space then I would definitely add carpet after you add the built ins – this will allow you to level them out a lot easier then if you were working on top of carpet.
Thanks! One other question. What type of stone is behind the TV?
It’s a stacked stone tile….I believe they got it from Home Depot but you could find similar at other hardware stores or tile shops