
One Room Challenge Week Four – Adding DIY Custom Shelving
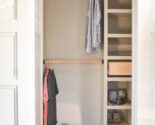
Look – some actual progress!! I told you guys last time that Week Four needed to be a big one and thankfully it was. I started the week with an empty box and I’m ending it with a brand new set of shelves and a decent head start on the trimwork.
Week 1 / Week 2 / Week 3 / Week 4 / Week 5 / Week 6

(Some of the links included in this post are affiliate links, meaning, at no additional cost to you, I will earn a commission if you click through and make a purchase)
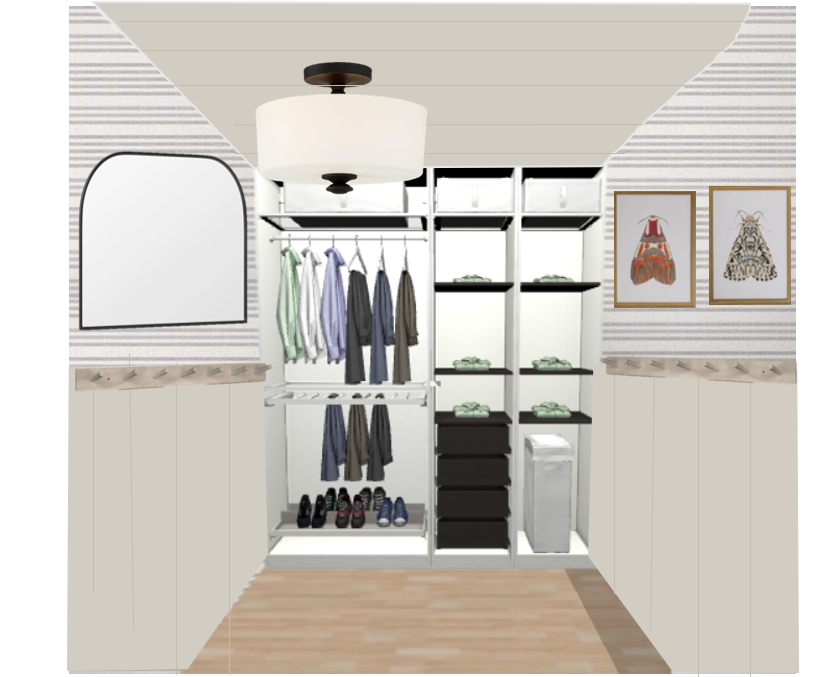
In week two I shared the initial plan that I put together for this closet using the IKEA PAX planner, but I knew from the start that I would just use this as a rough sketch to build my own cabinetry instead of actually using the PAX system as a base, and there’s a few reasons why that I’ll share in a bit. That being said, I am a big fan of the PAX cabinets and think they can be a great option especially when finished to look built in. Both YoungHouseLove and ChrisLovesJulia both have really great How To tutorials on how to make this system look really great, and in this very OneRoomChallenge Tim from Design Maze added the most gorgeous custom doors to make his look extra special.
Ok, back to my project and the considerations to keep in mind if you’re trying to decide to build something from scratch or not. (NOTE – personally, I also factor in having a garage full of tools, supplies, the experience to bust this out quick, and the need to always challenge myself plays shouldn’t be discounted):
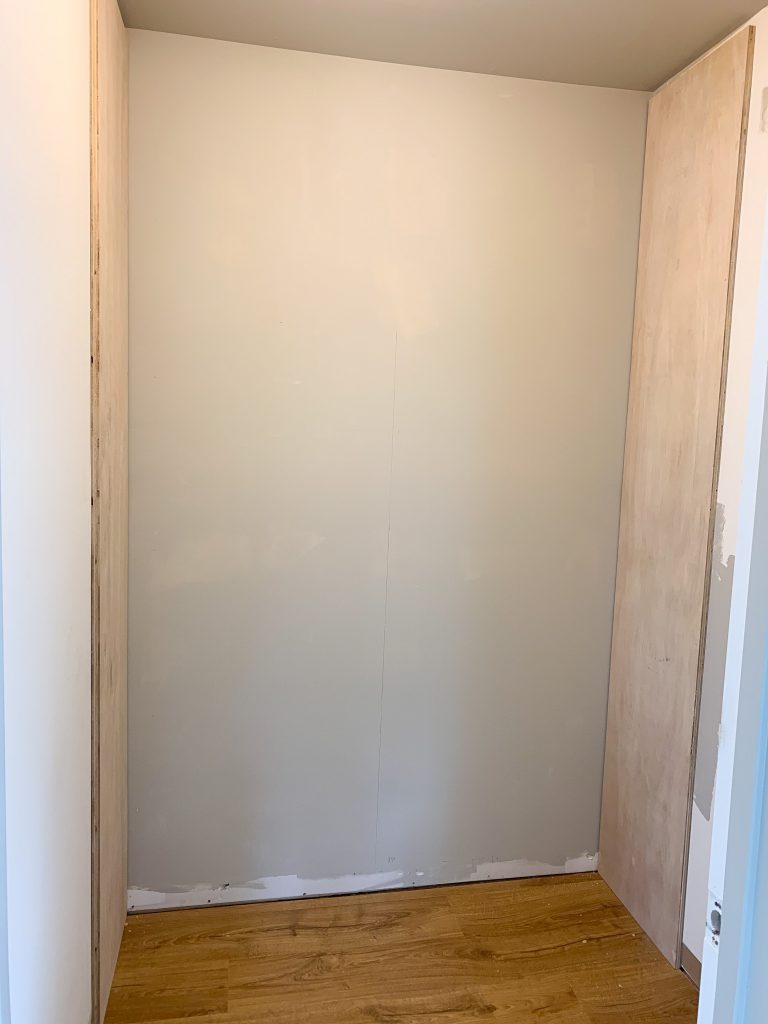
- Size – although this closet is a decent size, it’s still extremely small to work in and it would have been difficult to assemble the cabinets in the space. My closet on the other hand is about 3x the size and I am seriously considering using a pre-built system in there.
- Color – if I had stuck to white cabinetry I may have gone the pre-made approach to save a step, but I wanted them to be the same color as the trim (plus they weren’t gonna have doors) and IKEA furniture isn’t the easiest to paint.
- Custom Options – while the PAX cabinets have a ton of custom options, they didn’t have exactly the system I wanted to fit a laundry basket AND maximize the number of shelves. By building it myself I was able to get exactly what my husband wanted.
- Cost – There is a really big cost savings that comes with building this system myself. With the options I wanted, and the cost of paint and trim, the PAX system would have ran about $550, while building it myself only cost me around $250.
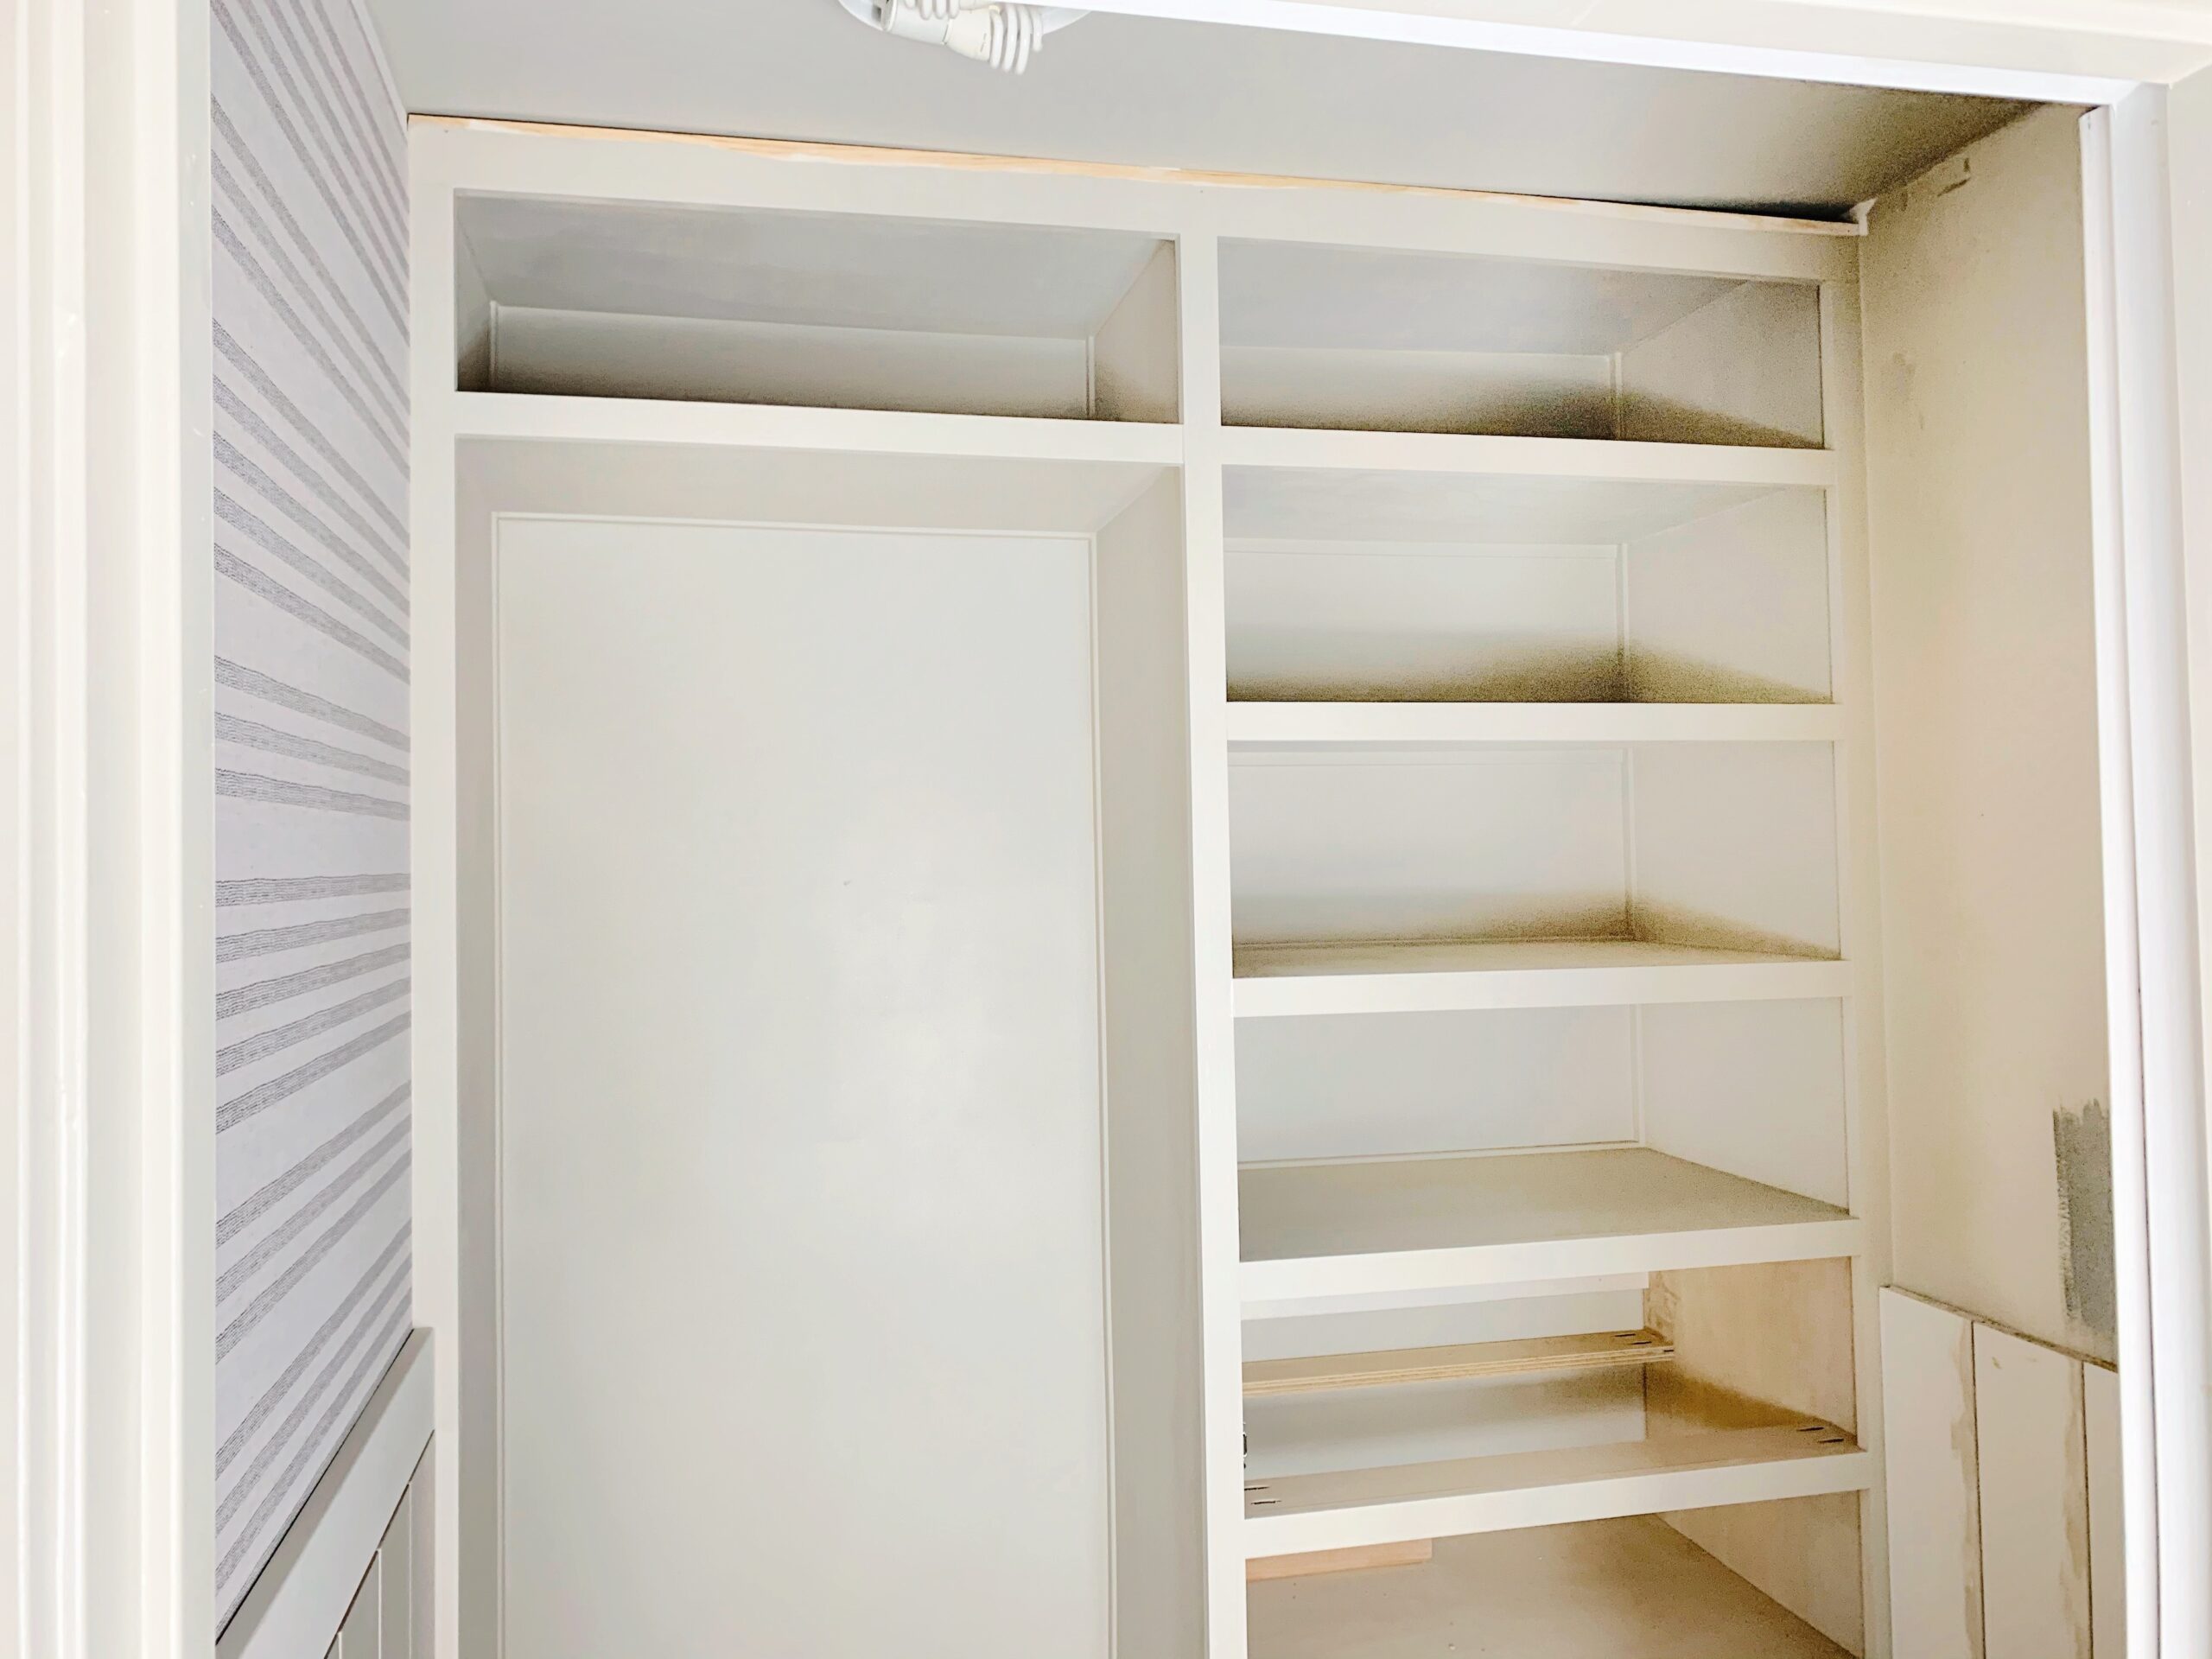
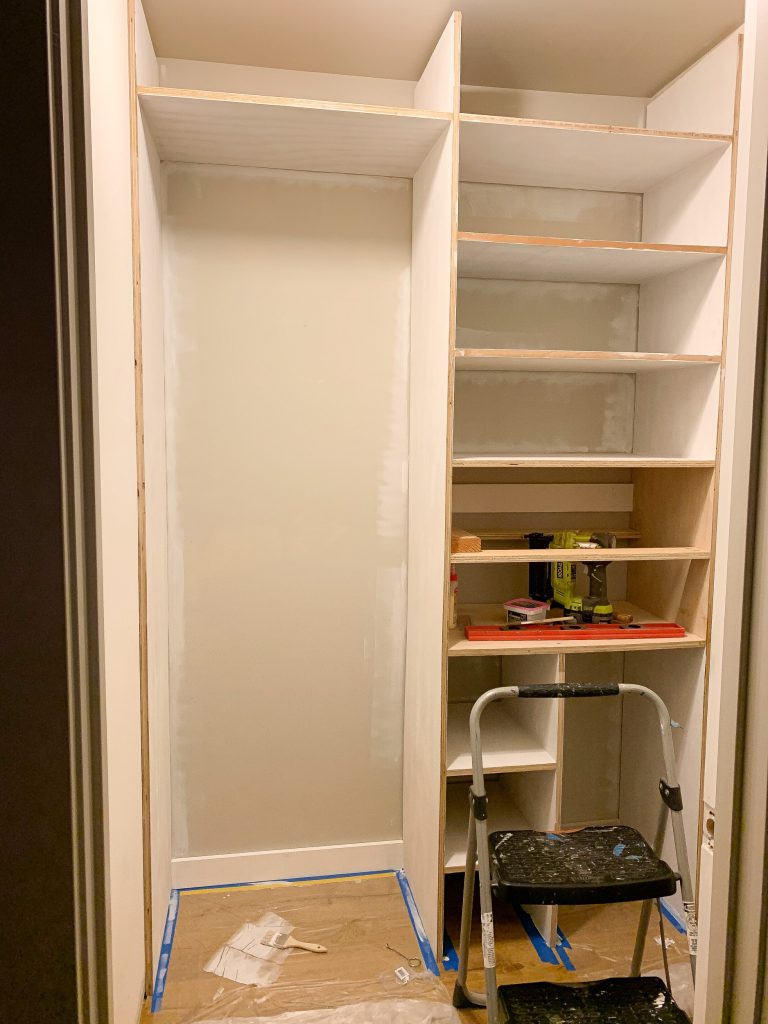
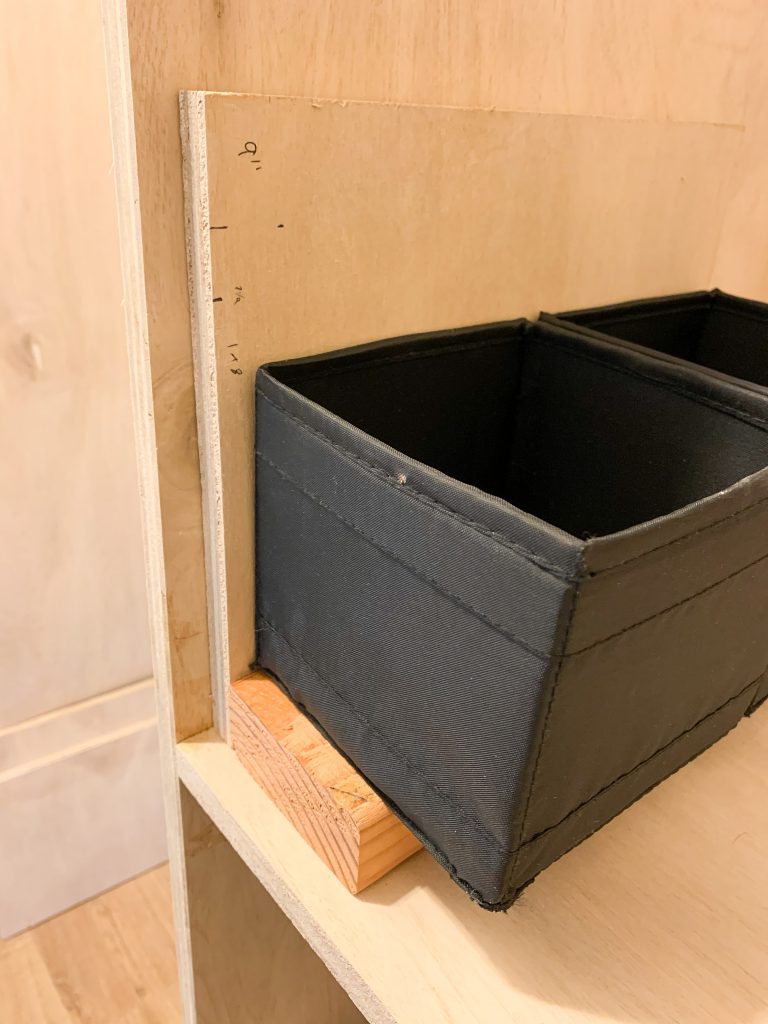
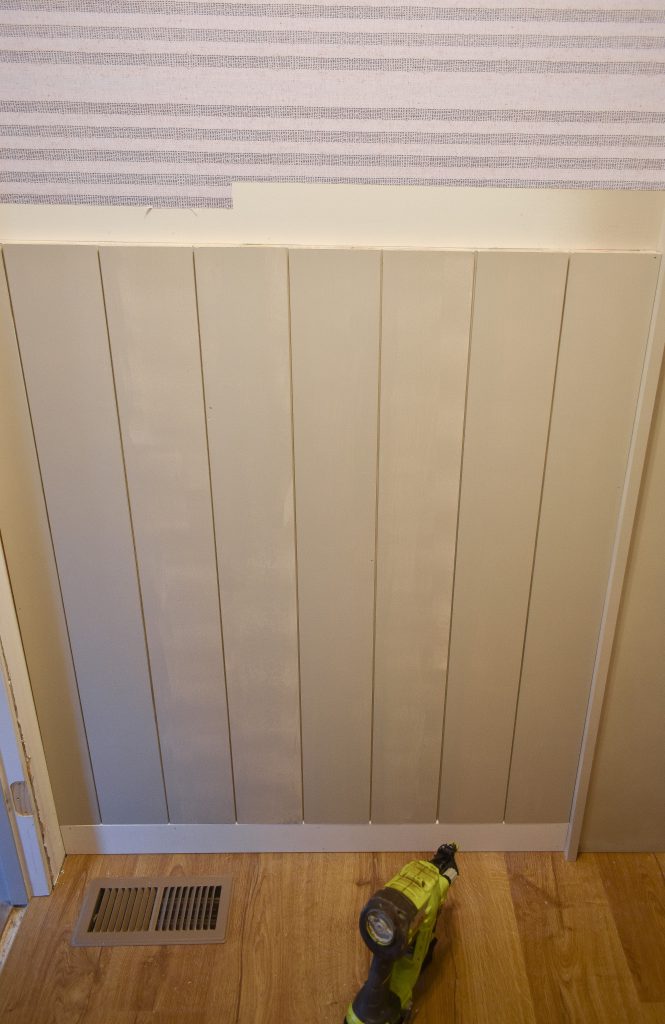
For the interior structure of the shelving I use 3/4″ plywood, starting with the sides and then adding shelving with Pocket Holes and screws. To keep my shelves evenly spaced I like to use scrap pieces of plywood cut to size, but always checking for level as I go.
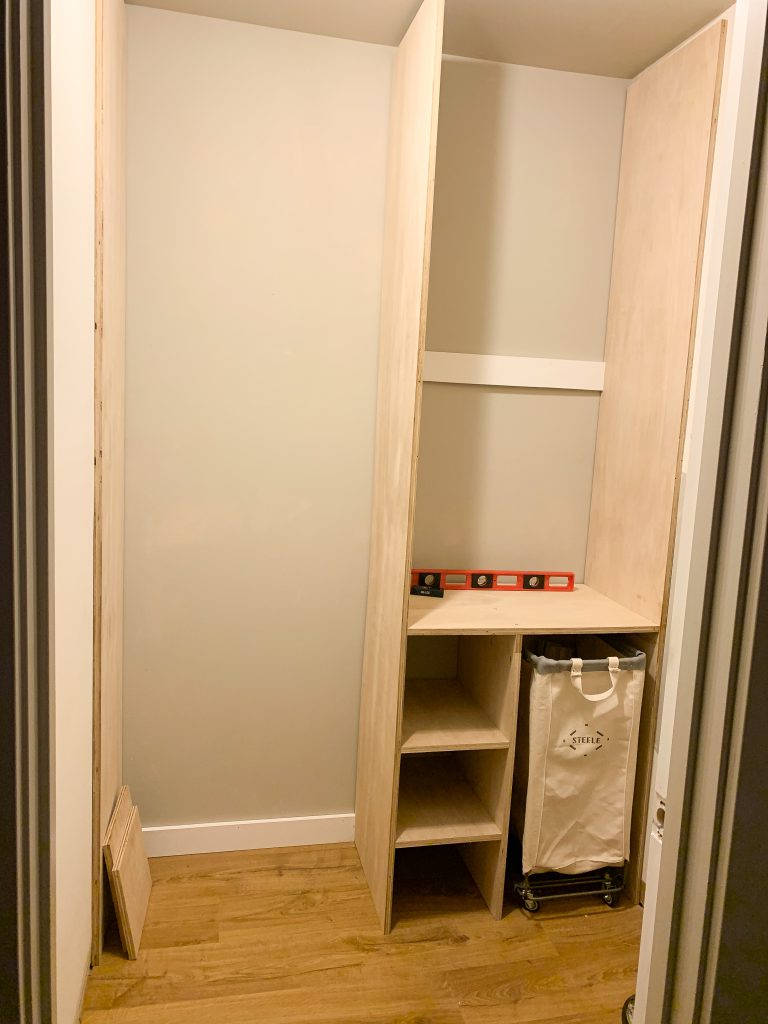
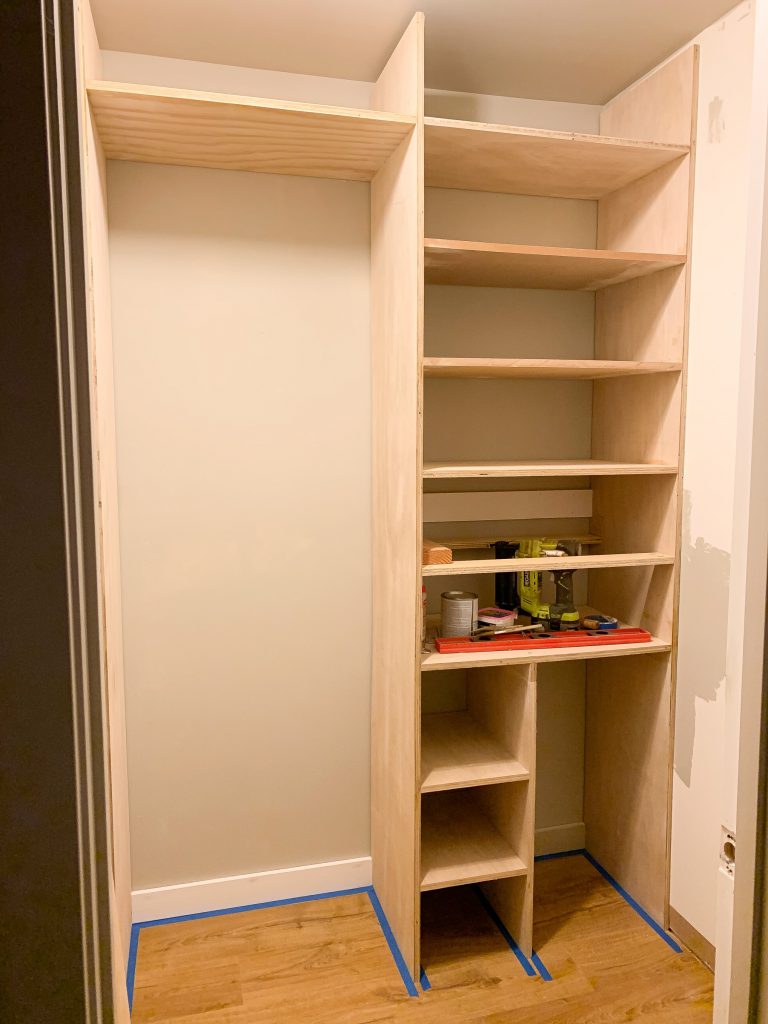
For trim, I like to use select pine 1x2s that I pre-sand and attach with wood glue and small brad nails. Everything gets patched, caulked, and primed, before I use my paint sprayer for a smooth finish (Sherwin Williams Skyline Steel in Semi Gloss).
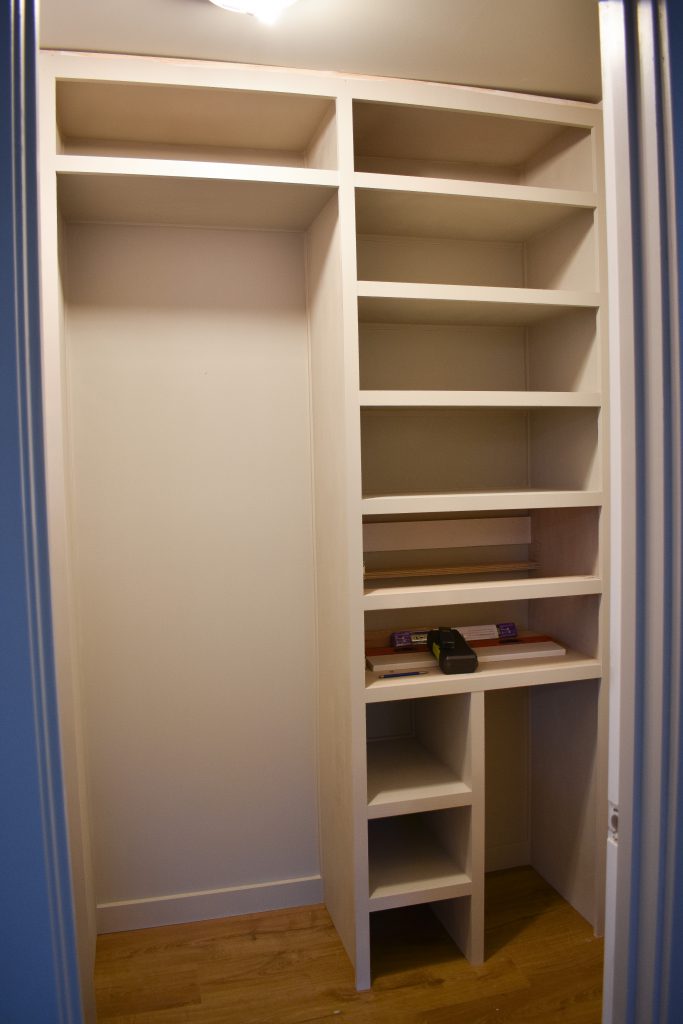
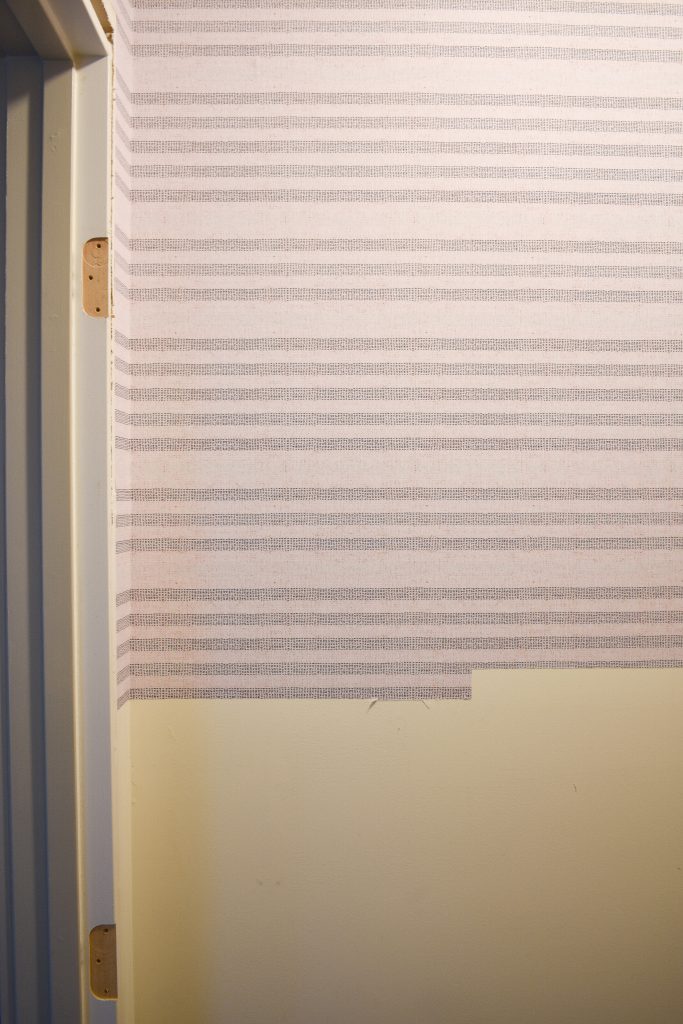
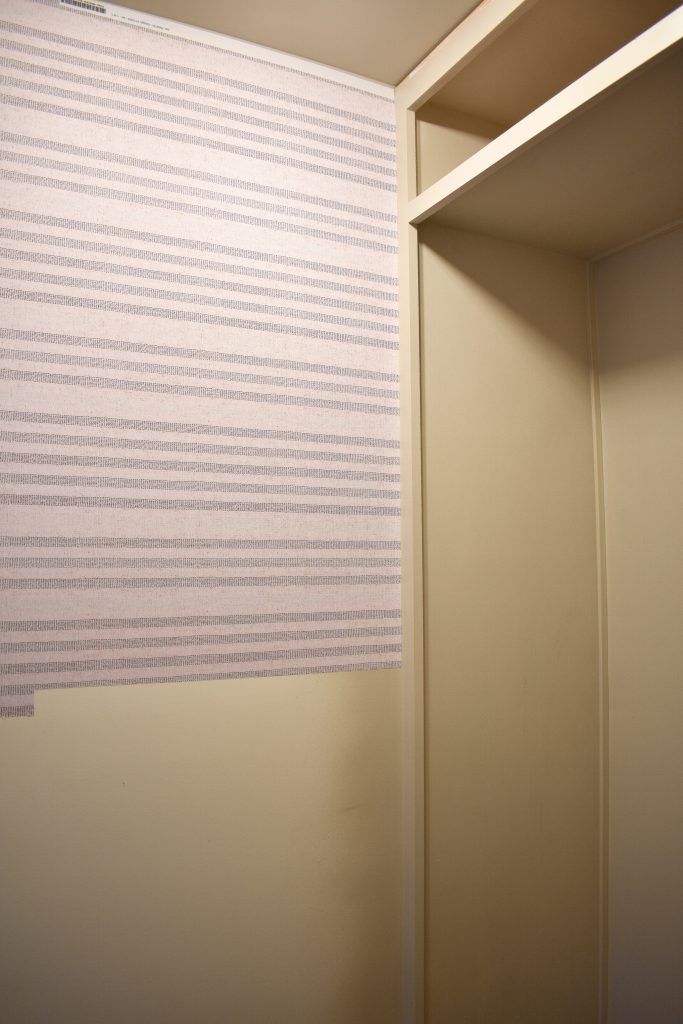
I still need to add two drawers but before that I’m working to get the rest of the major details finished including the wallpaper, base/crown trim, and shiplap. I got a little de-railed because I completely mis-red the size of the wallpaper roll and had to rush order a second one, which will hopefully be in the mail soon along with A LOT of final details I still need!
The ORC anxiety is just starting to build, but right now I feel confident I will finish as long as everything arrives on time, and I’m getting really excited about some of the last minute details I decided to add that is gonna make this tiny project special. Until next week, I’ll be forging ahead and trying to carve out time to check in on what the rest of the Guest Participants are up to because Week Four is always when things really start coming together!

Thank you to Crystorama for sponsoring an amazing light fixture for me to use in this space.

BETTER HOMES & GARDENS IS THE OFFICIAL MEDIA PARTNER OF THE ORC!

The Fall 2020 One Room Challenge® is sponsored by High Point Market

With Color Impact Partner

Comments
wow I can’t believe you are building the closet all by yourself!! It’s amazing Lindsey! fingers crossed on the wallpaper order!
wow I can’t believe you are building the closet all by yourself!! It’s amazing Lindsey! fingers crossed on the wallpaper order! looking forward to next week … only 2 weeks to go now!
This closet is looking fantastic, I can’t believe you are building it from scratch! Can’t wait to see the finished product. 🙂
It’s looking so good, Lindsey! Excited to see it in a couple weeks!
Looking so good! Impressed with your skills!