
One Room Challenge Week Three – Installing Laminate Floor
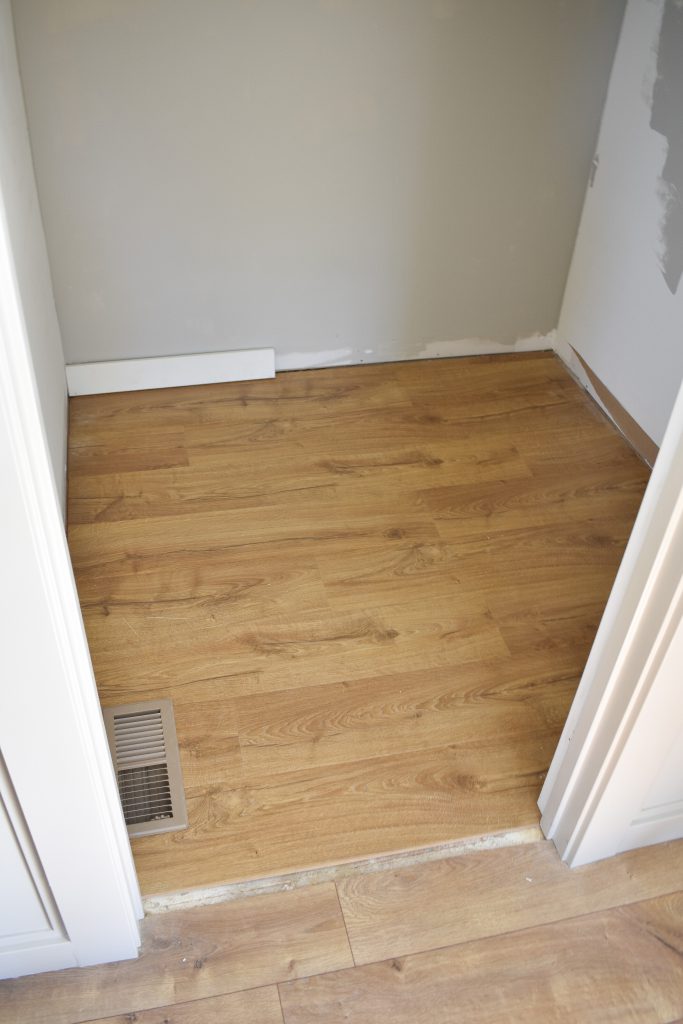
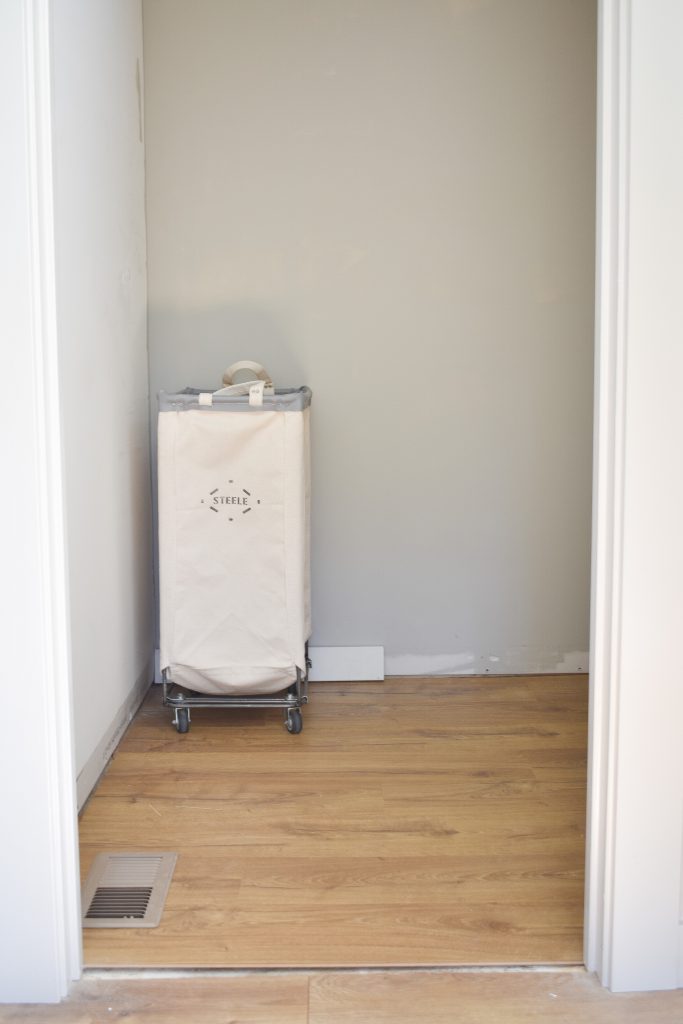
I’m all about the small victories during this One Room Challenge – this week I’m celebrating replacing one of the last sections of builder grade carpet in our house with new laminate flooring. This sets the stage for the rest of the projects I need to kick into high gear this week, but luckily I have some down time coming up that I’m going to take advantage of to move this little room forward.
Week 1 / Week 2 / Week 3 / Week 4 / Week 5 / Week 6
(Some of the links included in this post are affiliate links, meaning, at no additional cost to you, I will earn a commission if you click through and make a purchase)


Me and installing laminate floors have a long relationship – we first installed them on the first floor of our old townhouse, then on the entire first and second floors of our current house, and I even replaced the living room and kitchen flooring at my mom’s house. This little closet is just a tiny drop in the bucket compared to those, but the same process applies and my experience allowed me to bust it out in no time. Unfortunately Pergo doesn’t make our exact color flooring anymore so I had to color match as close as I could – there’s a slight different but since the door is closed on this room 99% of the time I think it will be OK.
I’m not one to re-invent the wheel when it comes to DIY tutorials, so I went into this week with the idea that I’d point you guys to any number of blogs detailing how to install laminate floor — but when I went to look I was actually surprised that there weren’t all that many out there. The best one that I came across is actually this one from Better Homes and Gardens that covers all of the basics really well so I still won’t be re-inventing the wheel in this post, but I do want to share some best practices that I’ve learned along the way and some mistakes you want to avoid.
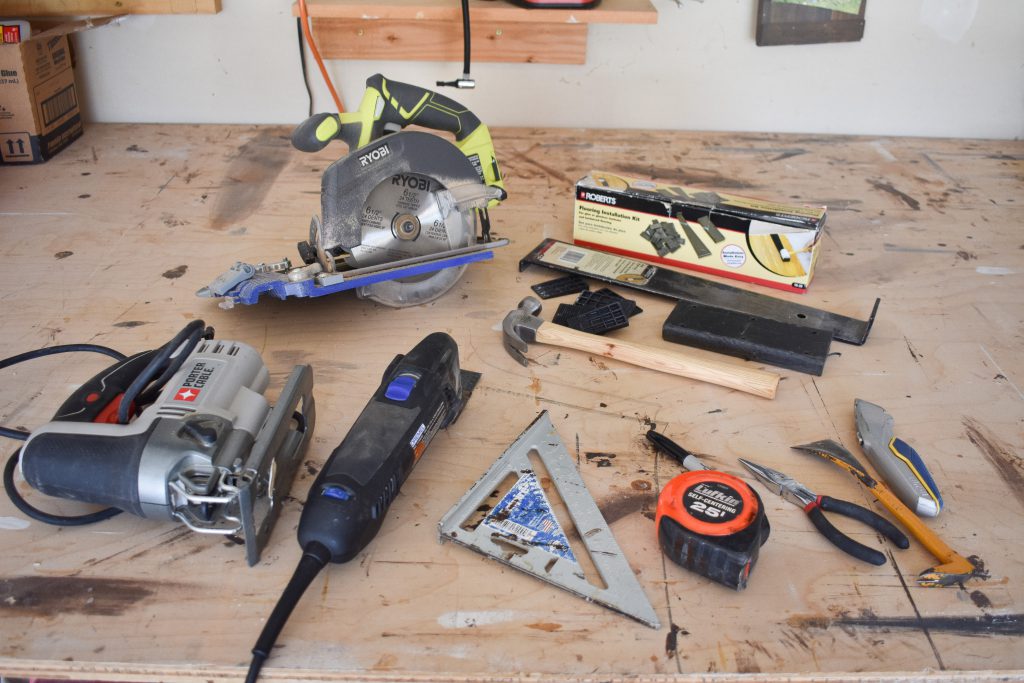
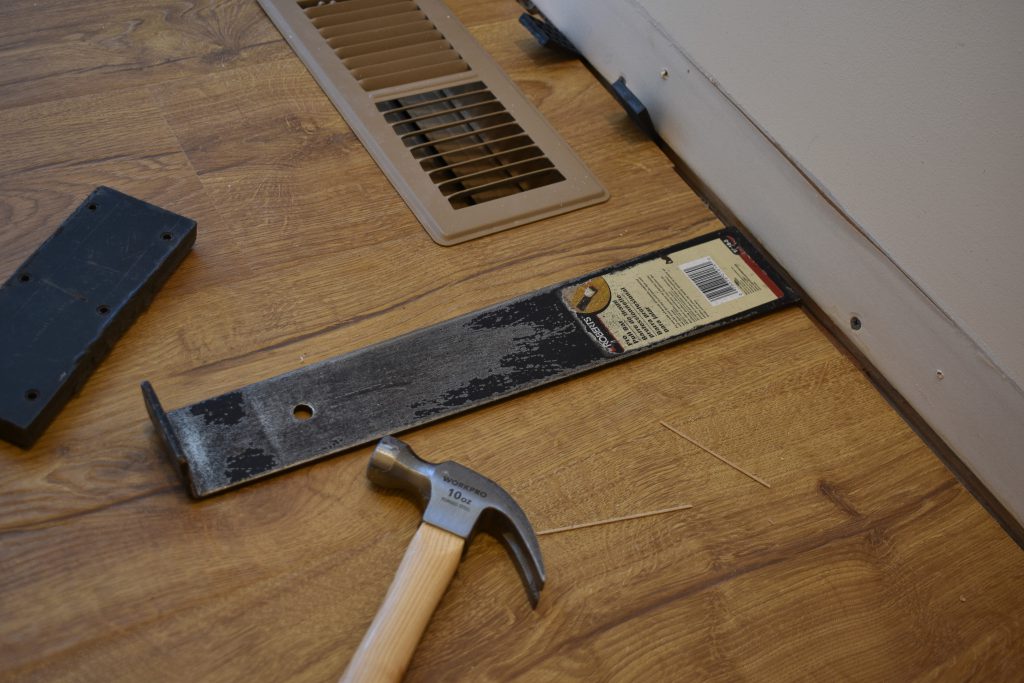
- These are the tools I would recommend having:
- Circular saw (if you have a mitre or table saw those work as well but you can get by with just a circular saw)
- Jigsaw for cut outs
- Oscillating Saw
- Laminate Installation Kit
- Hammer
- Measuring tools – speed square, marker, measuring tape
- Tools to remove baseboards and carpet – utility knife, crowbar, pliers
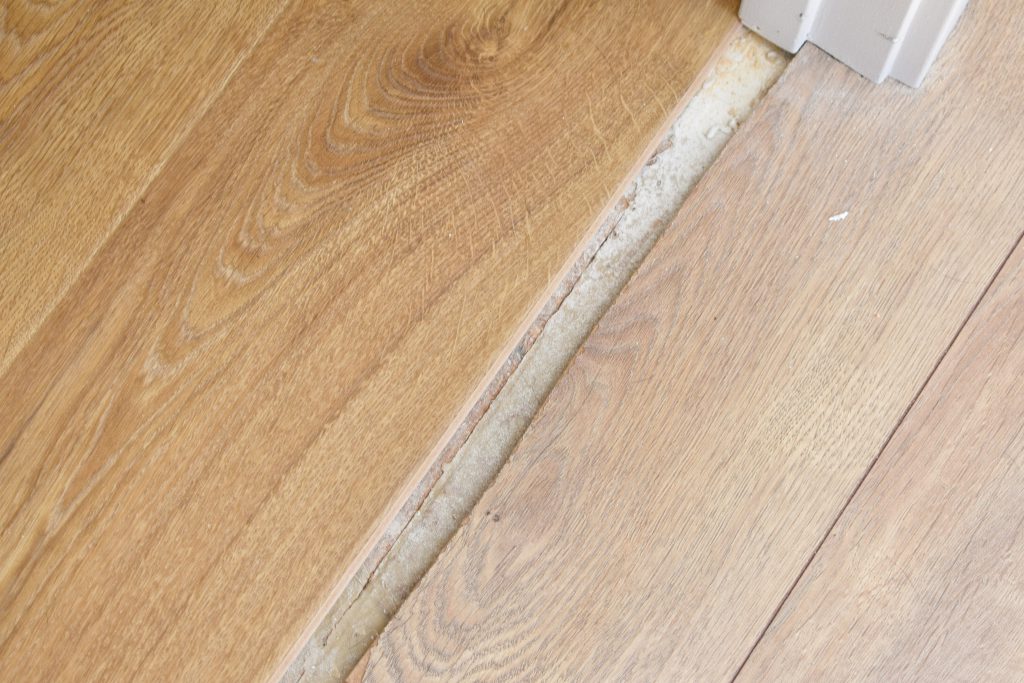
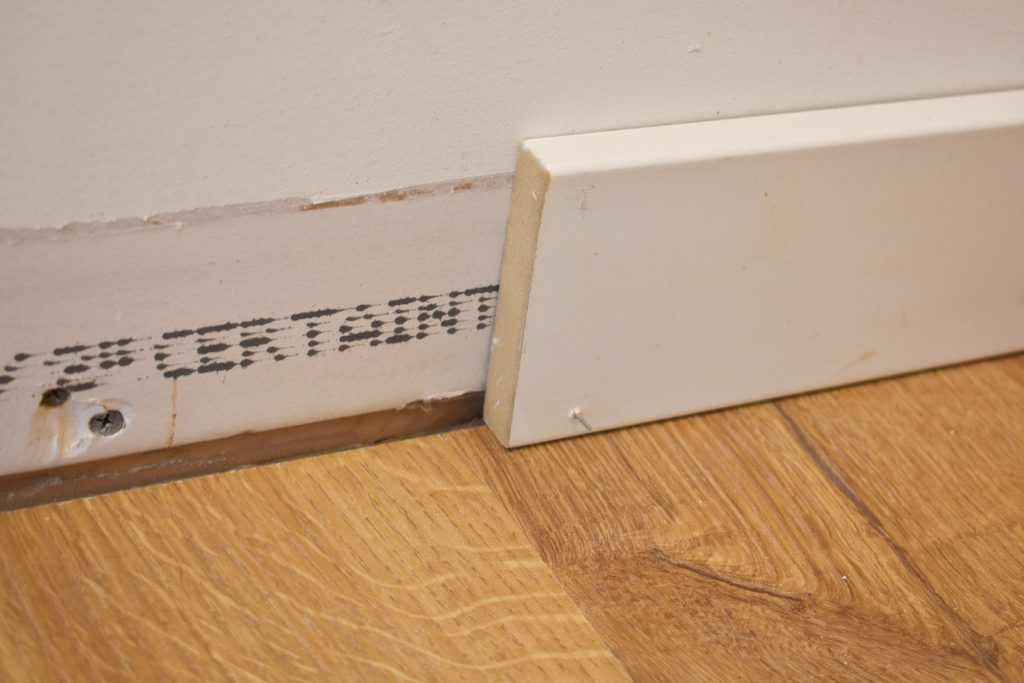
- If you want to install new floors without removing your current baseboards you can, you will just need to use quarter or shoe trim to cover the gap. In this house I chose to remove and replace the baseboards for a really clean look. Keep a scrap piece of trim on hand to make sure you’re not leaving too big an expansion gap on the edges.

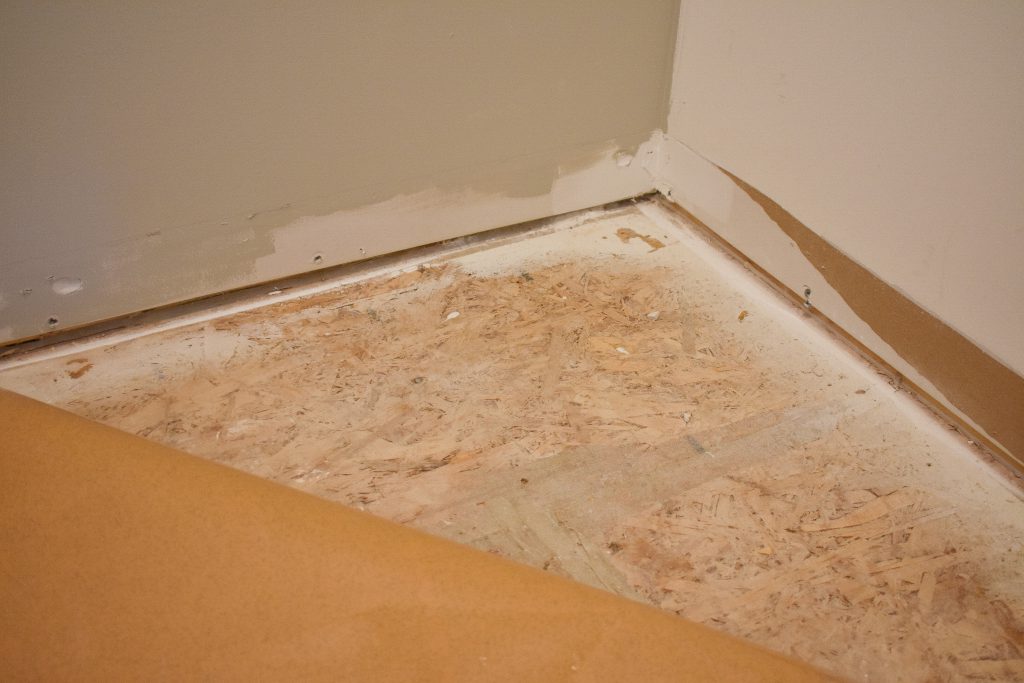
- If you replacing floors that are a combo of carpet and something else (like linoleum or existing hardwood) you will need to use underlayment to level out the subfloor so be sure to budget for that in advance.
- We always use this kind of underlayment. Some products will say this is optional but I have found that it makes the installation much easier.
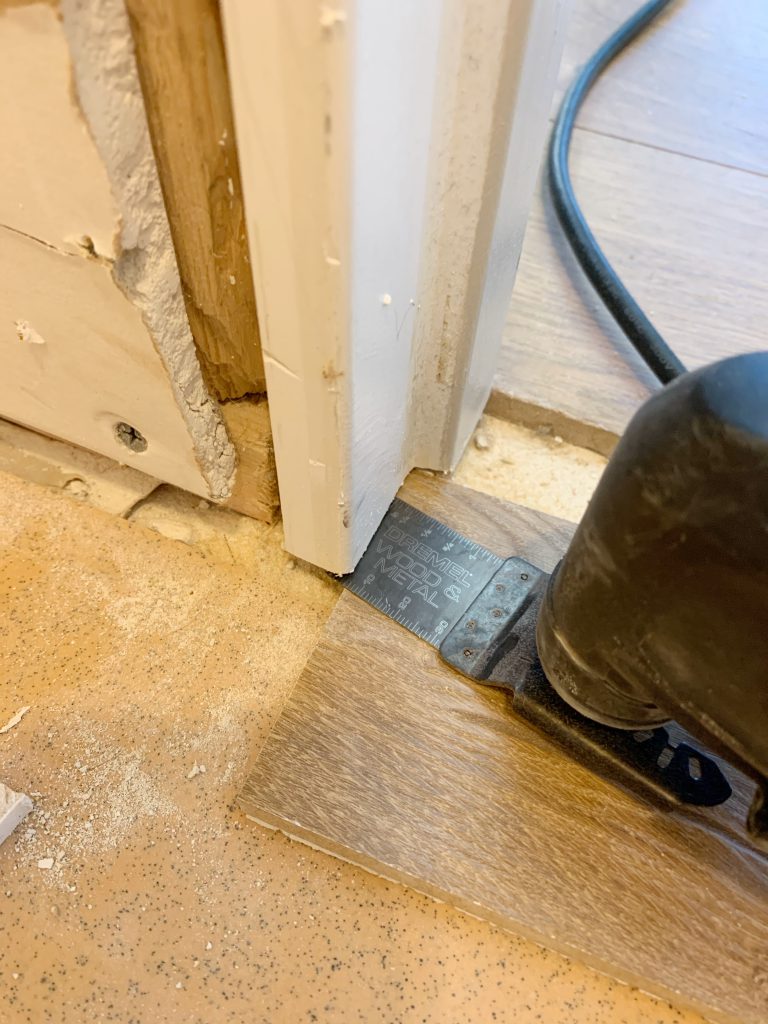
- The easiest way to remove your door jambs is with an oscillating saw and a scrap piece of flooring.
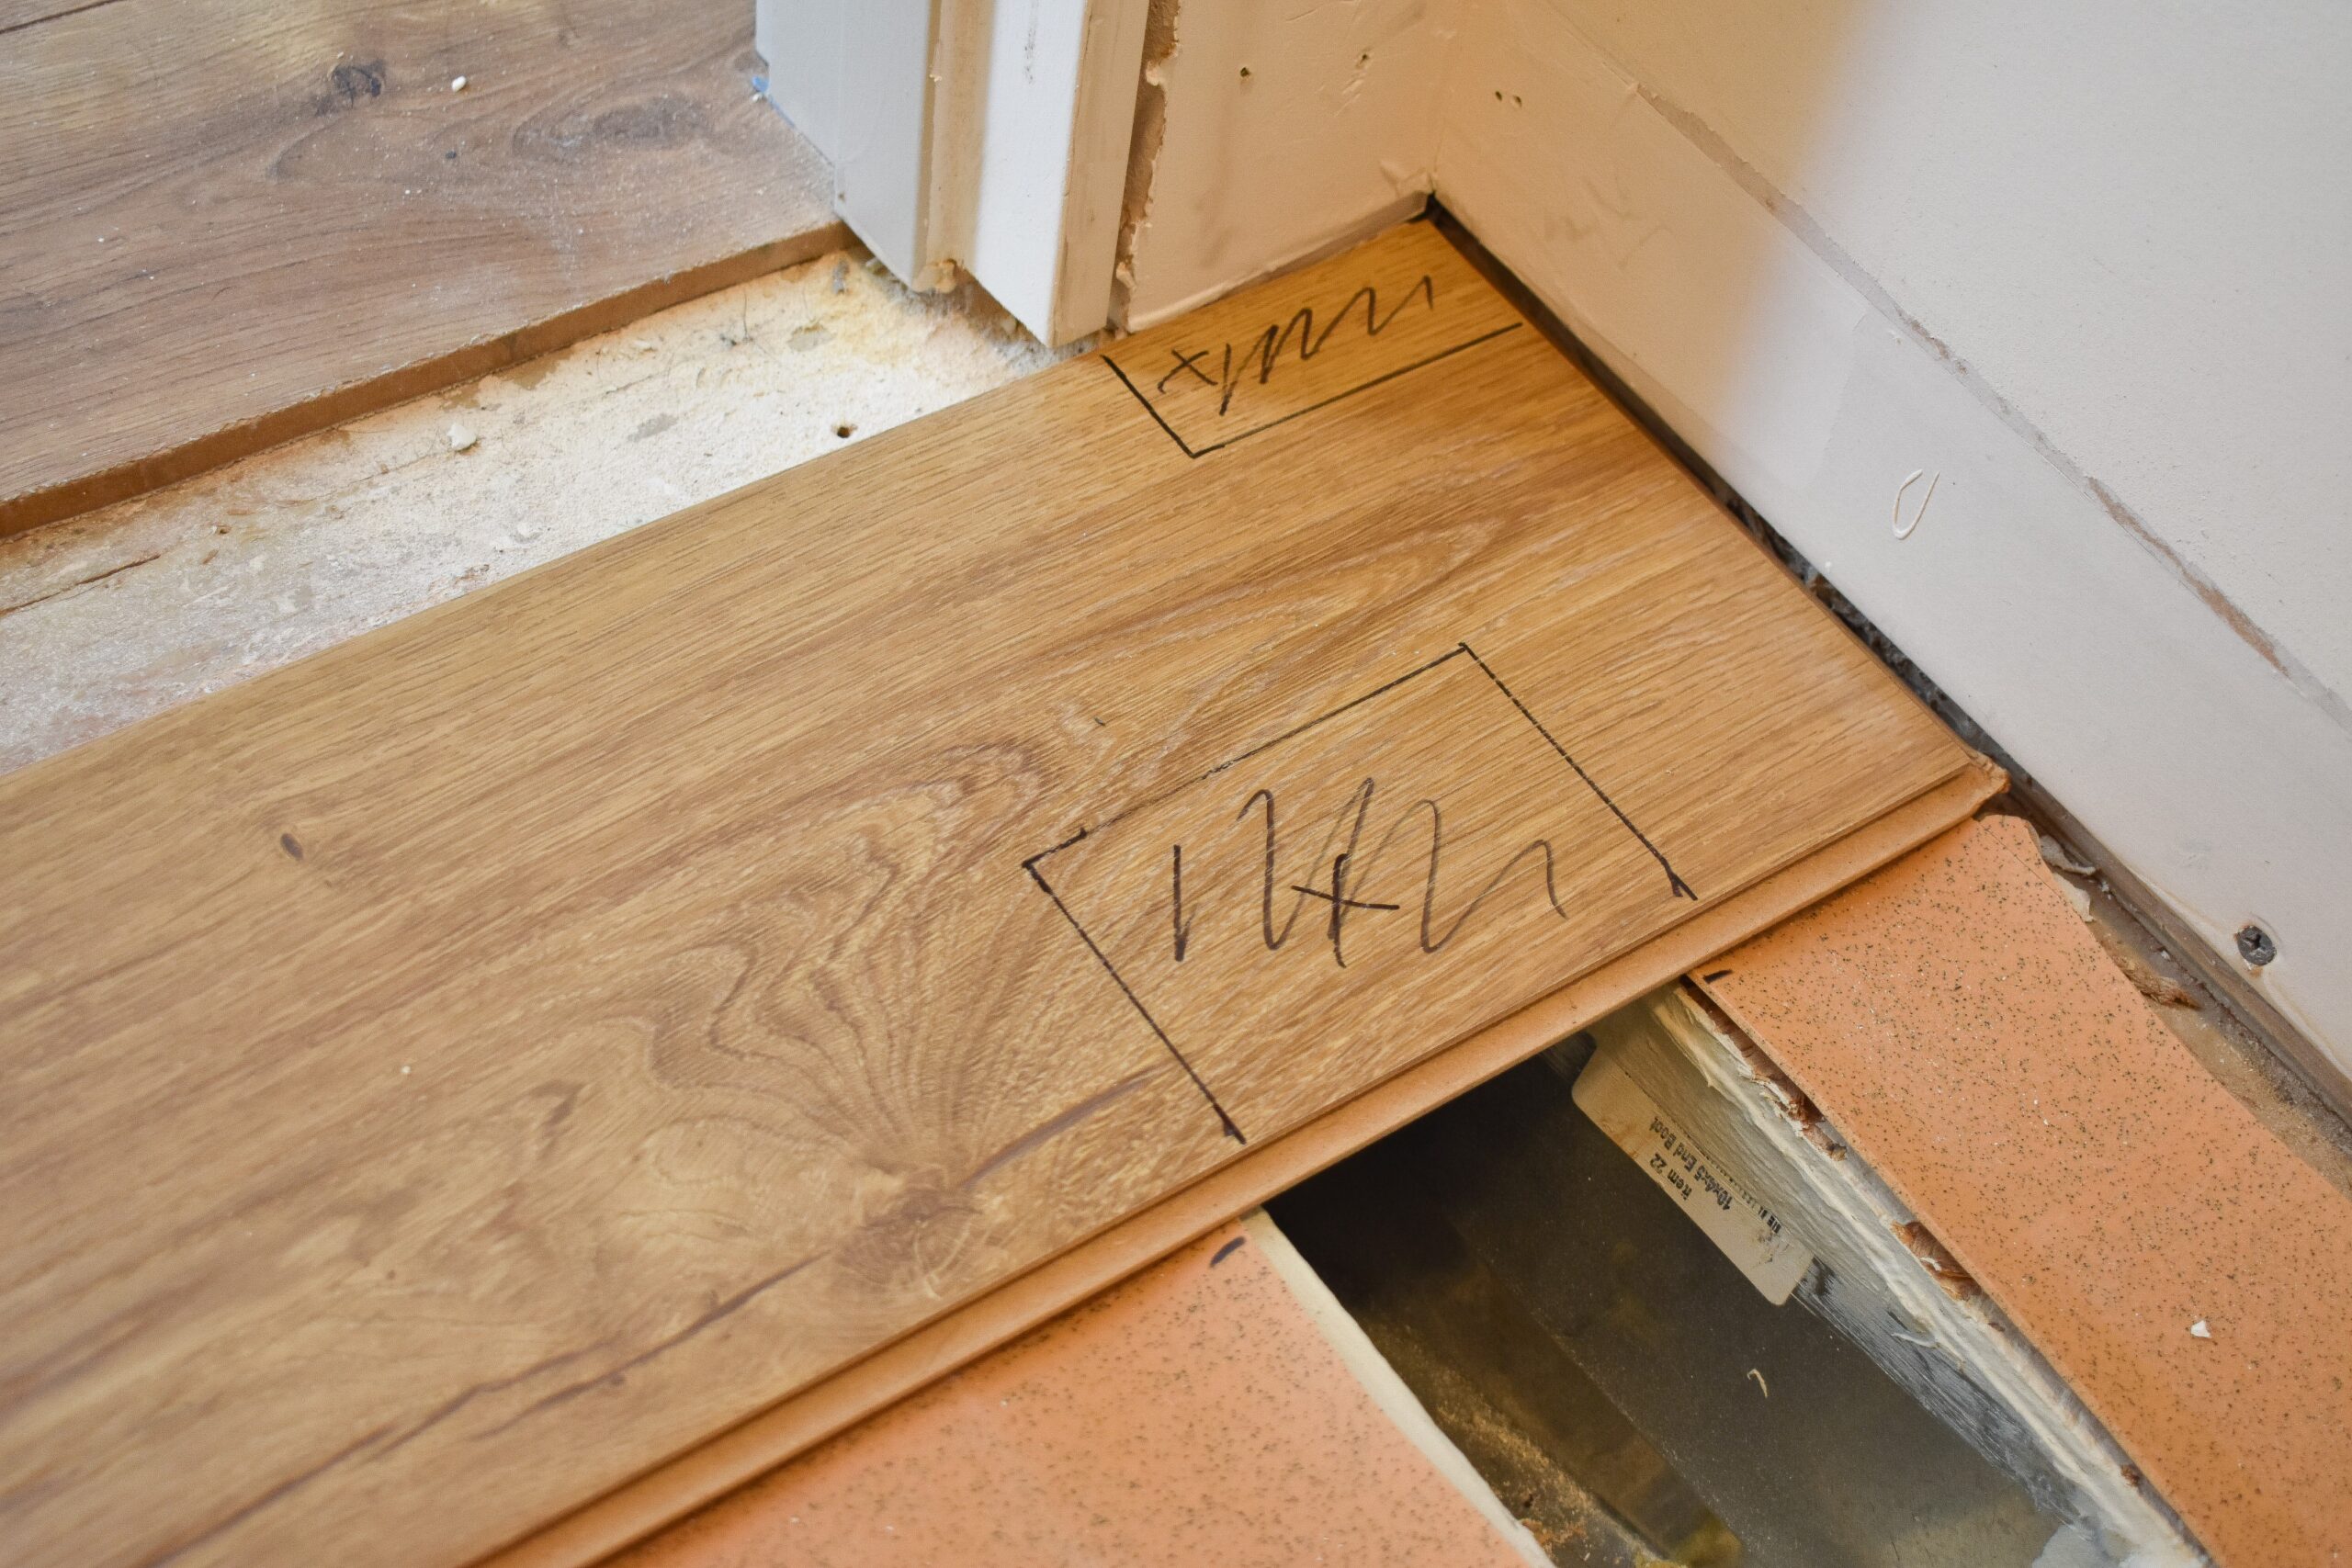
- Two things to keep in mind when laying out your floor – 1) Stagger the length of the starting board for each row or you’ll start to get a noticeable and un-natural looking “step” pattern to your boards and 2) Make sure you’re not laying two of the same boards next to each other – each box has about 8 different boards so mix them up as you go.
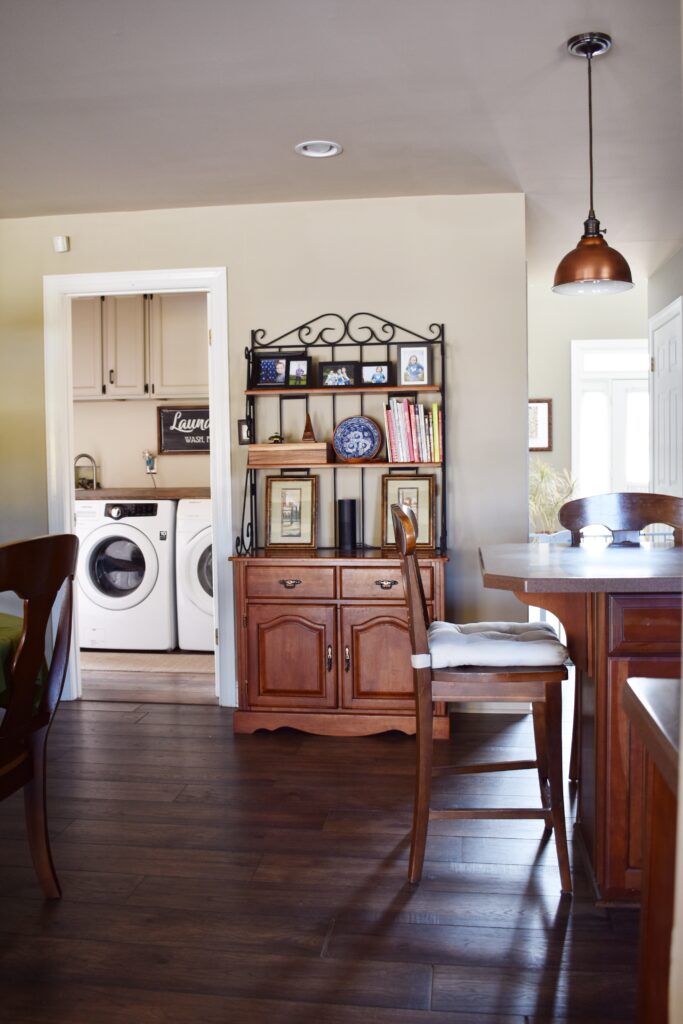
We’ve had our current floors for 5 years and I can honestly say it was one of the best investments we’ve ever made. I specifically chose laminate to not only hold up to the heavy traffic from our kids and pets, but because I knew it would be the easiest DIY option to tackle.
Today I started working on the custom cabinetry and I will feel a WHOLE lot better about making the deadline once that’s done so wish me luck! I’ve been checking out all of the other guest participants and they have been putting me to SHAME with their work so I’ve got to step it up in week 4.

Thank you to Crystorama for sponsoring an amazing light fixture for me to use in this space.

BETTER HOMES & GARDENS IS THE OFFICIAL MEDIA PARTNER OF THE ORC!

The Fall 2020 One Room Challenge® is sponsored by High Point Market

With Color Impact Partner


Comments
you guys are amazing with DIY and taking on the task of installing flooring! looking forward to seeing the closet coming together over the next 3 weeks!
The first floors we installed were pretty much the jumping off point for my love of DIY too
This is a big win for any ORC! We replaced our gross brown carpets with a click and lock engineered hardwood and I have been SO HAPPY with them! The project itself was fun too – I definitely would use knee pads next time. The oscillating tool would have been a shoulder saver too.
Knee pads for sure when you’re doing a big room! I was lucky that my dad already had an oscillating saw the first time we replaced our floors and taught me that trick to start…it comes in handy more times than you think too.