
One Week Challenge Week Five – Fraken-Furniture
I got a little bit behind this week but luckily I built in a bit of a buffer this time around so I’m still feeling OK about my timeline…which is good because I’ve got one more really big project to finish. The boys don’t seem to mind that the room is far from done though – they’ve already been sleeping in here over the weekends so I think that mean’s I’m on the right track.
Week 1 / Week 2 / Week 3 / Week 4 / Week 5 / Week 6 / Week 7 / Week 8
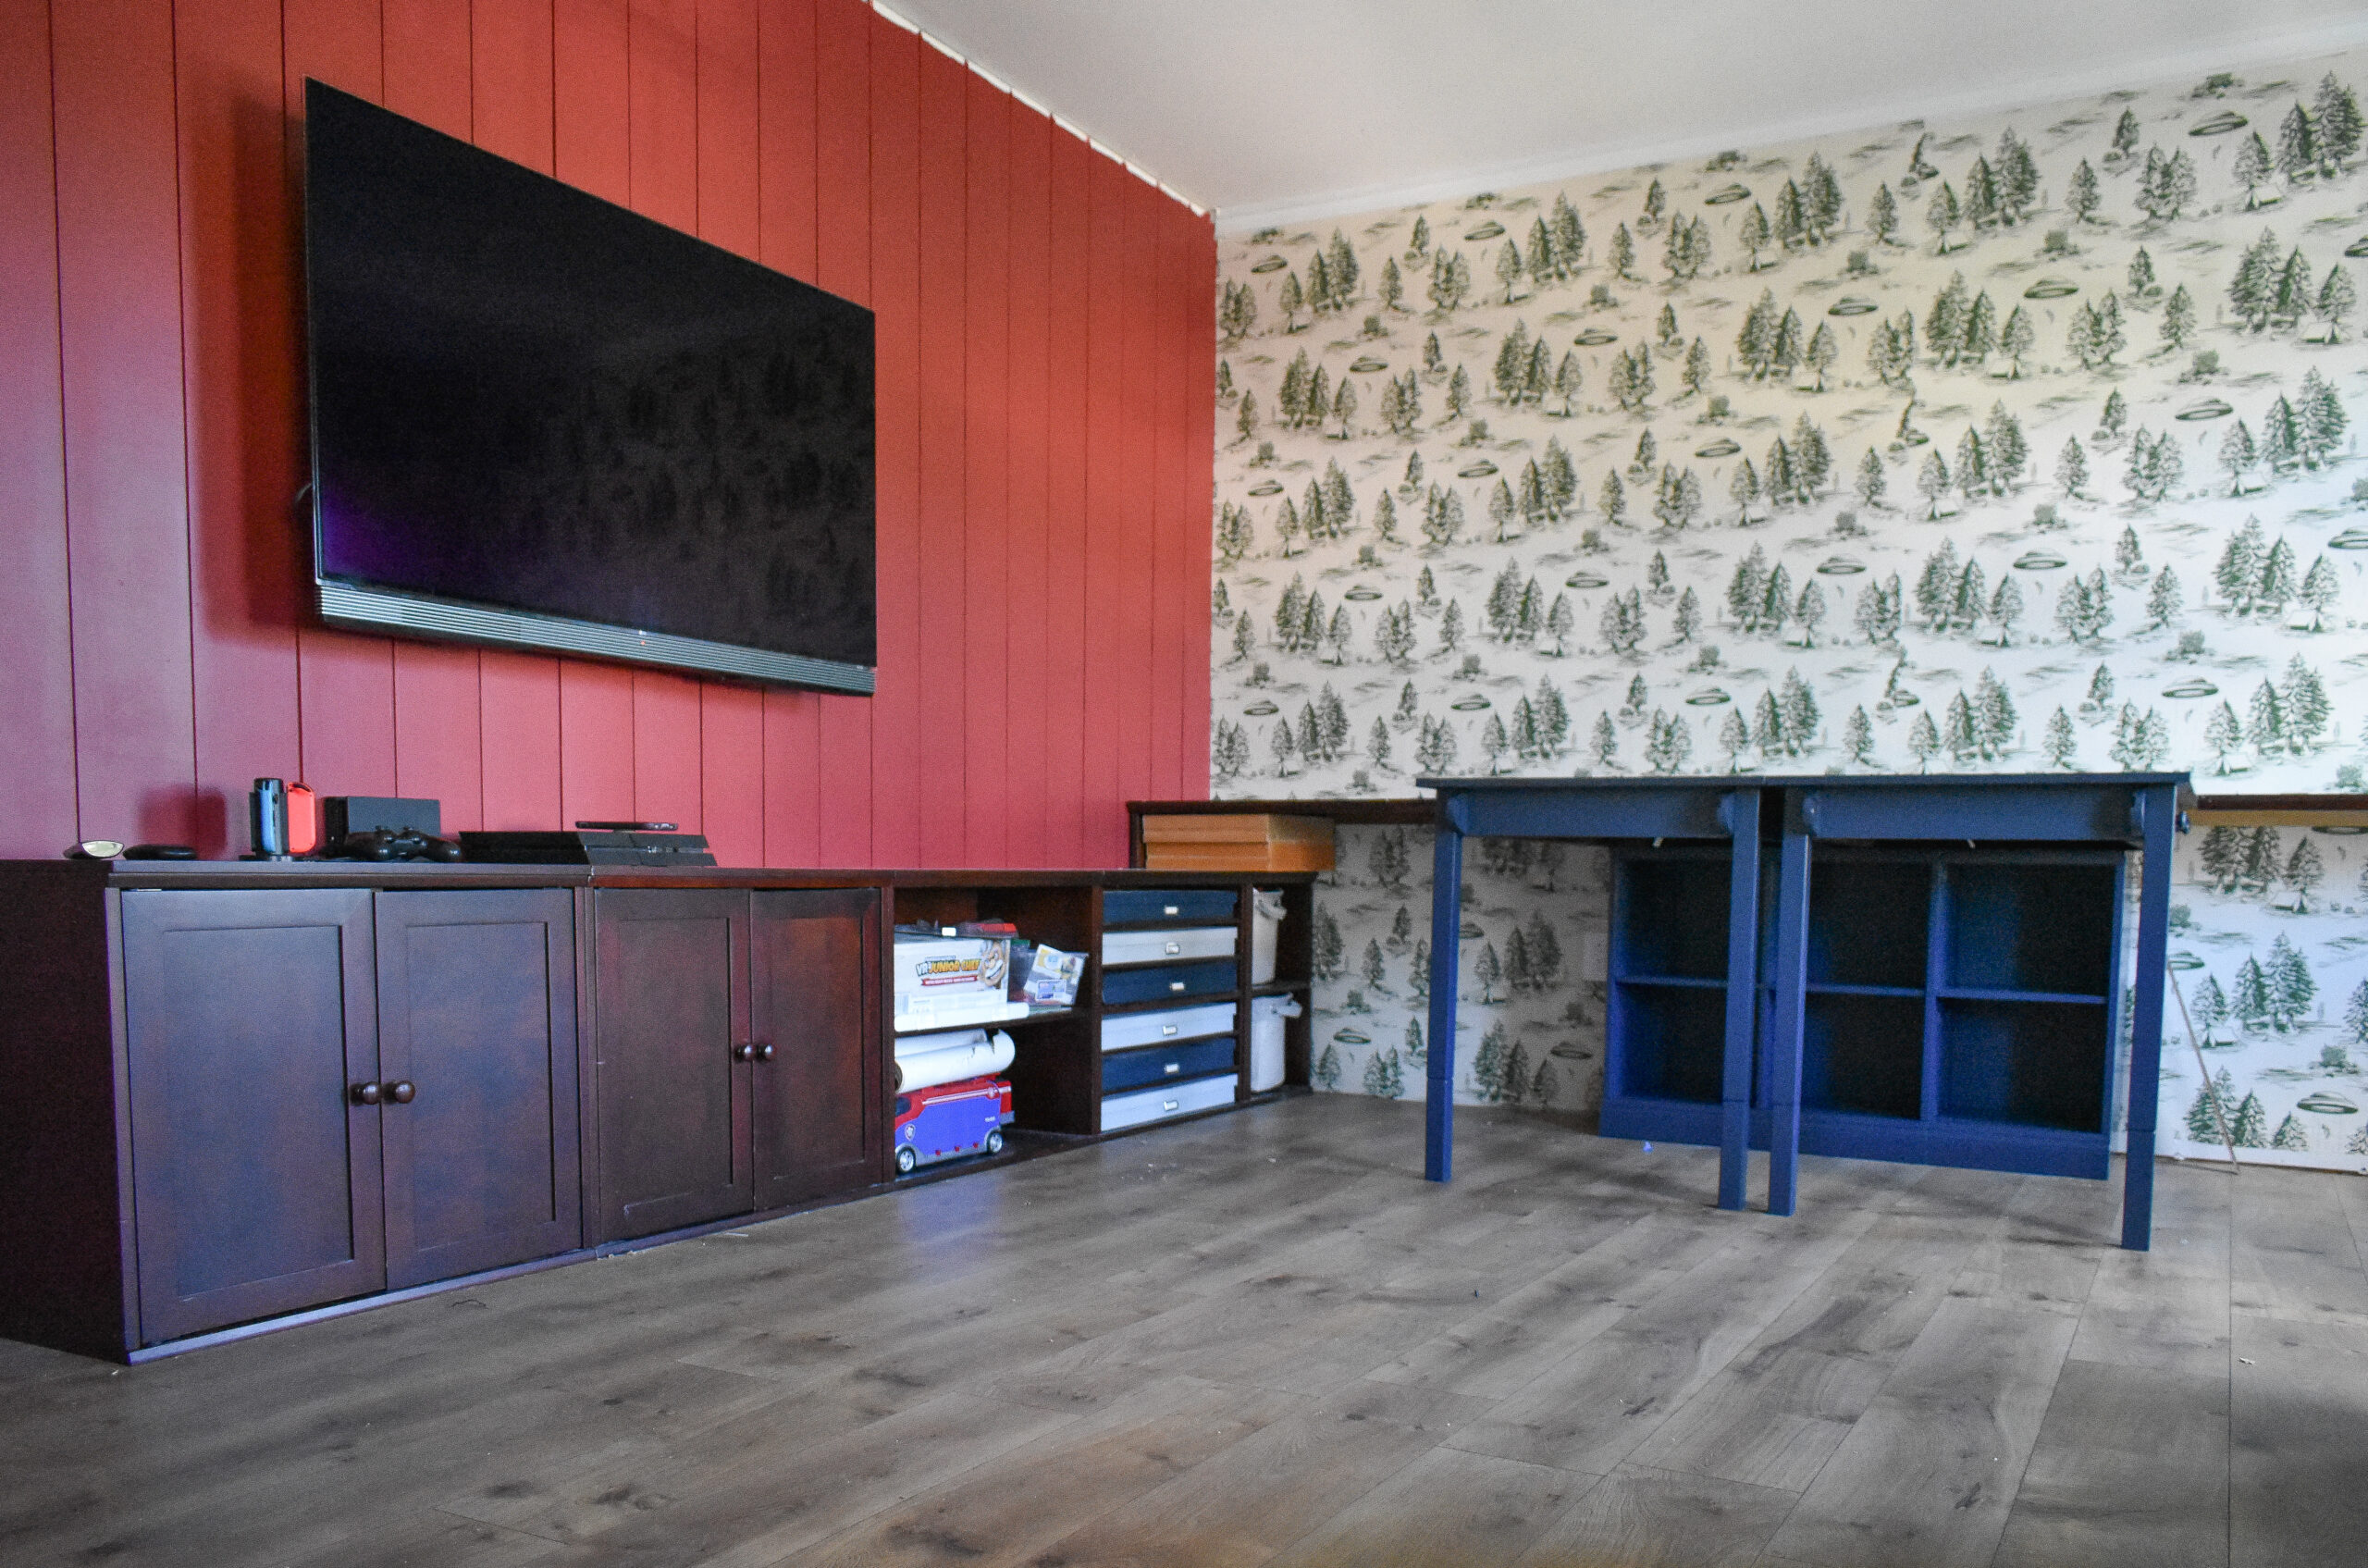
It’s finally time to start refilling this room with furniture – yay! When I’m working out the furniture plan for a space I divide things into three categories — 1) What can I re-use? 2) What can I build? 3) What do I need to buy? This week we’re going to talk about number one — What can I re-use? This can range from items that I give a new coat of paint, to pieces that I can completely transform…..and this time there’s going to be quite a bit of both.
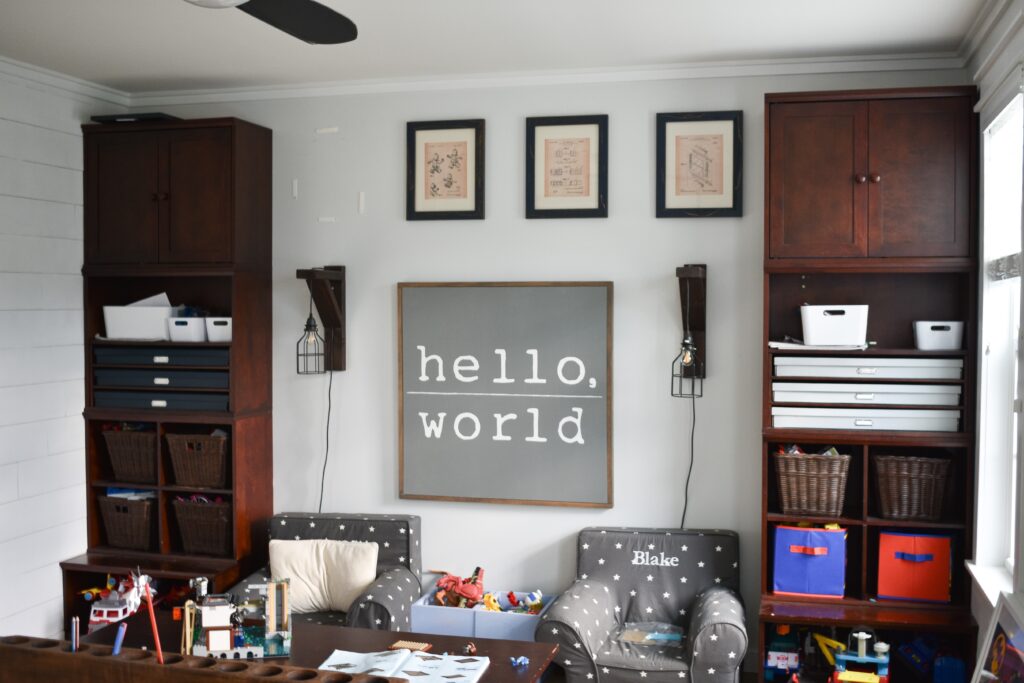
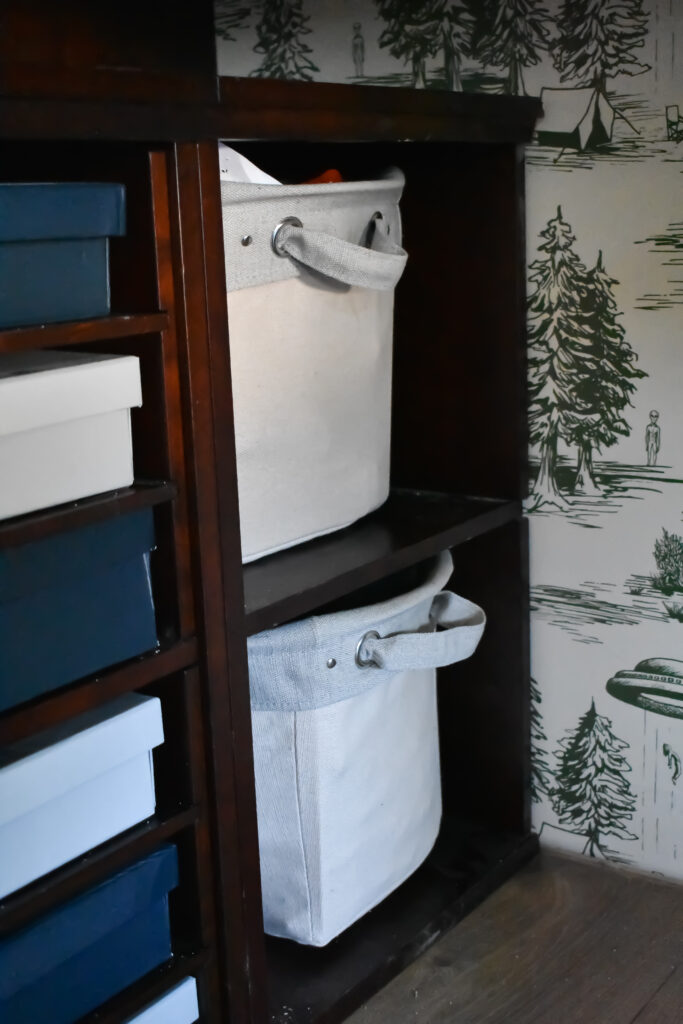
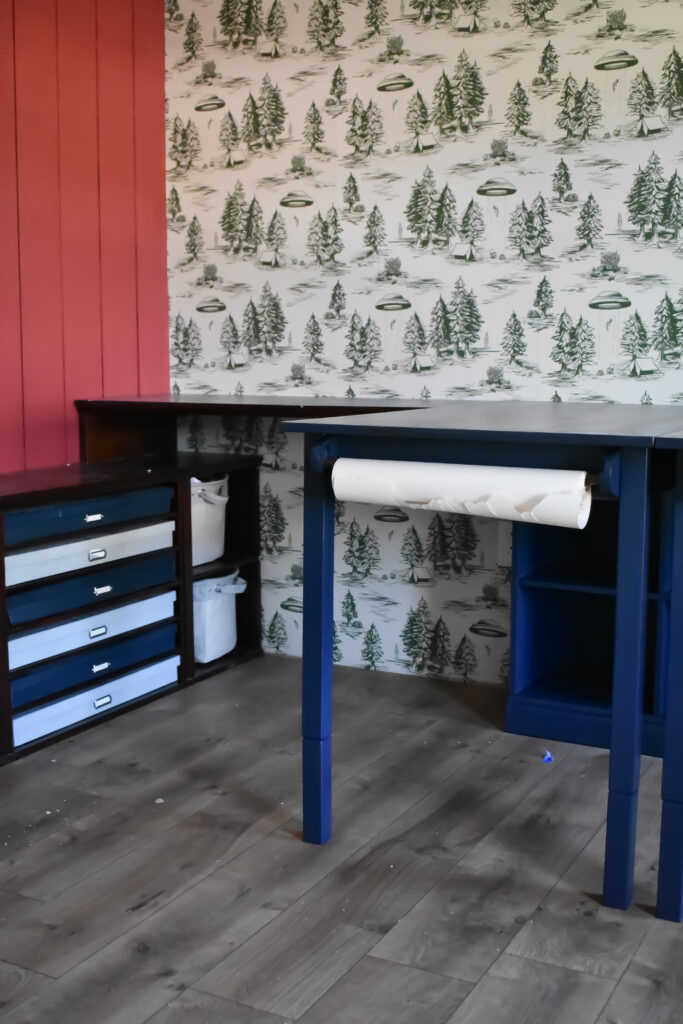
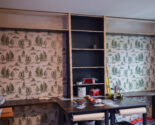
If there’s one piece of furniture that I’ve recommended to quite a few parents it’s this PB kids Cameron storage system. We’ve had it for a decade and it traveled with us from our old townhouse to this one and has already been re-arranged in at least three different configurations…..and now it’s onto number four. I took the whole thing apart and combined it back together to create one loooooonnnnggg console table along the shiplap wall.
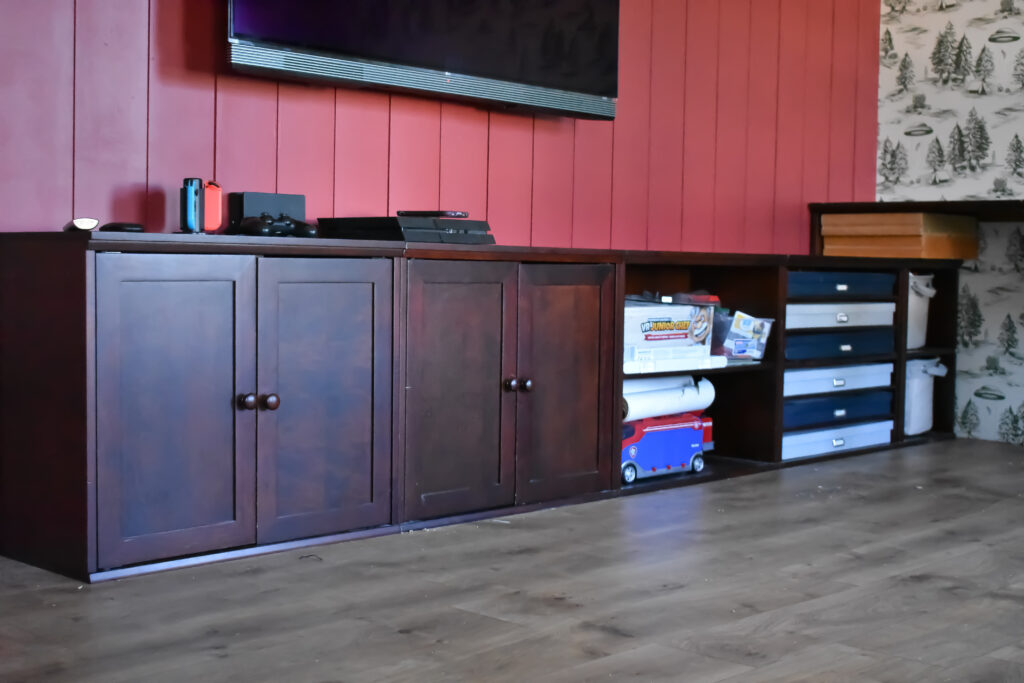
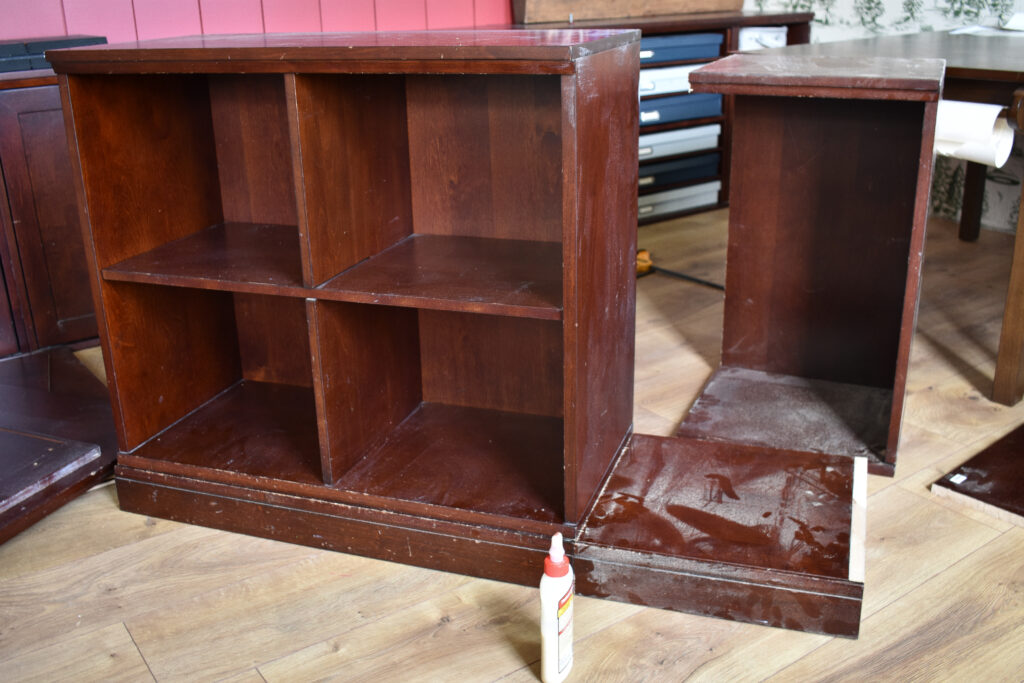
Of course things couldn’t be THAT easy. I performed some pretty major surgery on two of the cabinets. I cut one cabinet in half and used one side in the console, and the other side I Franken-DIY’d with the last cabinet to create a three bin version that then was combined with…….
…..the PB kids activity tables that we’ve also had forever. I love the size of these, and the spools for craft paper, but I needed to move them both to the same side which was a pretty easy fix once I figured out how to take them apart.
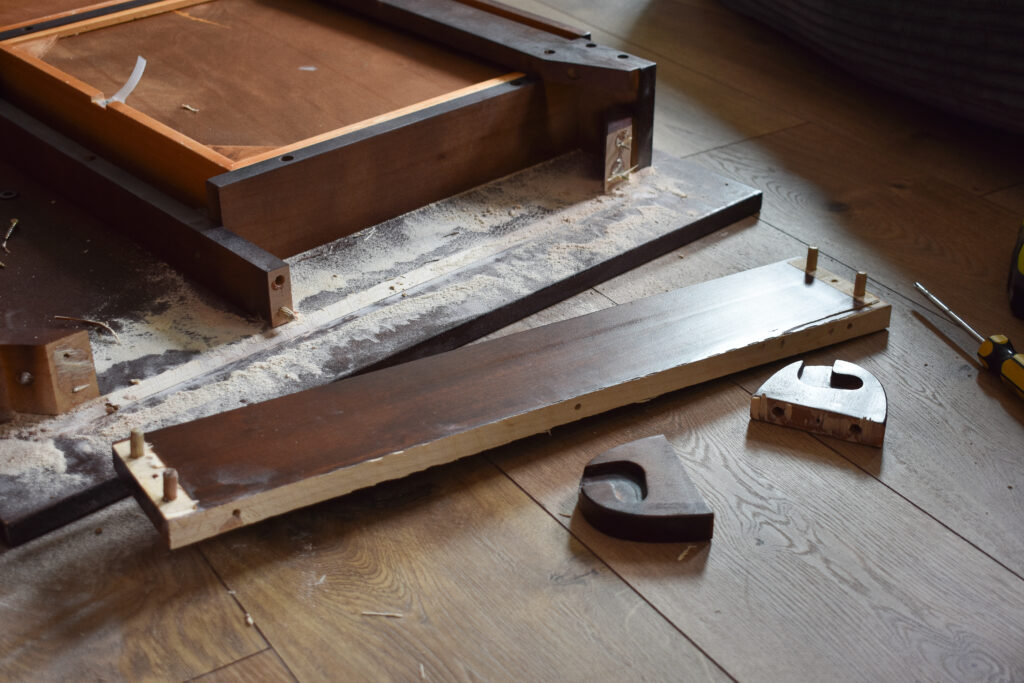
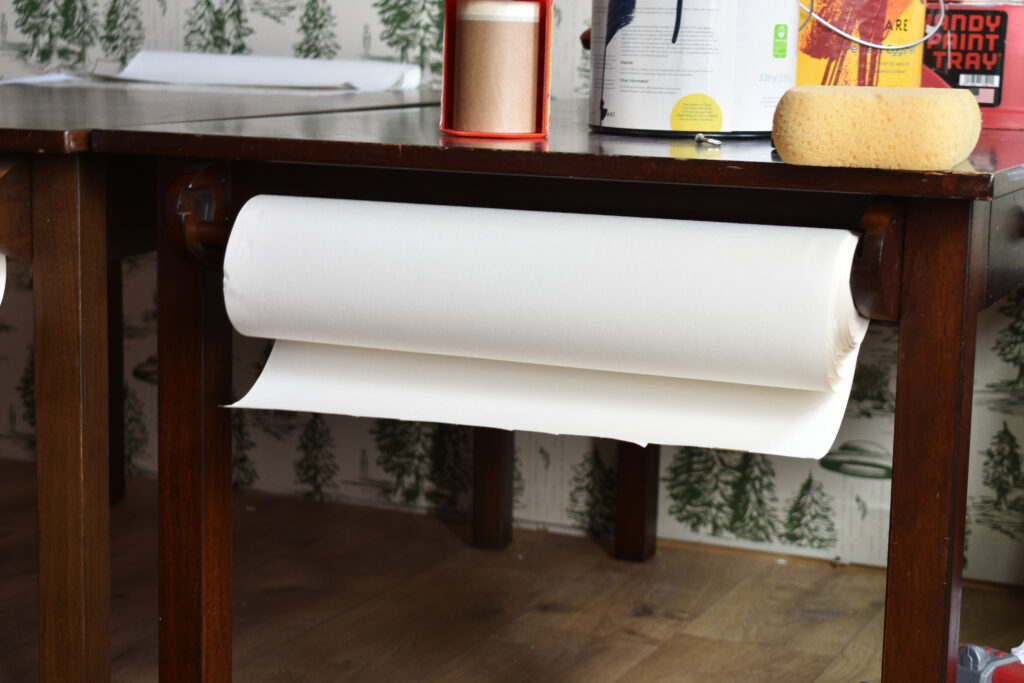
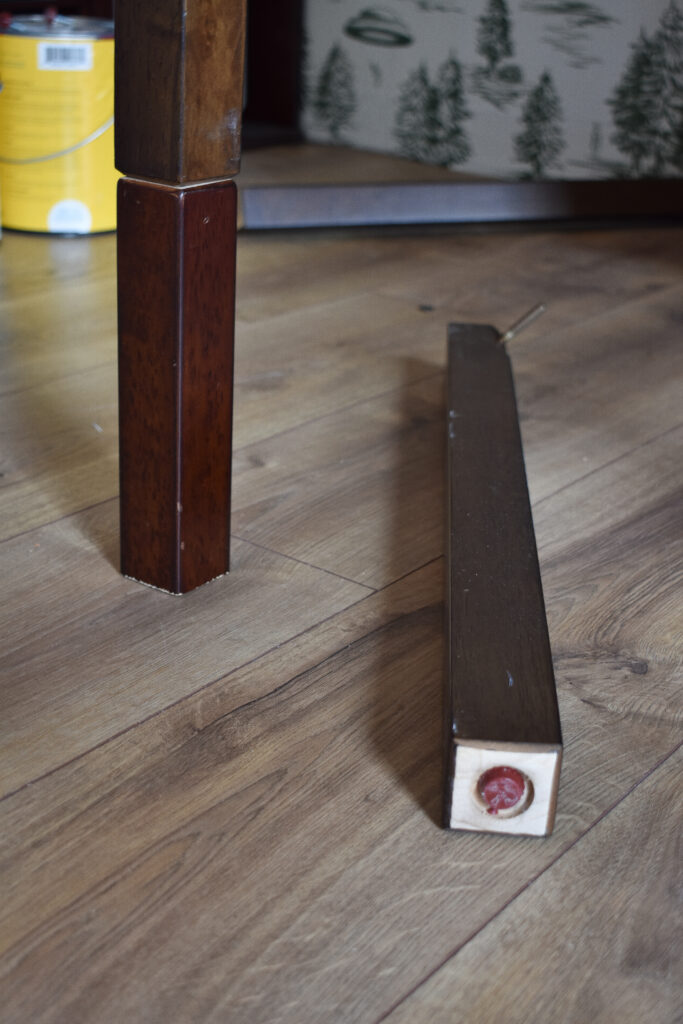
Since they were also to short to serve as a desk I had to raise them up. As I mentioned earlier, I replaced the back legs with the three-bin cabinet I created (the bottom of the tables just rest right on top) and then I figured out a way to screw the legs together with some threaded rods to bring them up to the right height.
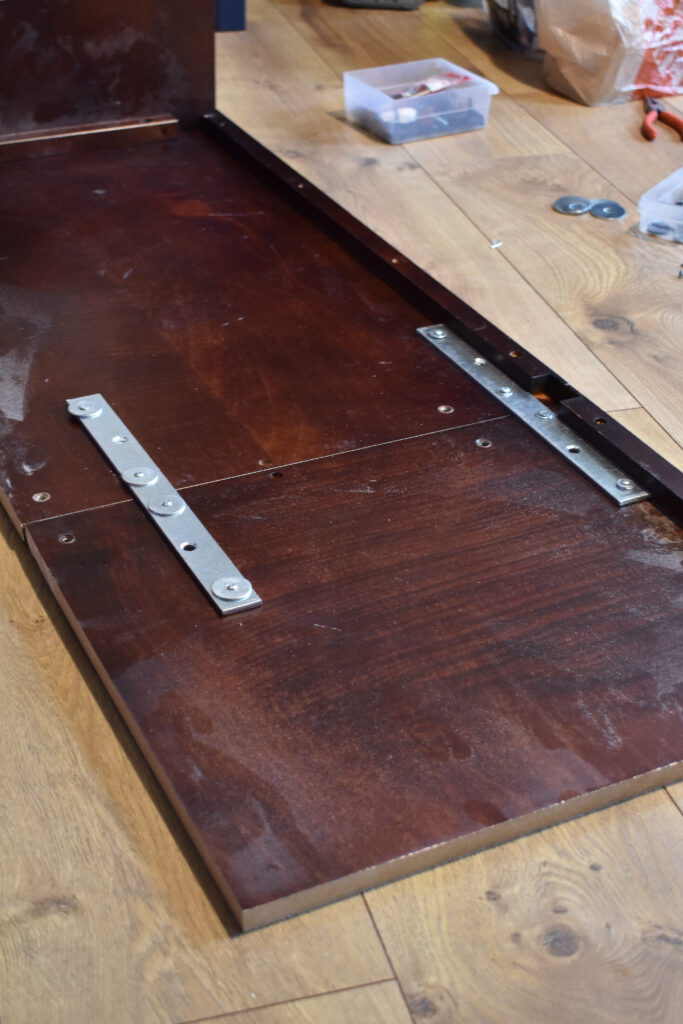
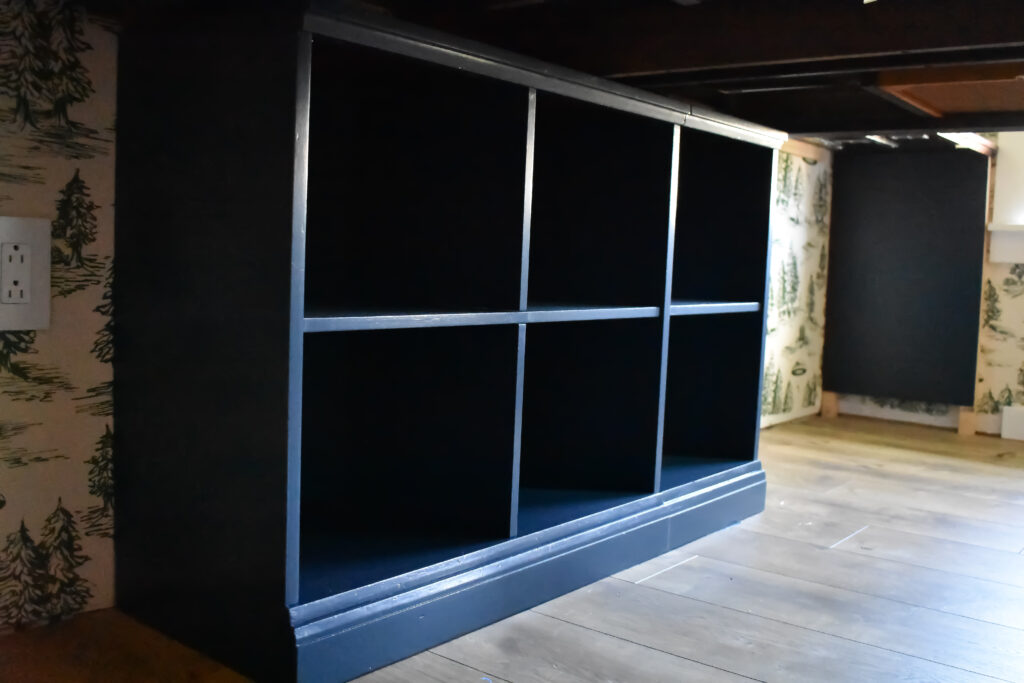
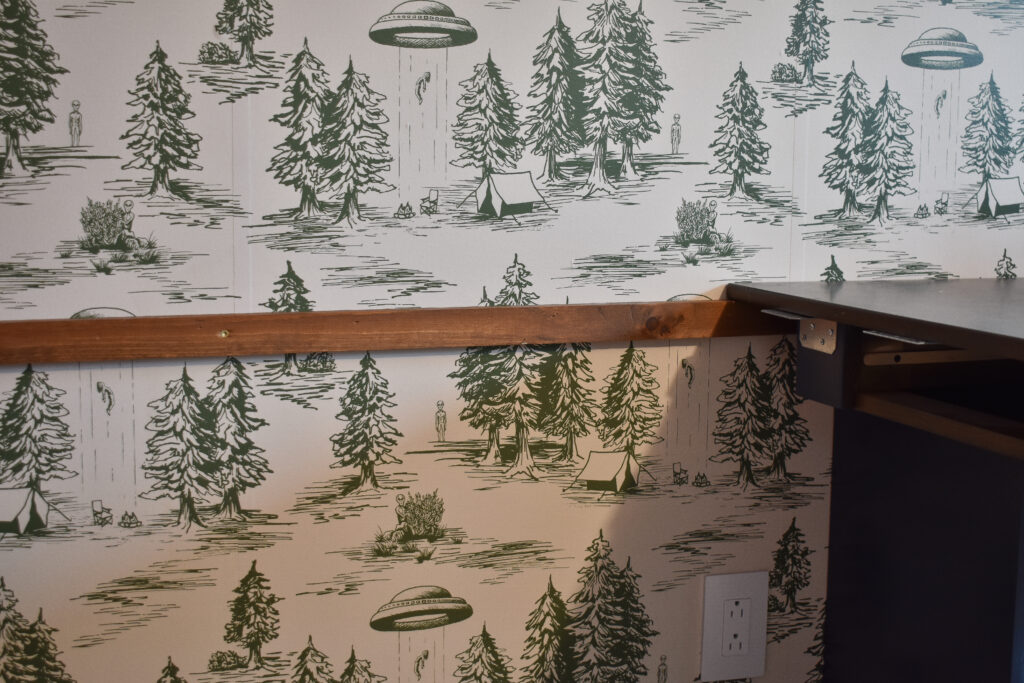
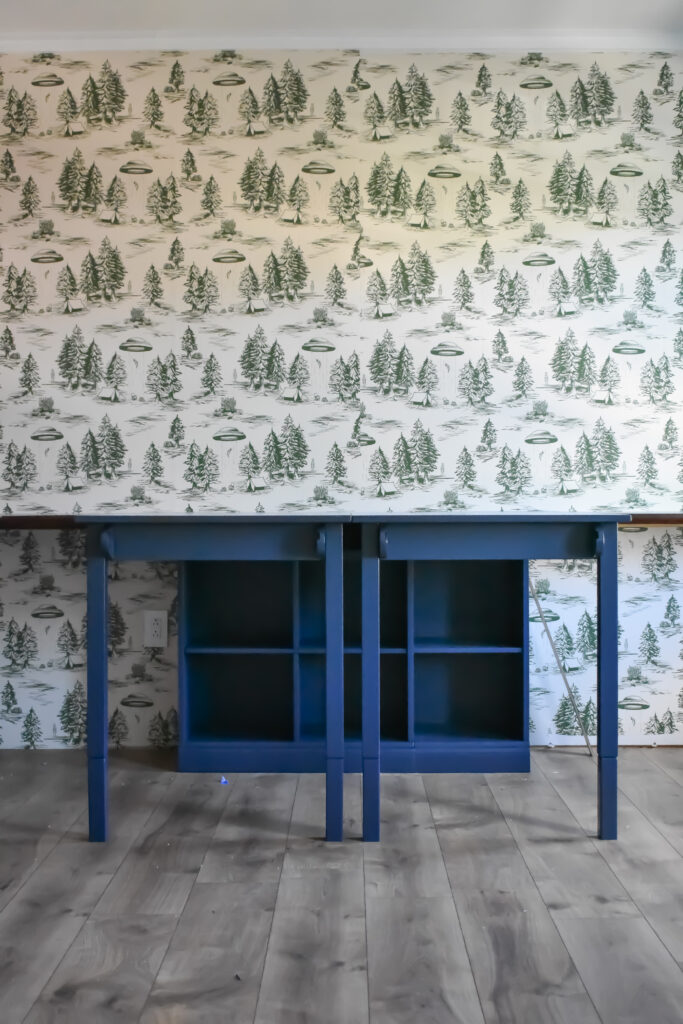
But wait! I”m not done yet……the next step was to create two L-Shaped desks on either side. At first I thought I’d build these from scratch, but when I was looking at what scrap I had left after all of my destruction I found that I actually had enough to piece together the desktops. Right now it might not look super pretty but the entire desk area is going to get painted a shade of deep blue (Goodnight Moon by Clare Paint) and I think that will make everything look cohesive.
I hope that at least some of that made sense. To me re-using furniture is always so much less stressful then building it because there’s really no rules and I can just make it up as I go. That being said — next week it’s time to get my ass building so there’s most likely a lot of trips to Home Depot on the horizon over the next few days. In the meantime, check out my Week 5 video below — hopefully seeing me work on these pieces will be less confusing than reading about them.

And don’t forget to check out what all the other featured and guest participants are up to each week on the One Room Challenge blog!
Comments
Love how you reused what you already own! We can create beautiful spaces without buying new furniture every other year – this is great inspiration!
So creative how you reassembled/built your existing furniture to fit the space. Looking good so far, good luck!