Happy New Year’s everyone – 2016 is finally over!!! And so is my laundry room re-do!! Now – I know a lovely laundry room is pretty low on the list when it comes to priorities in life, but as we were desperately in need of a new dryer and I’m never planning on ever moving, it made sense to do everything that I could while the space was cleaned out – so here we go…..

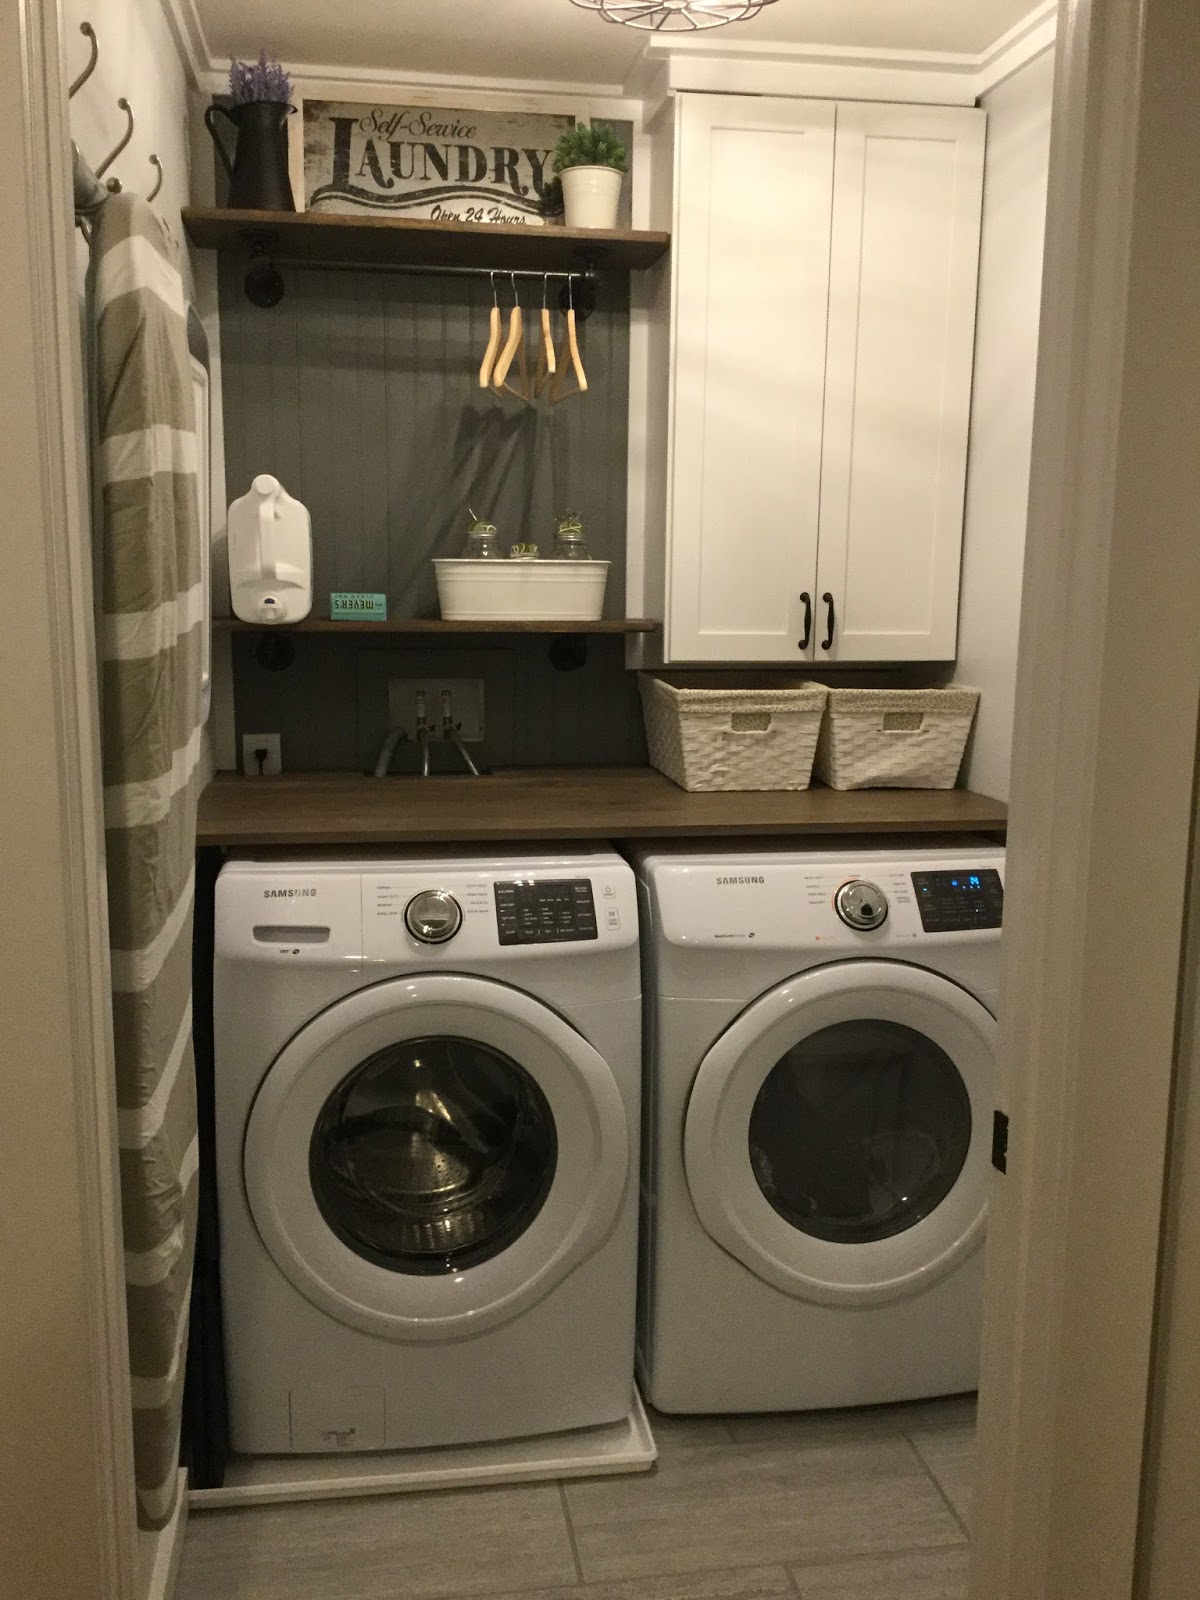
I had a general idea in mind of how I wanted the space laid out – and we did toy around with the idea of getting the pluming reworked so we could do stackables and add a utility sink (which is the one thing we are really missing in the house) but that would mean that we would have absolutely no counter space and as this is the one room upstairs that we can store things out of site, or I can store my tools out of reach from the little monster, the counterspace won out in the end. I also went back and forth on whether to tile the back wall (but without the sink it seemed like a waste of money), then I thought of stenciling it (but couldn’t really settle on what stencil to use) but then I saw this picture on Pinterest and it sealed the deal. I love the look of floor to ceiling, painted beadboard but no other space in the house seemed right – until now!! I used the same PVC beadboard as the bathrooms so that it would be moisture resistant – the one downside is that it doesn’t hold the paint that well and scratches easily – buuutttt since it’s on the back wall and nothing really comes in contact with it it’s absolutely perfect. I chose Sherwin Williams Gauntlet Gray for the beadboard – and wouldn’t you know the lighter version of it is Nebulous White (the same color that I painted the boys room and I had just enough left to paint the room…pretty much DIY destiny).

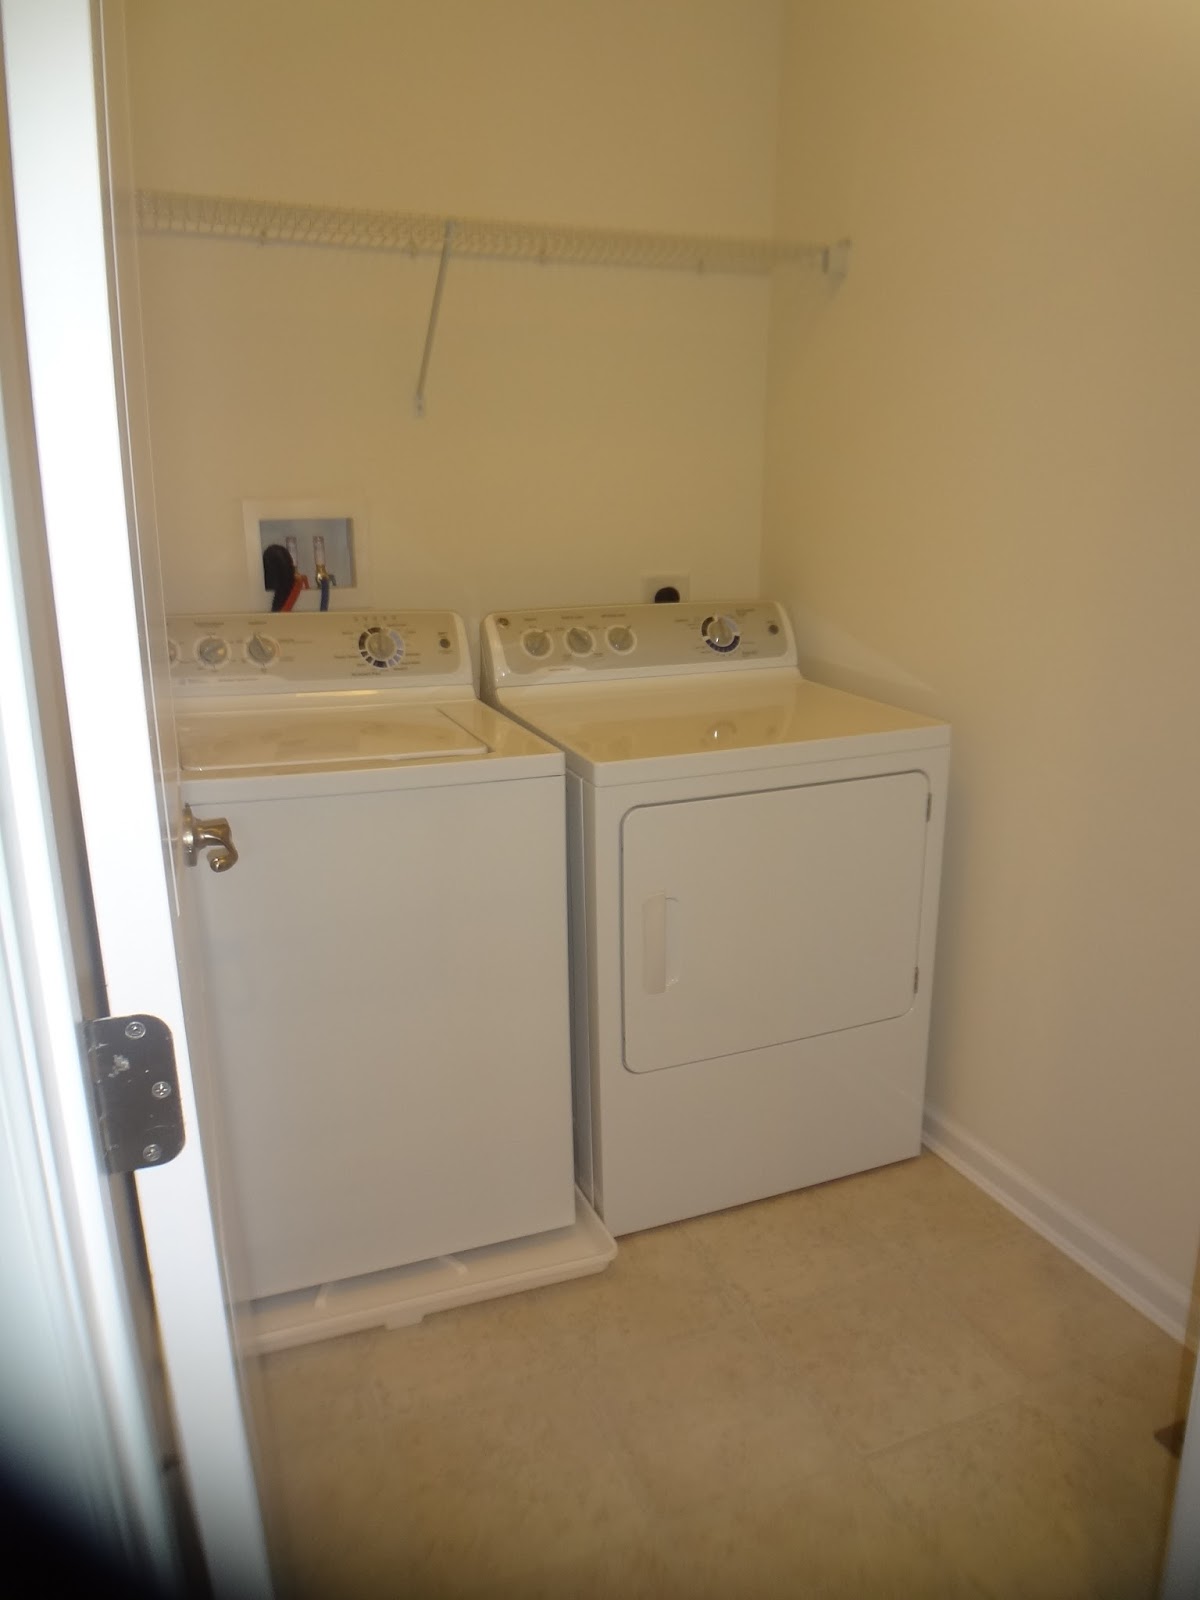
The appliances that we settled on were a set of Samsung front loaders that we grabbed right at the end of the Black Friday sale from Home Depot. No big frills or special features but they had good reviews, and I didn’t realize until a few weeks later that my mom actually has the same dryer. For those 5 people who didn’t already hear our dryer woes, we honestly hated the dryer since the day we moved in – it took HOURS to dry one load, it had the dumbest lint holder I’ve ever seen that not only spewed lint all over the room when you opened it, but never fully got clean, and the final straw was that the knob broke off so we pretty much just started turning the dial with a pair of pliers and hoping that we landed on some kind of setting. So once we pulled the old appliances out (I ended up donating the washer to Habitat for Humanity) and then the 500 staples that were holding down the subfloor, I set to work tiling. The floor is a really light grey tile that we found at Lowe’s – which I’m hoping will hide any lint but happily since we got the new dryer the lint cloud seems to have finally lifted!! Oh, and since my family is all a little vertically challenged, I picked up a little stool from homegoods that fits right along the side of the washer.

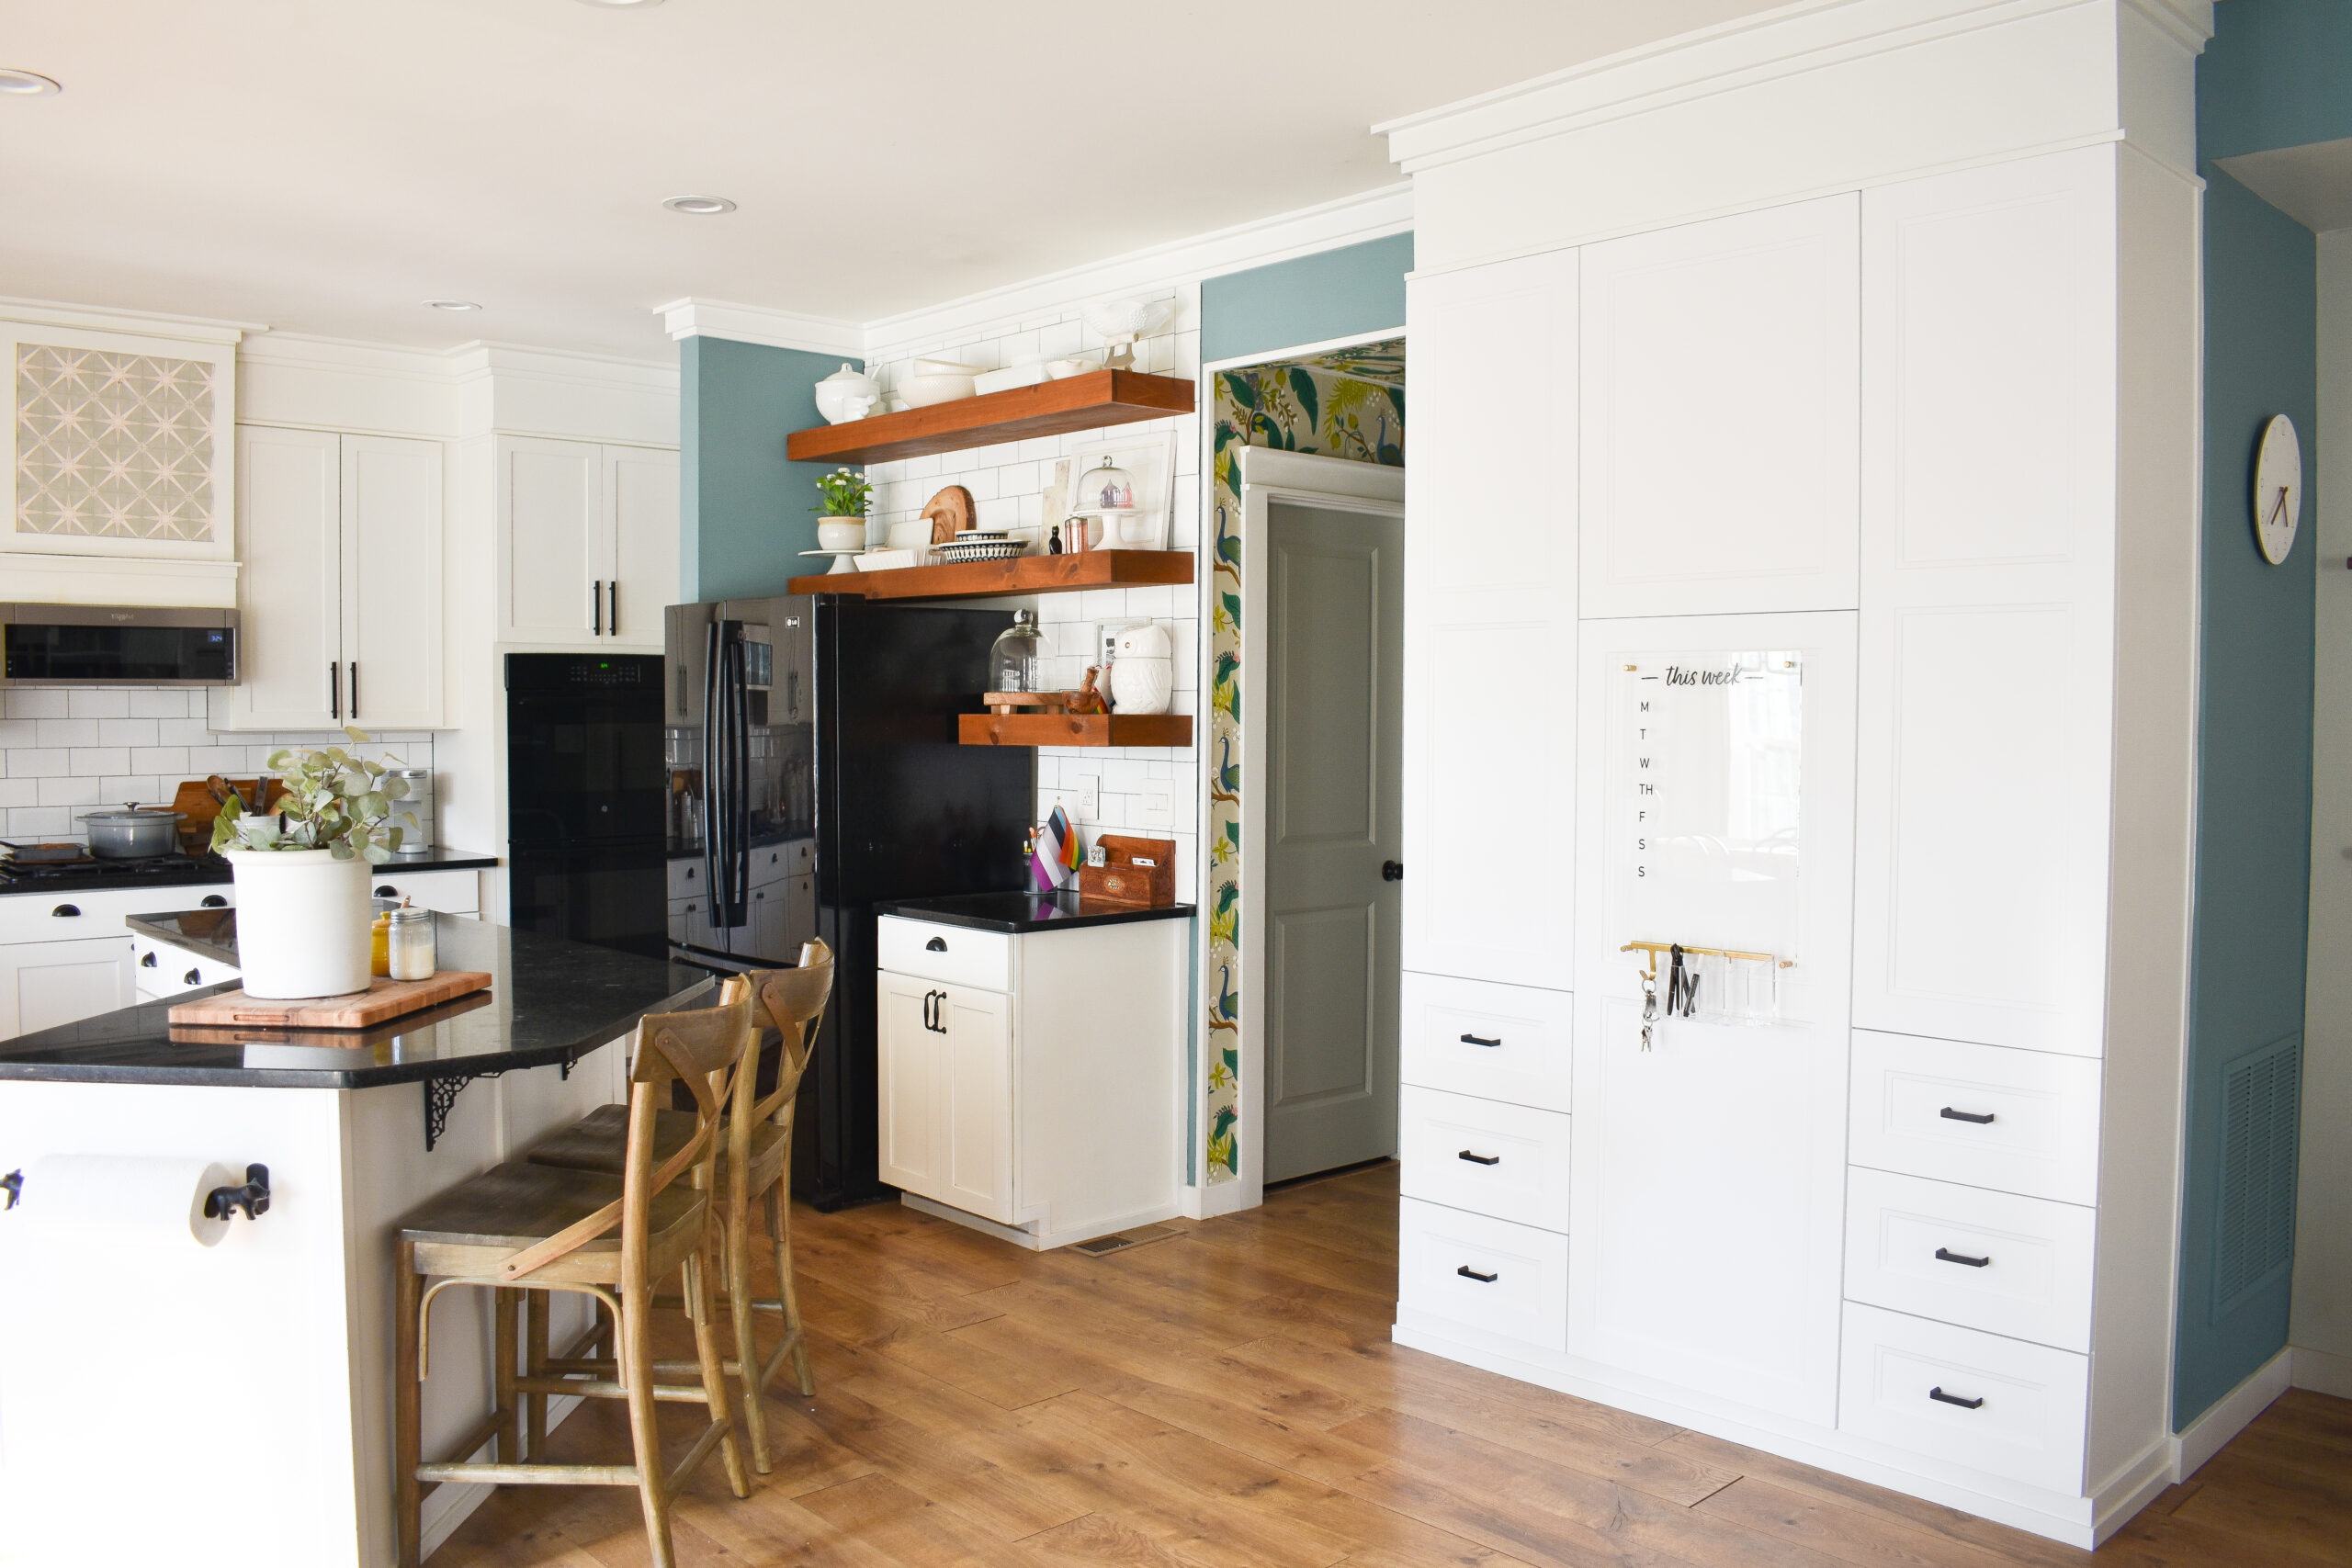
The final big change to the space was installing a new cabinet to store all of our supplies – and – because I always have about 10 projects churning in my head at once – I stole this cabinet from our kitchen, so now there is a big empty space next to our refrigerator just winking at me and begging for some open shelves : )
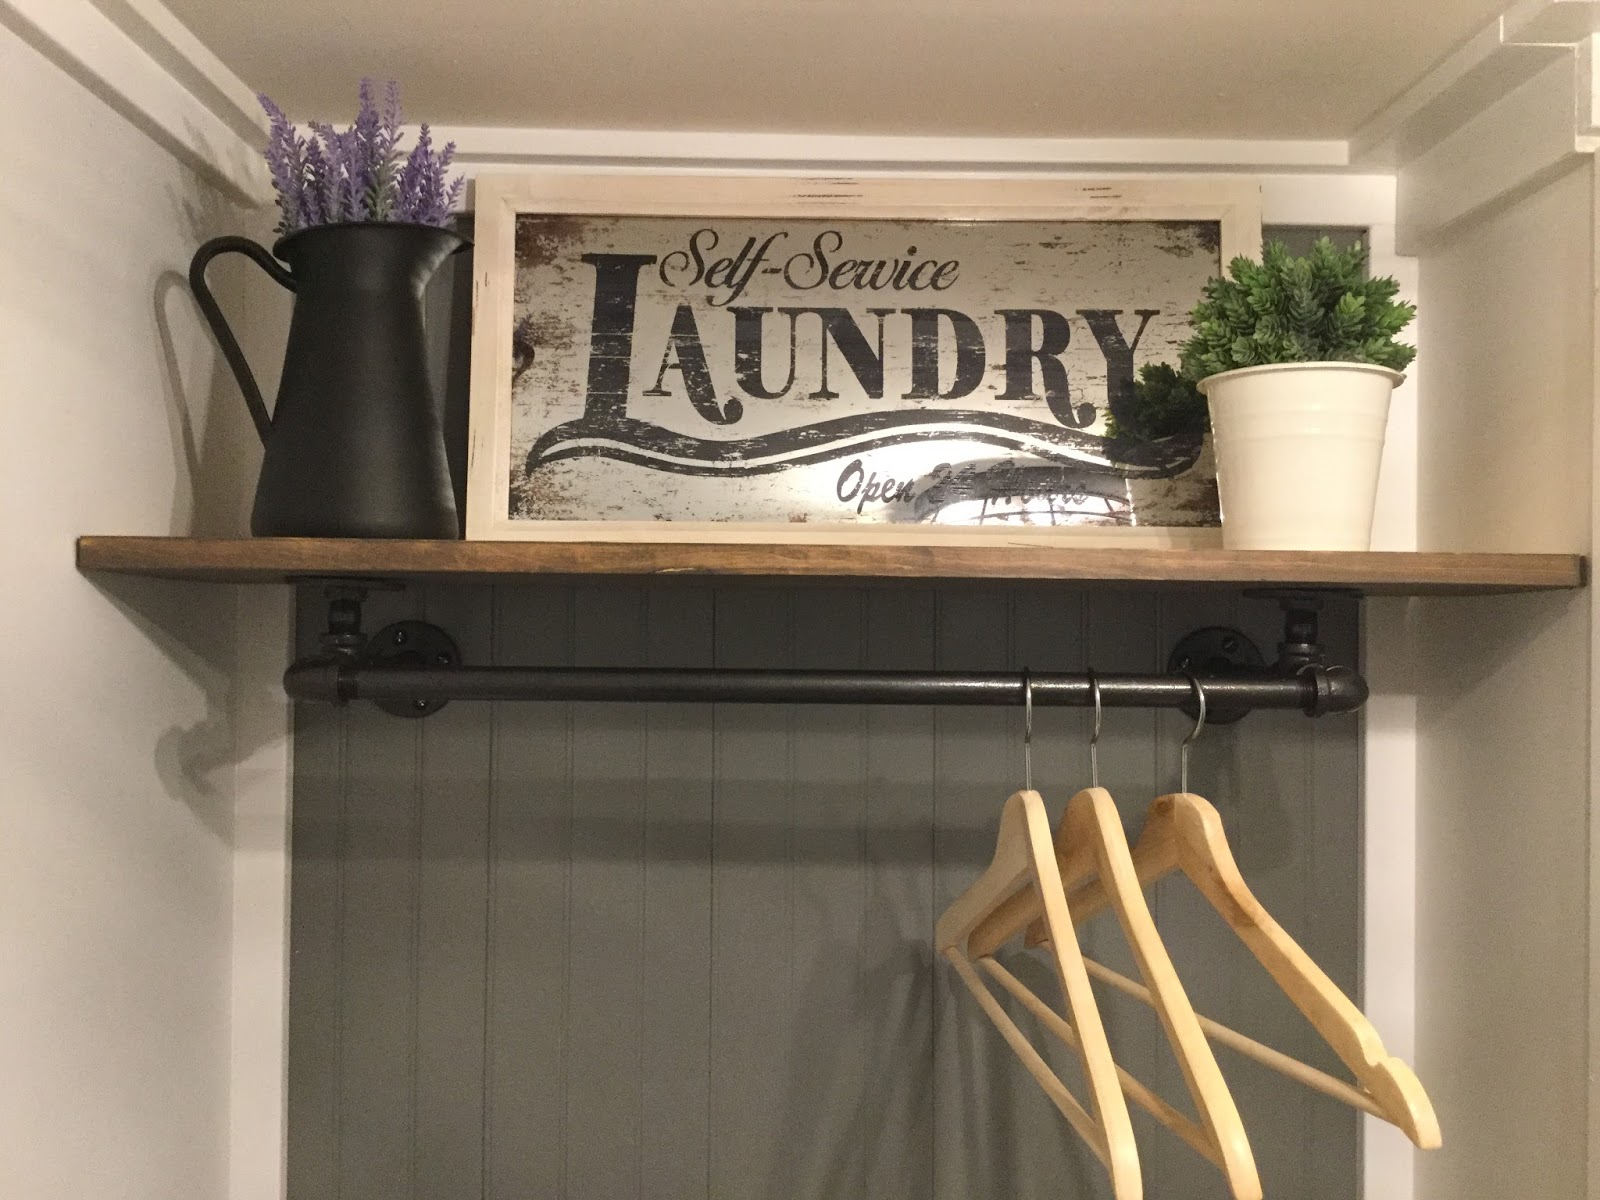
Speaking of shelves, along the back wall I used my favorite material – black plumbing pipes – but in a slightly different way so I could incorporate a bar for hanging clothes. The sign I got from World Market, the pitcher is from IKEA, and then I put some color in the room via some fake plants and lavender.
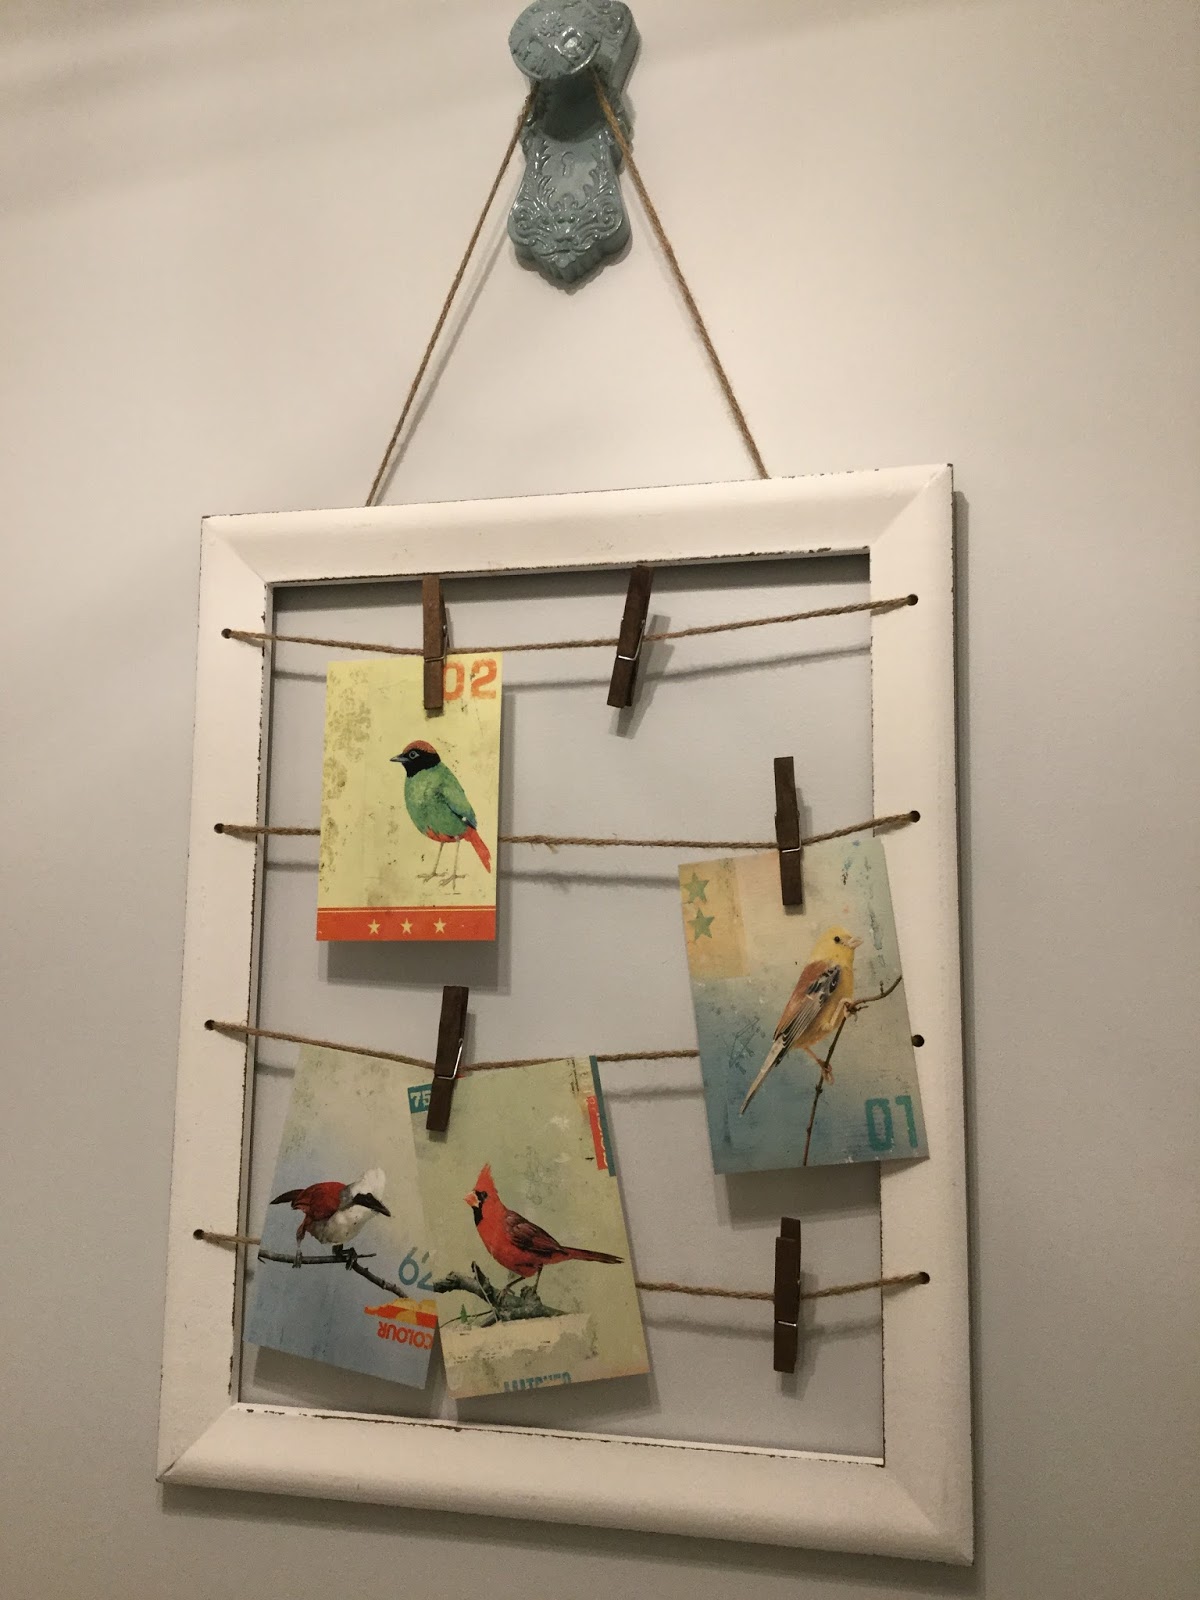
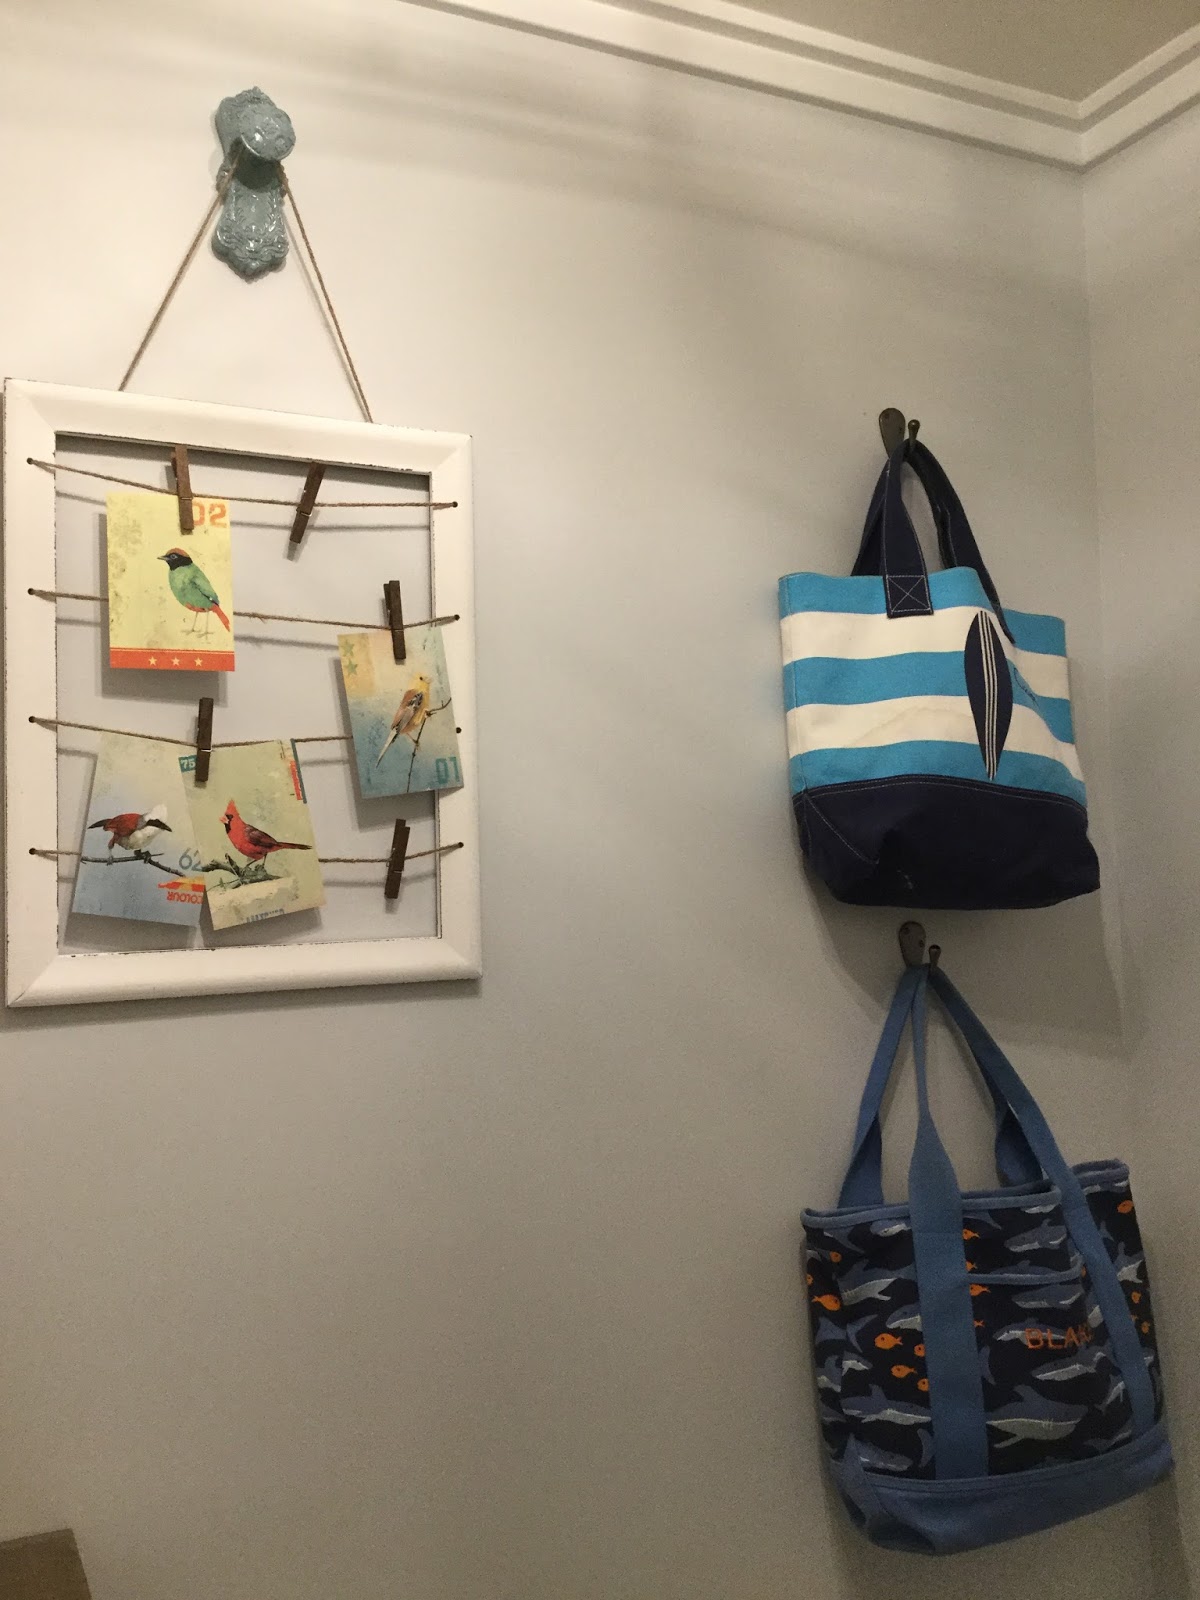
On the wall, I added some hooks for my boys swim bags and then wanted to add some kind of artwork – I had plans of going to the antique store and trying to find an old washboard, but then I remembered I had some Kohl’s Cash and was able to pick up both the clothespin frame and the doorknob hooks for $3 (can’t beat it!) I had bought these little bird postcards from IKEA months ago and kept waiting for the right place to put them and I think they bring in just the right amount of color (and they make me smile).
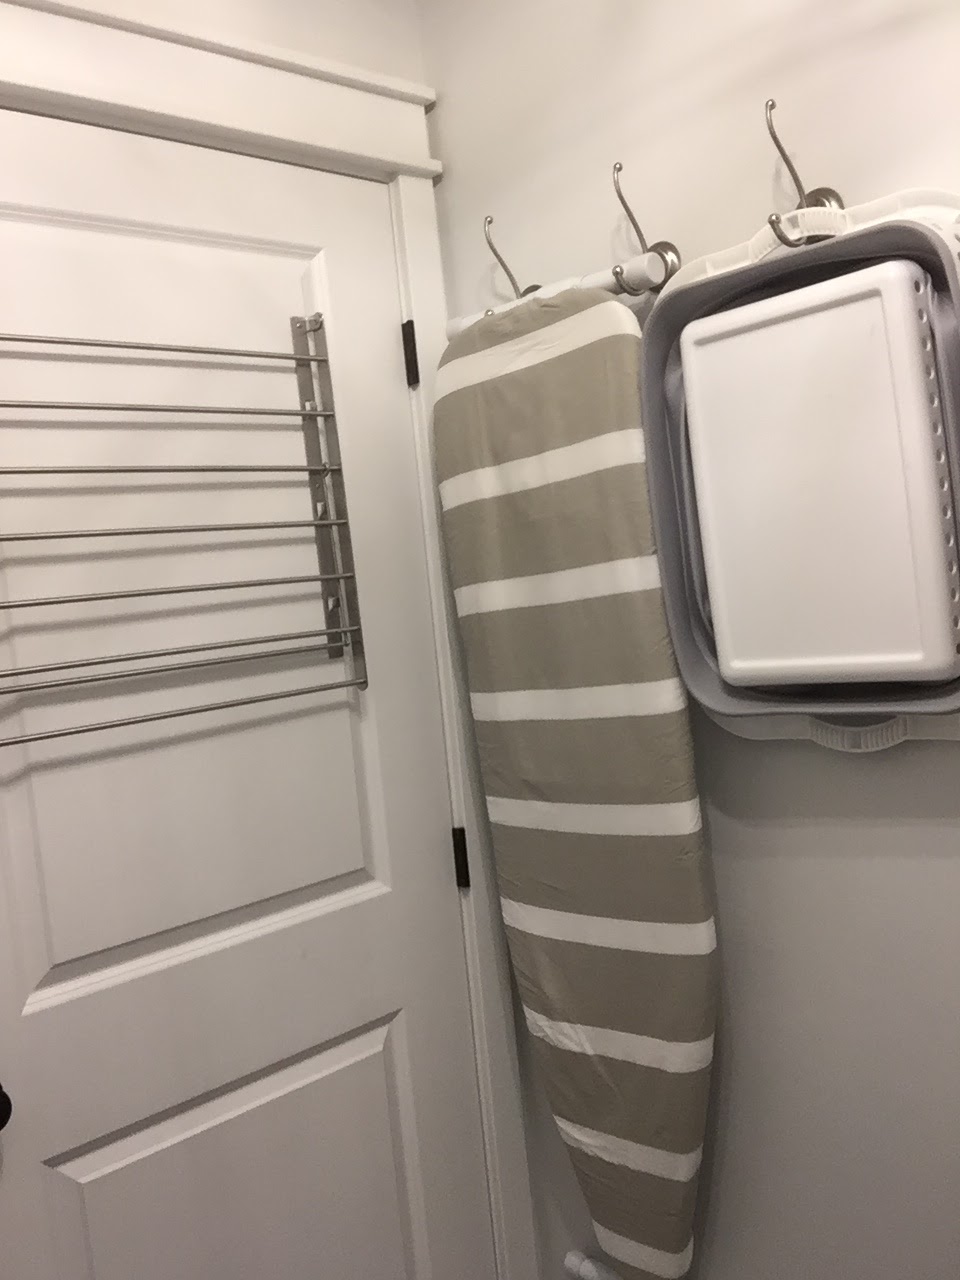
On the opposite wall I squeezed in some hooks for our Ironing board, our new collapsible laundry basket (I didn’t know it was a thing either – thanks Amazon!), and a drying rack from IKEA. Truth be told, it’s a little tight, but it all just fits and will be perfectly functional for us as we hardly ever iron and the main thing I air dry are my leggings.
So there you go, one last project to close out the year – one more room checked off my list. I’m ready to kick off the new year running by finally finishing the boys playroom so I can get all of these damn presents out of my living room! I hope you all have an awesome New Year and wish you luck on any resolutions that you are making (mine are to yell less and to spend less time looking at my phone). I’ll leave you with a Before/After and will see you in 2017!