Big Boy Bedroom – The Final Reveal!
No more #SundaySneakPeak’s for this one – officially moving the boys room to the done pile! I was on a tight deadline to get this room done before Blake’s bday week, and I finished right on time. I decided just to share a blog of this room all at once instead of breaking it down, so check out the included links if you want to see the step-by-steps for all the projects or feel free to shoot me a msg and I’d be happy to share my method!
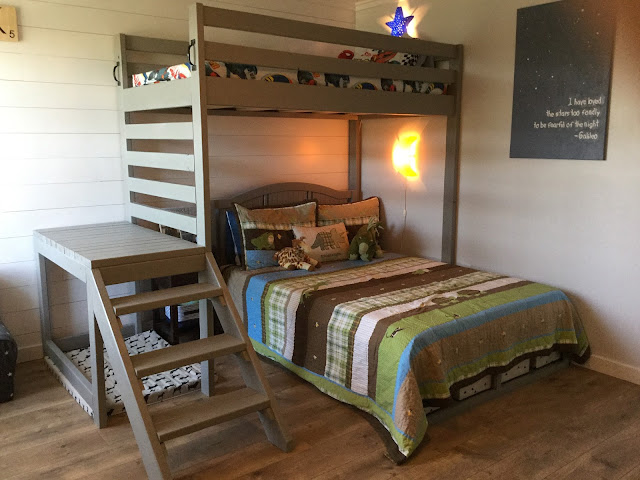
I pushed myself building-wise with this one and am actually very proud because I think I was able to bring my skill level up quite a few steps…..the biggest challenge of course was the bunk bed for my little monsters. Even though we have the space for both of them to have their own room, I really wanted the boys to share a room while they’re small to 1) give them a chance to become closer but 2) be able to give them a dedicated play space, which is what Blake’s room will eventually become.
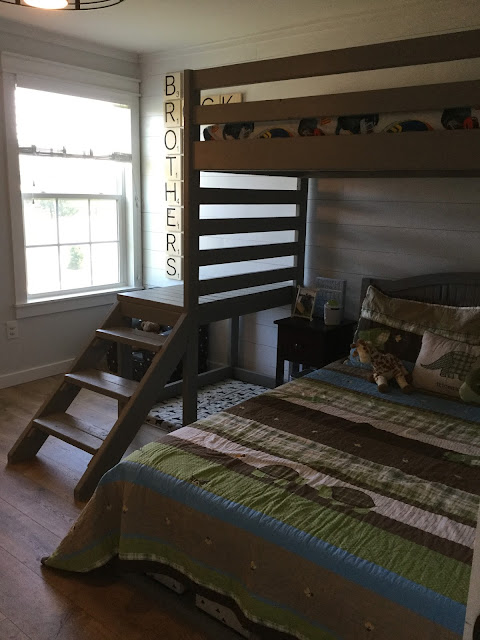
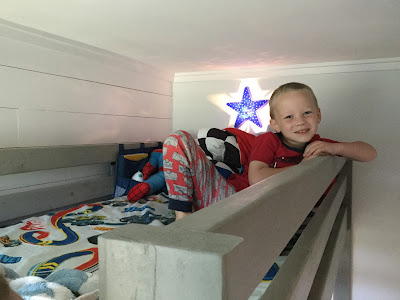
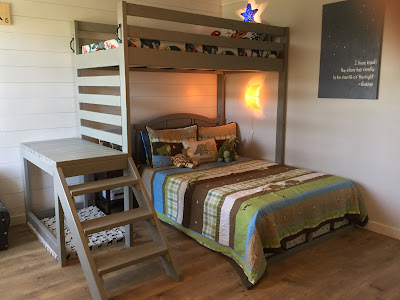
To fit them in the smaller of the two rooms, I decided to go with a loft twin bed / full bed inspired by this Pottery Barn Kids photo. Our crib was this model, and the headboard is designed to turn into a full size bed, so I used the plans from the awesome Ana White to build a full size storage bed to attach it to – bonus is that I can use the storage underneath to serve as GOB’s dresser! For Blake’s bed, I modified Ana’s plans for her Camp Loft bed and raised it up about a foot. I love this design because I didn’t feel comfortable having Blake climb a steep ladder to get to bed each night, so the stairs in front give an easier climb and a place for them to hang out (another bonus – Cash the Dog’s bed fits right underneath the platform so he has a perfect place to cuddle up at night and help “protect” the boys as they fall asleep). I painted the whole bed, and the headboard, with gray chalk paint to tie it all together. I’m beyond happy to say that the whole thing is incredibly sturdy and both the boys (and myself) can safely sit, lay, and hang on all parts.
The other really big project in this room was the Shiplap wall behind the boys bed. I usually like projects that are fast, cheap, and easy – but sadly this project does not fall into any of those categories! To be honest, it wasn’t terrible, but if you want to take on something similiar just be prepared for the long haul! There are a lot of different ways that I’ve seen to achieve the same look, but the basic method I used was to cut 1/4″ plywood down into 6 inch strips and then use my nail-gun to attach to the studs in the wall (I’m still planning on writing a full blog post outlining my exact process when I do the playroom so stay tuned if you want the details). Once it was all said and done, I love the way it came out! I think it ties the bedroom to the rest of the house perfectly and adds the perfect amount of character. I also took this room as my chance to test out adding window trim, which I eventually plan to do to the whole house especially after how good it turned out here!
To round out the other walls in the room I put together a mix of new and old and tried to go for a room that is perfect for two little boys, but also one that will grow up with them. One wall holds our old Pottery Barn bookcase, but also some small book ledges that I built to hold some of our nicer books and pictures. I also added some big canvas baskets I found at Michaels to hold stuffed animals, a stuffed dinosaur head and dog lamp from Target, and I finally got to hang the super cool growth chart my dad got the boys from Australia.
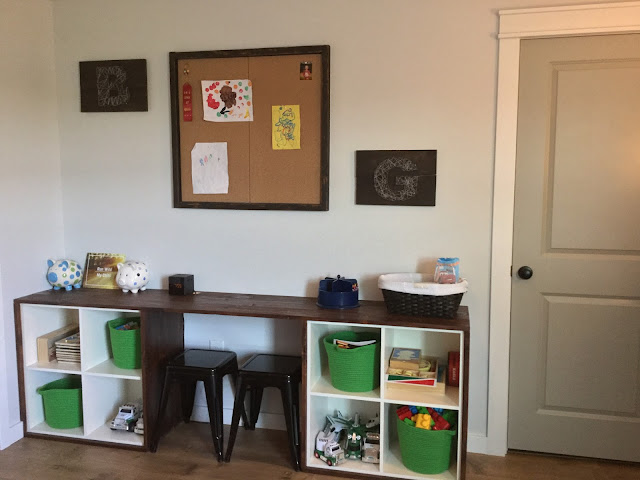
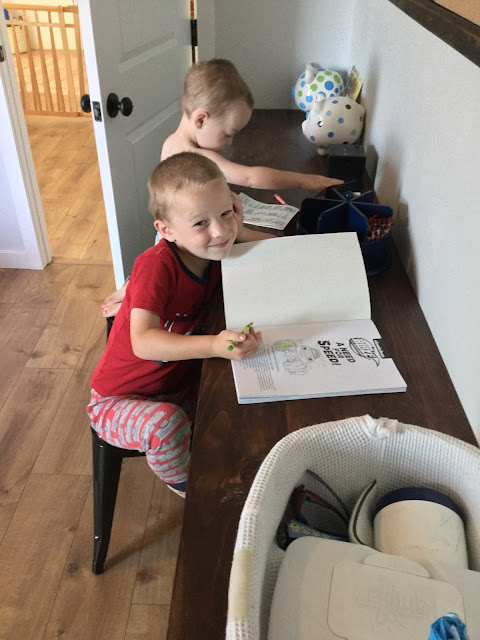
On the other wall, I used this idea from my favs at Young House Love to turn two Ikea bookcases into one large desk that they could share and found some small metal schoolhouse stools on Amazon. I framed out some cork board that I snagged a while back at Michales for super cheap to have a place to hang artwork (those green baskets were also a super cheap Michael’s find!) and tried my hand at some string art for the boys initials (The blank spots on the wall are for some special artwork that we’re planning on getting the boys for XMas : ) Oh, and if anyone cares about paint colors, the door is painted Sherwin Williams “Sensible Hue” and the walls are “Nebulous White” which is a really light blue-gray.
I finished out the room with some handmade artwork – which I try to put in every room. The star print has their zodiac signs and a Galileo quote that I just love, and the Scrabble tiles are a little nod to both Eaphis and my grandmas who loooovvveeed to play scrabble. It’s so great to watch them climb, play and draw in this space – and to hear them have little conversations with each other as they fall asleep. This is when working on my house goes beyond just making things look pretty….it goes to making this a happy home where we can create memories to last forever!





-
-
2 years
Tagged better homes and gardens, garage, garage organization, organization