The Great “Organized Kitchen” Journey begins…..
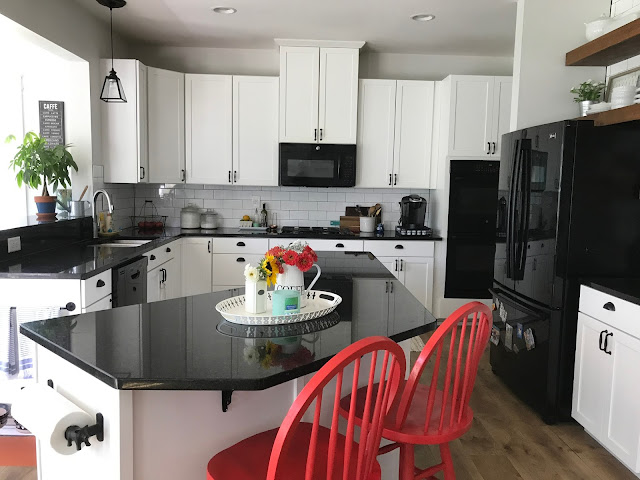
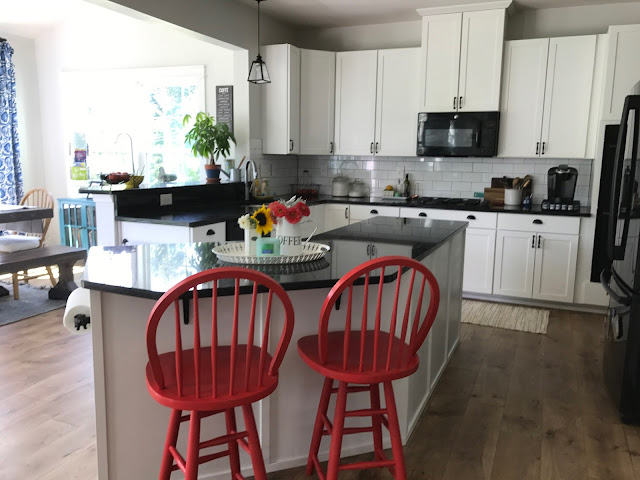
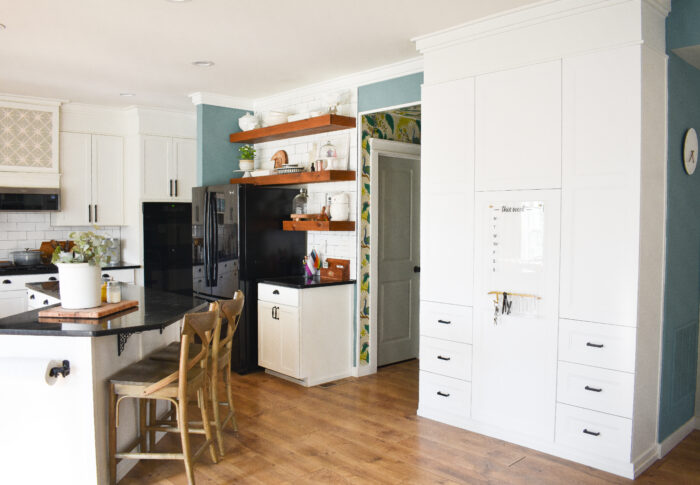
Summer is coming to an end and once Fall hits I always get a huge urge to get back in the kitchen on Sunday afternoons, prepping healthy snacks for the week and pre-making meals to make the weekdays easier – you know making all my Pinterest dreams comes true for about two weeks before real life comes crashing down. Maybe this year I can make it three weeks! Anyway, at least I’ve got a much prettier kitchen to look at while I’m trying to keep it together.
I haven’t shared much of my kitchen on the blog mainly because I haven’t done any big overhaul of it up to this point but have instead been adding small updates now and then since we moved in – so I’ve decided to break my latest kitchen update into two posts – one where I’ll share all the pretty additions, and this one where I’ll share some of the organizational systems I’ve added (I know, it sounds pretty boring but if you are an aspirational organization queen like me this post is for you!)
To start let me clarify – I am no organizational expert – but I do my fair share of scouring Pinterest and blogs for organizing tips and tricks and — unlike the cleaning tips that I never actually put into practice — I have found ways to tackle the clutter that really work for my family. (Side note – if you’re looking for some awesome ACTUAL pro-organizers check out the ladies at The Home Edit on Instagram…they will send you into color-coded label heaven).
So let’s start with as good a place as any — my kitchen cabinets and one of my favorite companies – Rev-a-Shelf. This is gonna sound like a paid ad, but trust me, it ain’t….their products have just brought an insane amount of joy to my kitchen. The one thing I would stress if you’re looking to retrofit any kind of built in organization to your cabinets is to make sure that you measure and read all of the details of the product you’re getting! You can make something smaller than your cabinet work, but something too big that you don’t realize is too big until you start to install it will only cause more headaches. I’ve included links to the products I’ve installed below from Rev-a-Shelf’s website, but you can find them through lots of different retailers including Home Depot/Lowes, Amazon, and Wayfair.
I would suggest starting any organizing effort by identifying areas in your home that you use often, but become super chaotic every time you do. In my kitchen these were my tupperware, my pots/pans, and my baking sheets. I use some combination of these every day, but the way I had them stored meant that I had to go through a large stack to get to the one I wanted. The Tupperware and the pots/pans I corralled into Rev-A-Shelf systems that made it easy to give each piece it’s own spot and keep the lids separate – gamechanger people!
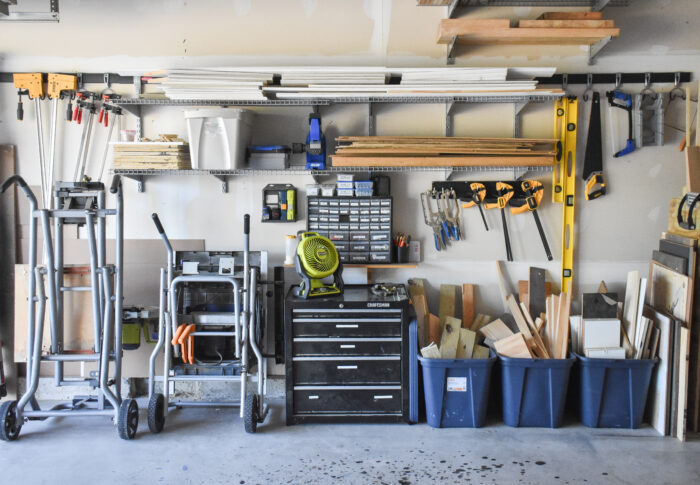
For my cutting boards and baking sheets – I created my own storage system in the cabinet over my oven. There are systems you can buy that are similiar, but since I needed both vertical and horizontal shelves, I used the existing shelf and some scrap from my garage to build my own solution. I’ll admit, it looks kinda ghetto, but it gets the job done and I’m really the only one who sees it so it works for me.
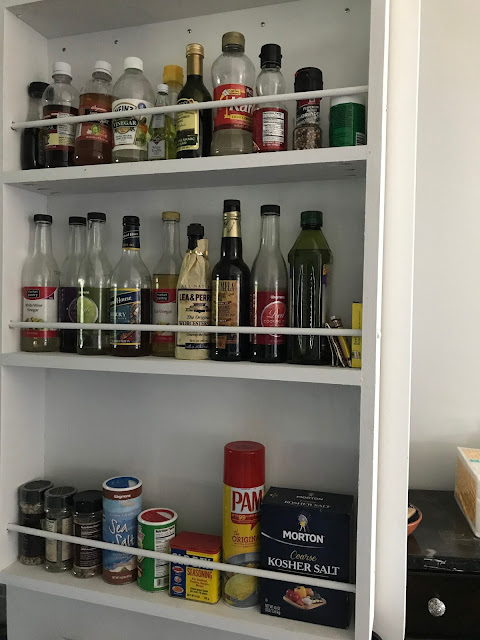
The next project that I started to tackle (and I say started because there’s still a long way to go) is my pantry. I cook and bake a lot so I have a pretty well-stocked supply of pantry staples that had started to become an unstable jumble of bottles and boxes. When I stumbled upon a picture of a behind-the-door shelf system from Shanty-2-Chic I knew that was the solution; we actually had a small set of shelves behind the door in our old pantry where we could keep our baby bottles so I knew how well they could work.
One of the greatest organizing tips I’ve picked up is to take stock of what you have BEFORE you start buying or building some kind of storage solution. I started by lining up everything I wanted to live on these shelves and organized by size – keeping in mind how wide my shelf would be – and then planned out the height of each shelf in advance. Through this I found out I would need one extra shelf so I ended up adding a small one to house my baking supplies and things the kids could access (like our popcorn seasoning collection LOL).
The bottom shelf I also based on this one from Shanty-2-Chic and moved all of my Ziploc bags and misc. paper products where I can grab them so much easier.
The amount of space that this cleared up in my pantry is really amazing! I still have A LOT to do until it’s the way that I want (including replacing the wire shelves with wooden ones and adding some veggie storage) but I did add some new bins from the Container Store for the boys snacks that I am LOVING…honestly I love them more than a woman should love a plastic container. Now they can easily grab something to snack on, and I can easily see what needs to be re-stocked – also these things hold sooooooo much! I can empty almost an entire box from Costco into one container so my trips to the basement to replenish have become so much less frequent.
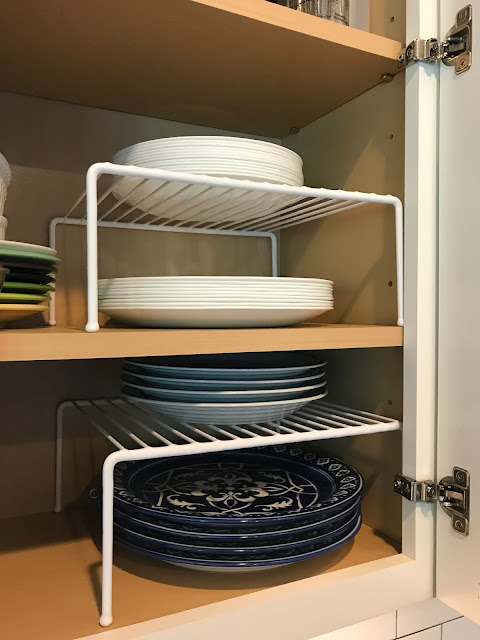
This leads me to another tip that I’ve embraced – if there’s something that drives you crazy in your house, no matter how small it may seem, a simple solution is probably out there somewhere. For example, while I was at the Container Store I also grabbed a few really cheap shelf dividers for my plates so now when I unload the dishwasher I don’t have to lift up the small plates to put away the large ones – it may only save me 5 seconds per day, but to me that is totally worth $12.
Directly across from my pantry door is what I call my “Spice Hallway” – which is a pretty large flat wall that connects my kitchen to my dining room. I love sharing this little secret passageway because I think it really shows how to expand your storage by thinking outside the box. A combination of pieces from Ikea’s Fintorp system holds our collection of Hot Sauces and my cast Iron skillet, a home-made bottle opener, and a simple Ikea sign make up the bottom of the wall. I want to fill up the top with some colorful art one day and am hoping to stumble across something original or vintage to give this space some cool character.
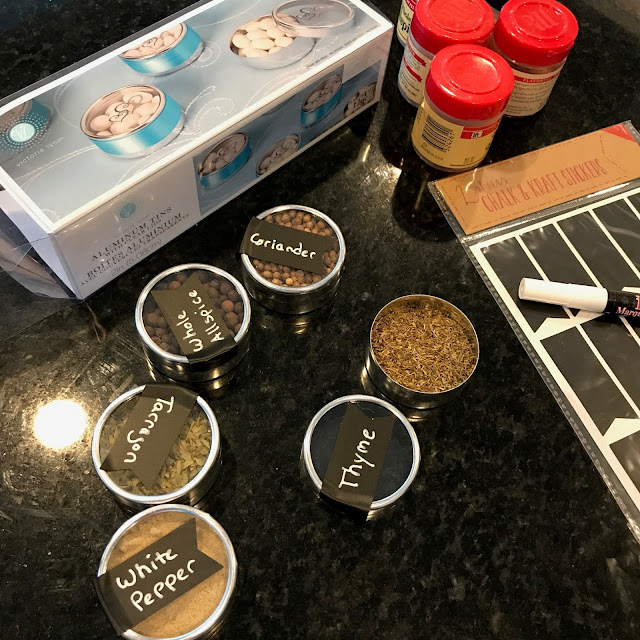
On top, I adapted an idea from Alton Brown and hung some magnetic spice racks (also from the IKEA Fintorp system) and then turned some different sized Wedding Favor holders into my spice jars by gluing some super strong magnets to the back, and adding some chalk board tags to the front. This system not only makes it super easy to find what I’m looking for, but also lets me buy in bulk instead of having to keep buying individual jars.
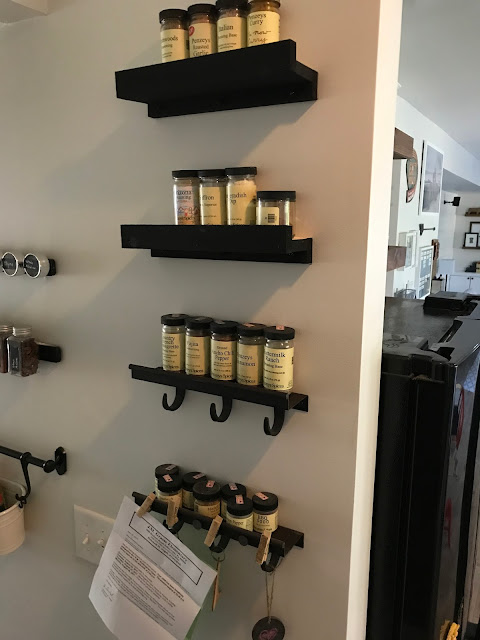
Speaking of buying spices – my absolute favorite place to shop is called Penzey’s Spices. I discovered them years ago while in Pittsburgh and have been hooked ever since. I was storing my special jars on two iron Pottery Barn spice shelves that I bought on sale a few years ago. I love the forged look of them, and because they’re metal I have also added a few magnetic clothespins to the front and have started to keep any important papers or birthday invitations there instead of on the fridge. The problem is – I was running onut of space and THEY DON’T SELL THEM ANYMORE! ARRGGGG – first world problems though, so I have alerts set up on Ebay and will snatch up two more if they ever pop up. In the meantime, I built two similiar versions out of scarp wood, painted them black and POOF – they get the job done.
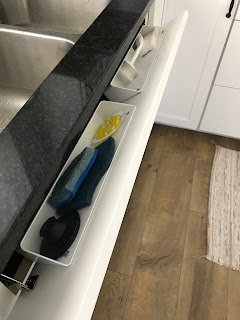
The last organizing tip that I love also doubles as a decorating idea – and is useful throughout your house. If you have a group of items displayed on a surface, a decorative tray is a really useful and pretty way to tie them all together and makes it a lot easier to clean. In my kitchen I have three – one on my island for my flowers and candles, one next to the sink for my soap and scrub brush, and one next to the stove for my go-to cooking supplies – if you can’t find a tray that fits your space try smaller serving platters, or I’ve even seen people use small cake stands for the same purpose. This tip is also great for bathrooms, bedside tables, dressers, or even table centerpieces.
PHEW – I know that was a mouthful – and thank you if you stuck with me through it all!! – but I hope you guys are able to take home some inspiration to tackle any chaos in your own homes. I know you can’t organize and label your entire life (especially if you have little ones set on world destruction like us!) but for me the more I can keep in order the less stressed I feel and the better I can relax at the end of the day.
Come back next week for Part 2 of my kitchen post where I’ll talk about adding character to a boring or builder grade kitchen – oh and please feel free to explore some of the new goodies I’ve added to the blog – I’m really excited about getting all of the changes up and running in time for the fall!








-
-
6 months
Tagged organization