Welcome to part 2 of my kitchen journey! Last post I shared some of the tricks I’ve started using to get organized so be sure to check those out if you’re looking to tame some clutter yourself – but this time I’m going to be delving into some of the tricks I’ve used to add personality and warmth to my builder grade kitchen (I even persuaded a friend to let me poke around and share some of their kitchen inspiration!)
To start, let me take you back to what our kitchen looked like when we moved in. We built our house through a builder 3 years ago in a small community of about 50 houses – after living in a townhouse for about 7 years which we had built through the same builder. Going through the process the first time gave us a really good idea of what upgrades we wanted/needed the builder to include, and what we thought we could do ourselves — and although our experience has only been with new builds, I think the lessons we learned can also be applied to kitchens that just need a little extra love!
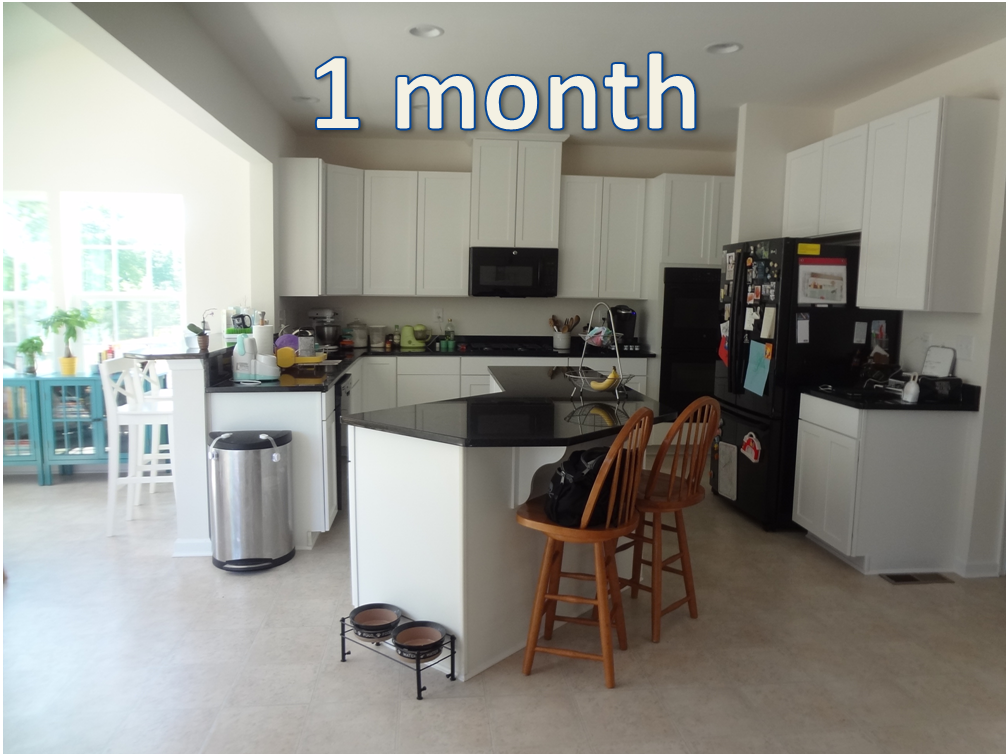
During the planning process of our build, we chose to add a morning room (we had one in our townhouse and the amount of light and space this adds to our house is incredible) and upgrade the kitchen floor plan – which gave us a double-oven, a separate stove, and a bigger island. One of the incentives that we received was updated cabinets – but we actually chose to downgrade our cabinet package and apply that credit to our granite choice. Picking kitchen finishes can be EXTREMELY daunting so before you do I would suggest you put together a collection of images that appeal to you and then see what they have in common – originally we thought we wanted a cream/tan combo but after a lot of pinning I stood back and realized that I was really drawn to simple shaker style white cabinets and black granite so that’s what we went it.
Our structural choices ate up a lot of our whole house budget, so we went bare bones with all of our other choices. Kitchen-wise, we kept the floor linoleum and didn’t have them add any cabinet hardware. We also lugged our fridge from our old house and since it was black we went with a cheaper appliance package to match it.
 |
| 2 Years In |
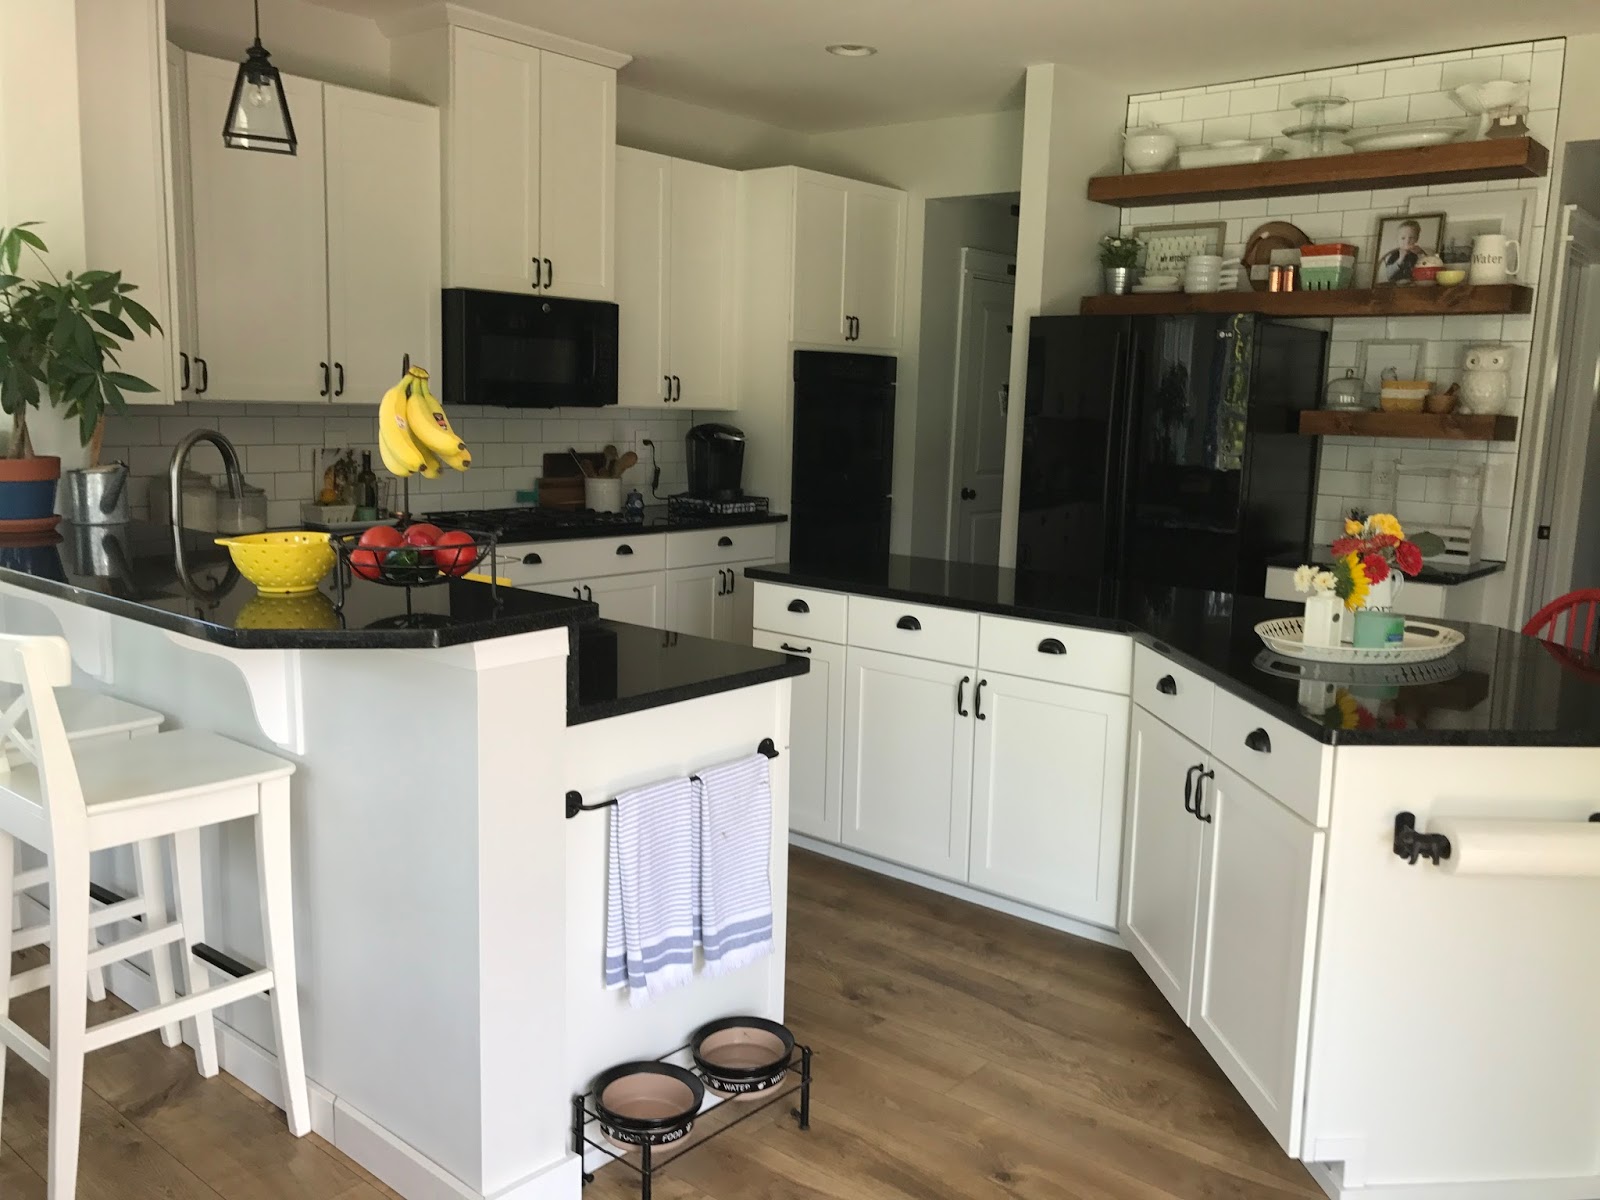
So here’s where the fun started – going bare bones really gave us the freedom to add touches that made our kitchen special and personal to us. One of the first things I did was add hardware – this is totally not a novel concept but adding different hardware really is one of the easiest things you can do to change your kitchen – and you can save or splurge depending on your budget. Mine are from IKEA (they also sell a really great template that makes install easy) and I mixed two different types for the cabinets and the drawers. Some other affordable places to check out are Target, Wayfair/Overstock, even Home Depot or Lowes has some simple styles that won’t break the bank. One day I’ll probably upgrade them to something a little more “splurgy” – the two sites I love to daydream about are Rejuvenation and Signature Hardware.

As for the floors – we tackled replacing all of the flooring in the house about two years in and it is hands-down the best decision we made! You can check out my post on this process here, but in regards to the kitchen I was honestly pretty lackluster about my choice to go black/white until we put these floors in…they just made the kitchen come alive in every way possible! (That little runner is a cheapy from IKEA)
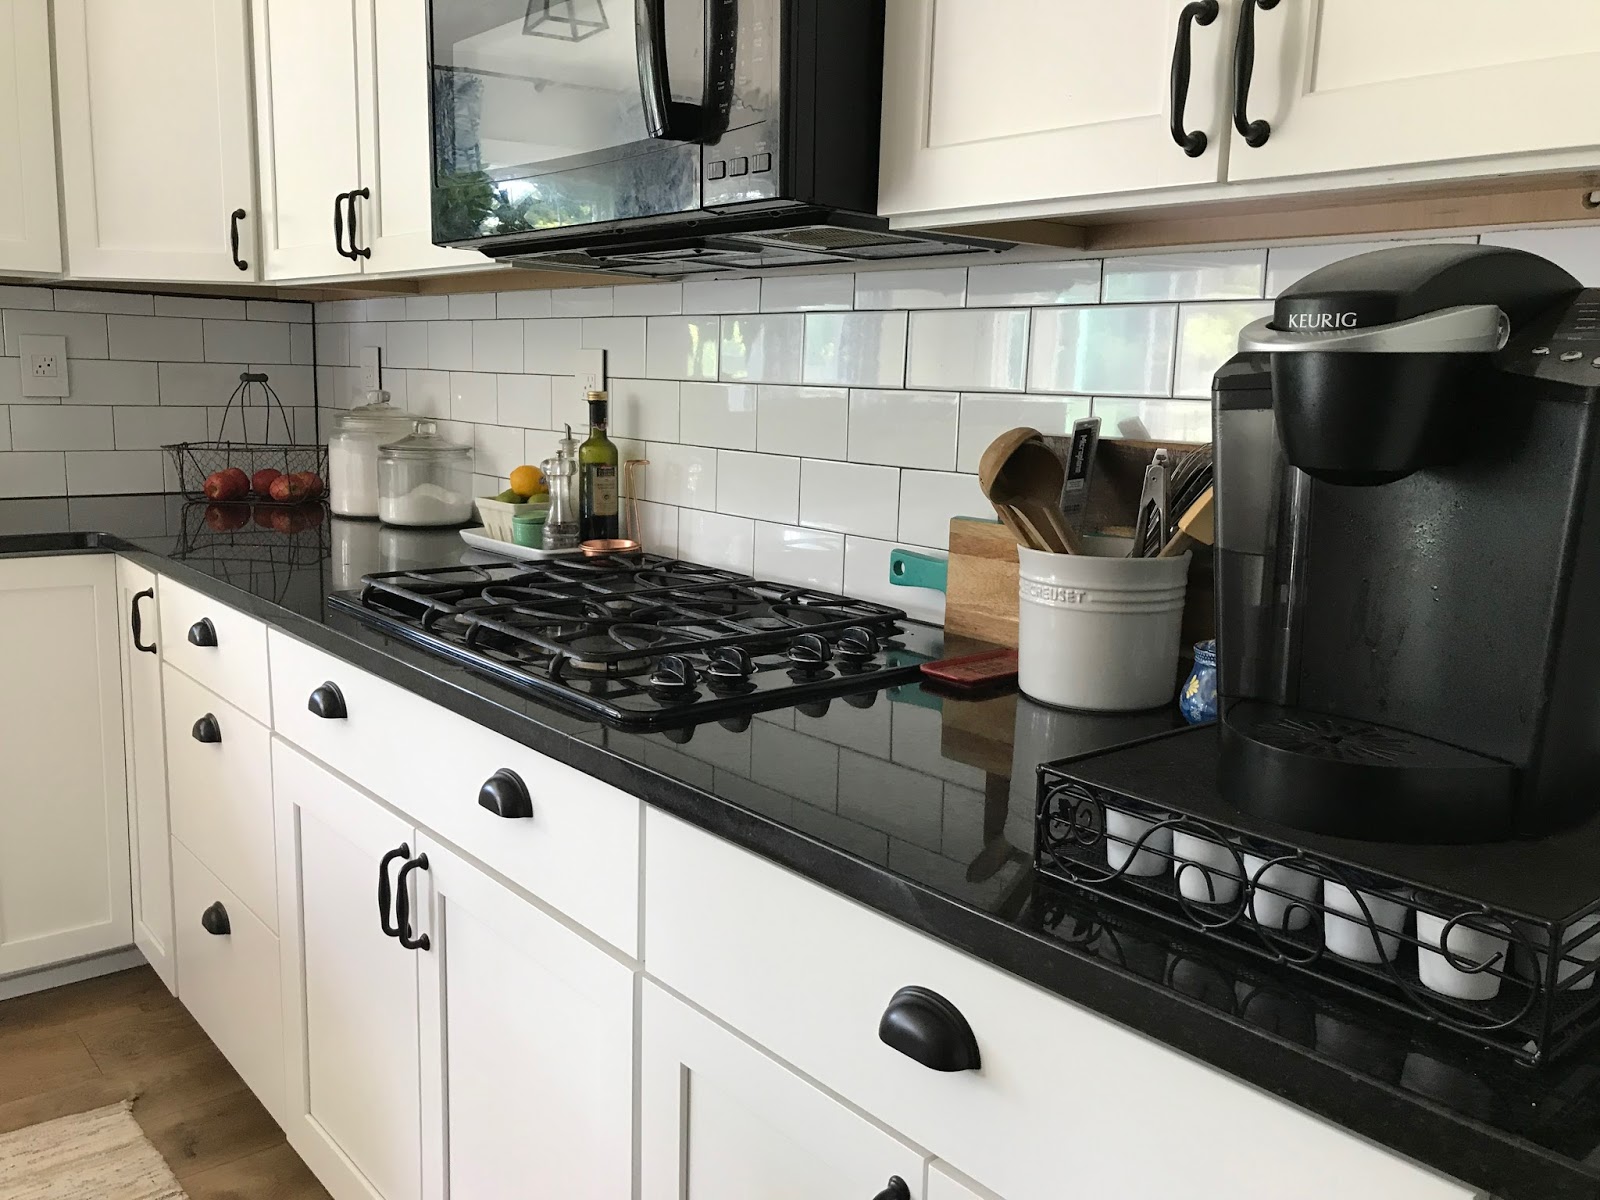

Next up – it was backsplash time. There are so many awesome tiles out there and I can honestly spend an hour in the Tile Shop just petting the pretty marble and glass options….but my love affair with over-sized white subway tile and dark grout knows no end. Once I had installed it along the countertop – I just couldn’t help myself, which leads us to (cue the fanfare)………

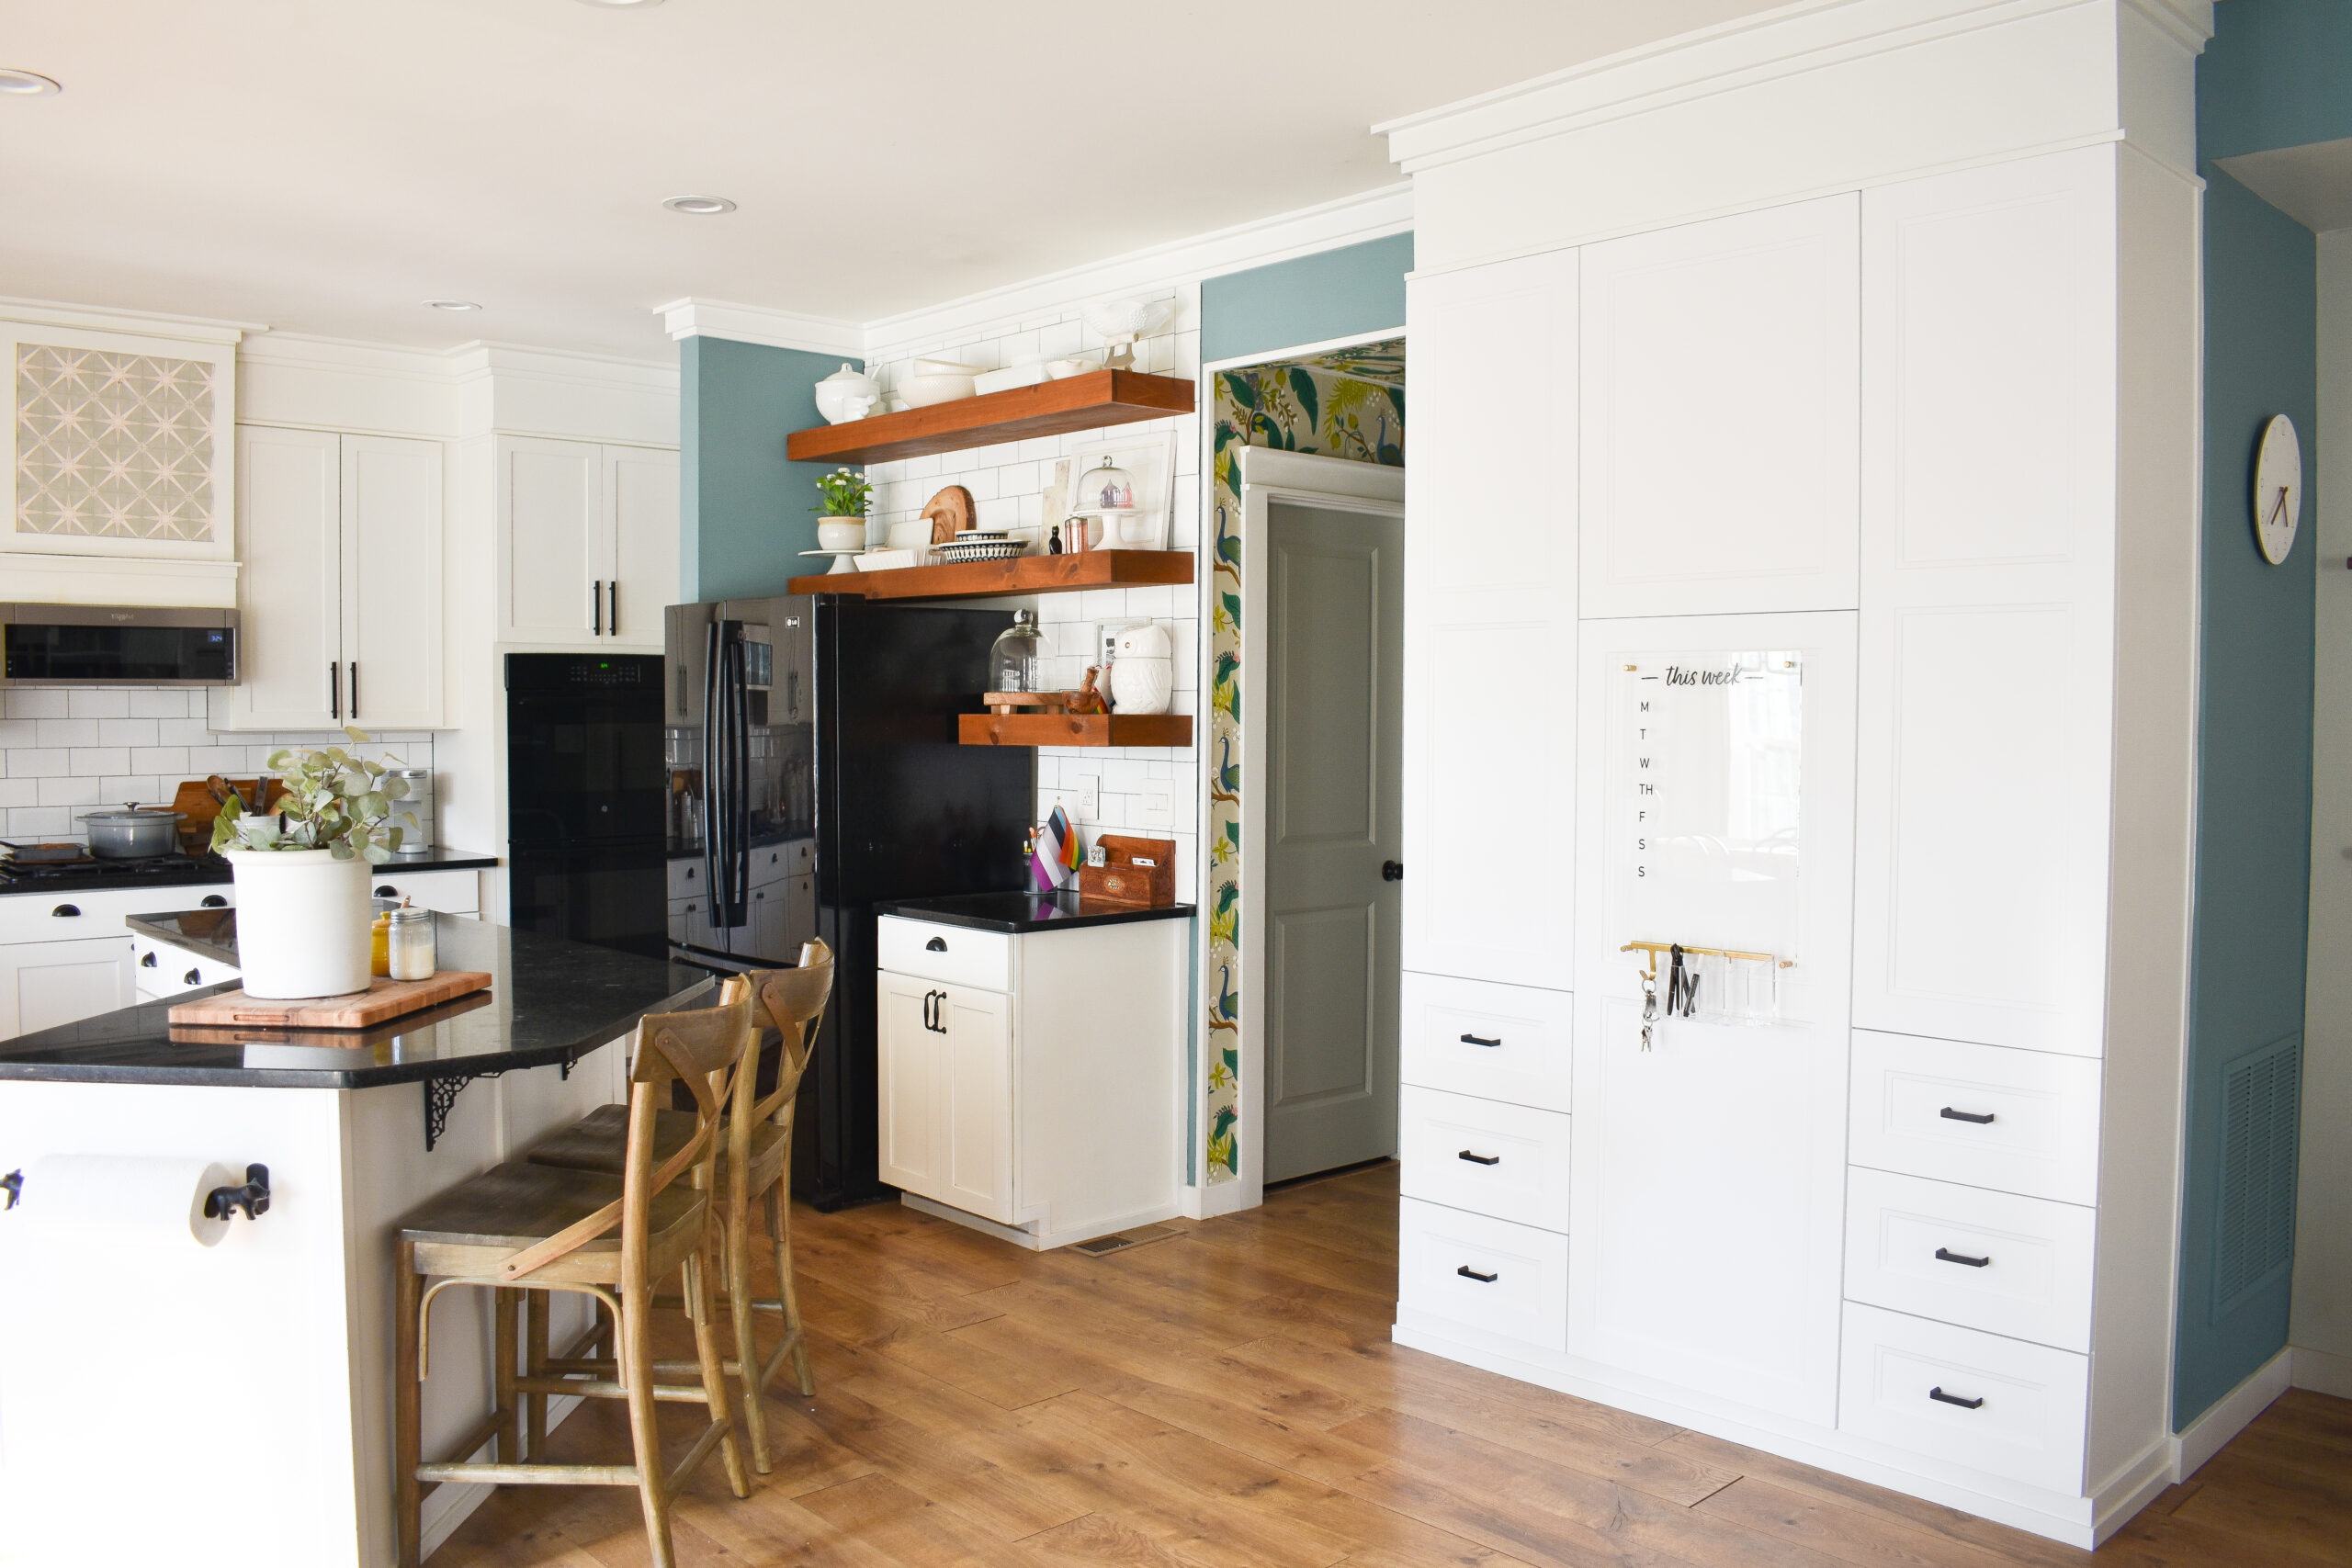
The latest addition to my kitchen – my new open shelving!!! I have been itching to tackle these for a while so I cannot tell you how happy I am to have them up. Before – we had two cabinets framing the fridge, most of which we never used because we couldn’t reach – so my thinking was “hey, if I can’t reach it I may as well make it look pretty.” I’ve always loved the look of open shelving, but as someone who doesn’t own a lot of matching dishes, I knew I could never have a kitchen that didn’t have a good amount of hidden storage. Luckily we have more than enough cabinet space so forgoing these two seldom used cabinets just made sense – and in case the thought of getting rid of something as expensive as kitchen cabinets is a deterrent from giving open shelves a try don’t be afraid to re-purpose them! I re-used the skinny cabinet in my laundry room, and the wide one is in the basement waiting to be a part of my craft station.

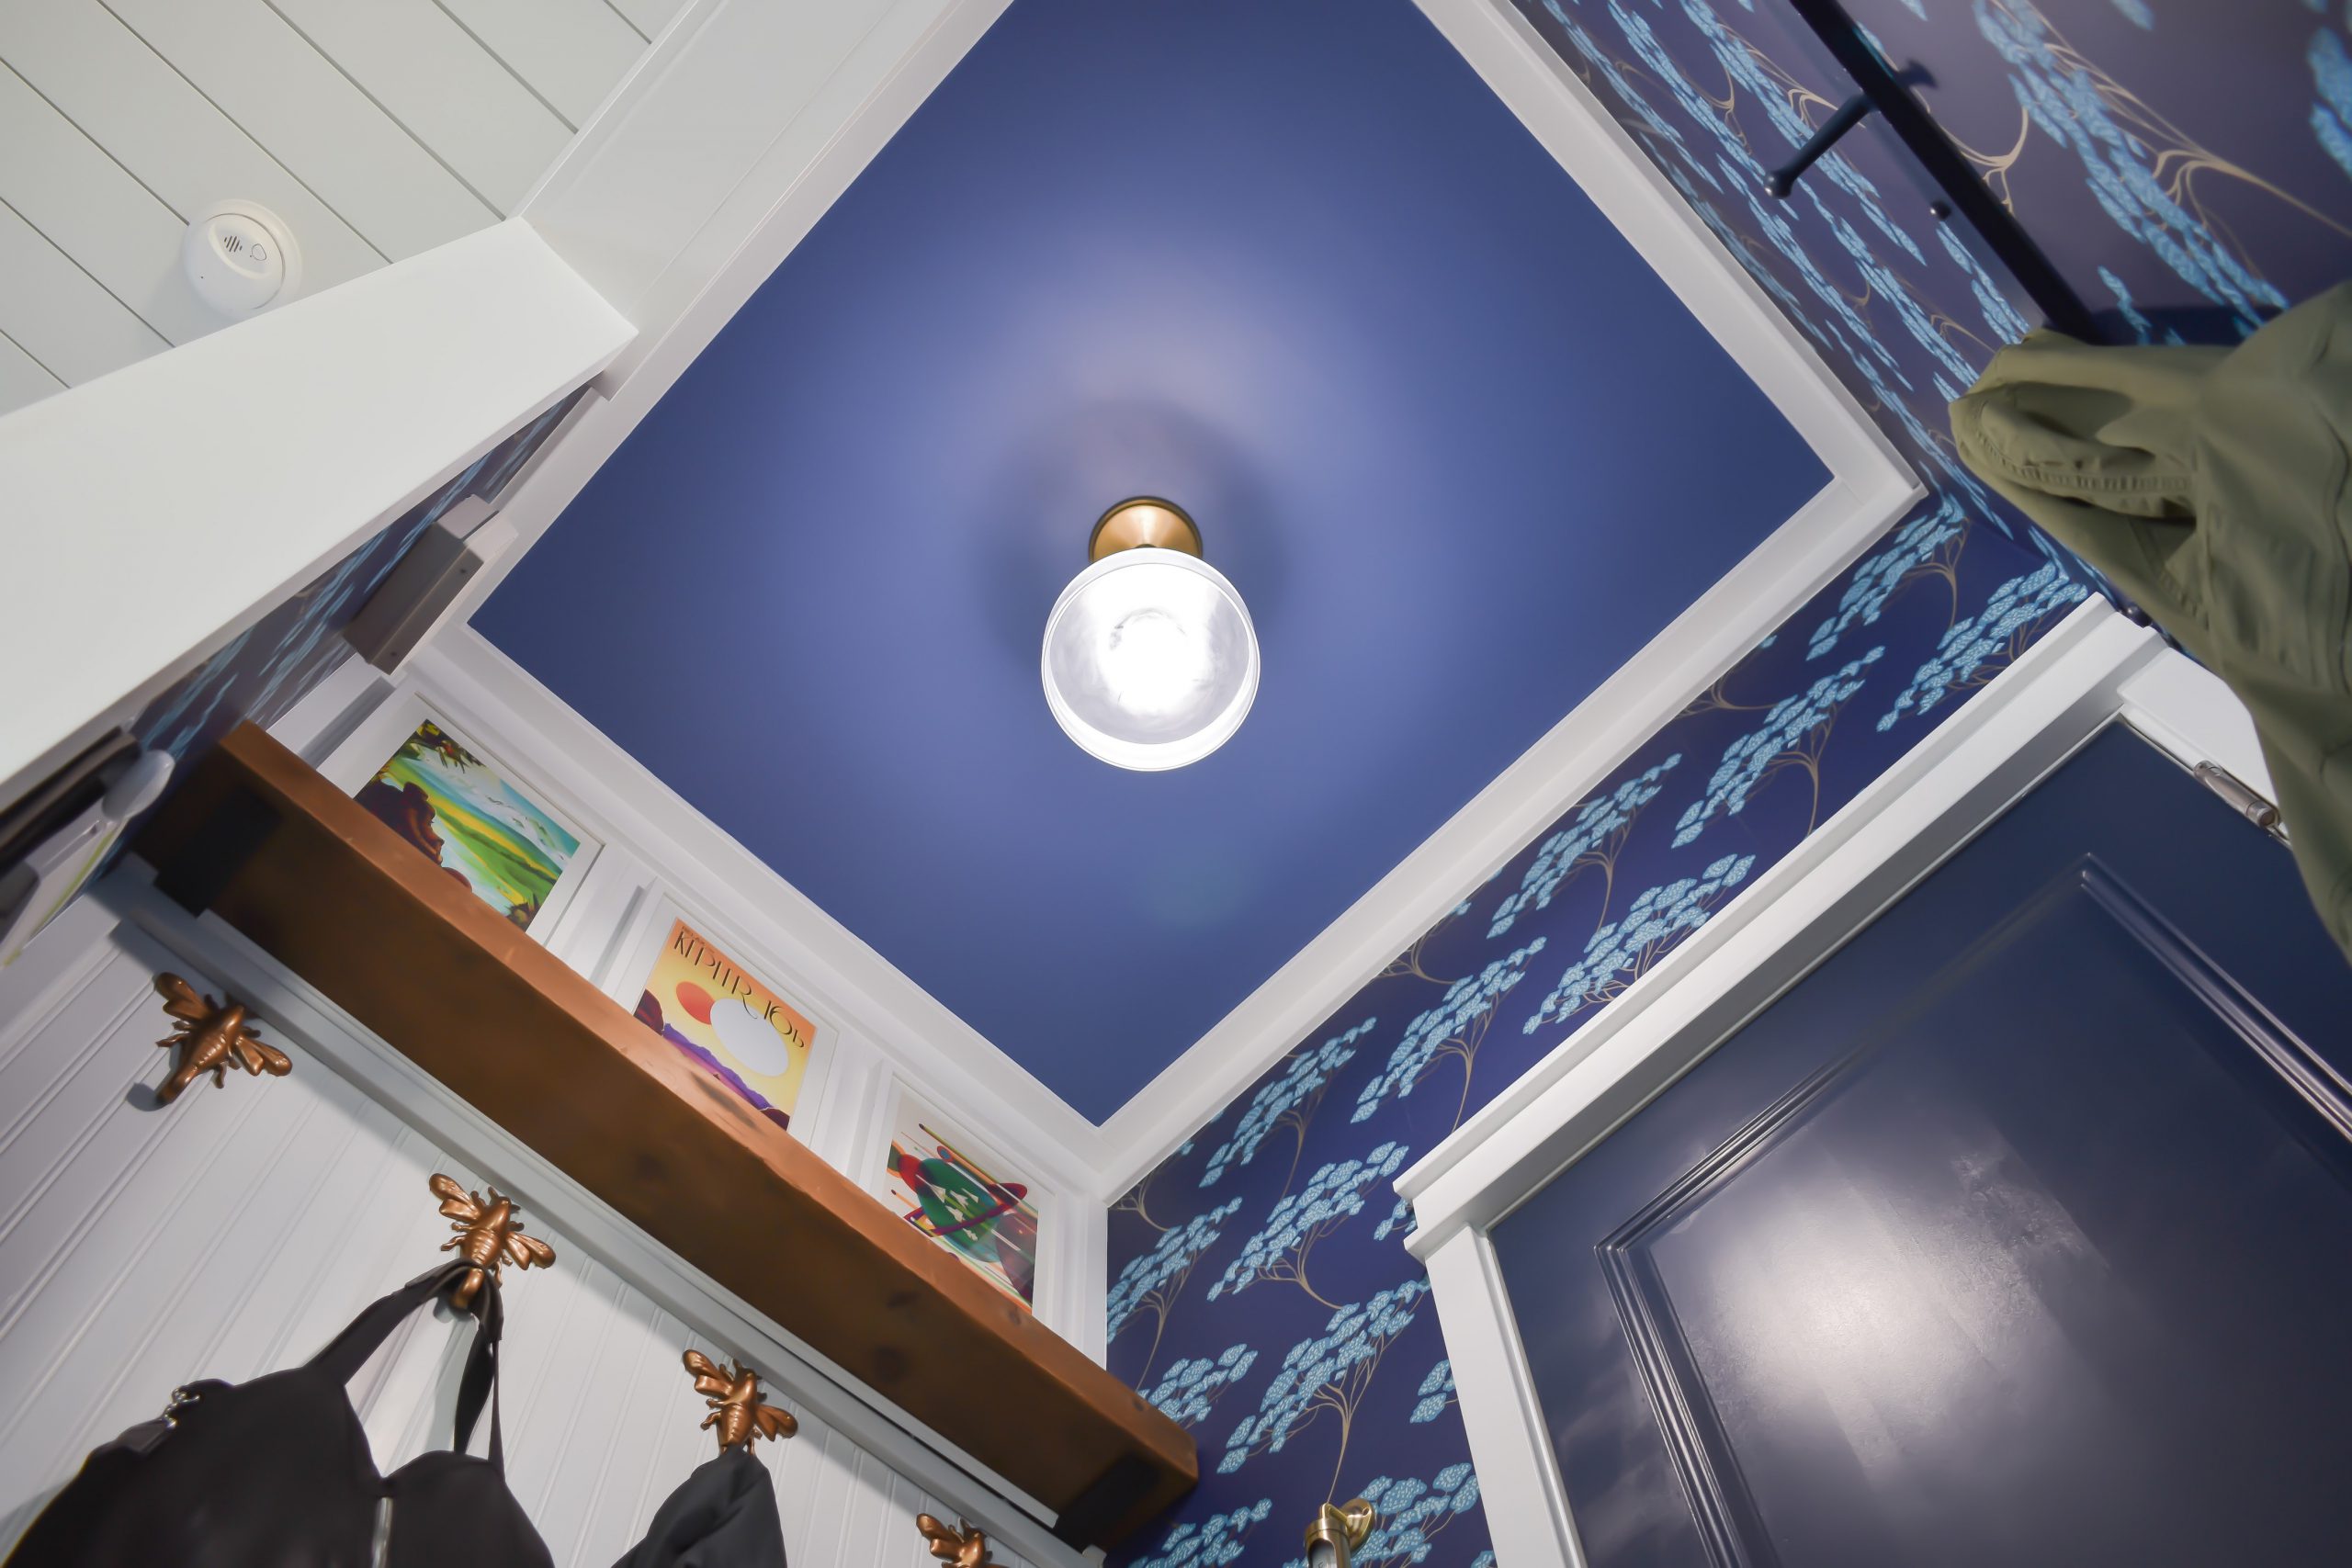
There are hundreds of different ways to do open shelving, but what I couldn’t get out of my mind was the idea of extending the tile all the way to the ceiling for full DRAMA. To make it as clean as possible I used the same technique to build the shelves as I did in my mudroom – here I built and hung the frames for the shelves first, and then tiled around them so I could slide my hollow shelves right up against the tile for a really seamless effect.
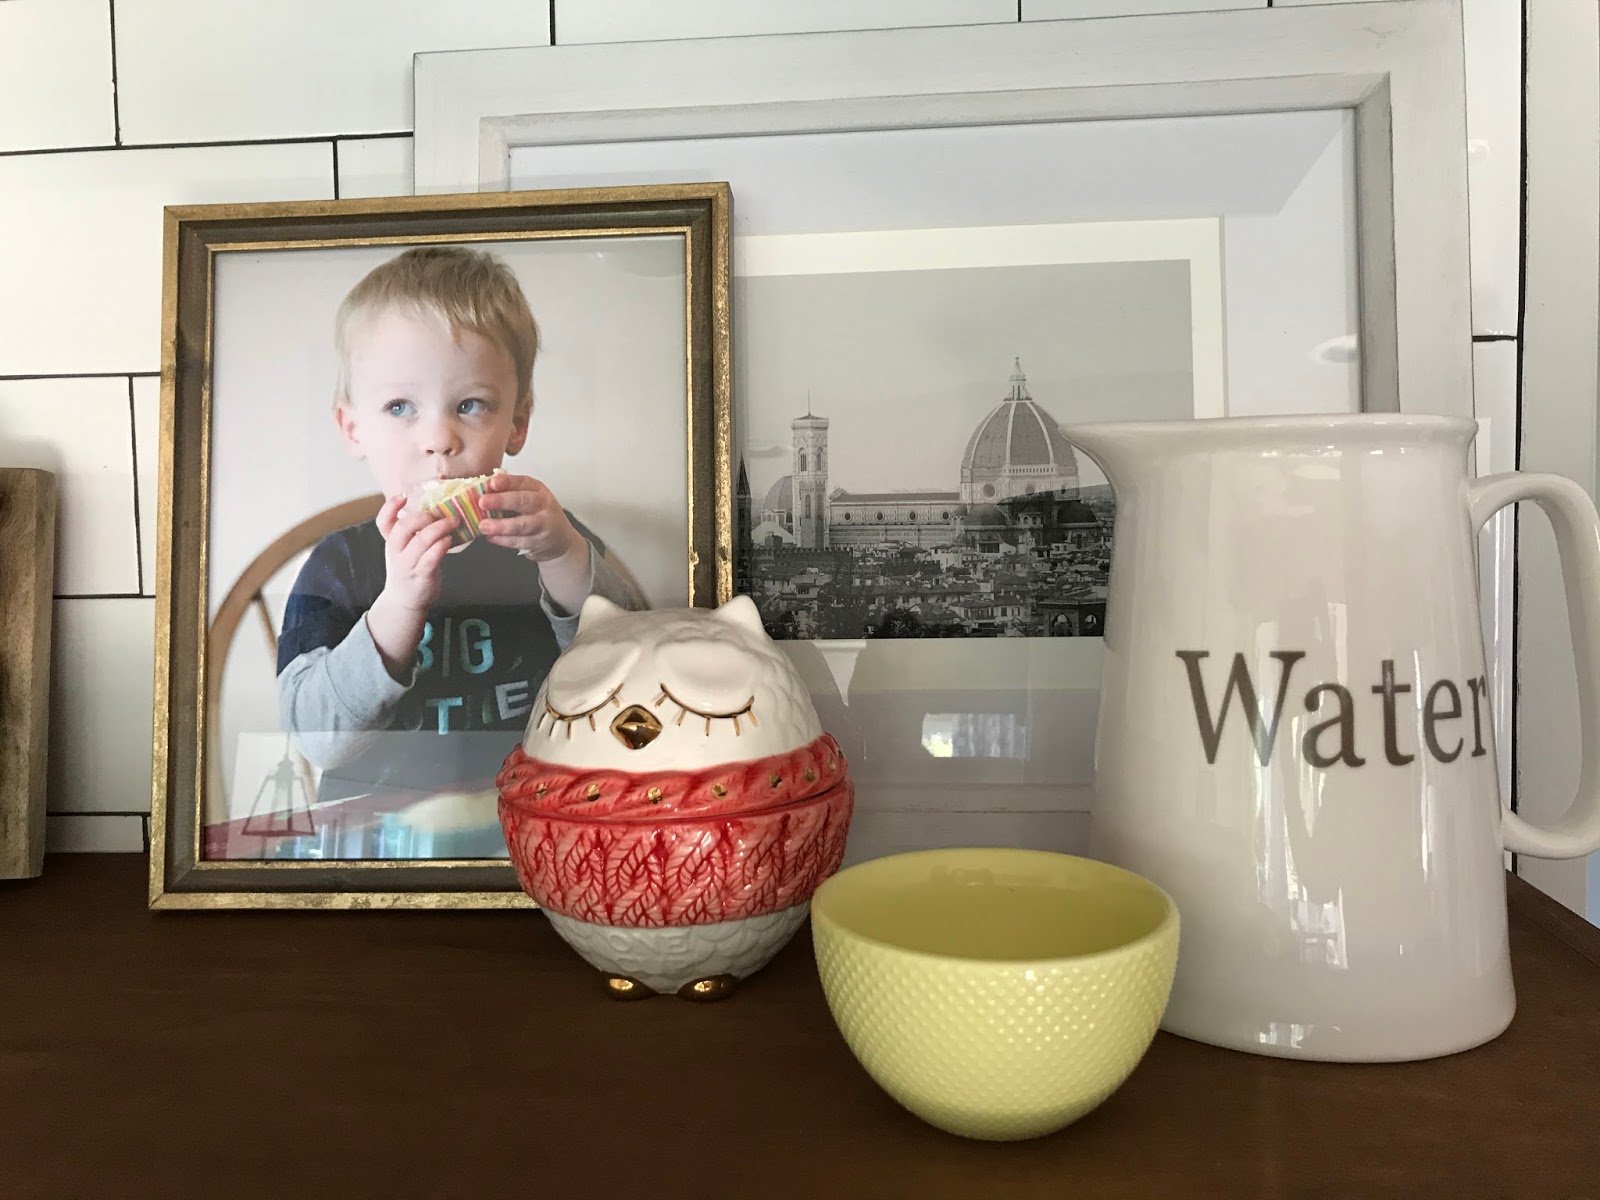
Of course all of that is just the appetizer to the really fun part – styling the shelves. When a friend of mine visited recently she commented how she appreciated that the shelves in my house look “collected”, which is a huge compliment for me because it’s something I really admire in actual designers and spend a lot of time thinking about! My tips for achieving a collected look are pretty simple – collect things you love from different places, lay them all out together, identify what goes/doesn’t go/is missing, and don’t be afraid to move things around! This might be too much info, but at the end of the post I put together a little guide on where everything came from to give you an idea how I combine items.

Oh, and speaking of the backsplash….did anyone notice the sexy new outlets and light switches in the above pics?? These are from the LeGrande Adorne line – I have loved them for years and took this opportunity to give them a try and man are they awesome! Even if these aren’t your style but you’re looking at some beige outlets and dreaming of them being white – this is an easy and not super expensive upgrade. (If you’re not familiar with electrical work I would recommend hiring an electrician or reaching out to someone who does have experience)
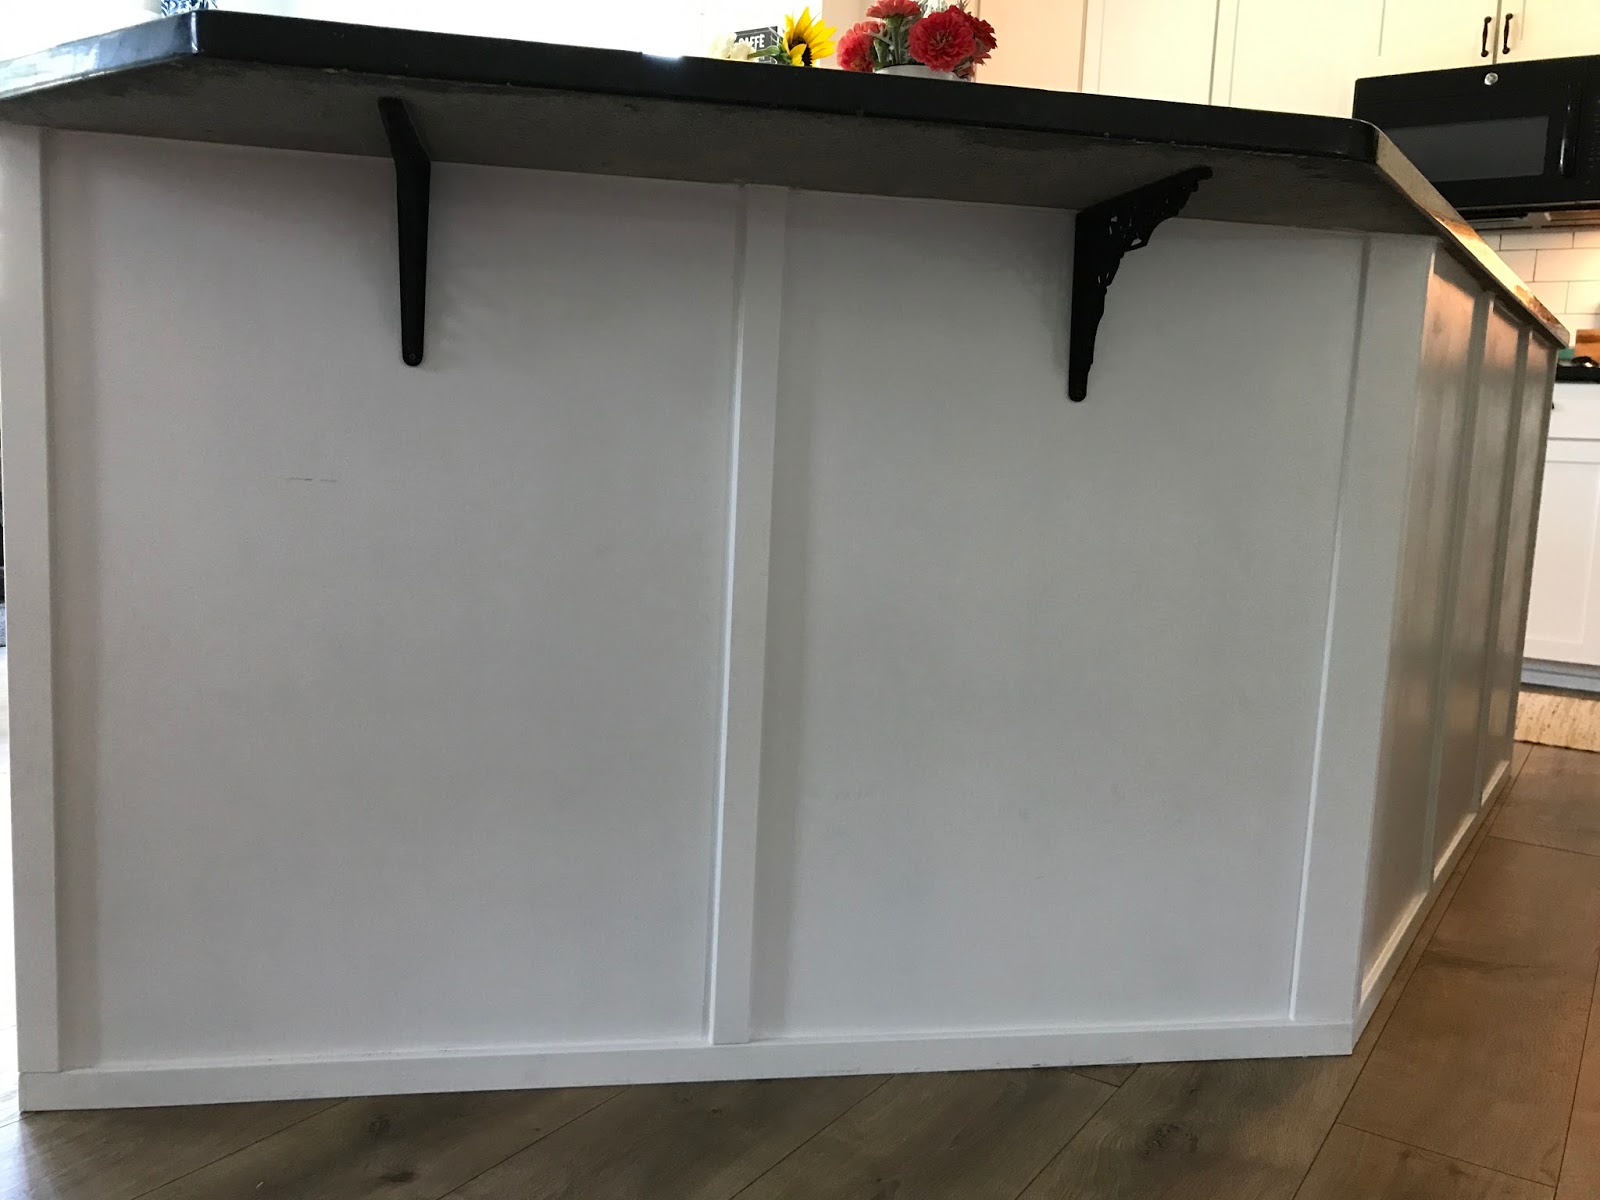

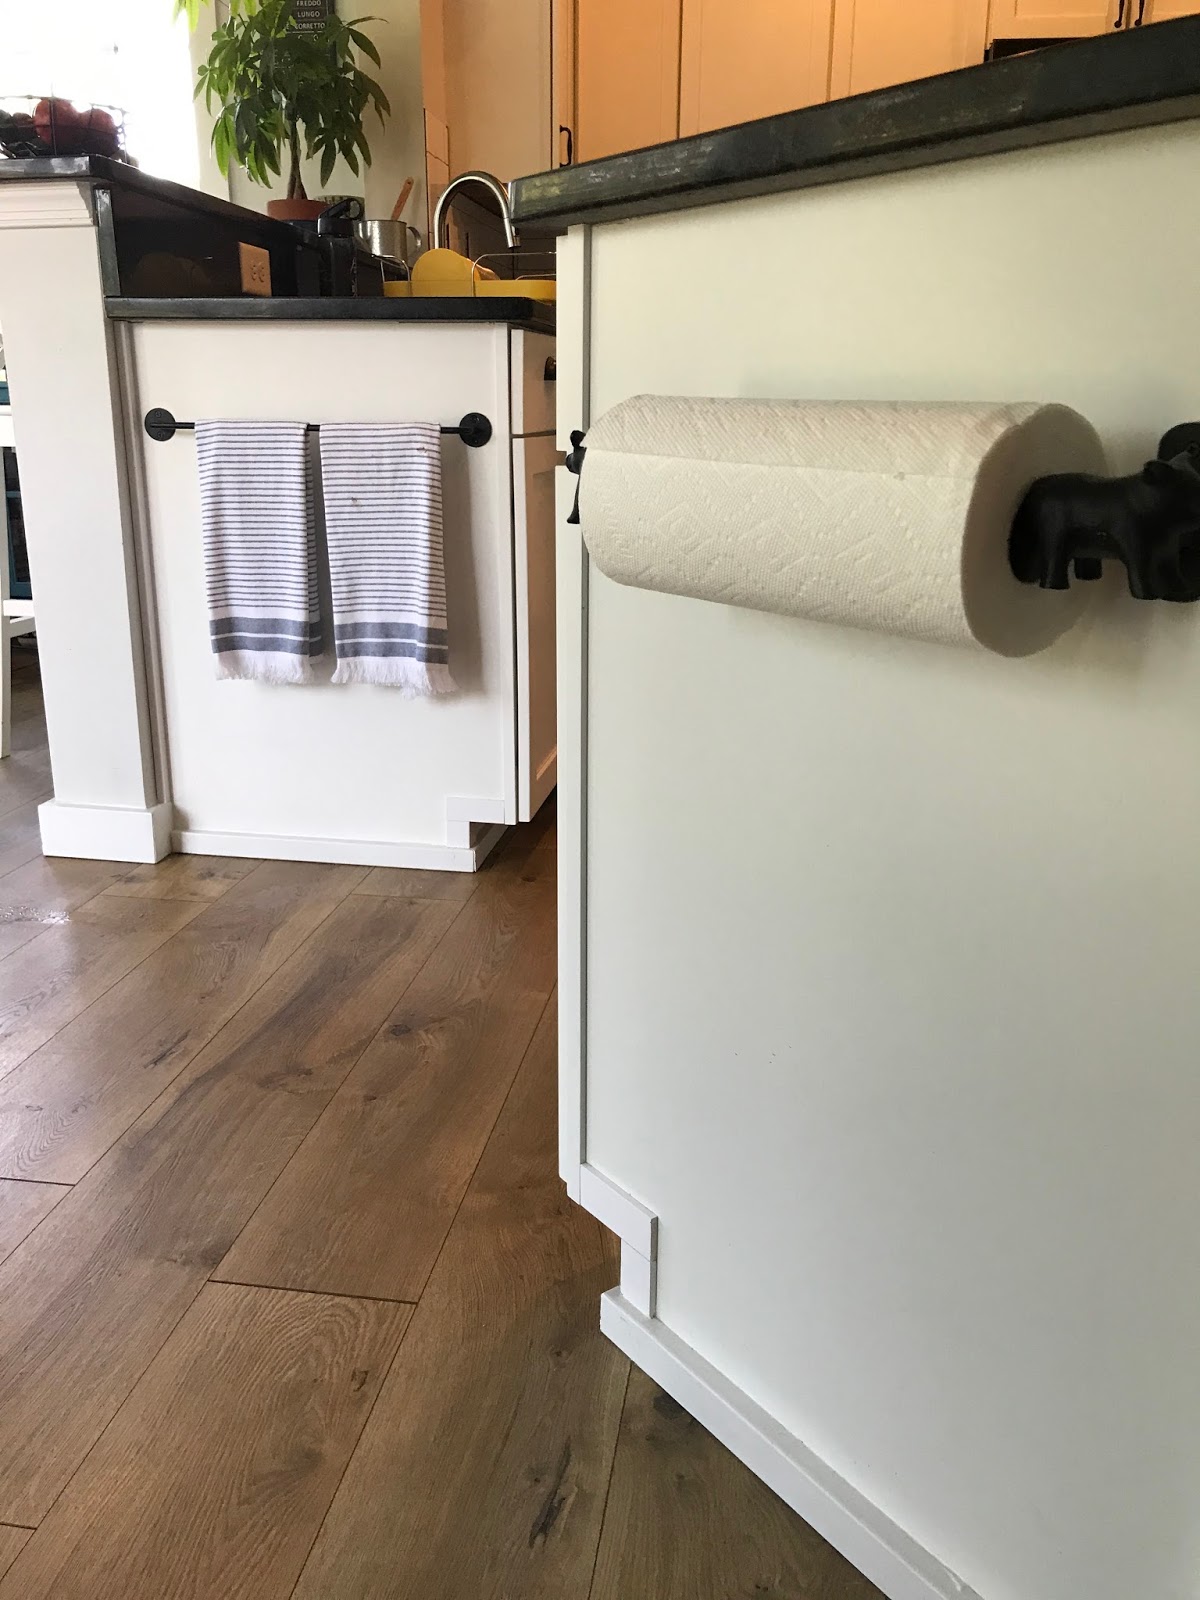
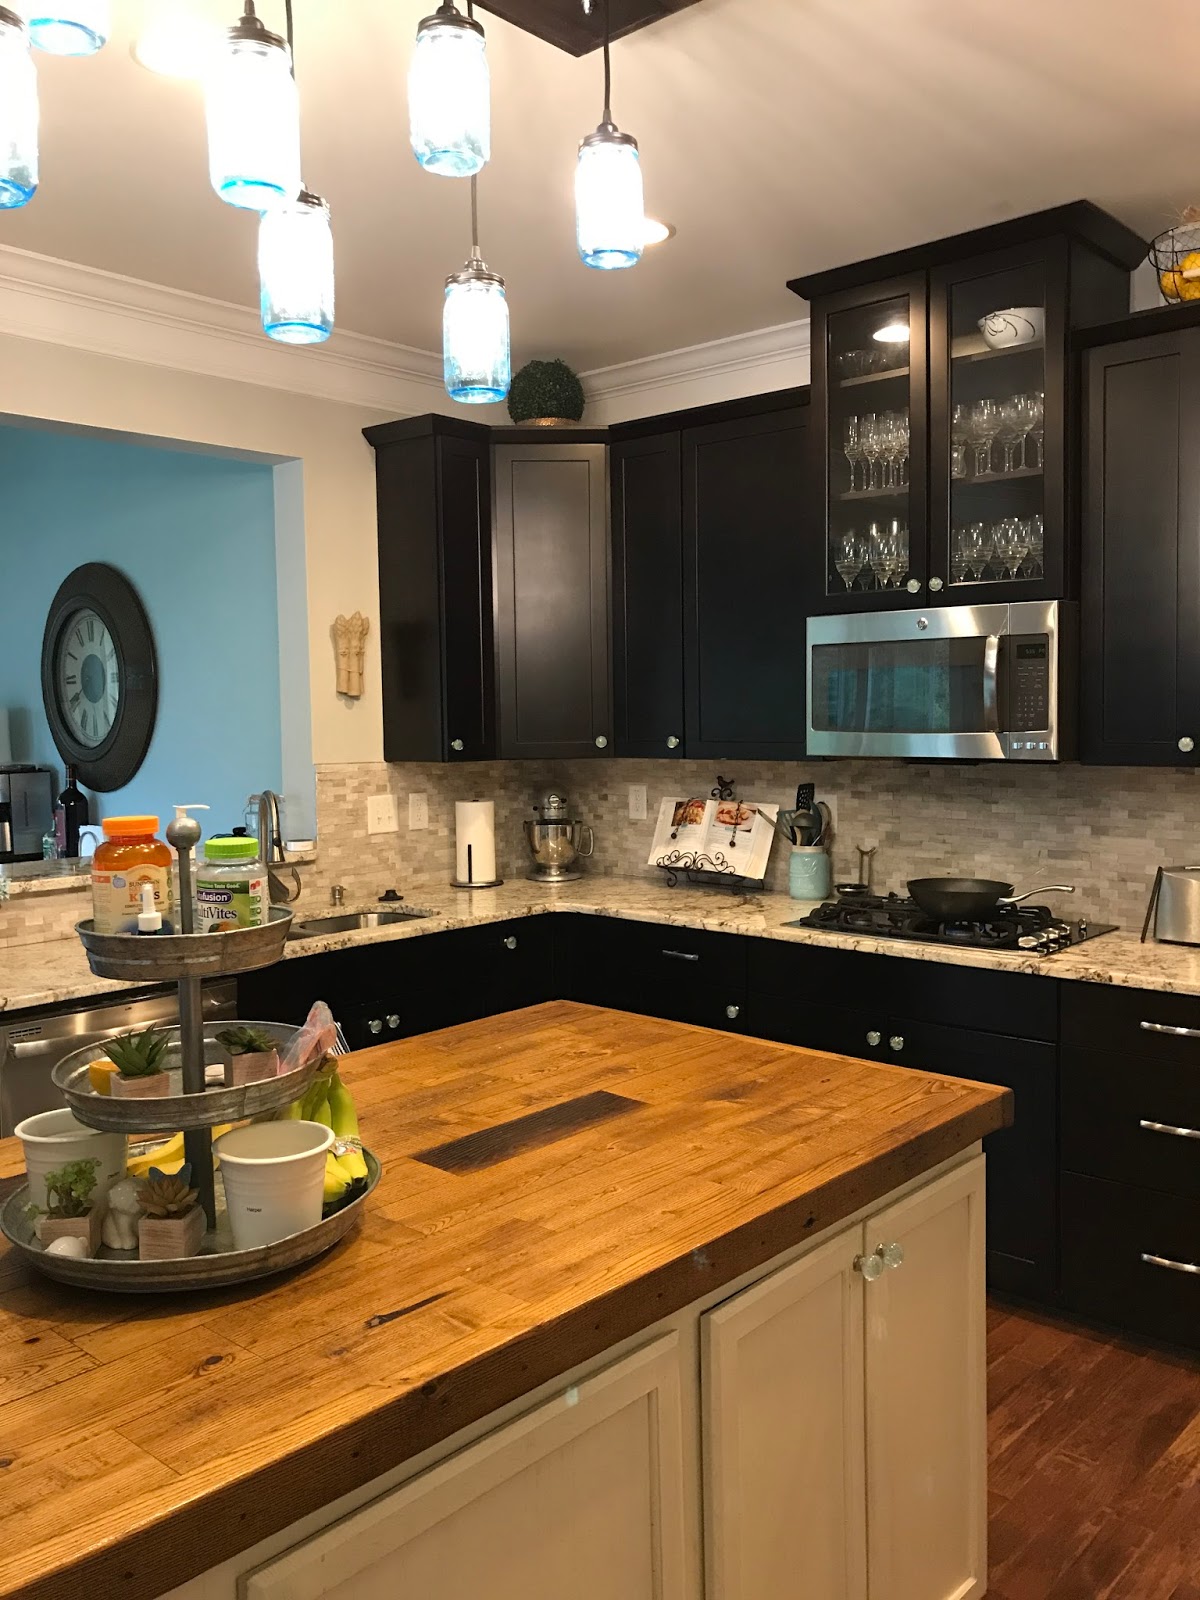
These shelves have given a huge amount of personality to this kitchen, but there are other things you can do that are a lot less involved to pack a punch….for example, my island also recently got a little makeover. I really need to remember to get before pics, but just trust me when I say that there were some weird seams going on along the backside, and the wooden brackets had fallen off a LOOONNNGGG time ago. To remedy the first part, I just used some MDF panels and some thin trim to add a simple board and batten style facade to the outside of the island.
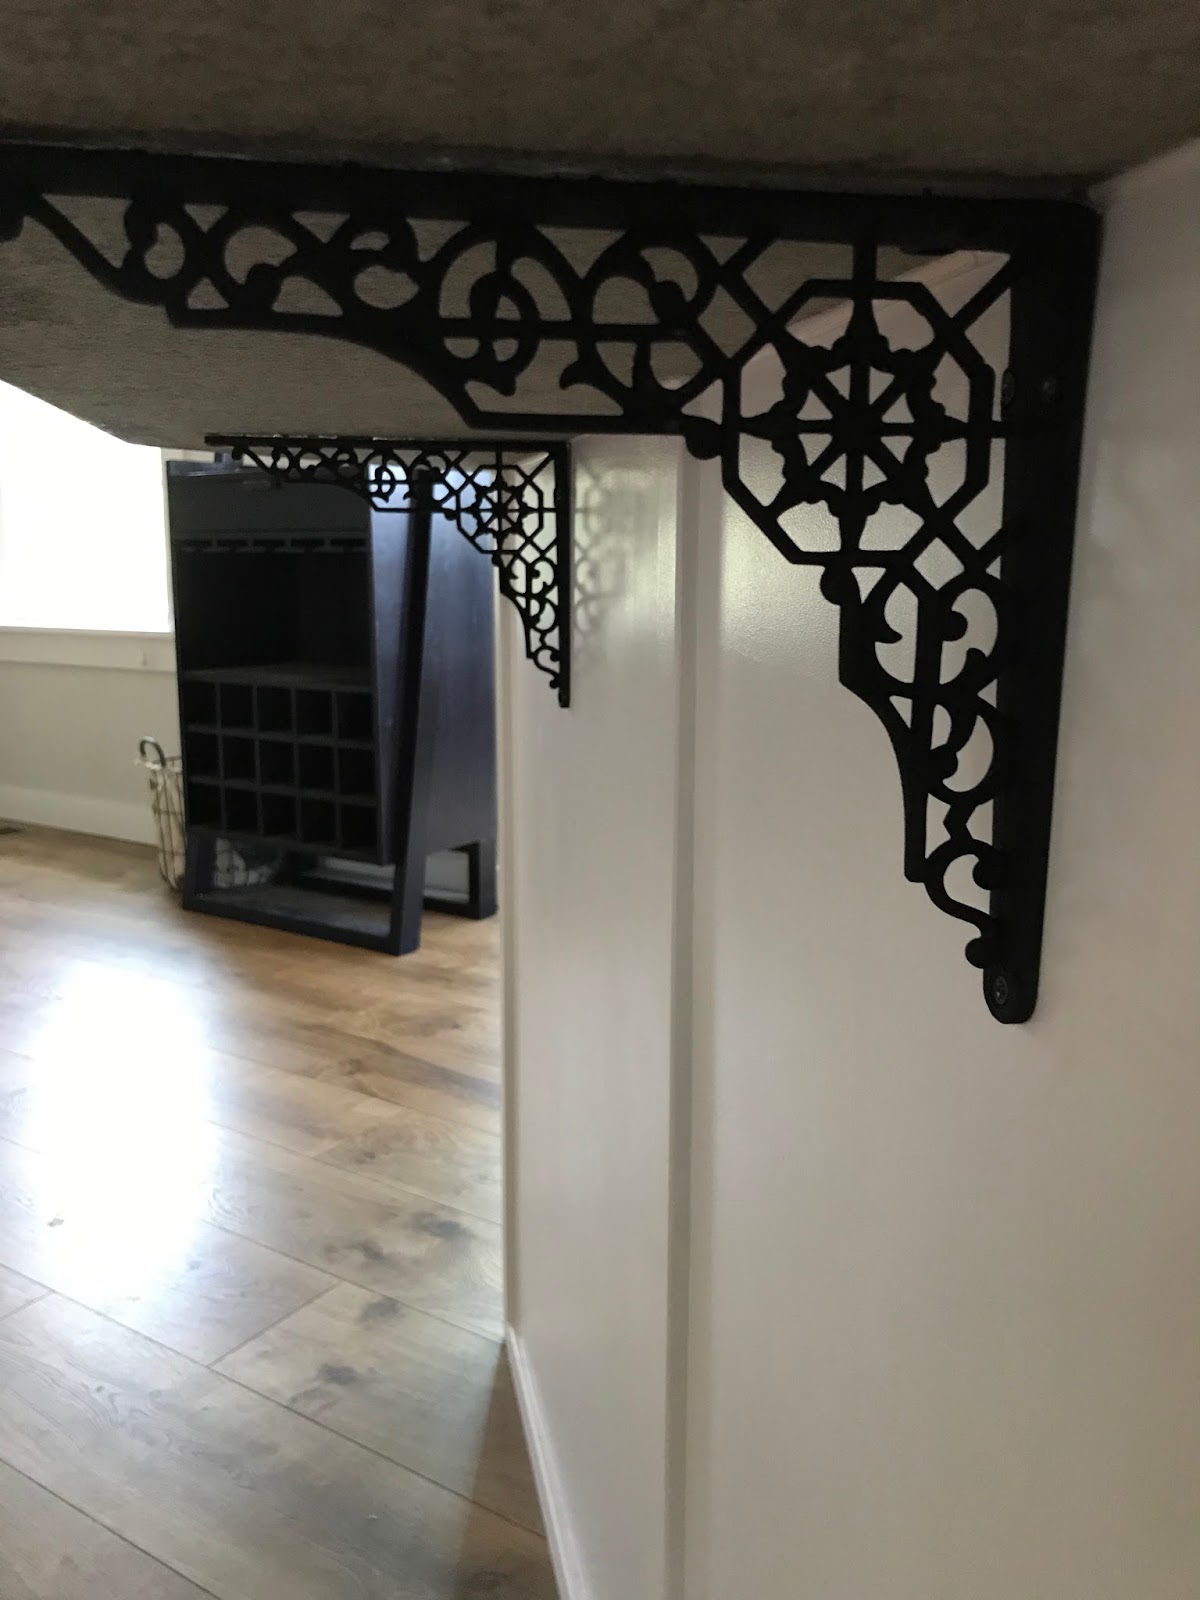
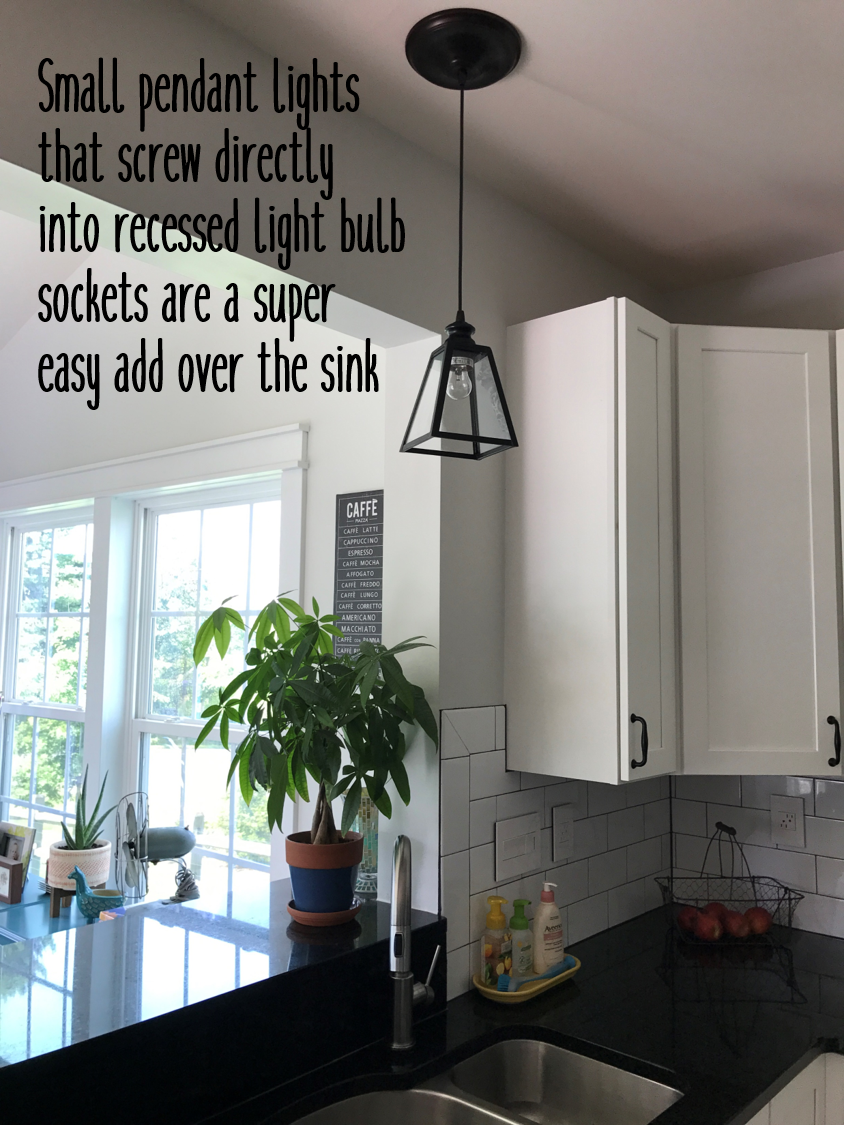
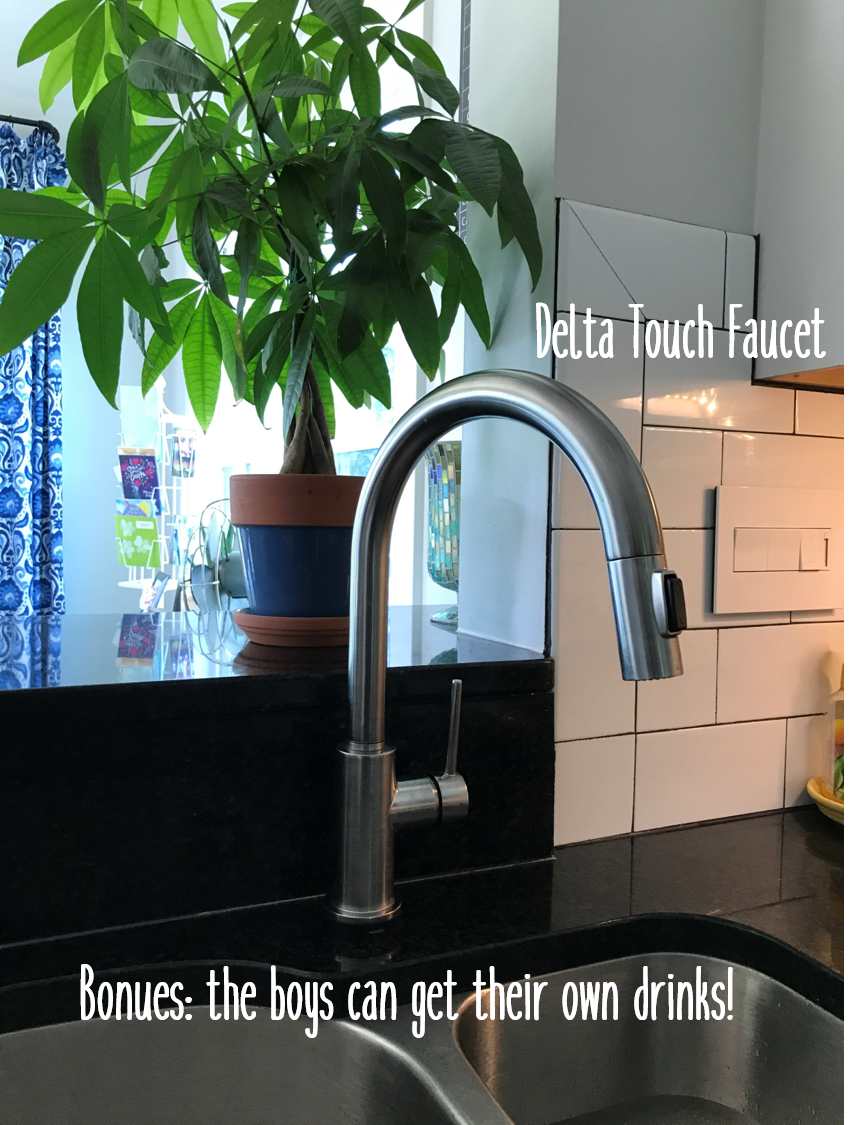
To replace the brackets I invested in these beautiful black iron ones from Signature Hardware to match my Piggie Paper Towel holder (both this and the towel holder I added a while back). It’s not only big changes that can add personality to your kitchen! Things like lighting and sink fixtures are also good places to consider trying out some change.
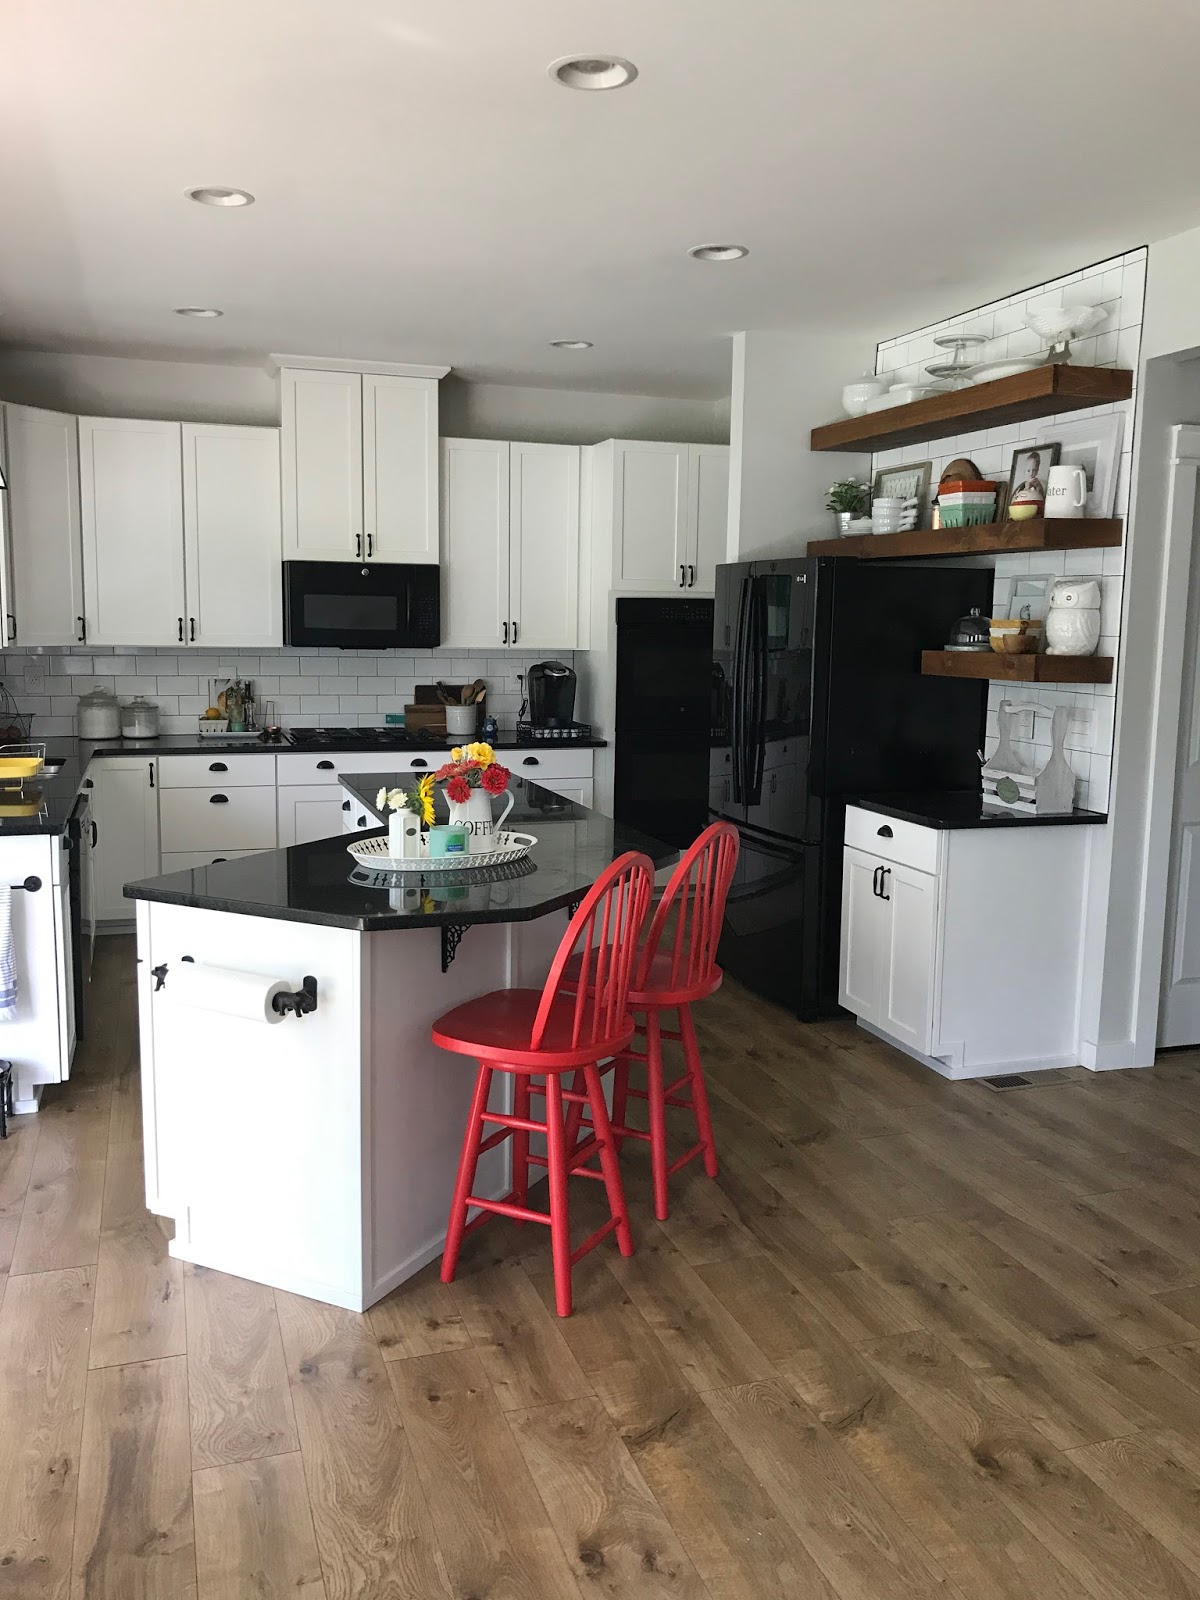
But just don’t take my word/kitchen for it! While I was thinking about writing this post I had the idea to also share with you my friend Linda’s kitchen. We have a very similar layout, and both chose to customize certain things ourselves, but she has some great ideas that I didn’t think of! Luckily she was nice enough to let me stop by and snap some pics to share with you guys.


In addition to installing and then replacing linoleum floors with these gorgeous hardwoods, she also originally had them install a super basic linoleum counter-top so she could replace them with a different granite than they offered – genius right?

She also added her own mosaic backsplash, and did a combo of polished nickel drawer pulls and, to add some color into the kitchen, she added these cute glass door knobs from Etsy.

To pull out the blue accents even more, she contacted me to help her execute her vision of a rustic chandelier that extended the full length of her island. We used these simple blue mason jars and built a wooden frame and presto – DRAMA for days : )

I think it’s pretty universal that the kitchen plays a big role in a family’s life (whether you cook or not) so no matter what choices you make, made, are going to make – be sure to add in some touches that make you happy – artwork, sayings you love, or family photos are super easy ways to give any space some personality. I can honestly say that I am incredibly happy in my kitchen these days and I think it shows : )
And, as promised, here’s a breakdown of where everything came from on my open shelving and links to things that are still available – happy hoarding!

Top Shelf:
Soup Tureen and Baking Dishes – Crate and Barrel (from our wedding registry!) / Glass Cake Stand and Serving Dishes – Target / White Fruit Bowl – Family Heriloom from my great aunt / and that thing on the end is a knife made out of a Caribou horn that my dad brought back from Alaska
Middle Shelf:
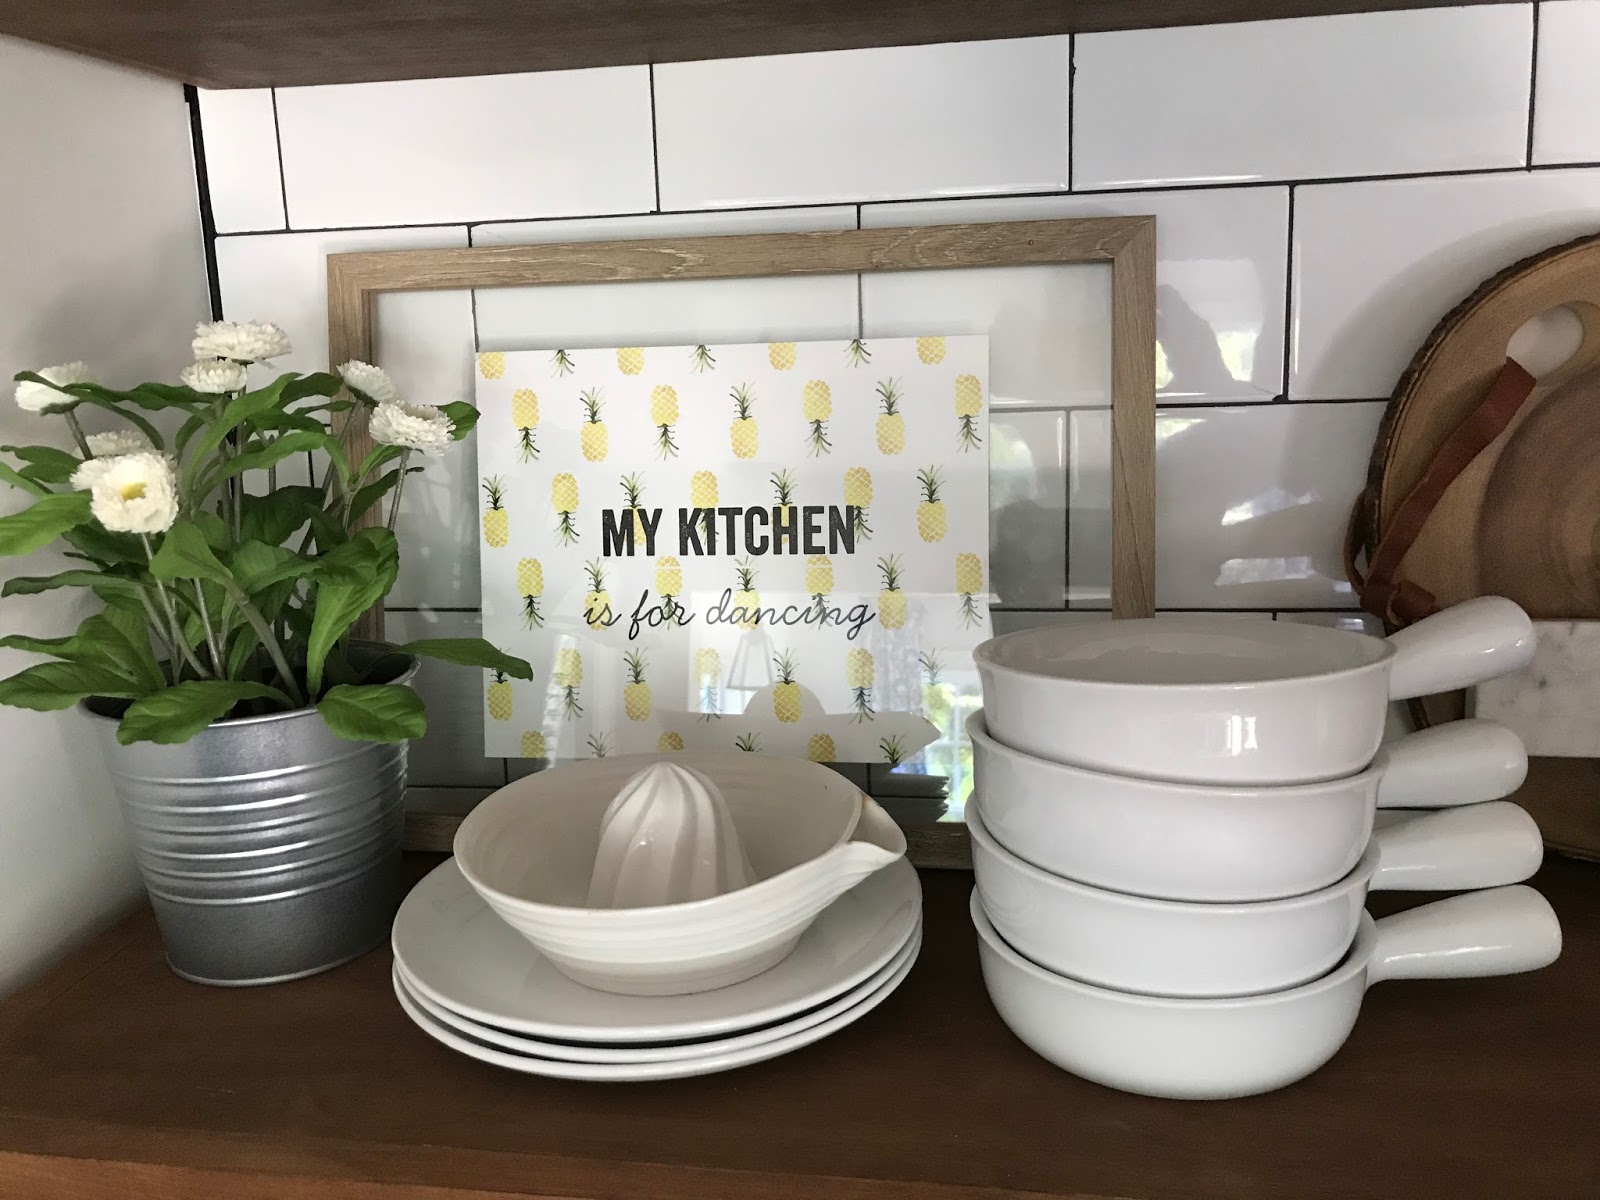
Flower and pot – IKEA (and yeah it’s fake) / Quote – Shutterfly and Frame – Target / White Bowls – Crate and Barrel / Lemon Squeezer and Owl Measuring Cups – Anthropology / Wood Cheese Board – Pottery Barn / Copper Salt and Pepper Shakers – World Market / Berry Baskets and all of the Frames – Michaels / Yellow Bowl – West Elm / Marble Cutting board and Water Pitcher – Homegoods / The picture of the Duomo in Florence is from Minted and the picture of my oldest son was taken by my awesomely talented friend Lauri at Lauri Tripaldi Photography
Bottom Shelf and counter:
Glass Cloche – Amazon / Egg Holders – a friend’s garage sale / Owl cookie Jar and Mortar and Pestle – Homegoods / Mail Basket – Michaels / Pen Holder – World Market