Ideas for adding Unique Art to your House – the Cheap and Easy Edition!
Since I’m not tackling as many big projects this year, I want to spend some time sharing the smaller touches that make my house feel personal – starting with the most near and dear to my heart….my Artwork. For those that don’t know, I was an Art History major and attended Grad school for Art Education. I never took the plunge and became an art teacher, but my love for the subject burns just as bright as ever and I like to try to use this blog to inspire others to take risks by adding more unique and personal pieces to their homes.
This week I’m bringing you part One of a Three part series where I’ll share some of the ways I inject art into my house from the cheap & easy to the expensive & involved. Mixing high/low art is a great way to give your space a more eclectic and collected look, so although it’s probably gonna be info overload I wanted to cover lots of options!
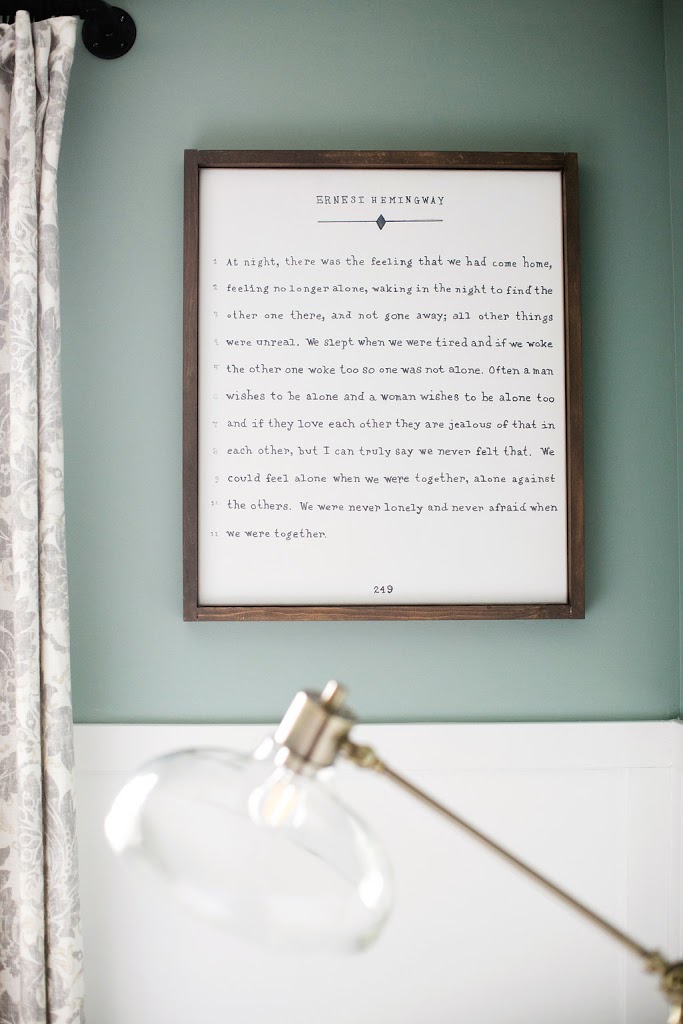 |
| Photo by Lauri Tripaldi Photography |
My one ask for every piece of artwork that you put in your house is to make sure it makes you happy!!! Why hang something that depresses you on your wall and have to look at it every day? I would rather frame a page that I tore out of a magazine that makes me smile then something that cost a lot but now I can’t stand. So if you’re reading and thinking “oh yeah I’ve got one of those staring at me right now” here are some quick, cheap, and easy options you can use to update your room.
Not your Parents Vacation Photos
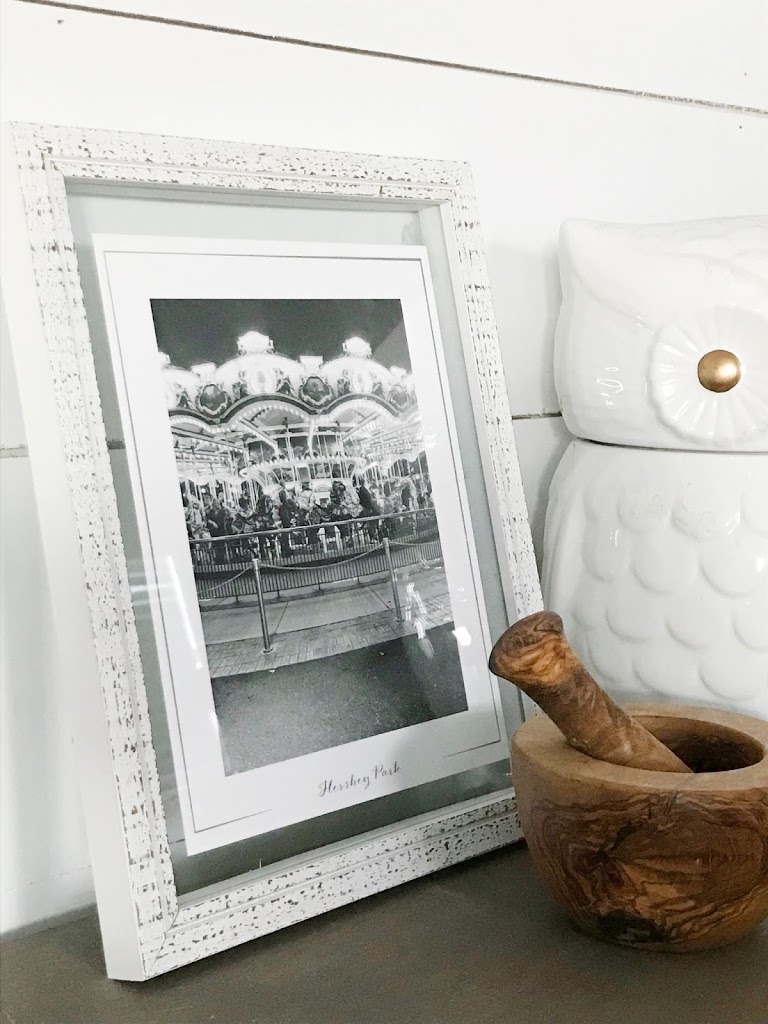
Next time you’re on a family vacation consider snapping a few pictures to hang on your wall back home – just think about taking the family out of the frame. You don’t need a close up of everyone’s sun-burned faces to bring back memories of the beach, so concentrate on getting a beautiful picture of beach instead. On our last trip to Hershey my husband took this great picture of the Carousel while we were on it, so when we got home I filtered it to B&W, had it printed it out as an Art Print from Shutterly, and added a small caption with the location at the bottom. I don’t even think you can see us, but I can remember that wonderful night and that ride perfectly when I look at this picture.
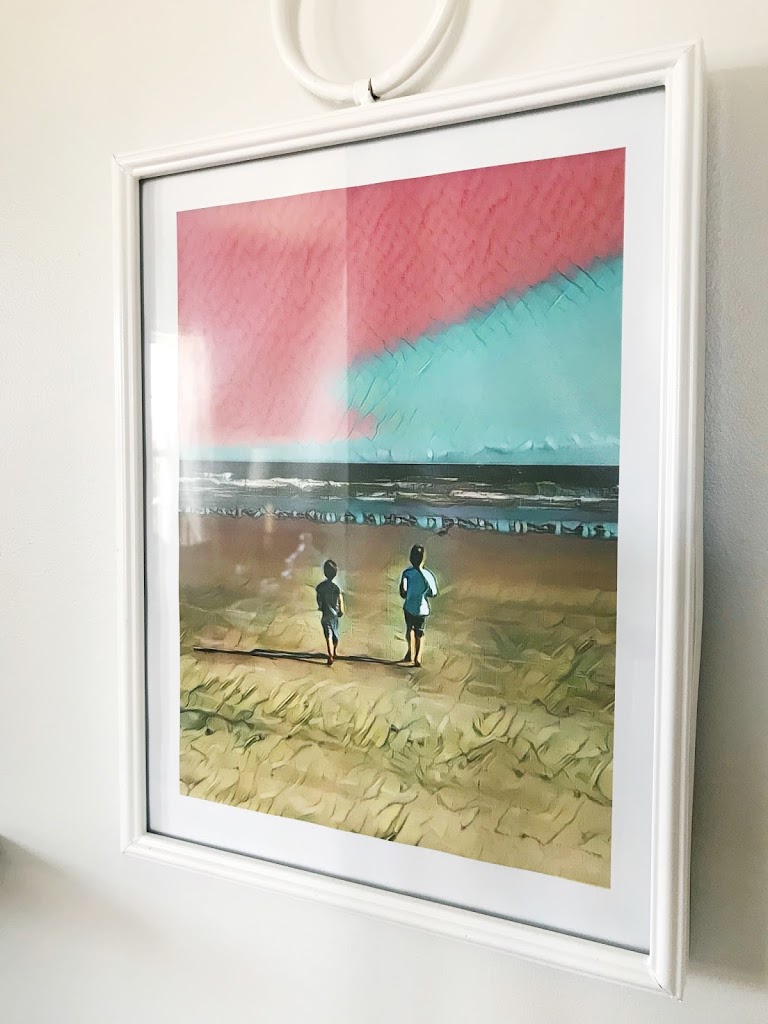
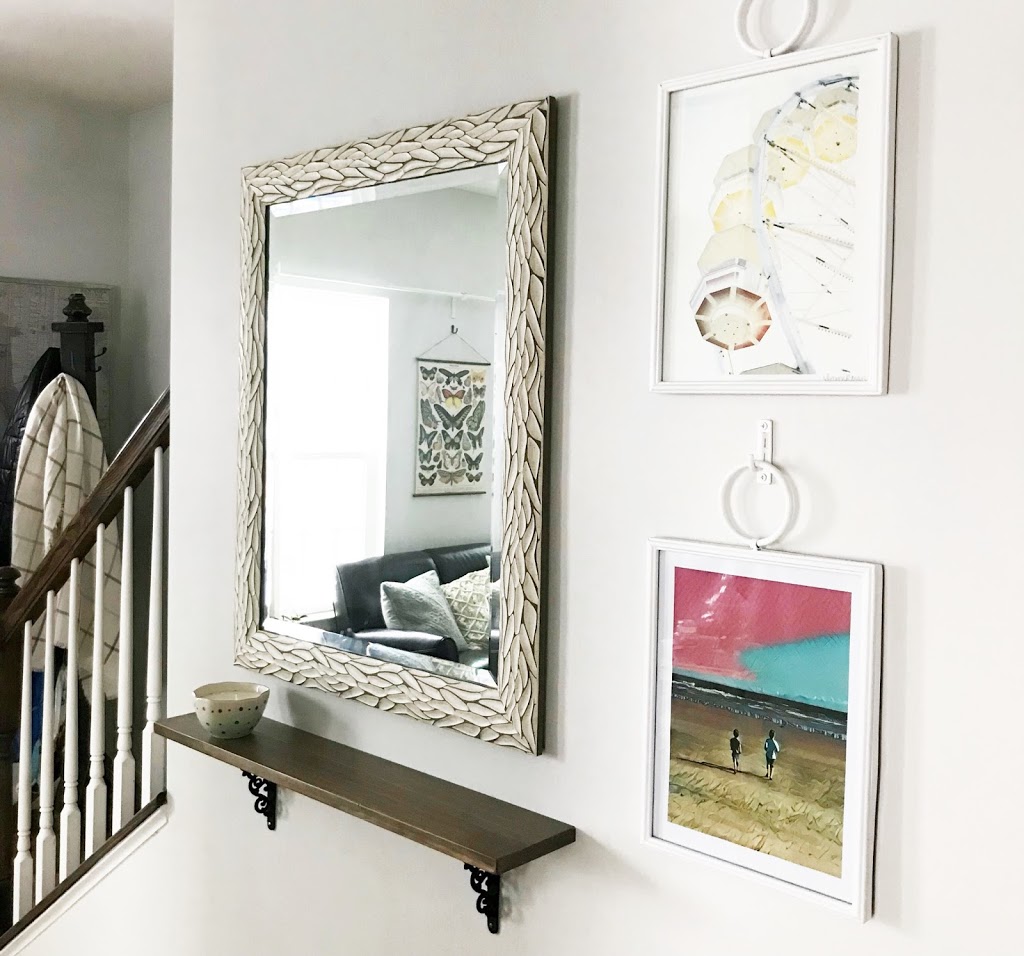
If you really do want to include your loved ones in your vacation photos, how about changing up the angle? On our last trip to Florida, me, my boys, and my dad spent a great morning on the beach and I grabbed an awesome picture of them running towards the surf. I then ran the pic through a cool artistic filter, and had it blown up and printed as an 8×10. Because you can’t see their faces, the picture instantly goes from family snapshot to interesting photograph. Just a note – if you decide to use a filter like this I recommend picking something that is slightly distorted to begin with so when you blow it up any image integrity issues are less noticeable.
Ditch the Glass and Embrace Change
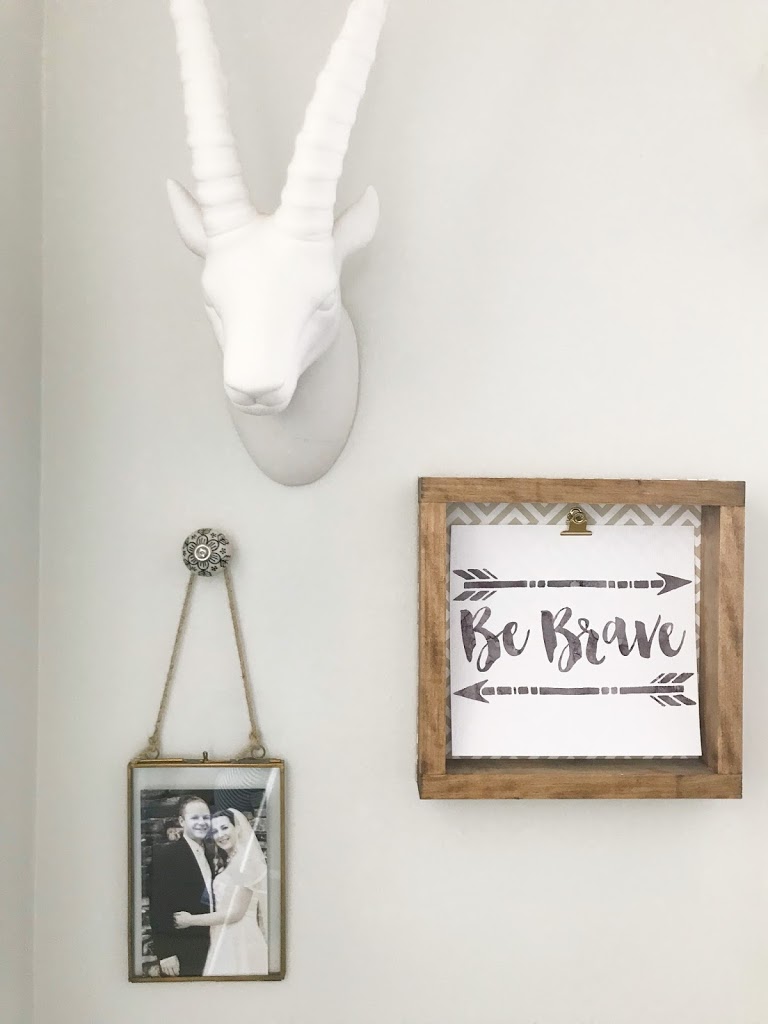
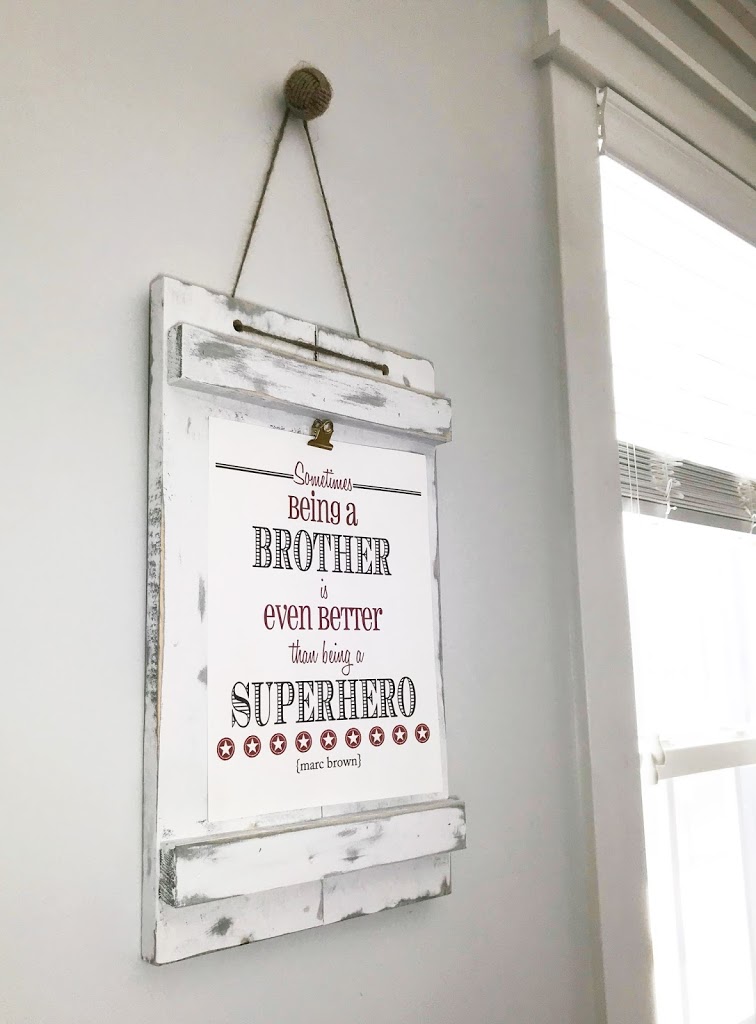
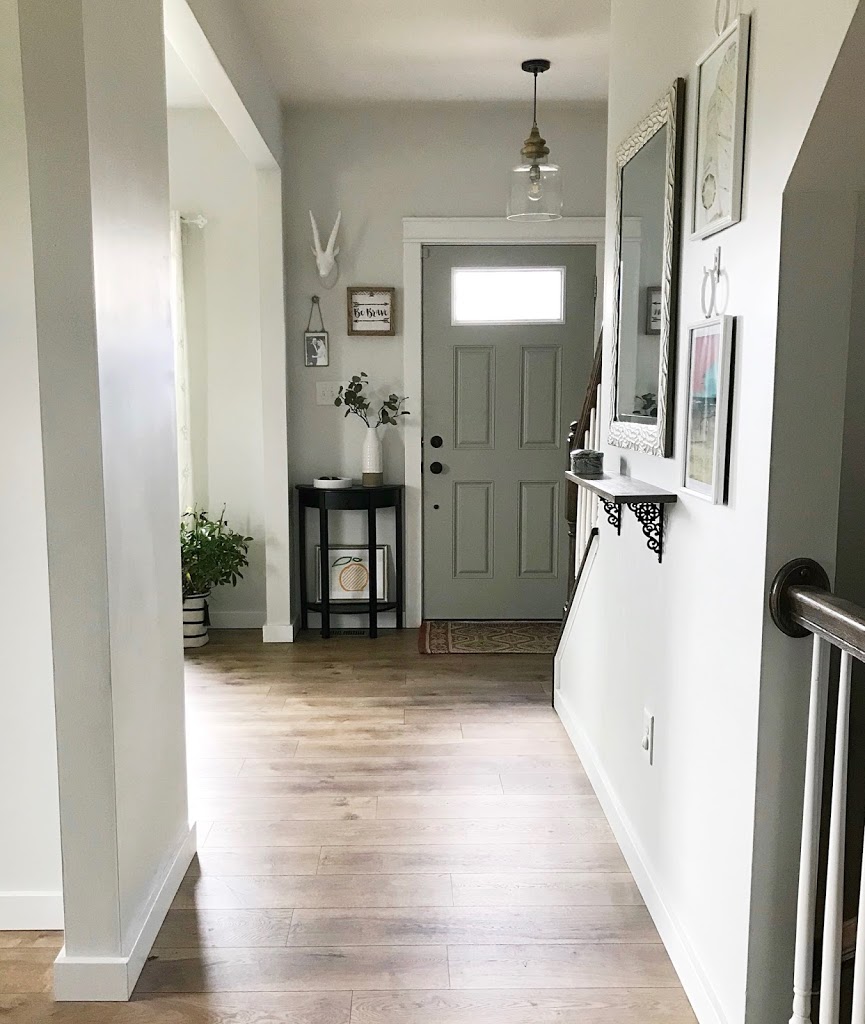
I always have more ides for art than I have spots to put it, so I love having a few places where I can easily change things out. Now I know that replacing a photo in a frame is not that difficult, but an even easier way (that also can add some variety to your mix) is incorporating a few glass-less frames or shadowboxes. I have two open frames in my house that I built using plans from Shanty-2-Chic where I can swap out the artwork simply by clipping up a new piece of paper. The best part? I use free online printables to change these up – there are loads available on Pinterest. Depending on the look I want, I either print on in-expensive white cardstock (like the Brothers sign in the playroom), or I use a water-color paper specifically made for printers (like the Be Brave sign in my entryway). If building your own isn’t your thing, you can find frames like these anywhere these days and they’re usually very in-expensive. For example, that brass hanging picture frame was $10 from World Market and easily opens at the top so I can switch out the pictures with the seasons.
Brave Printable | Shadowbox Frame | Brothers Printable | Chippy Wood Frame
If you like it put a Frame around It
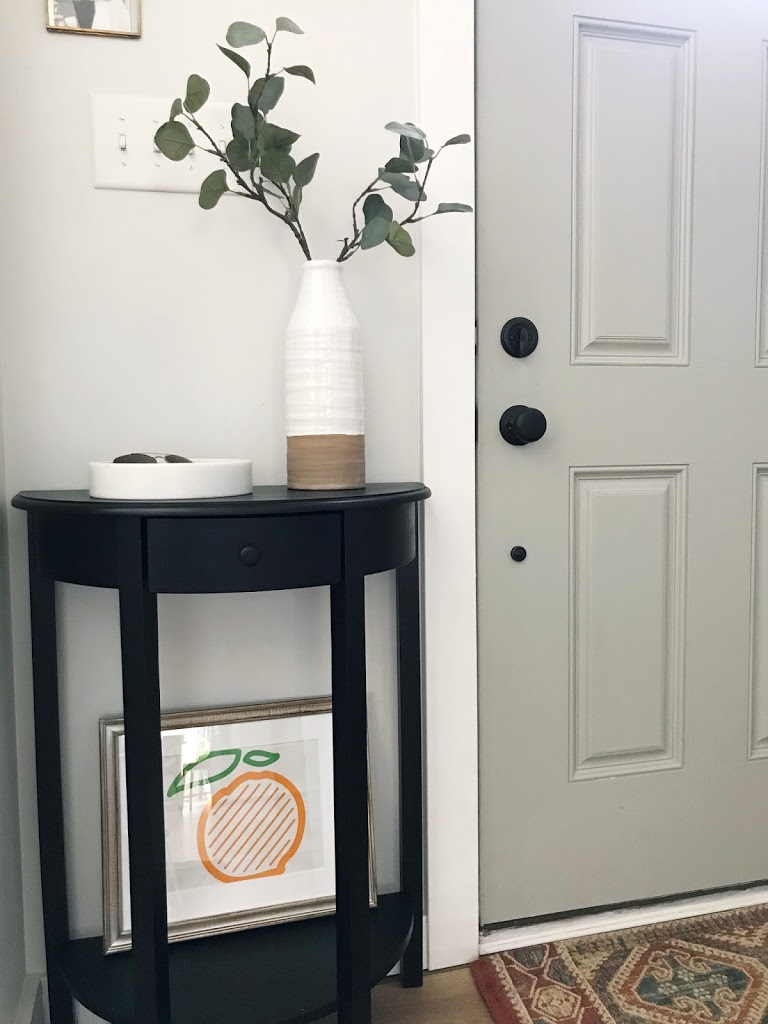
So this one isn’t anything new, but it is the definition of easy and cheap so I’d be remiss not to include it. Basically – if you come across something that you like to look at, consider putting it a frame or shadowbox. Pages from old calendars or art books, pieces of fabric or wallpaper, even puzzles – if there’s something you’re holding on to because the thought of getting rid of it is upsetting, why not find a way to display it? I just did a quick makeover in my entryway and added this peach drawin – you wanna know where I got it? It was the takeout bag from a restaurant we went to in Vegas this fall (Momofuko btw…so good!); my husband was smart enough to take it home and not only does it give my hallway a good does of playfulness, it also reminds me of that amazing meal.
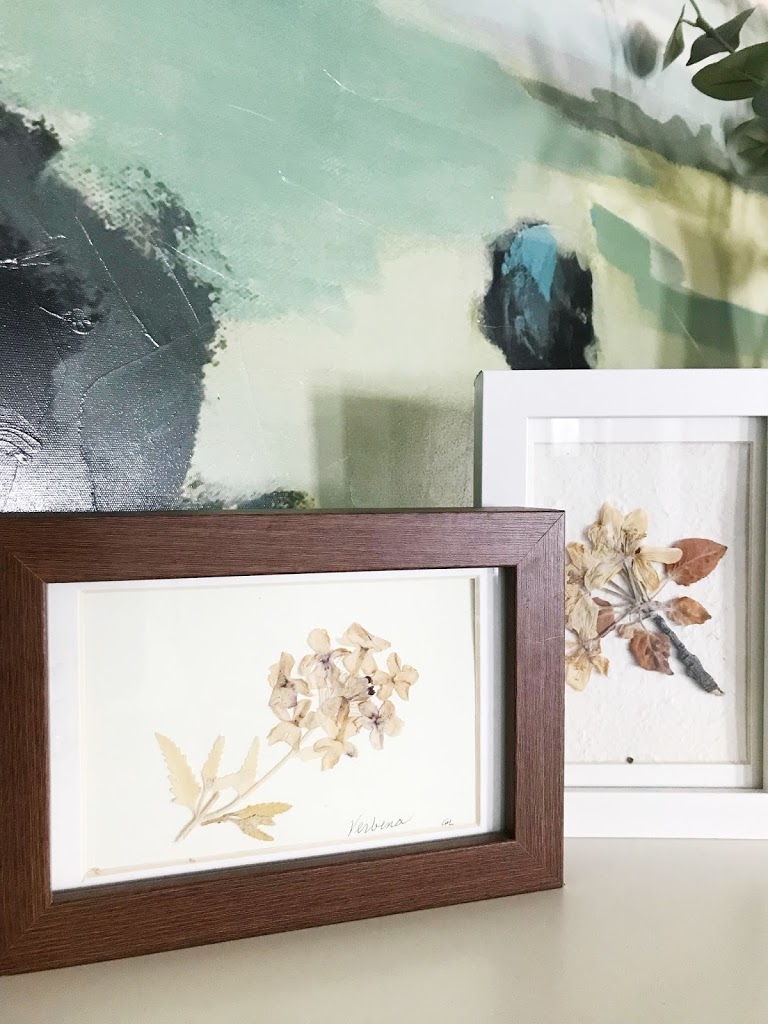
An old boss of mine gave me a beautiful set of notecards with different pressed flowers on each one. They were way to pretty to send so I placed them in cheap IKEA frames and have them scattered around. When we moved, I took some clippings of the apple tree that we had planted out back and pressed them myself to make some companion pieces (you can read all about that in this old post). Bottom line, don’t let size or shape deter you…if it doesn’t work, worse case scenario it just goes back in the memory box for another day.
Encourage your Littlest Artists
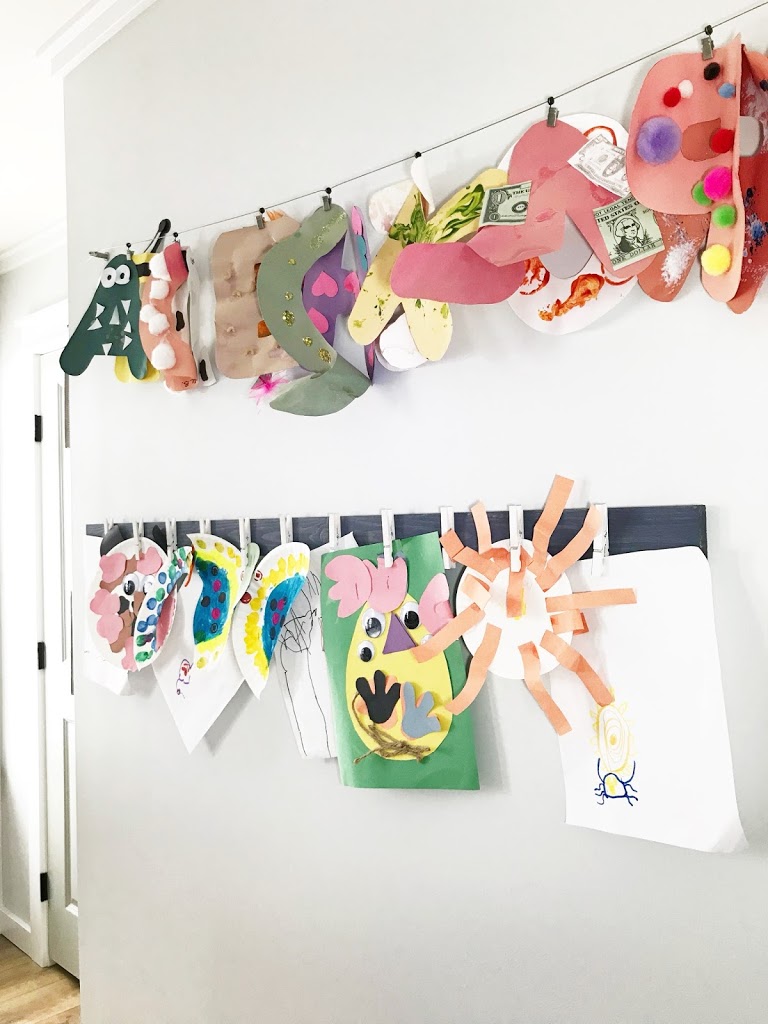
Before I had kids I had pinned so many super creative ways to display their non-existent artwork – but then real life hit and I was like “who has time for this???” So I’ve come up with much simpler ways to incorporate my boys work into the house. For starters, I use it to decorate their bedroom and their playroom. Find a method where you can easily display (and change out!) a lot of papers at once, like a cork board, a clothesline, or just attach a few clothes pins to a piece of wood. Your kids will love having a place to display their favorites and it will give their rooms a great personal touch.
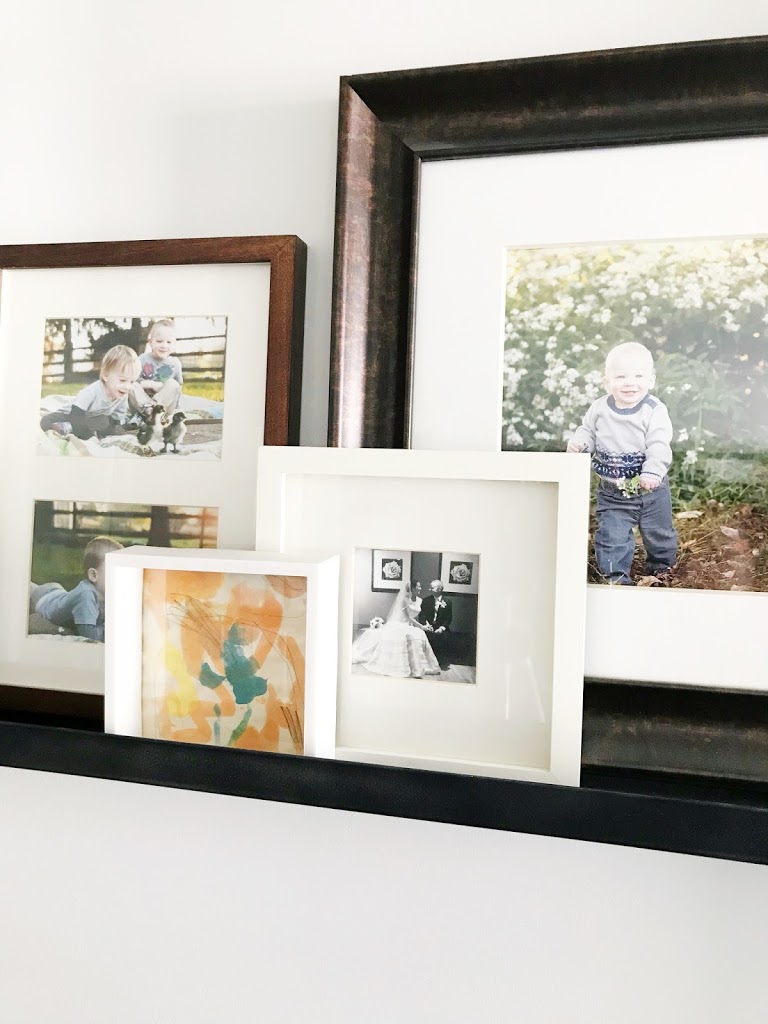
If there are drawings or painting that are really special, consider displaying them outside of the kids room. By cropping them down to a smaller size and mixing in with other pieces, they go from “kids drawing hanging on the fridge” to custom abstract work of art in a hot minute!
A visit to the Antique store is NEVER a bad idea
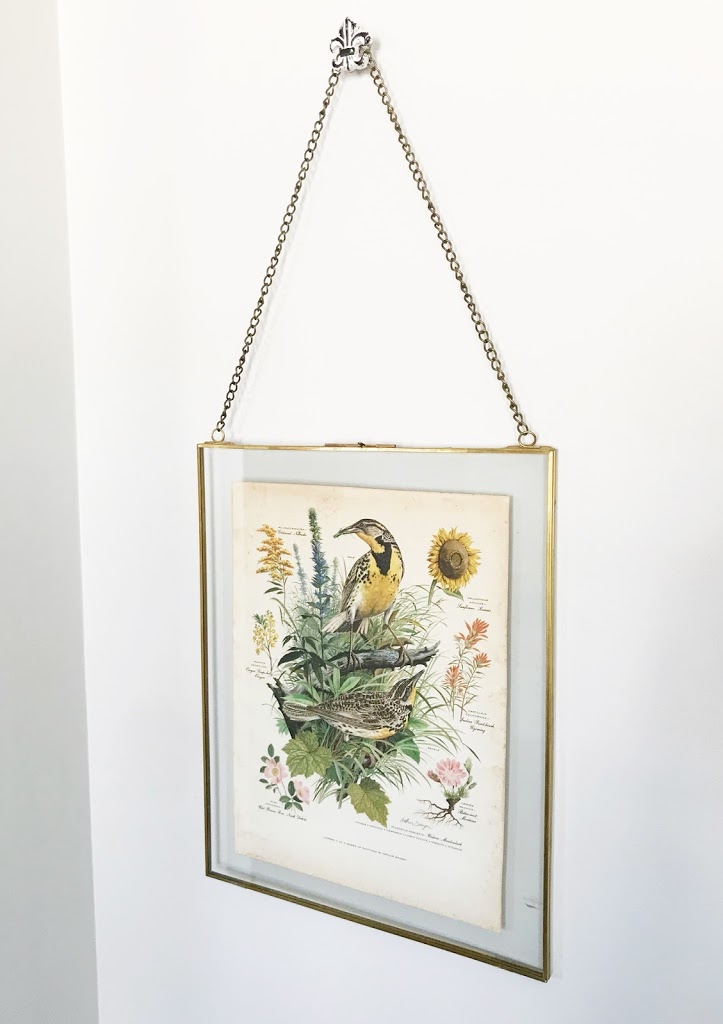
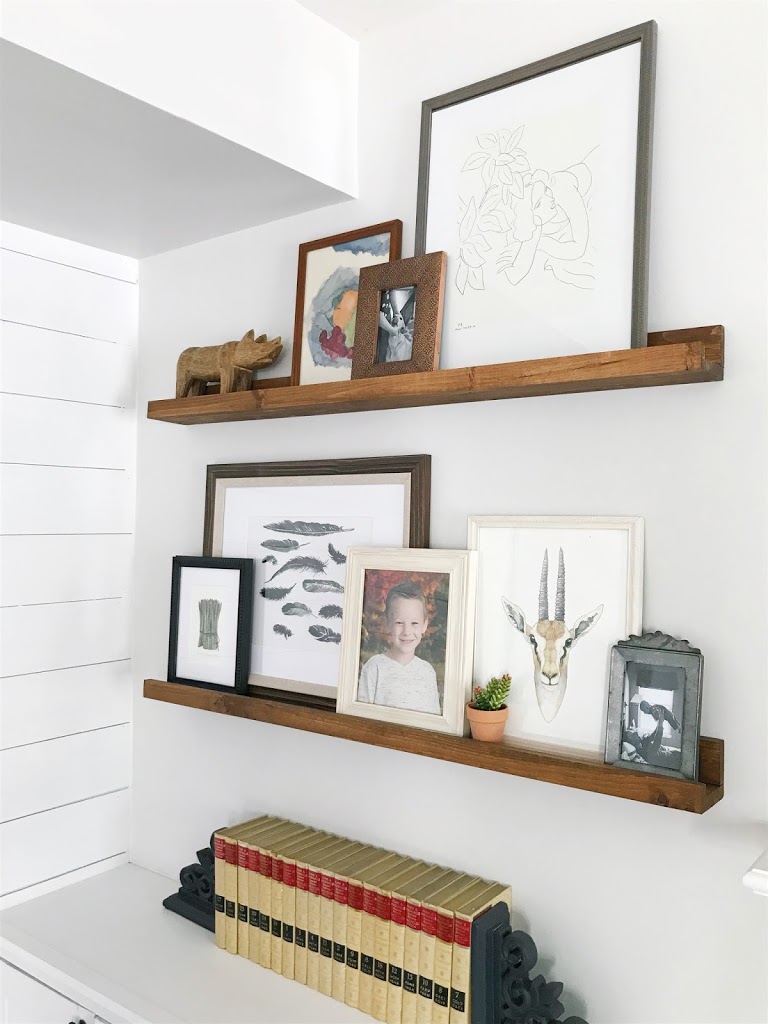
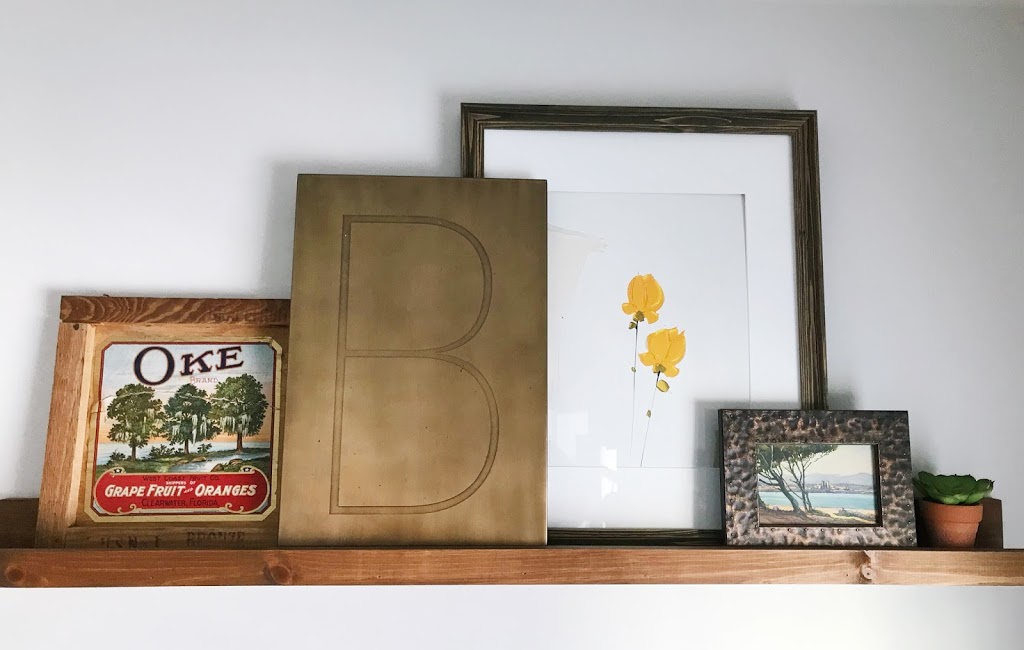
You can certainly spend a pretty penny in an antique store (and I’ll get to that in part 2), but there is always the chance that you can stumble across a great find especially if you can spot something that isn’t framed or framed in something cheap. I found this beautiful bird illustration for $8 (cheap frame included!) I took it out and threw it in a floating frame from HomeGoods – done for about $20 total. Same thing for the art ledges in my living room – I picked up that little landscape and the old fruit crate to finish off these shelves for probably about $15 total. So before you pull the plug and buy something ready-made to finish a space, put aside time to browse the aisles at a local antique store and keep your mind open to the possibilities.
Free Online Resources
I mentioned searching Pinterest for free printables earlier, but look around for other great online resources where you can grab free and unique artwork to print out and frame yourself. For those that can’t get enough of Joanne Gaines, did you know they release free printables every month with their Magnolia Journal – click here to check them all out!
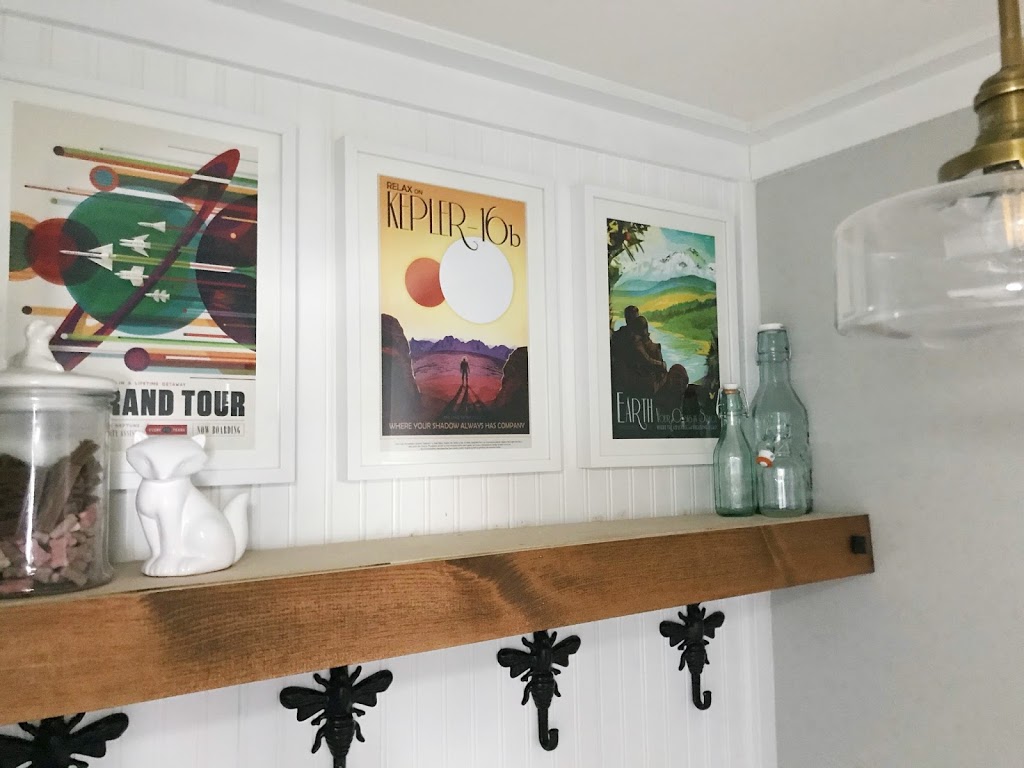
These resources can sometimes pop up in the strangest places. My husband sent me the link to a gallery that NASA put together that included a collection of cool mid-century inspired posters for space travel – and they are all free to download! I picked out three of my favorites, framed them in IKEA RIBBA frames, and now they happily live in my mudroom and give it just the right amount of color and fun.
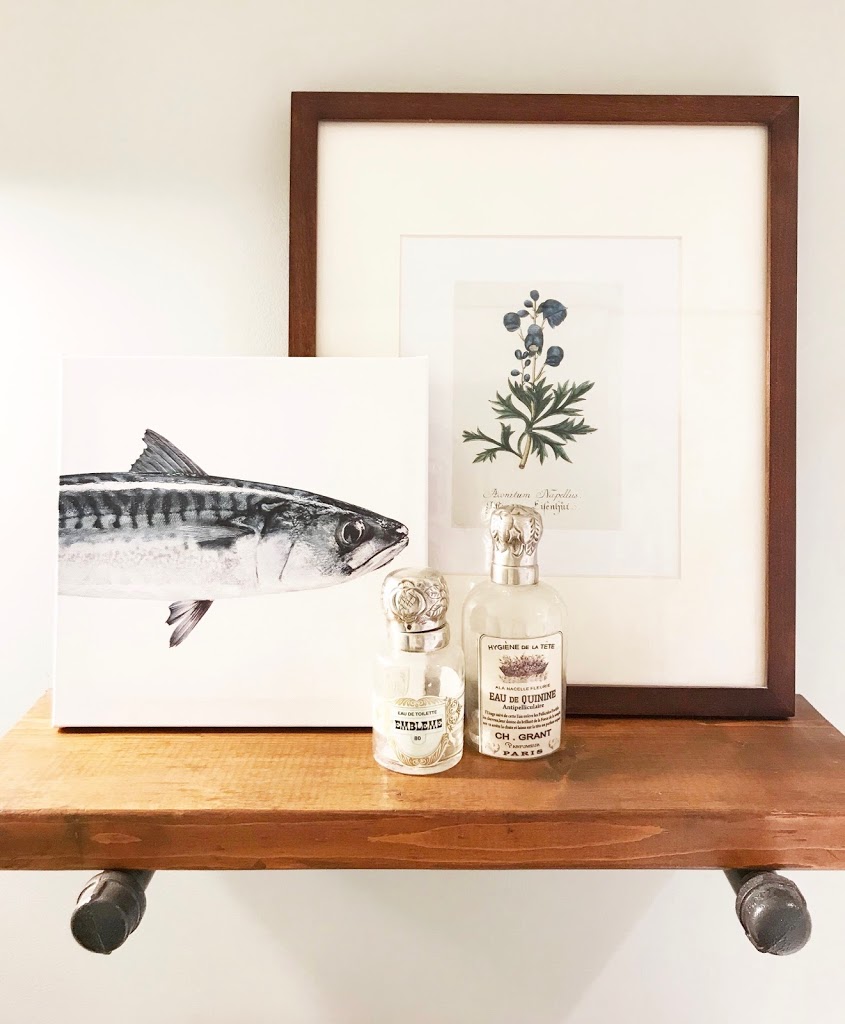
One of my favorite places to waste time is in the New York Public Library Digital Collections. They have over 700,00 scanned images to dig through and download. I found a collection of beautiful blue and yellow botanical prints that I saved and printed through Shutterfly. One piece of advice – these will not be high resolution so print them out in 5×7 or 4×6, or if you want to print out as an 8×10 as I did above, add a border on all sides to reduce the size of the image itself. (Side note – that fish picture was a cheap find in the IKEA clearance section.)
And because your quick/cheap art needs quick/cheap frames – here are some of my favorite places:
- Michaels – keep an eye out for when they are 50% off AND have a 20% coupons that include Sale items….or check out their seasonal decor at the end of the season when everything is 80% off – often times there are frames hiding in there!
- IKEA – the hands down best simple matted frames are the IKEA RIBBA frames; extremely inexpensive but extremely stylish looking and they come in a lot of different sizes
- HomeGoods – Especially keep an eye out for Brass or Black floating frames, Capiz, carved wood, or faux Bone Inlay…they can all get pricey
So I know that was a long one – trust me I tried to keep it short – but I honestly could go on for days because talking about Art makes me incredibly happy. I hope you guys found this interesting and maybe will feel inspired to try out a few things this weekend!
Check back next week and we’ll kick it up a notch with my “Moderate Time or Money” ideas!




Comments
Love the transitions … the accents …