
DIY Rope Covered Flower Box
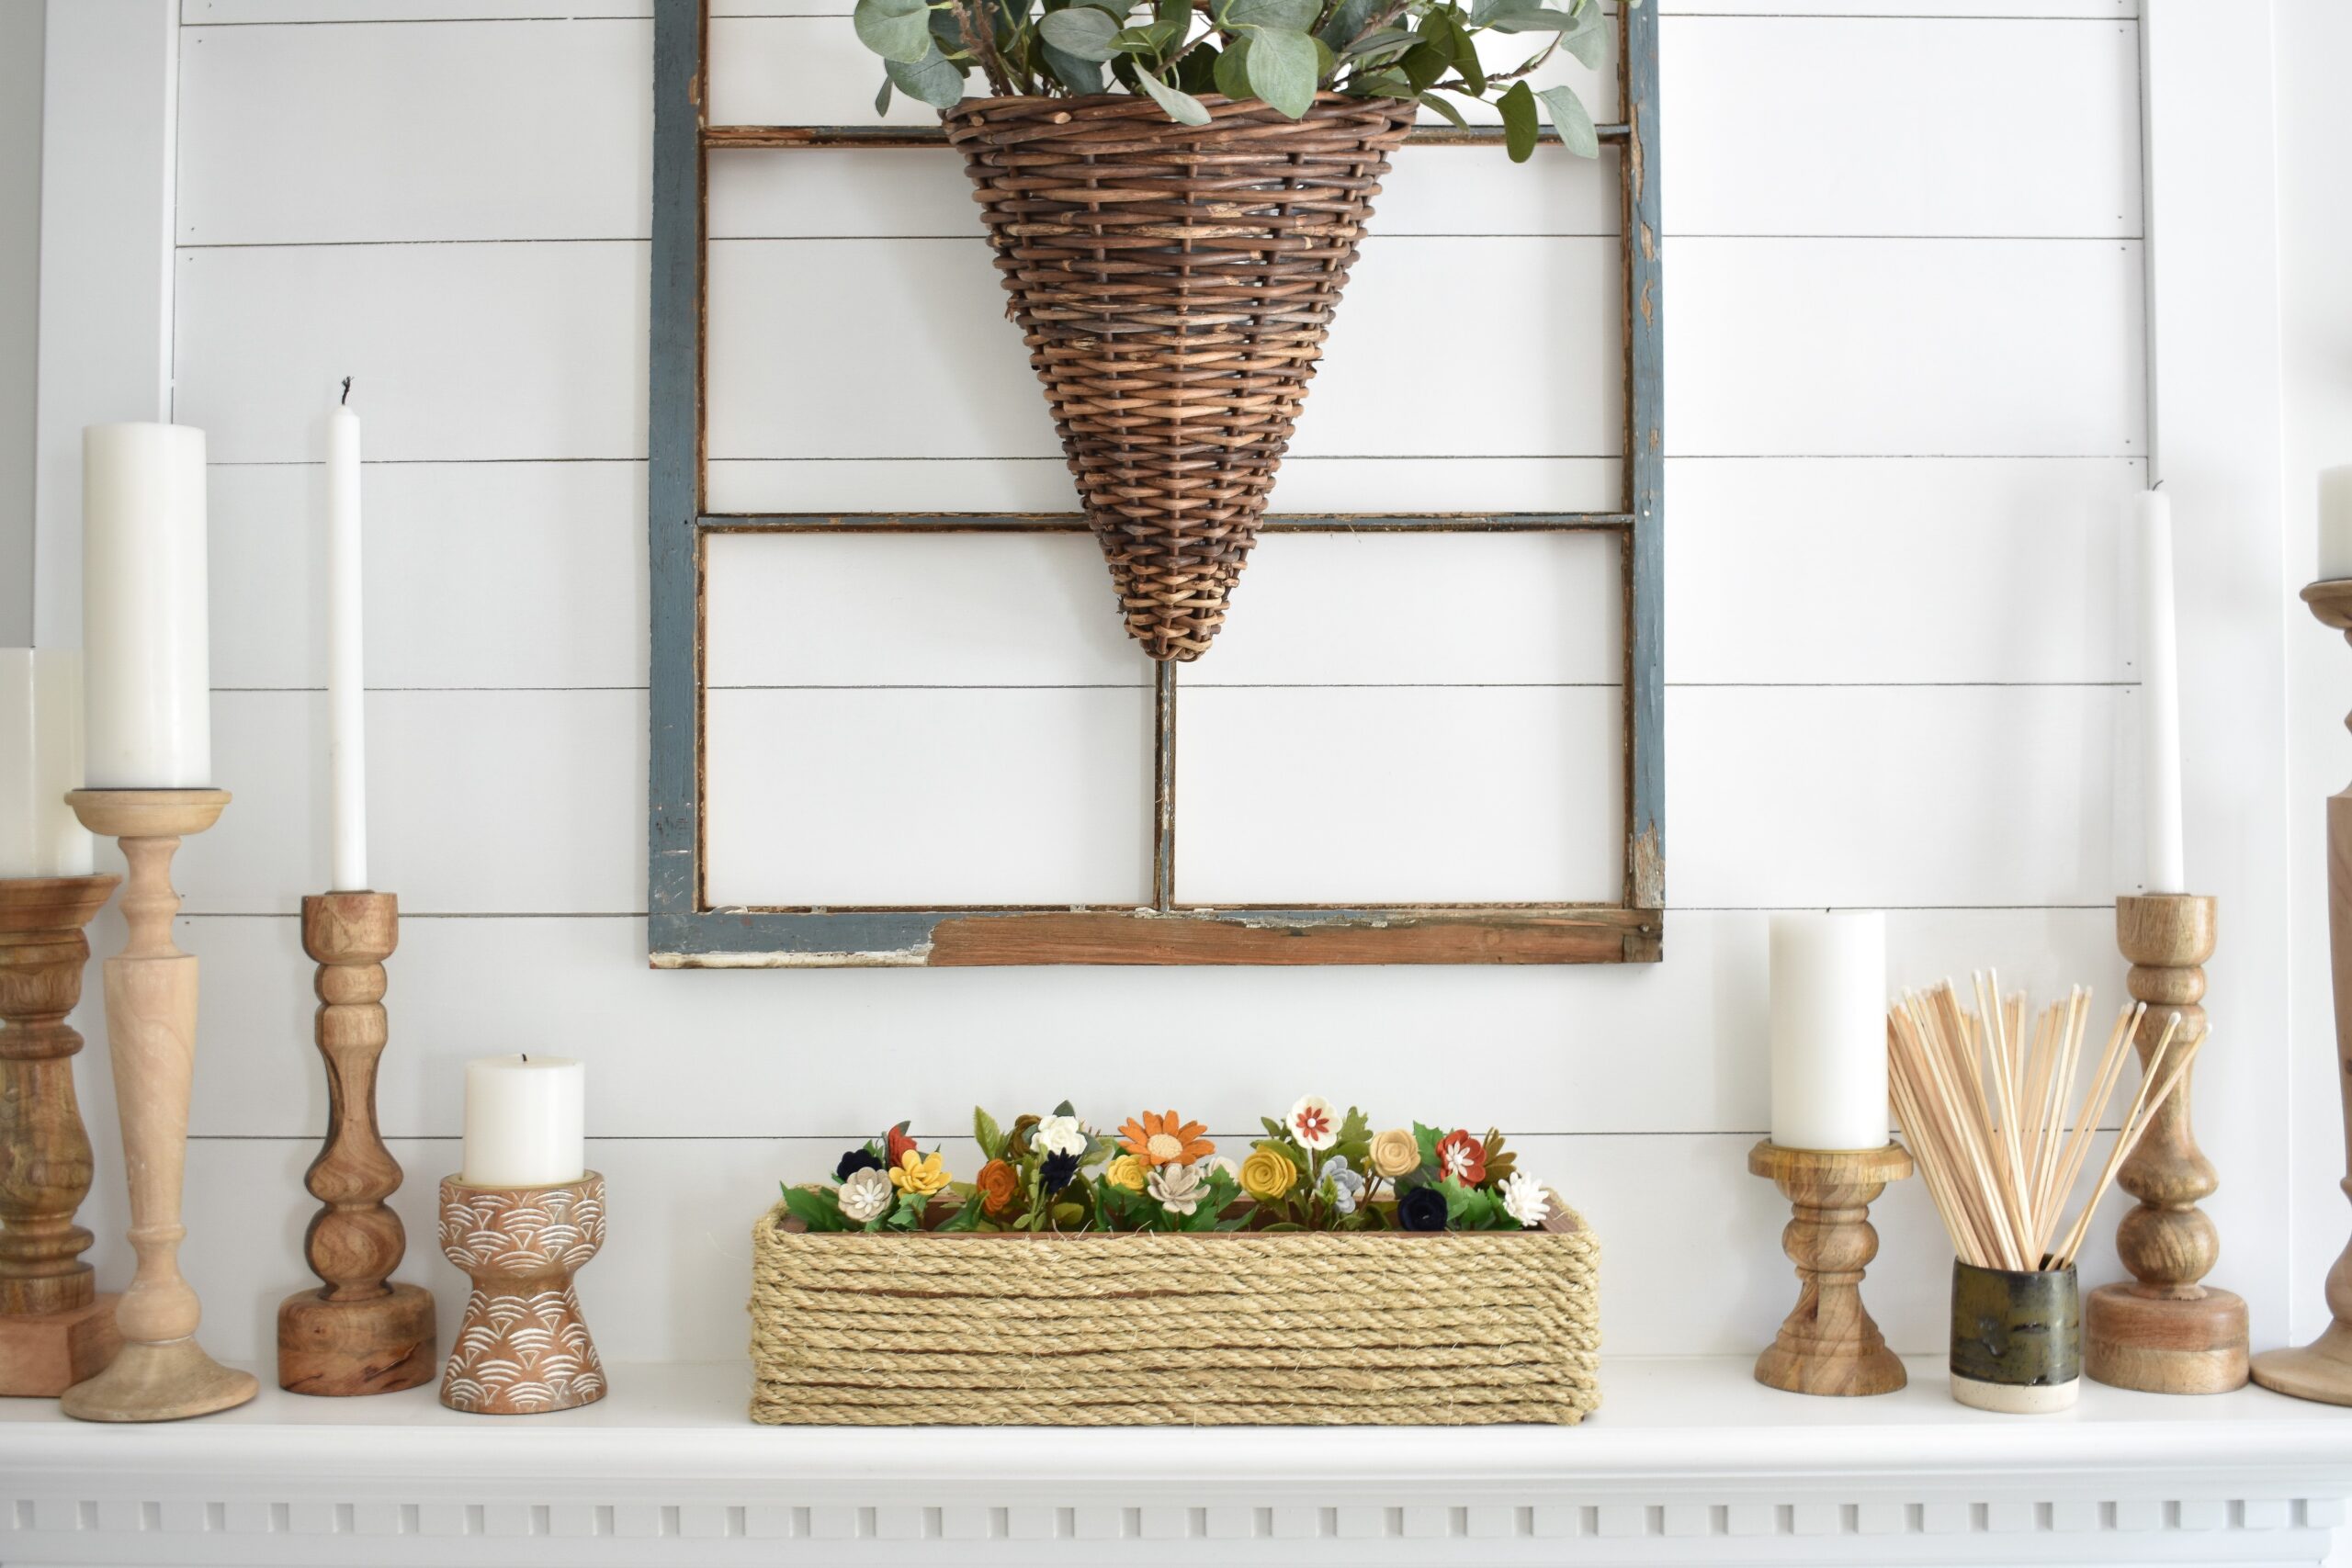
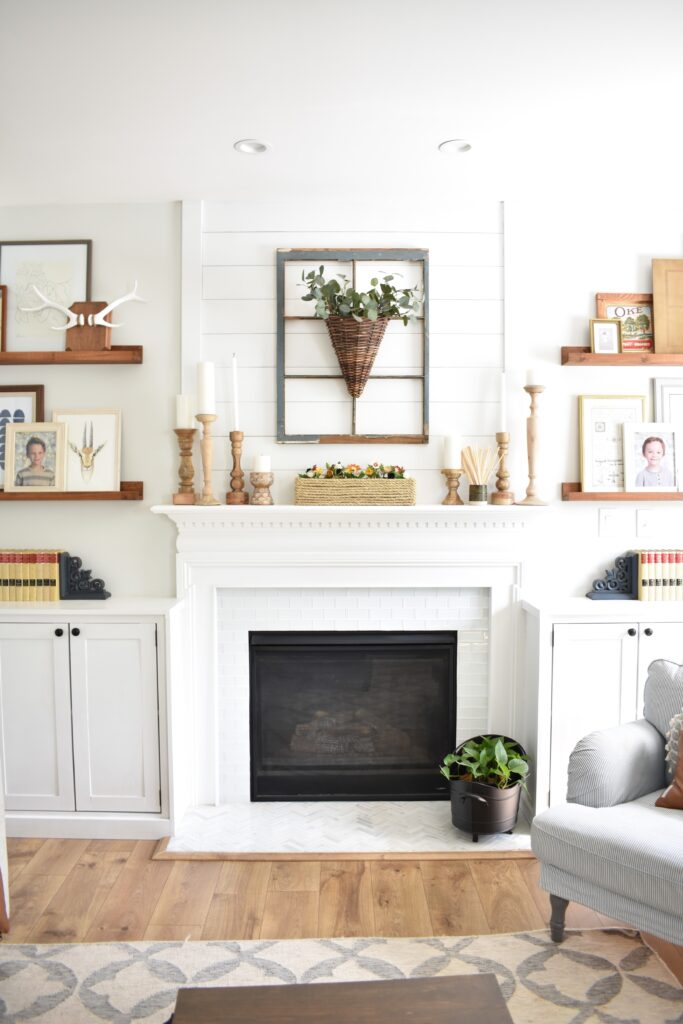
Whenever I can’t find something store brought to fit a space I usually find a way to DIY exactly what I want, and that’s exactly what I did when trying to find something to fit under my art ledges for my Spring Home Tour. I had this idea to create an indoor flower box covered in rope so I set out to make it happen. While I created my own boxes for this project, you can also use this technique to cover any box you already have for a fantastic up-cycle project. This is also a great scrap wood project – just make sure you buy enough rope to cover a larger size box.

Materials:
- 1 1x5x6 pine board
- 1/4″ x 50ft Sisal Rope (you could also use Jute)
- Wood Stain (I used Varathane Early American)
- 1″ finishing nails (you can use an electric brad nailer or a hammer)
- Glue gun and glue sticks
Build Your Box
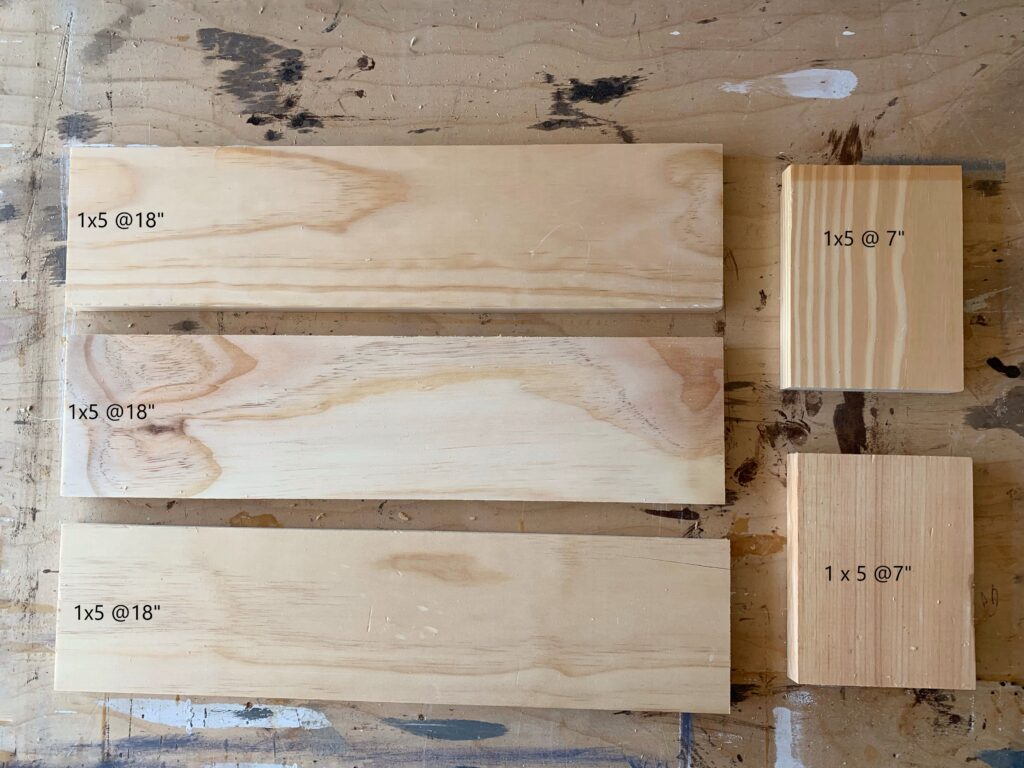
Cut your board into 3 18″ long pieces (for the sides and bottom) and 2 7″ pieces (for the sides). If you don’t have a miter saw this is an easy project for a hand saw
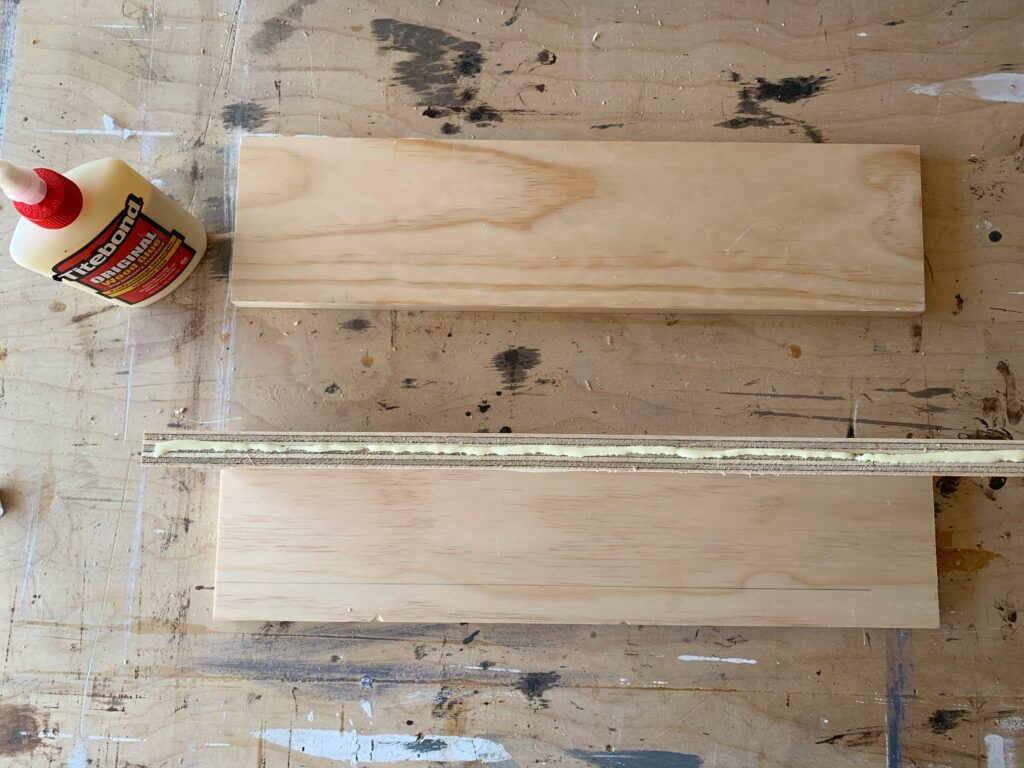
Use wood glue and nails to attach the two sides to the bottom; I use my electric brad nailer but you could also use a hammer and finishing nails.
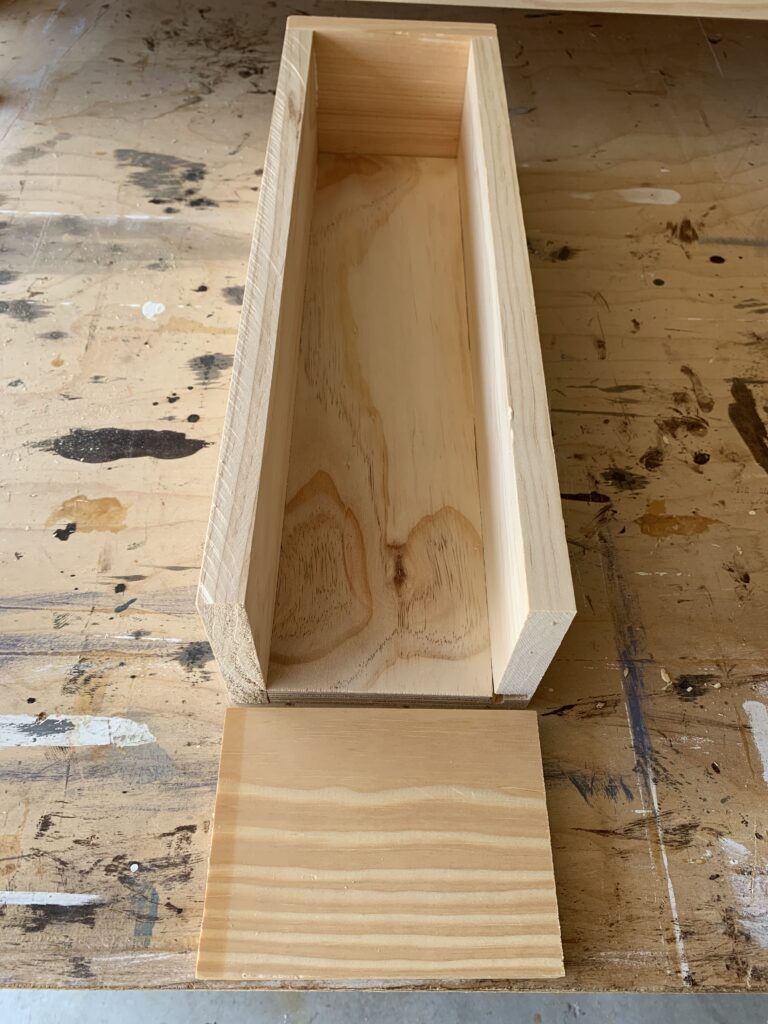
Attach the side pieces to the front and back of the box with glue and nails. Make sure to clean up any glue with a damp paper towel before it dries.
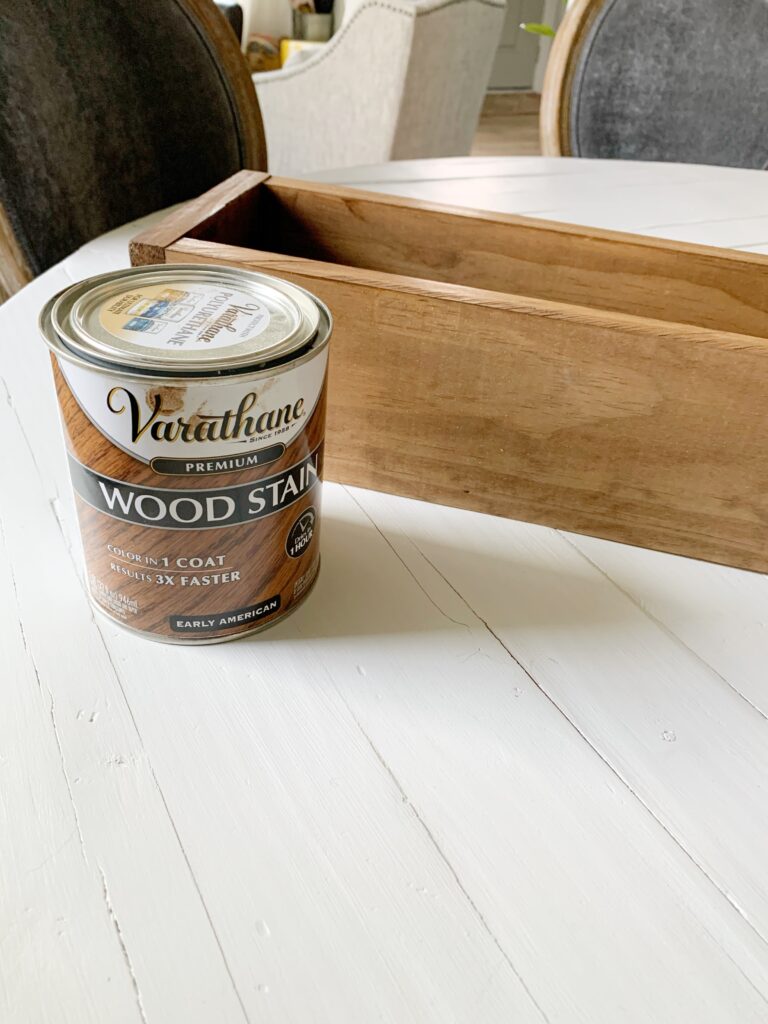
Stain the box with a quick coat of wood stain – this will give it a more finished look.
Attach the Rope

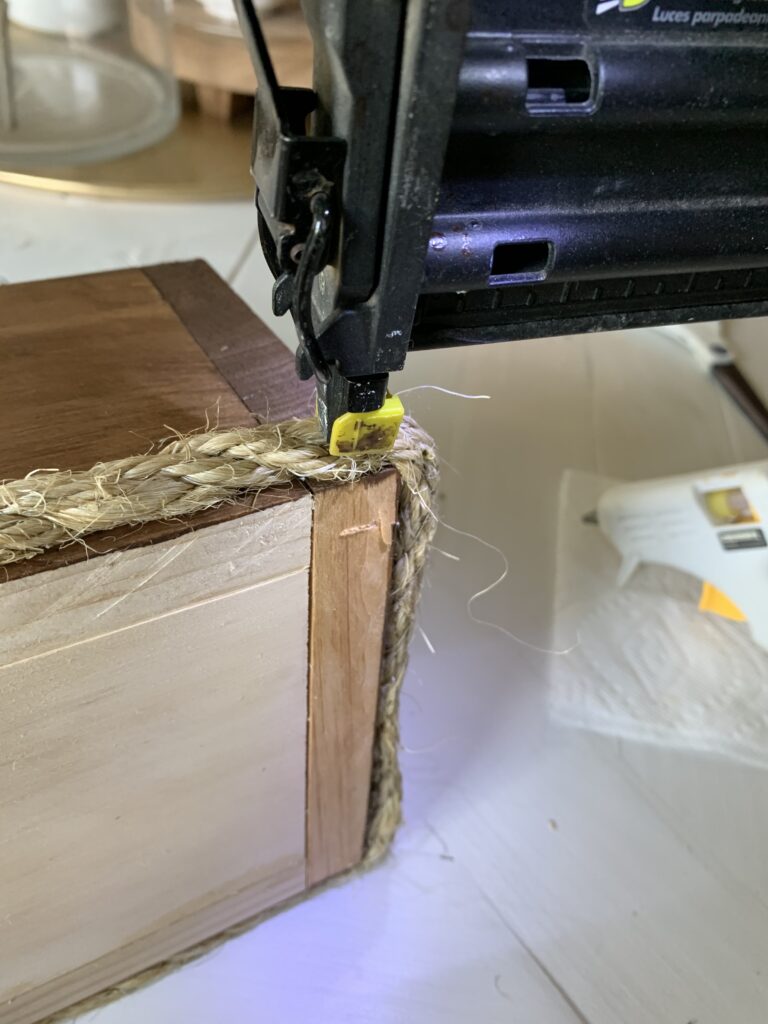
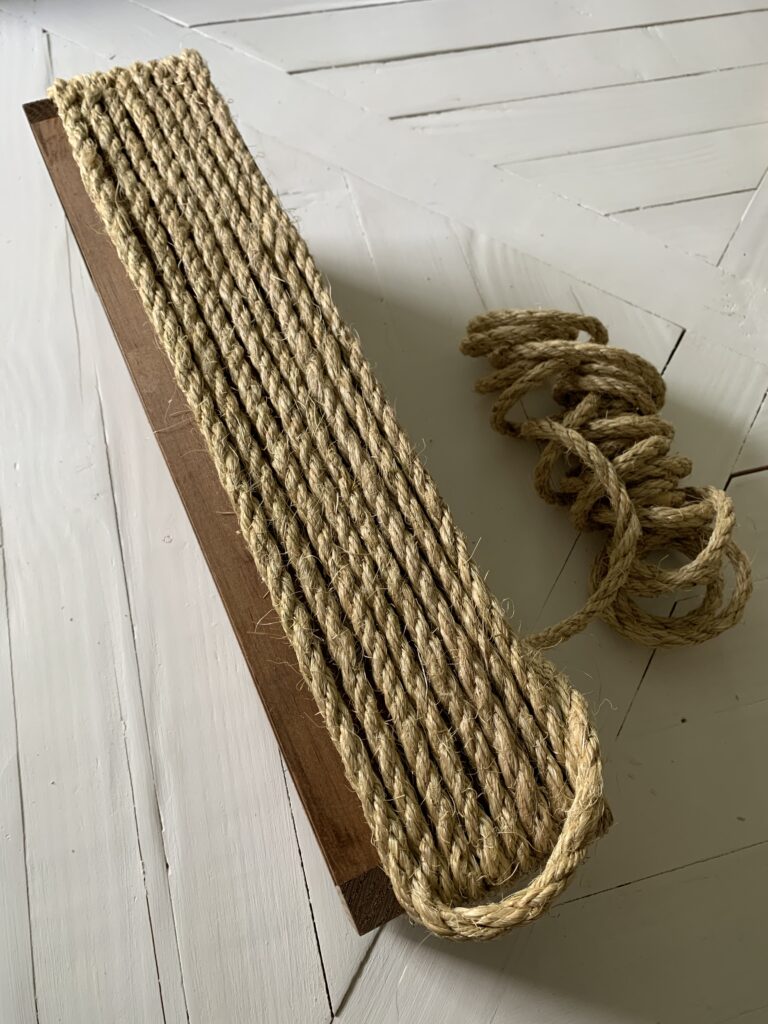
Starting at a bottom back corner, attach one end of the rope with a large dot of hot glue and a finishing nail.
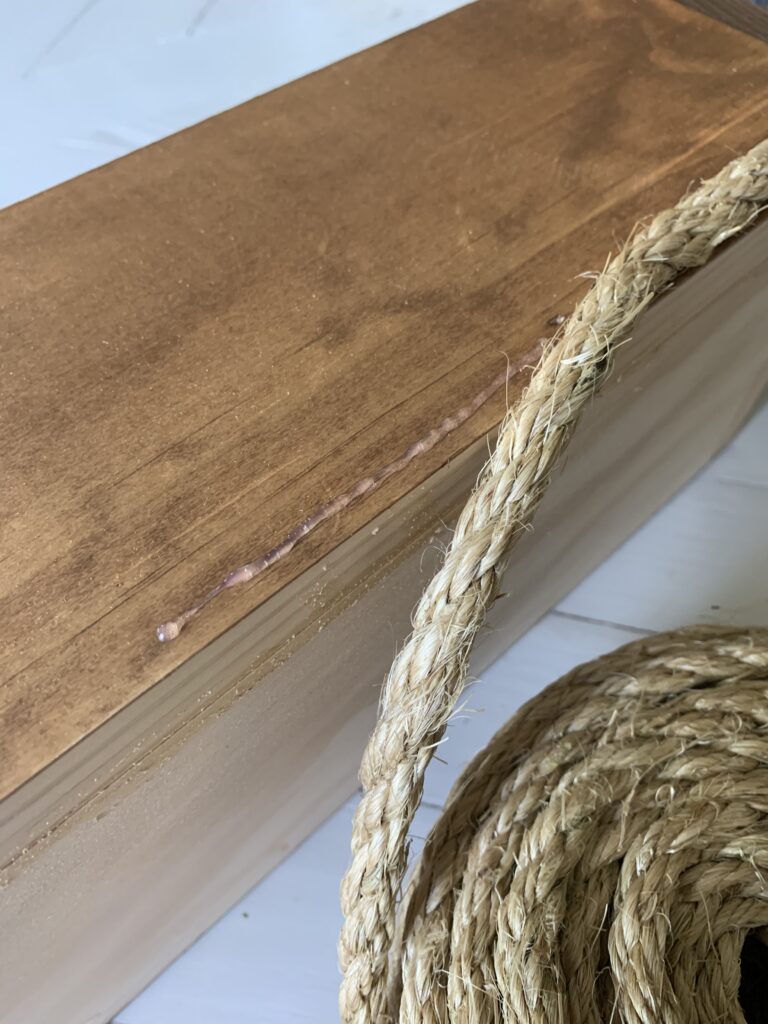
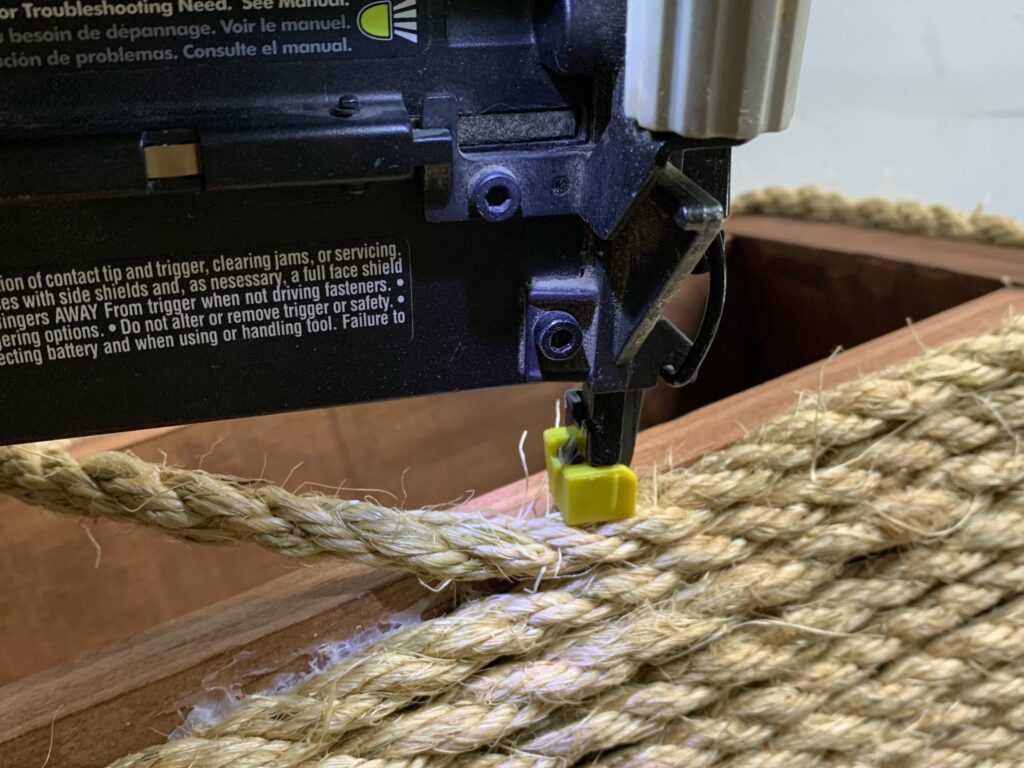
Work your way along the bottom of the box, first with a line of hot glue, and then with a few finishing nails spaced a few inches apart.
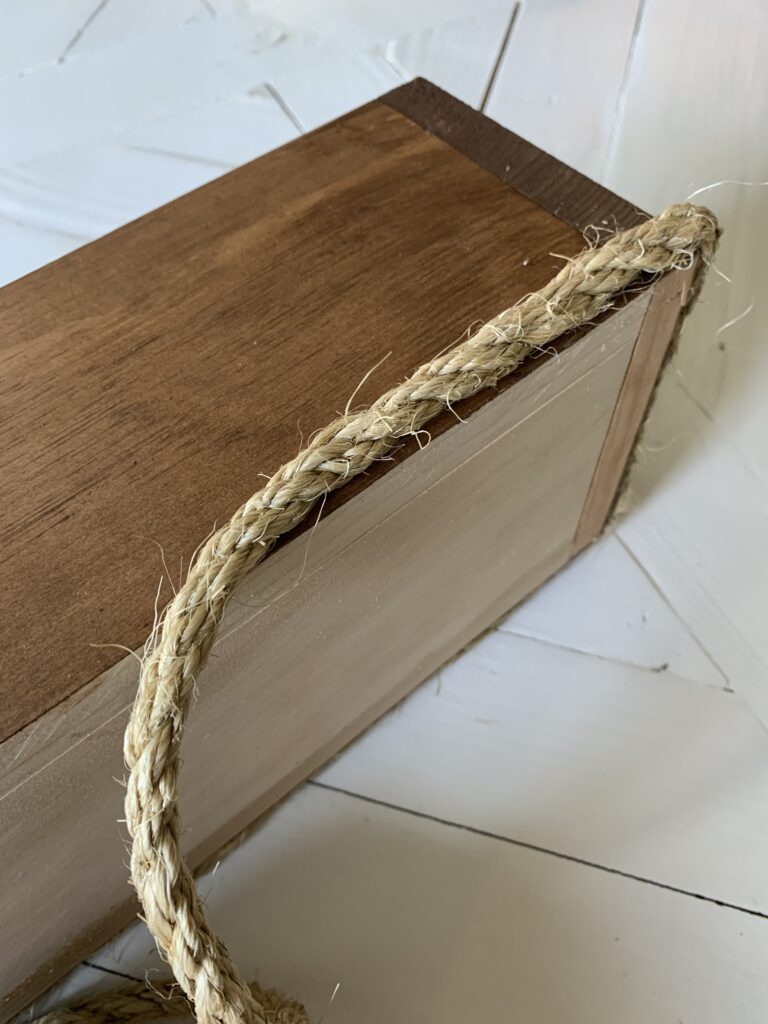
When you get to the corner, wrap the rope around and use a nail on both sides to keep it nice and tight.
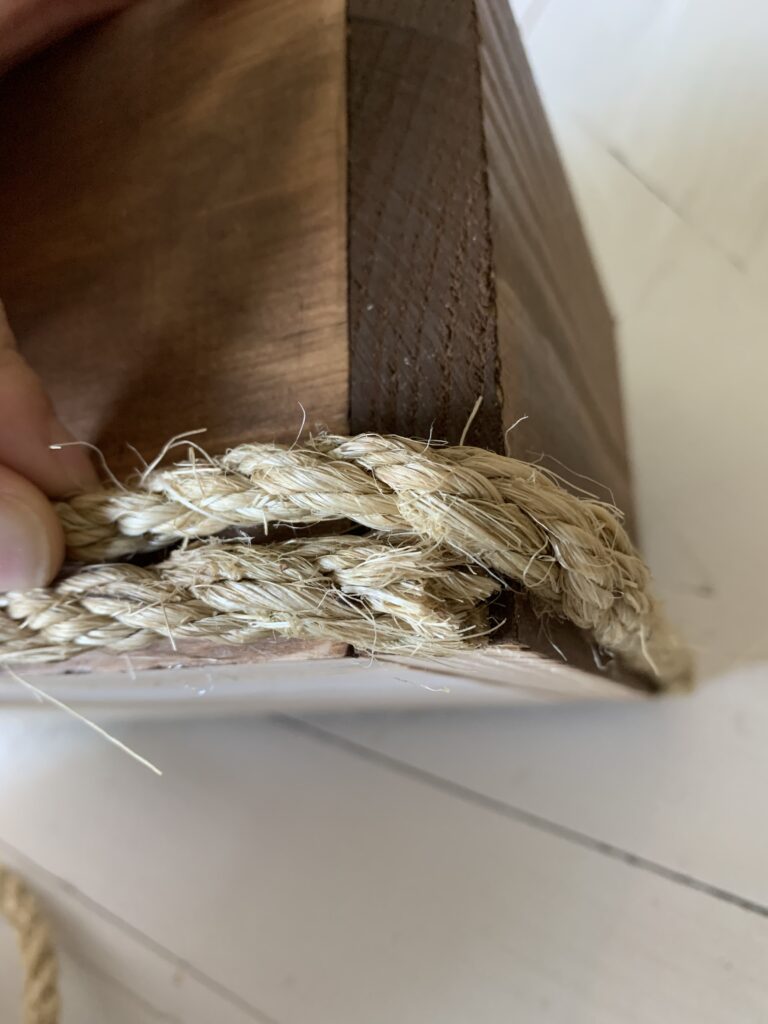
Work your way around the bottom – when you get to where you started you will need to bring the rope up slightly to start your second row. Keep your rows close together as you go.
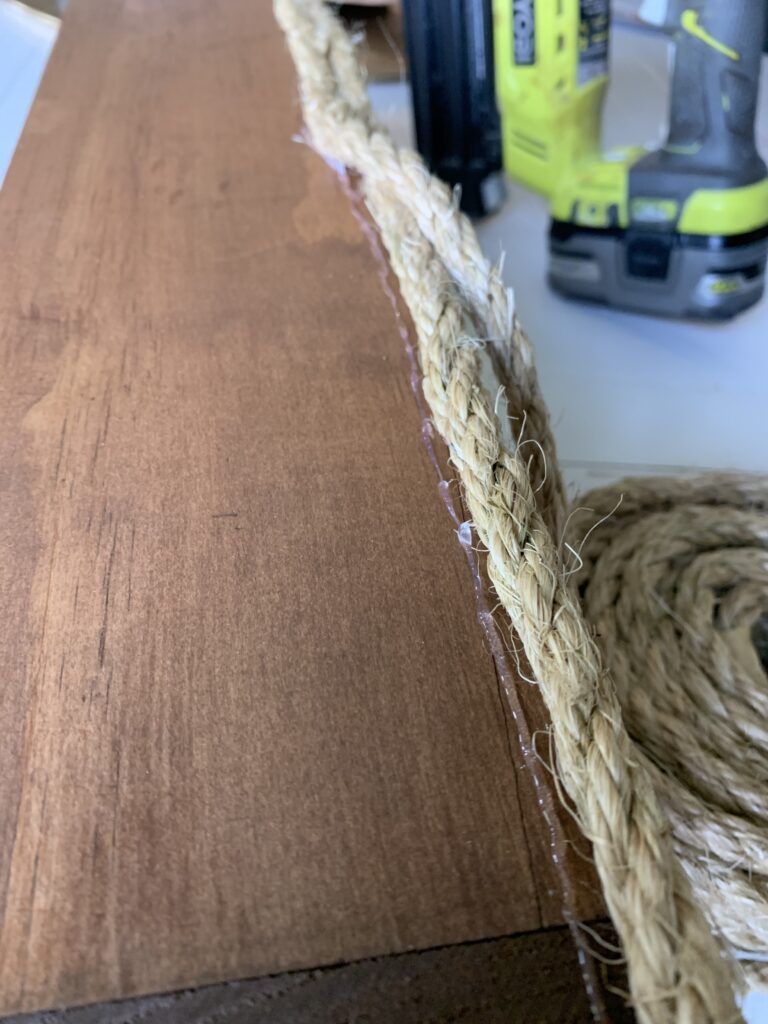
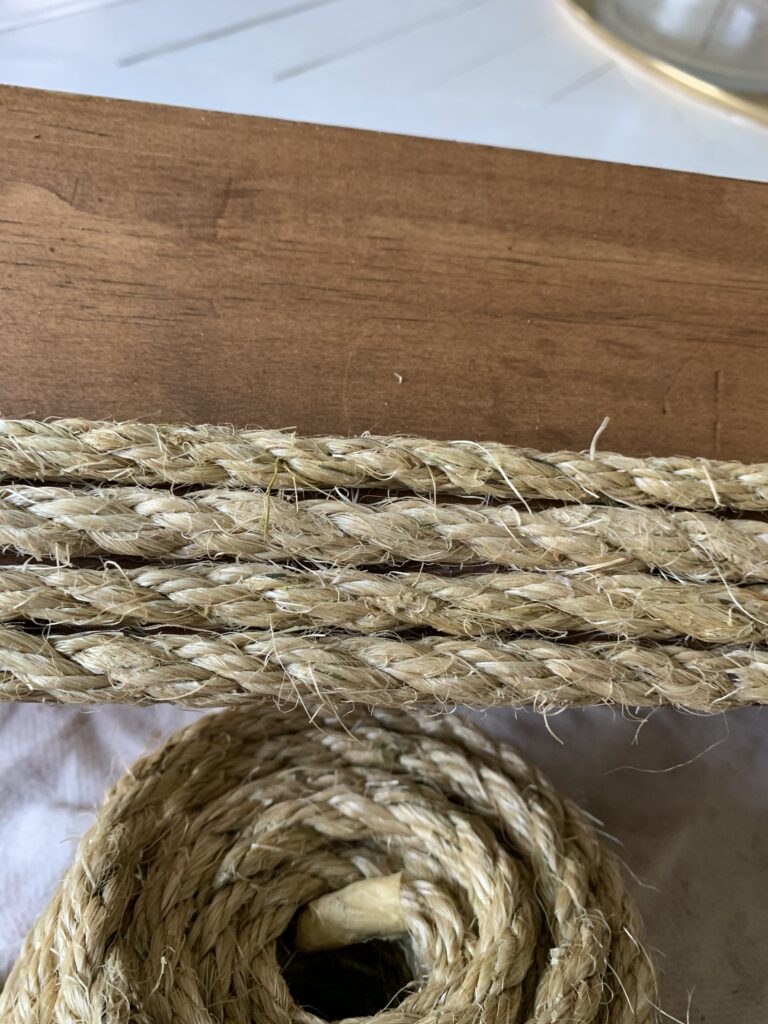
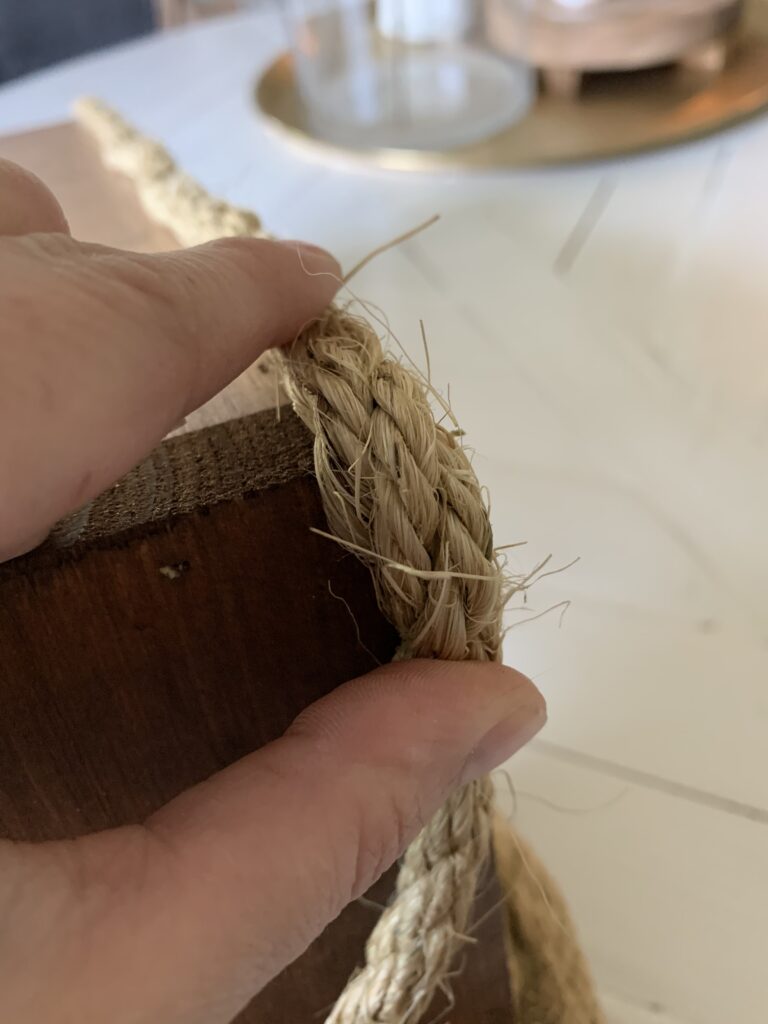
Keep adding rope rows with hot glue, but only use nails on the corners after the first row so they don’t poke through the inside of the box.
When you get to the last row, add finishing nails to hold it in place, but add them on a slight downward angel and that will preventing them from poking through the back.

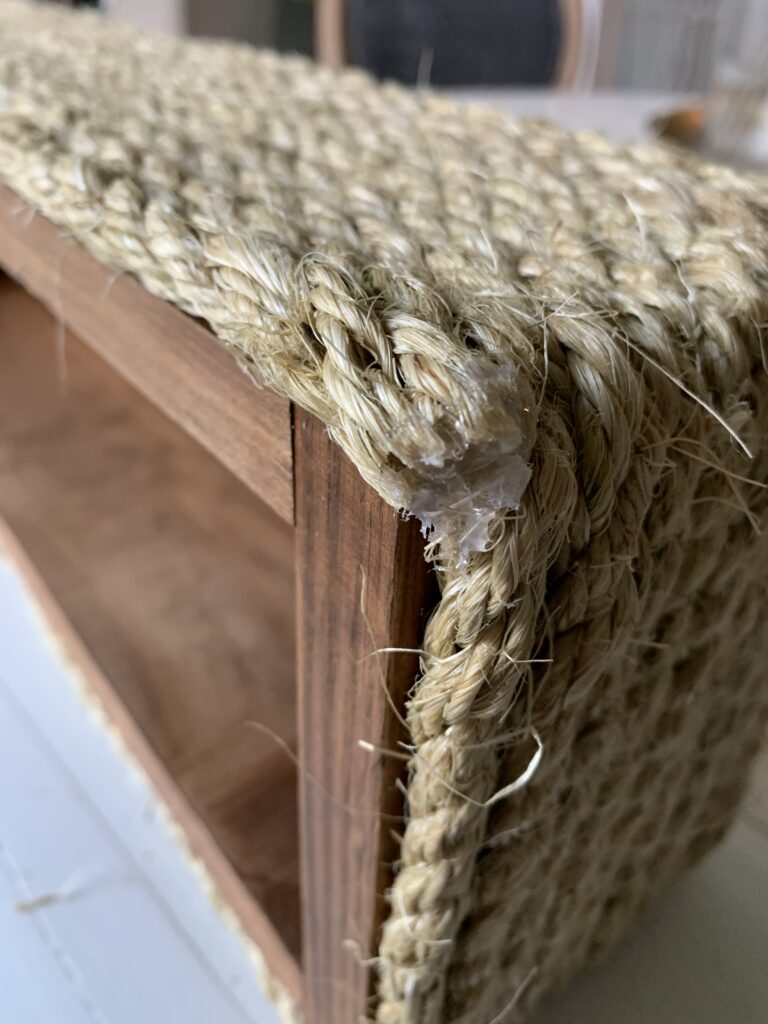
When you get to the end, trim the rope and seal the fibers with hot glue to keep them from fraying.

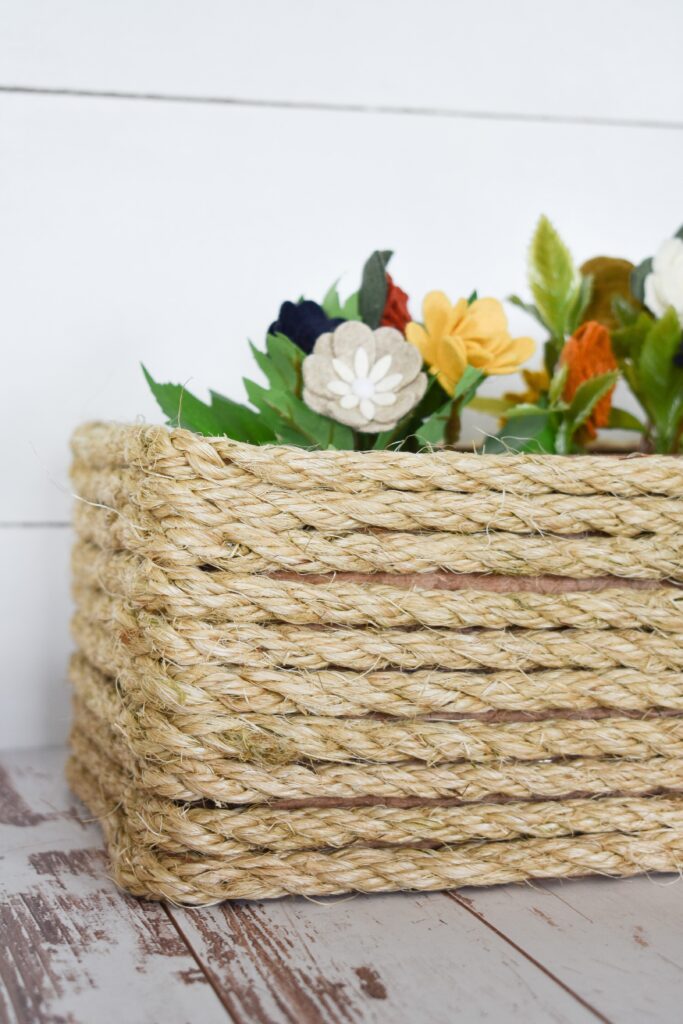
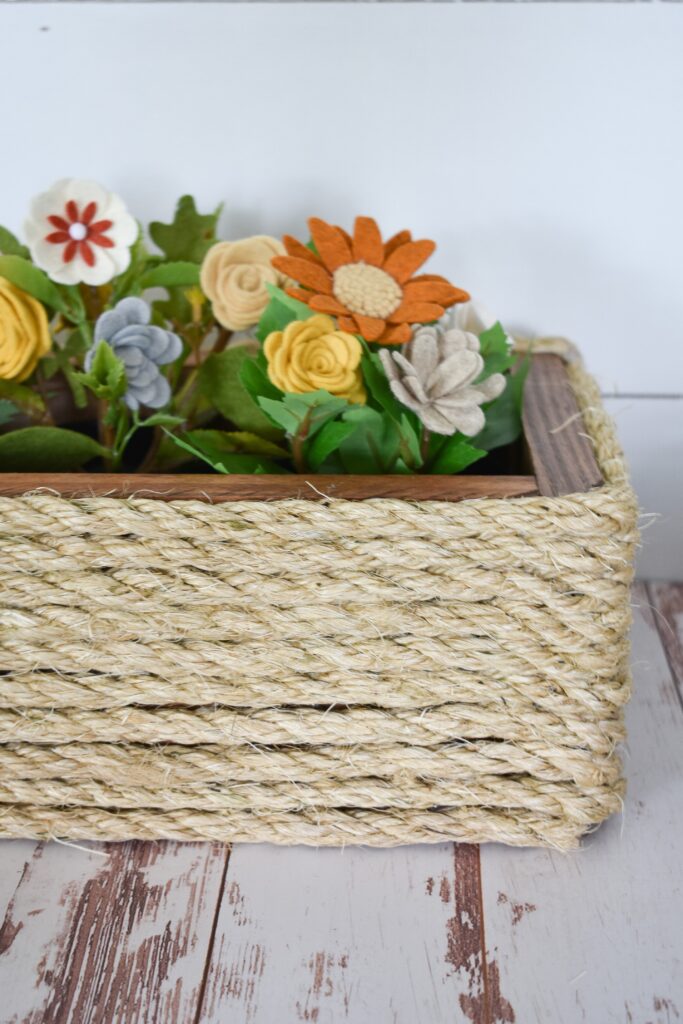
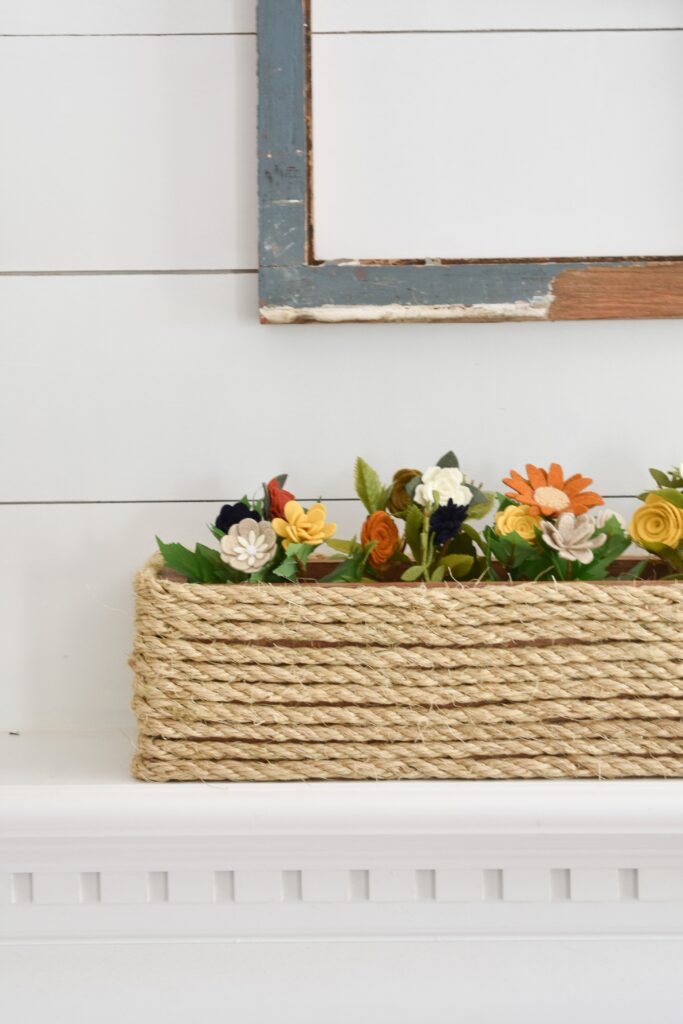
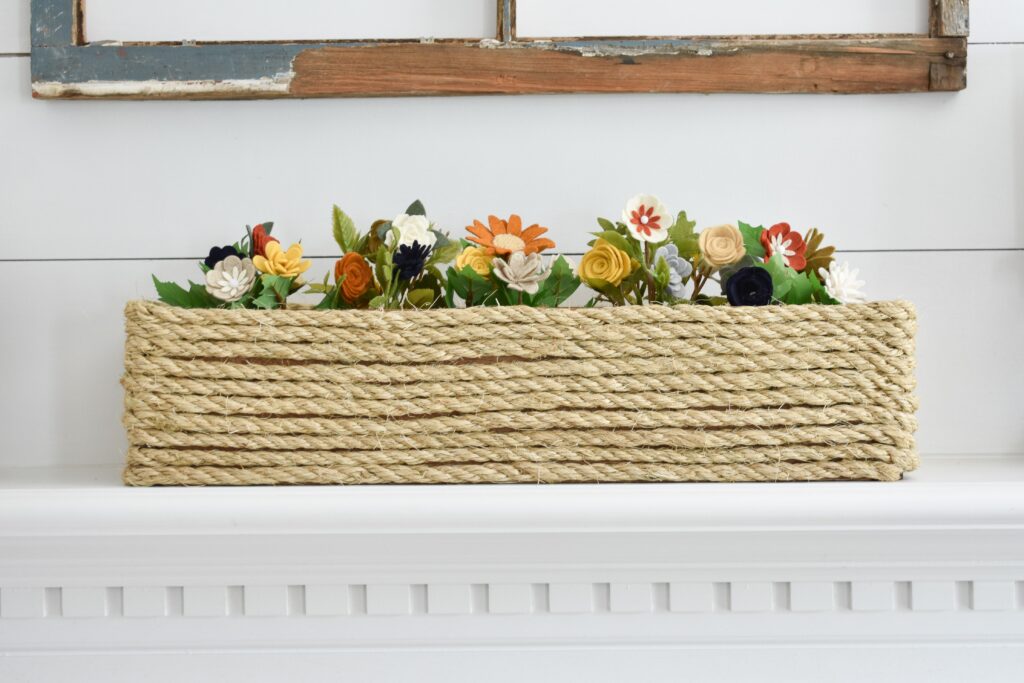
And there you go! You can fill it with anything you want, but I’m partial to faux flowers. I love home decor that lasts from season to season and just by by swapping out what’s inside this project can be used anytime from the winter to the fall.
The felt flowers are from two Etsy Stores – The Pretty Petal Studio and Home Heart Felts

Comments
The rope box … functional, different, easy …