
Back in the spring when we first started remote learning I was spending a lot of time in the boy’s bedroom and made the decision that it was time to give it a makeover. This was one of the first rooms I had worked on and after 4 years it hadn’t evolved along with the rest of the house in the way that I wanted it to. There were small moments that I thought were super sweet, but overall the room never felt complete and since my boys were both starting to get into new phases of childhood, it felt like the right way to give it some personality along with a more mature feel.
(Some of the links included in this post are affiliate links, meaning, at no additional cost to you, I will earn a commission if you click through and make a purchase)
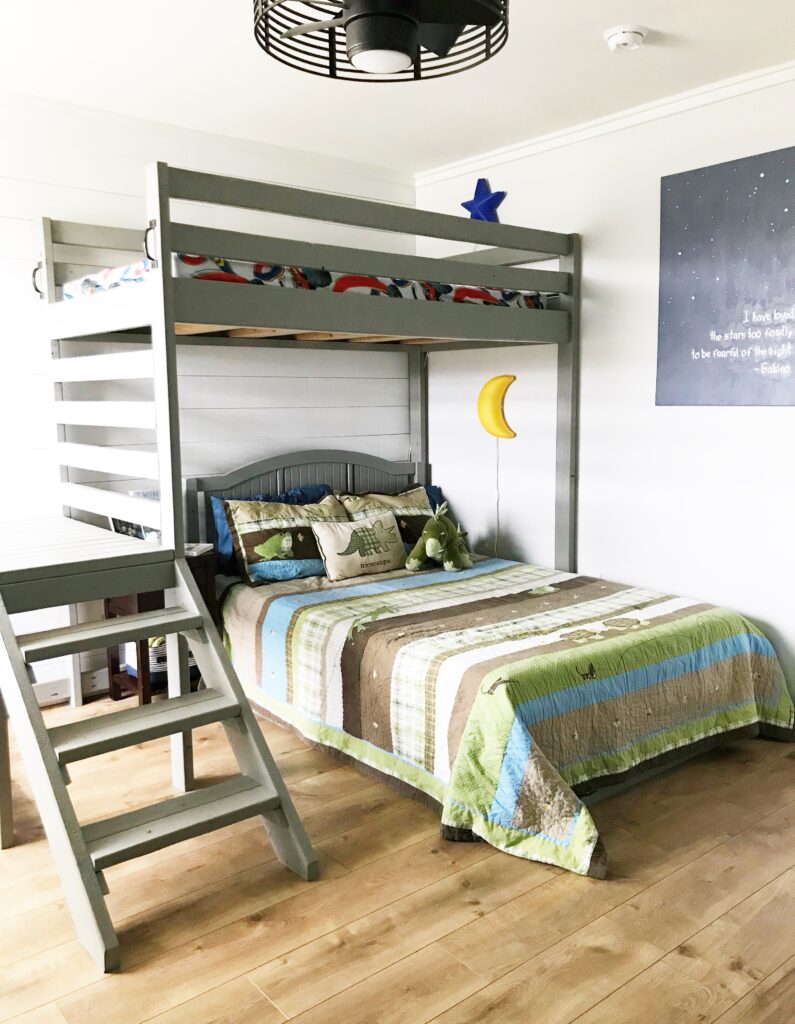
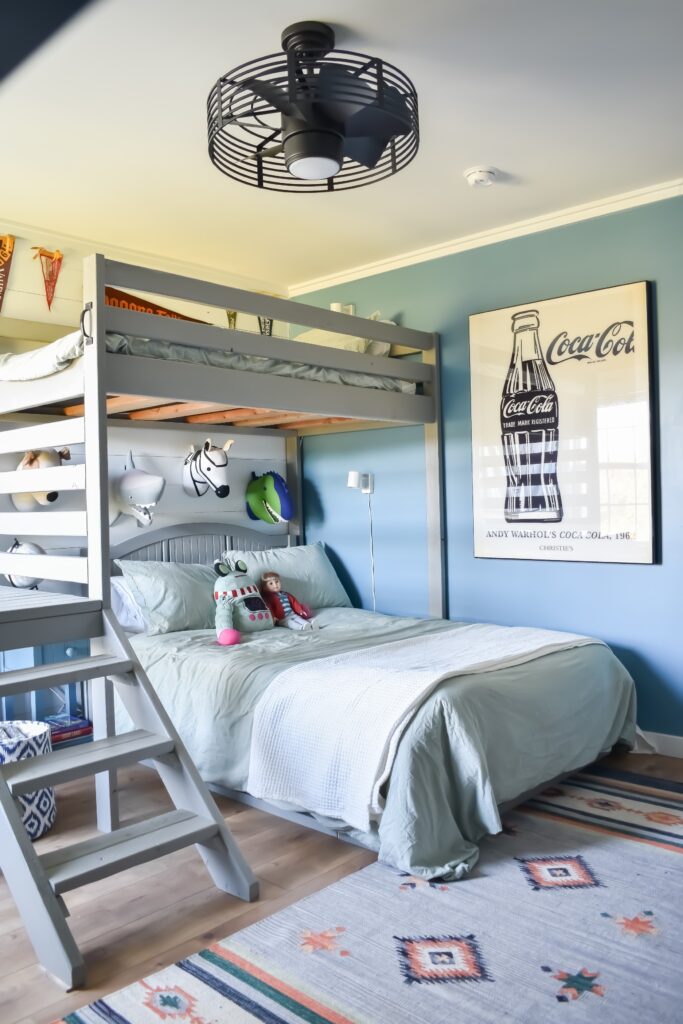
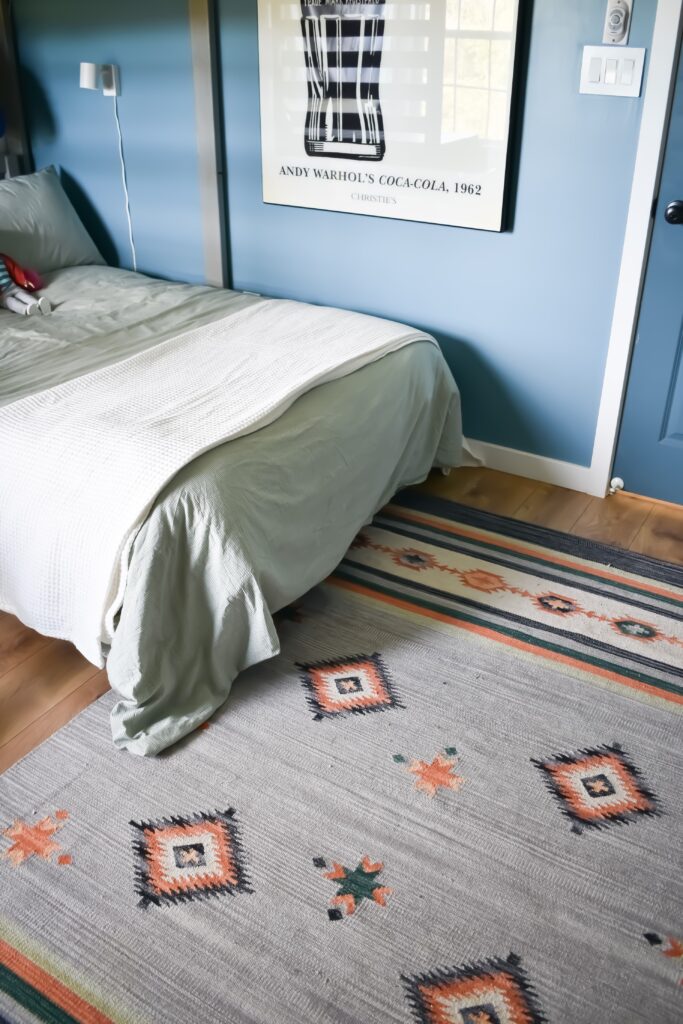
My first bolt of inspiration came from the makeover that Nicole from Home on Poplar Creek gave her own son’s bedroom during the One Room Challenge and the super dark color blue she used on the walls. This bedroom only has one window that doesn’t get much light — and earlier this year I had already seen the magic a different shade of paint can do in a room with low light when I made over the guest bedroom — so this felt like the perfect opportunity to make anther drastic change.
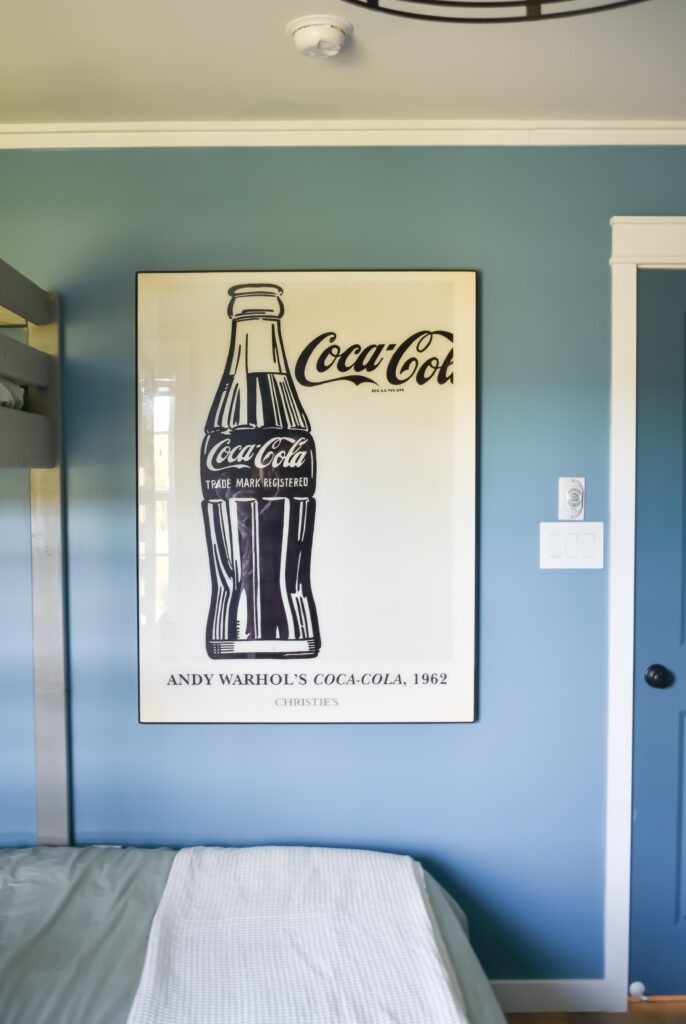
I decided to go with a new-to-me paint brand and give Clare paint a try because I knew they had some really fun colors. After ordering some of their super easy peel and stick samples, I went with Blue Ivy for the walls and used Deep Dive (a slightly deeper shade) on the doors. I briefly debated also painting the shiplap a different color, but the white paint does bounce the limited light around the room and I was worried it would look way too dark if I took that away.
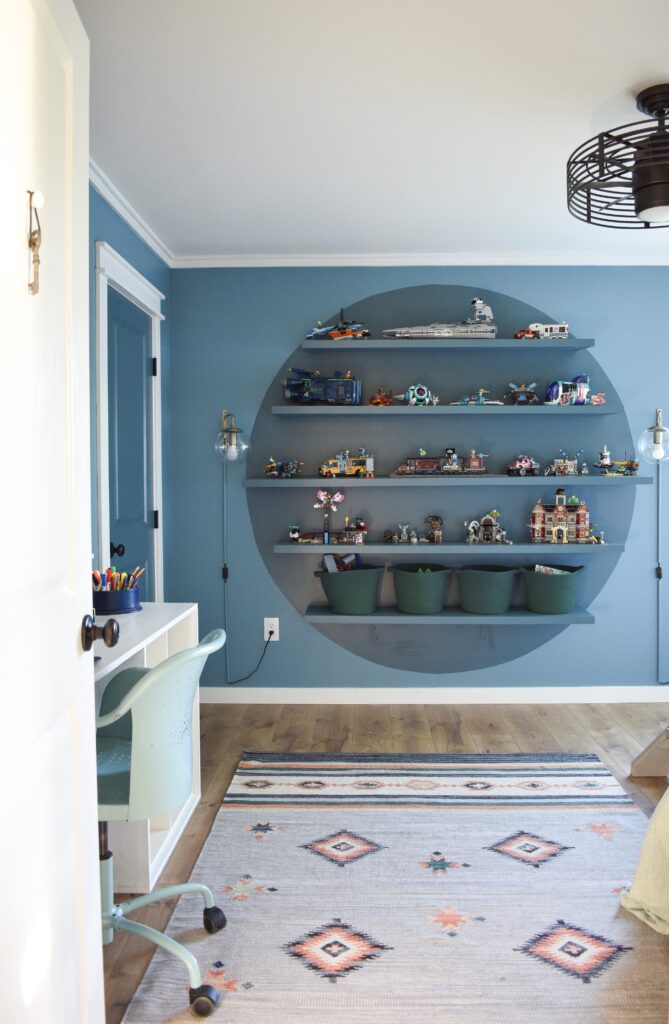
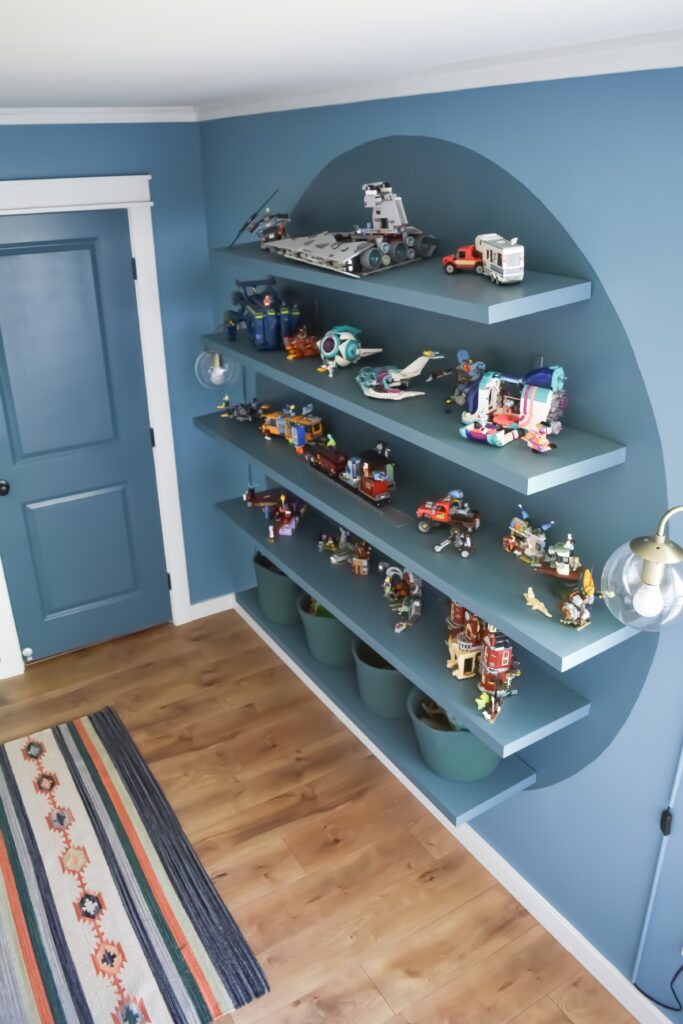
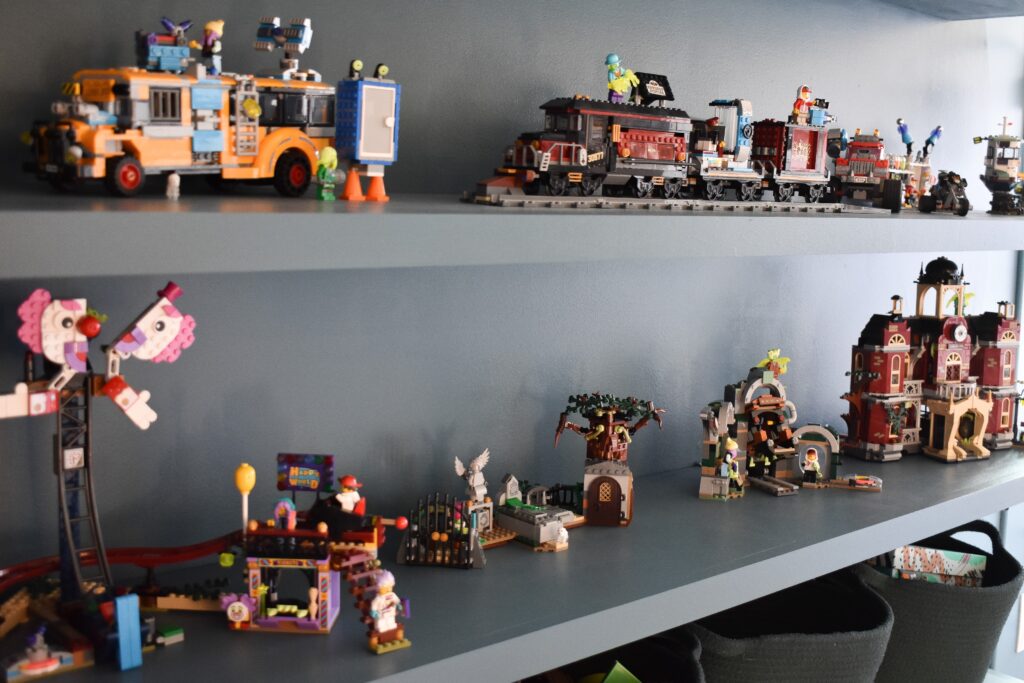
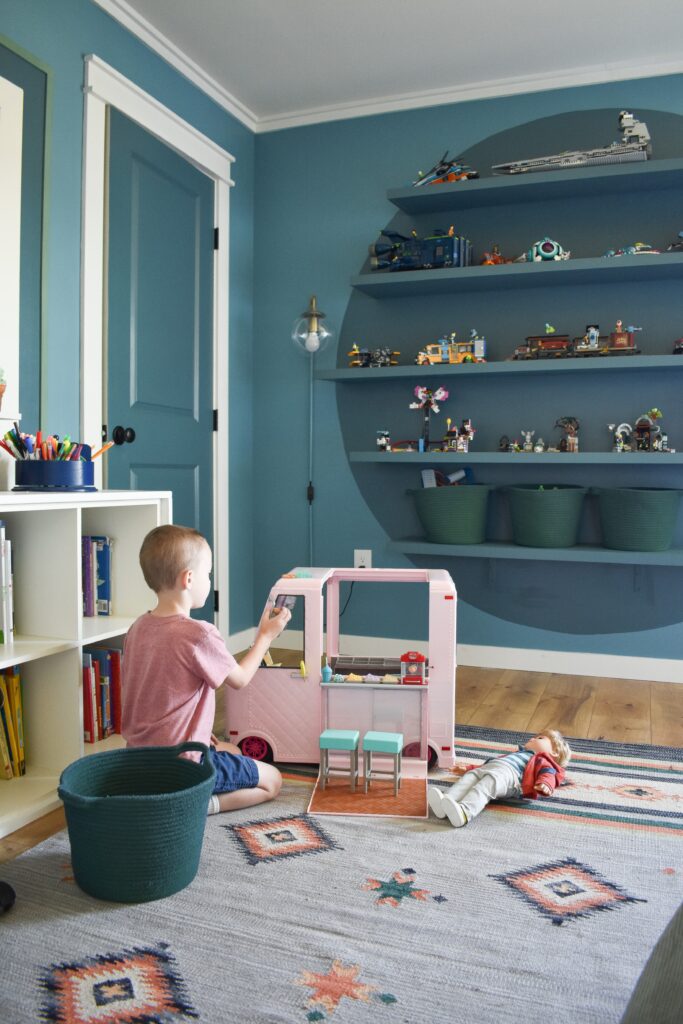
Besides the color, the biggest change in this space was to create some open shelving to help battle our ever-growing LEGO collection. The wall next to the window was a perfect candidate for some long, deep shelves — but I really wanted to turn up the fun factor so I started brainstorming and decided to jump on the color-blocking bandwagon….hence my circle shelves were born!
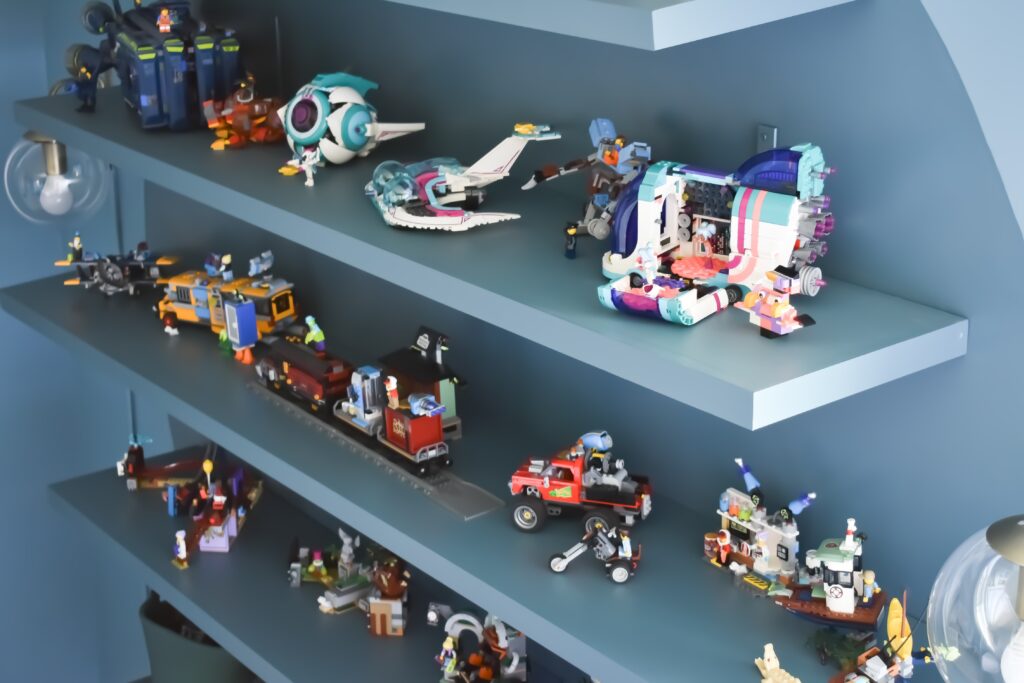
I shared a reel of the process on my Instagram account and the number one question/comment that I got was about how I painted a perfect circle….and guys it really couldn’t be easier! You basically just make a giant compass with a piece of string and a marker. Just mark the center of where you want your circle and nail in one end of a piece of string and tie the other end to a marker or pencil based on how big you want your circle to be. If you hold the string taught you can use your writing utensil to draw out your own perfect circle then go over it with your paint color and a very steady hand.
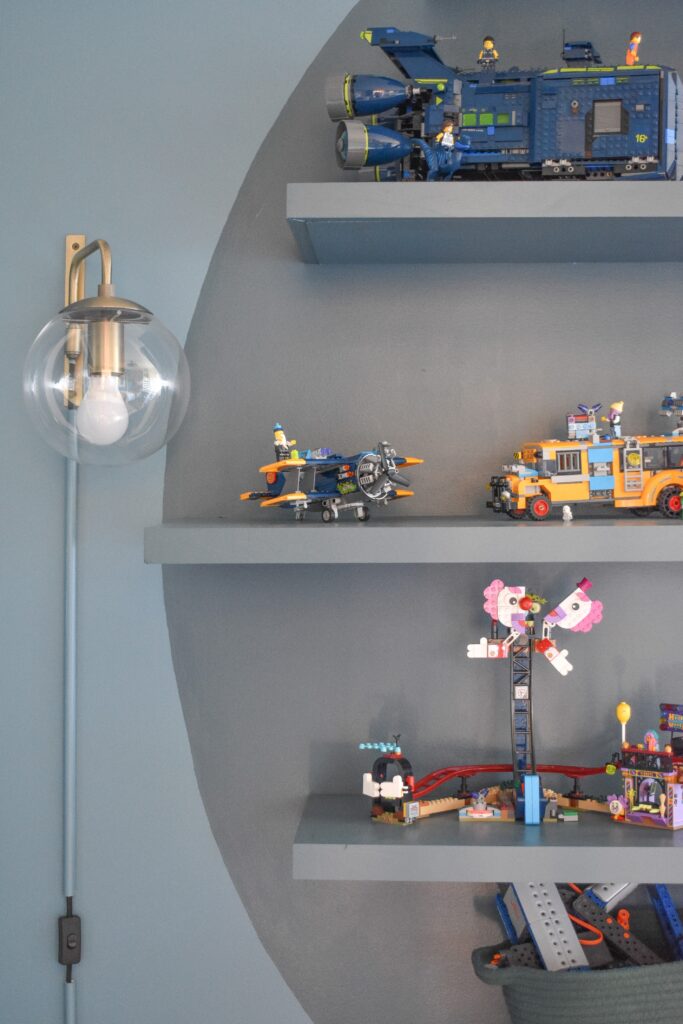
For the shelves, I used the method that I learned from Young House Love to make thin floating shelves, where you build a wooden bracket and then a frame on top of it. My shelves are 11.5″ wide so they are pushing the limit of how big you can build shelves with this method, but since they are only holding LEGO sets they aren’t overloaded with weight. To get the circle gradation, I made each set of shelves 6″ shorter then the one before it and then evenly spaced them apart based on my circle diameter. I did make one unfortunate mistake that led to me having to re-make one shelf – I used 3/4″ MDF instead of plywood because I had a leftover strip of it, but it was too heavy to be supported by the bracket and was definitely sagging as soon as I hung it up.
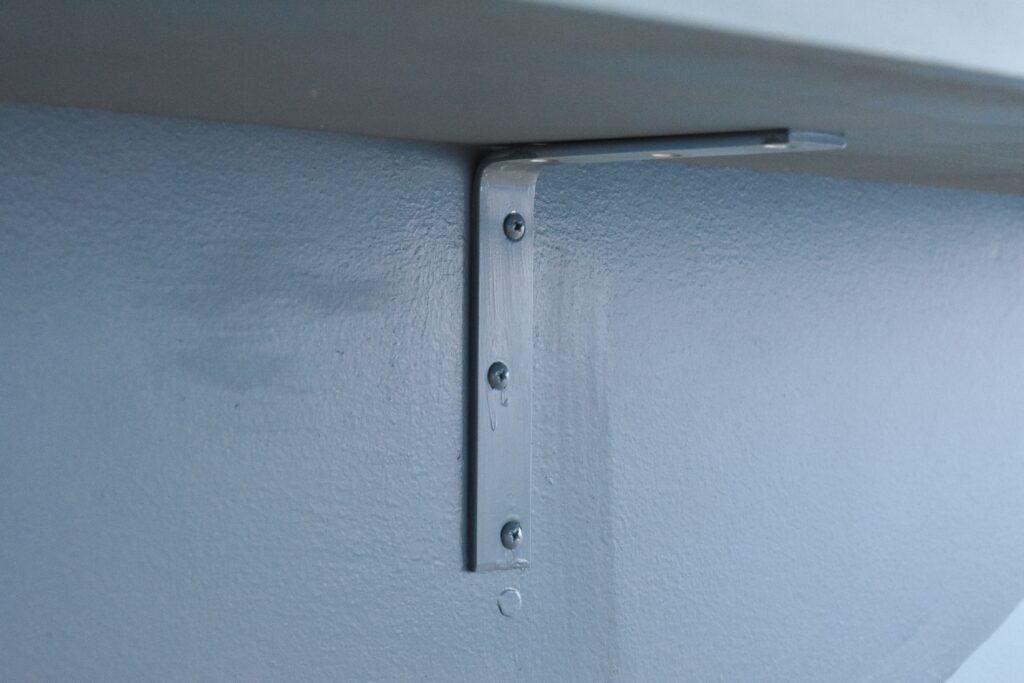
And speaking of unfortunate circumstances, we also had a mishap when my little one tried to use the bottom shelf as a ladder, which I pretty much knew was gonna happen at some point. It was an easy fix by just installing some 6″ metal brackets underneath to hold it back up – and by painting them the same color they are virtually unnoticable. If you go with this method and are worried about saggy shelves then you can add these as you build.
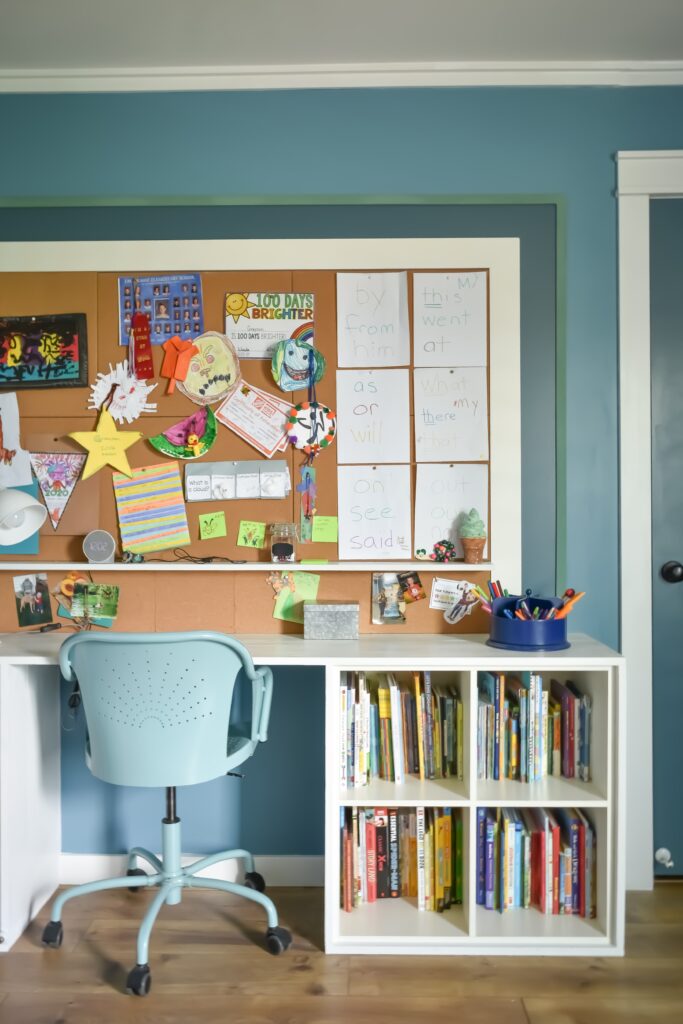
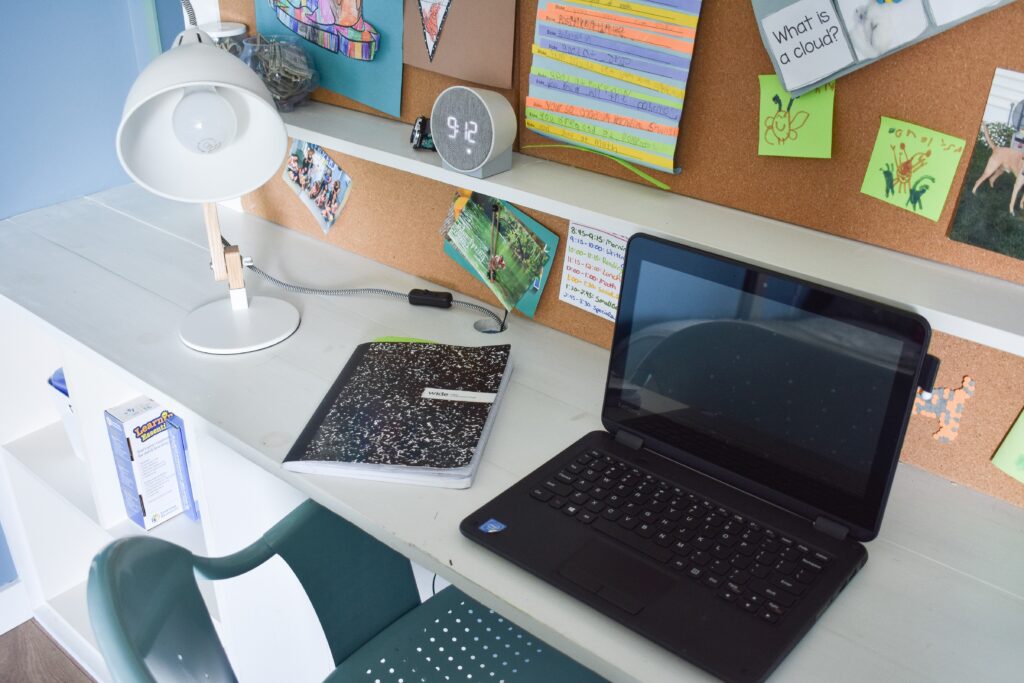
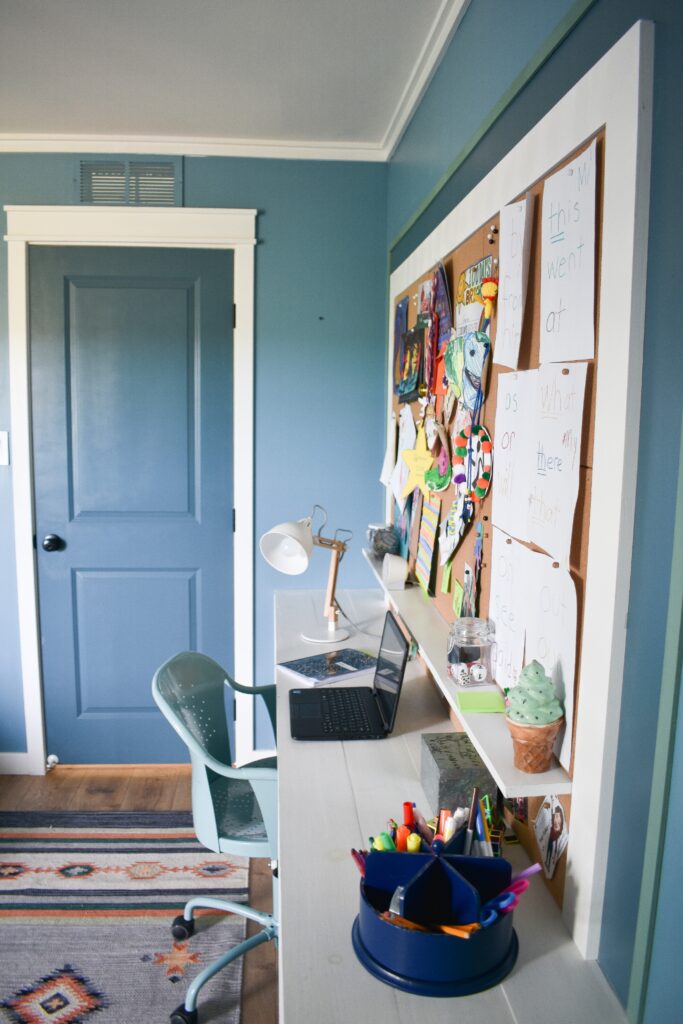
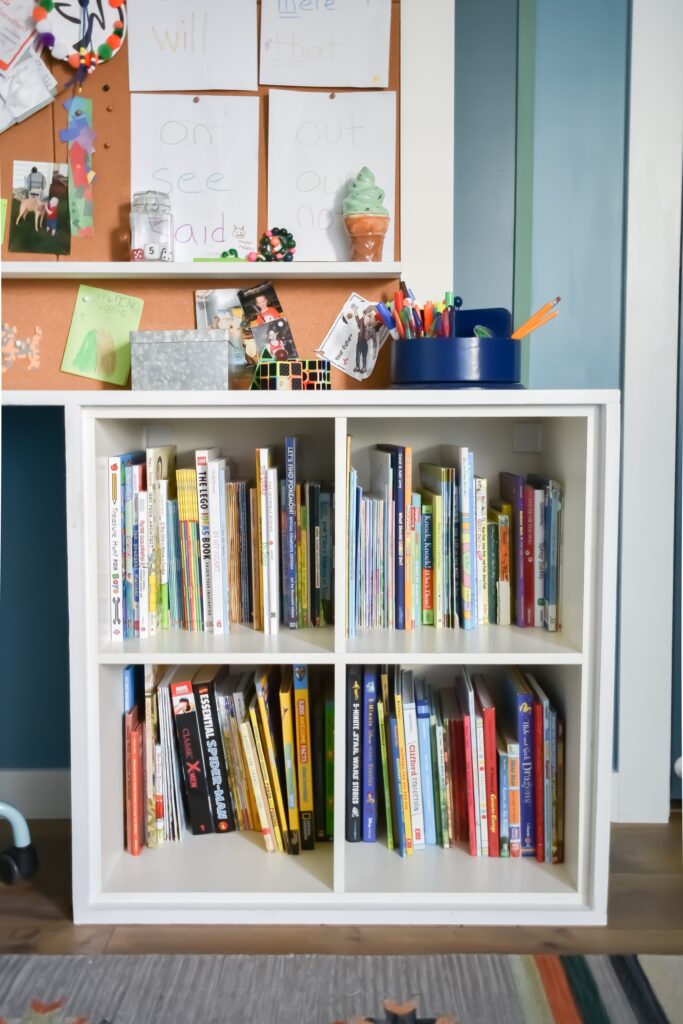
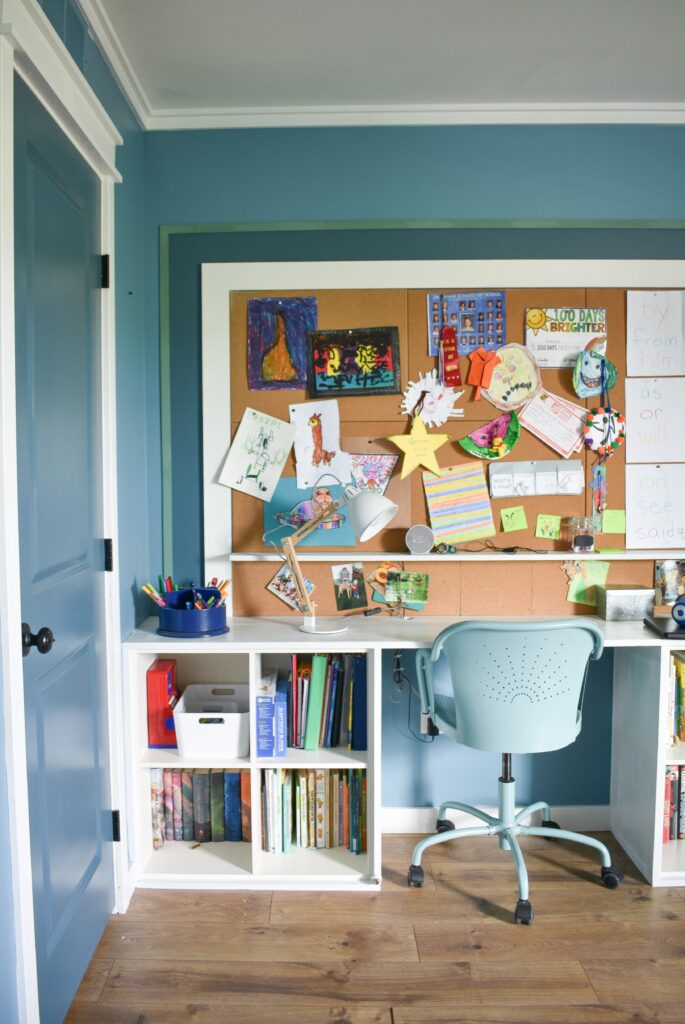
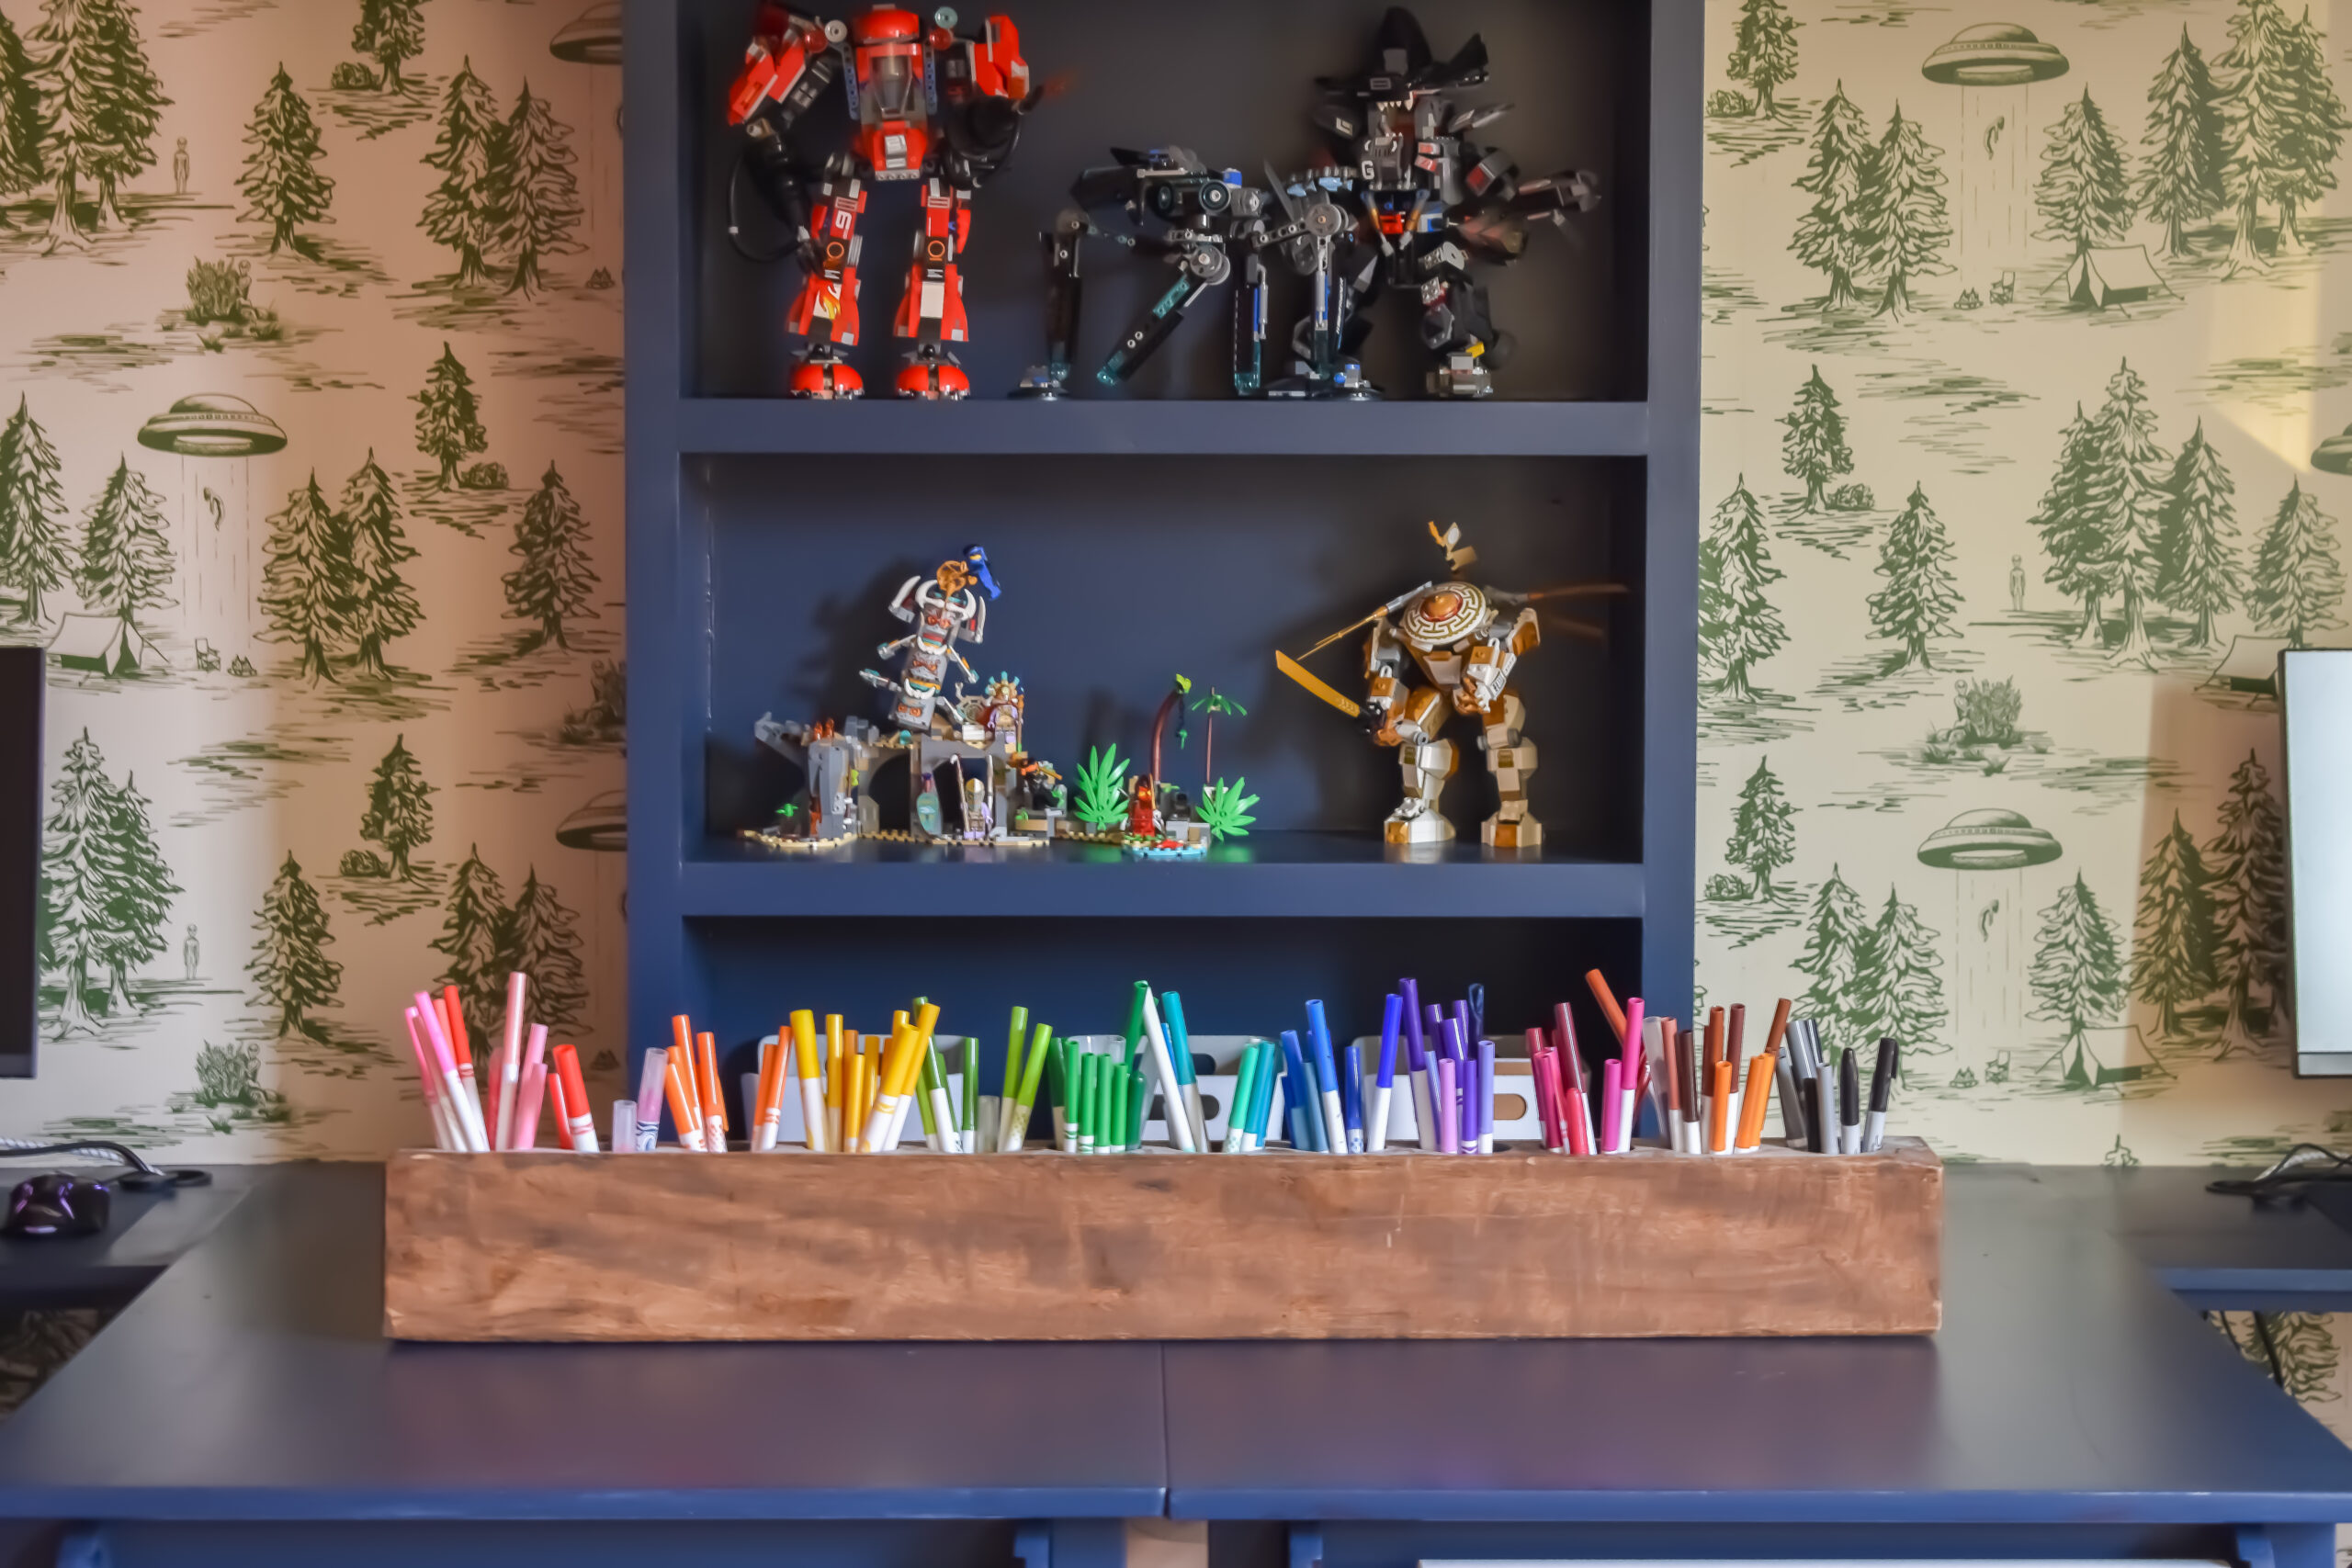
My other big project was to spruce up the desk area and make some upgrades that would help with home-schooling in the fall. I painted the desk white (which I made by wrapping two IKEA Kallax units in wood) and then extended the cork board to take up the entire wall. I love how the little ledge I added turned out and how it helps keep the desk cleaner while the work. I also continued the color-blocking idea with the frame I made out of a mix of paint and leftover trim I had laying around.
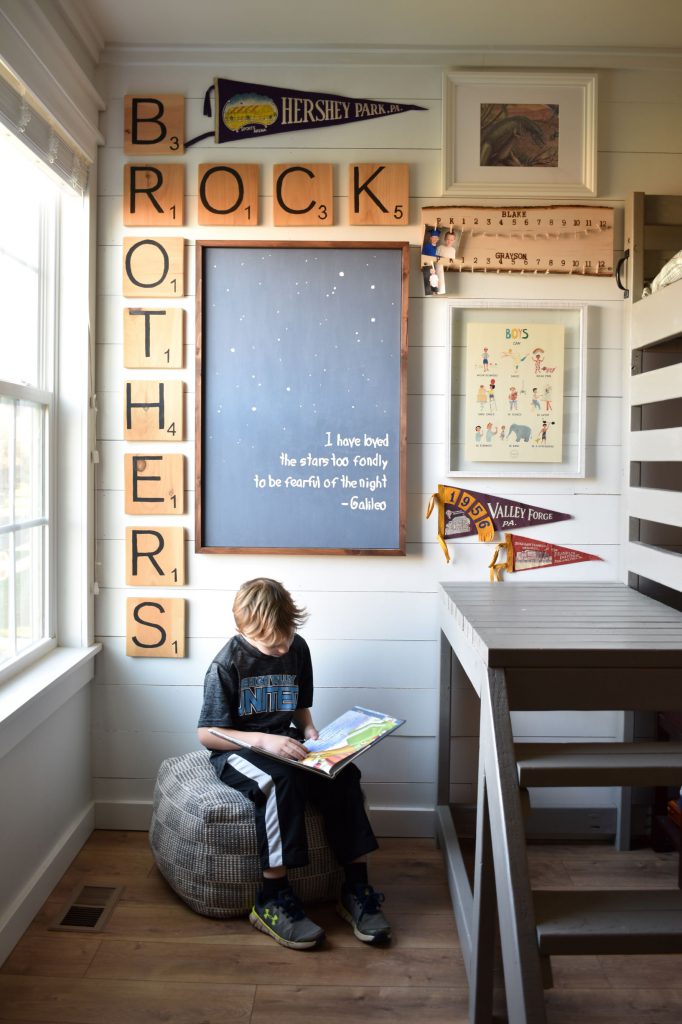
Believe it or not – THAT all was the easy part…..the hard part (that took me way longer to finish then I had planned) was figuring out what to do with the rest of the room. I had always struggled with figure out how to balance this space and make it look full without looking cluttered.
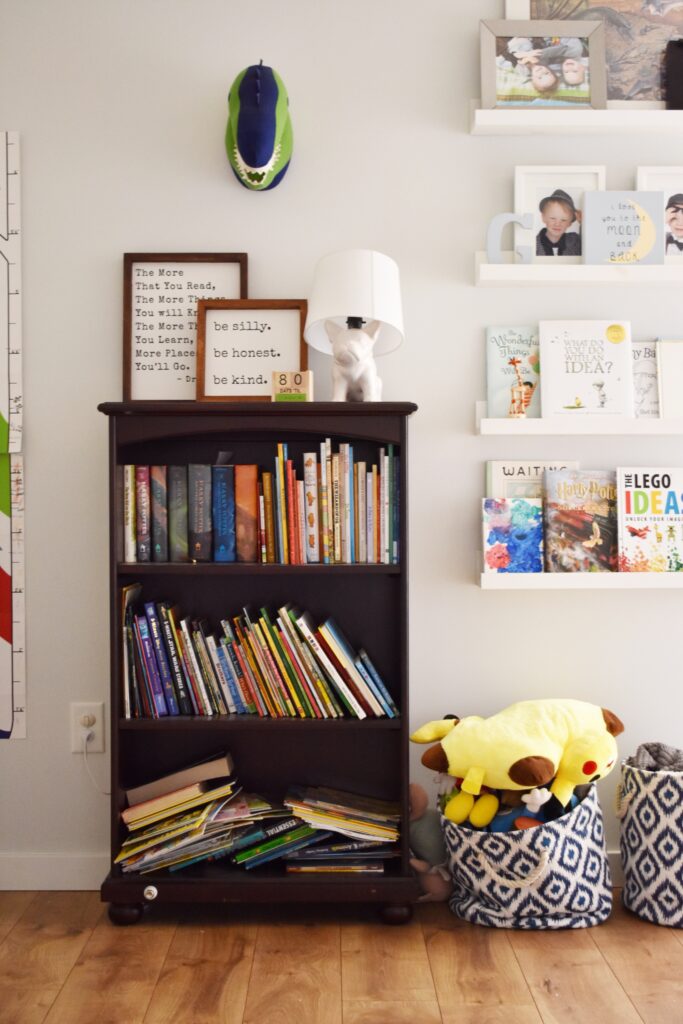
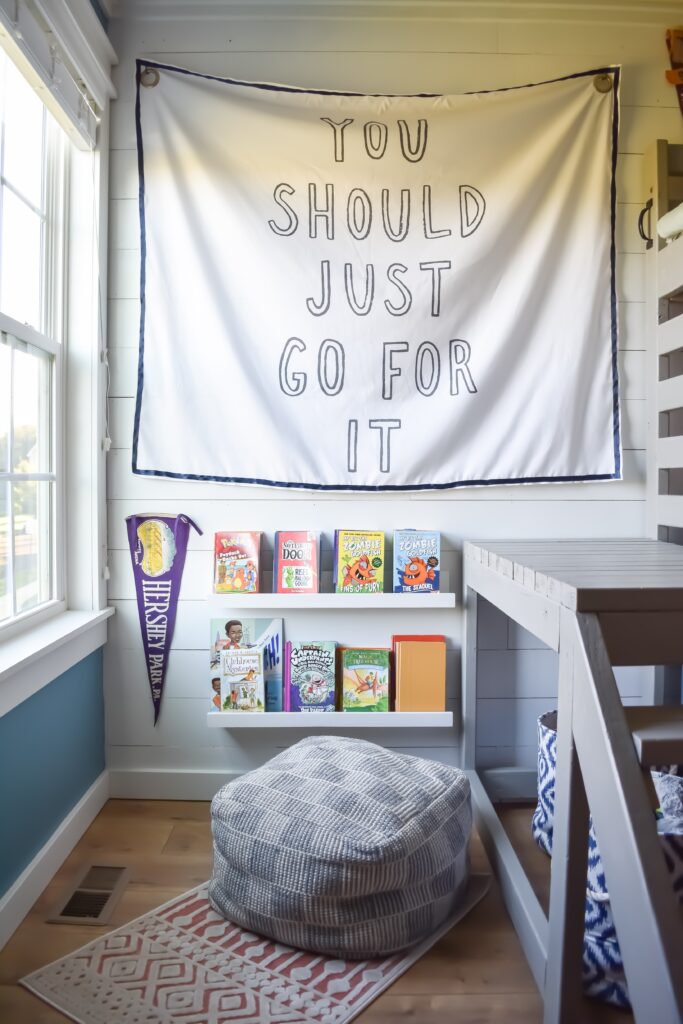
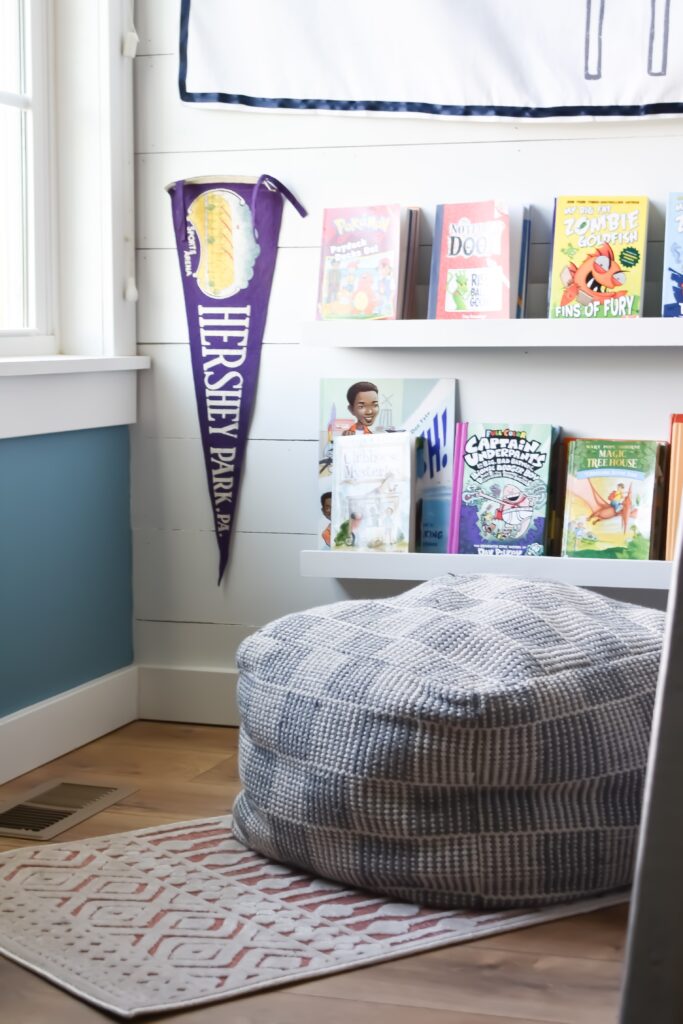
Last year I put together a gallery wall in the window corner, and while it looked super cute in pictures, I could never figure out a way to make it look connected to the rest of the room. So I ended up scaling it way back — I re-used the white book ledges to make a little reading nook for my older son, and then I added a banner that pretty much sums up my motto for all things (the banner is from Society6 but I added some navy ribbon and some grommets to make it stand out from the wall more).
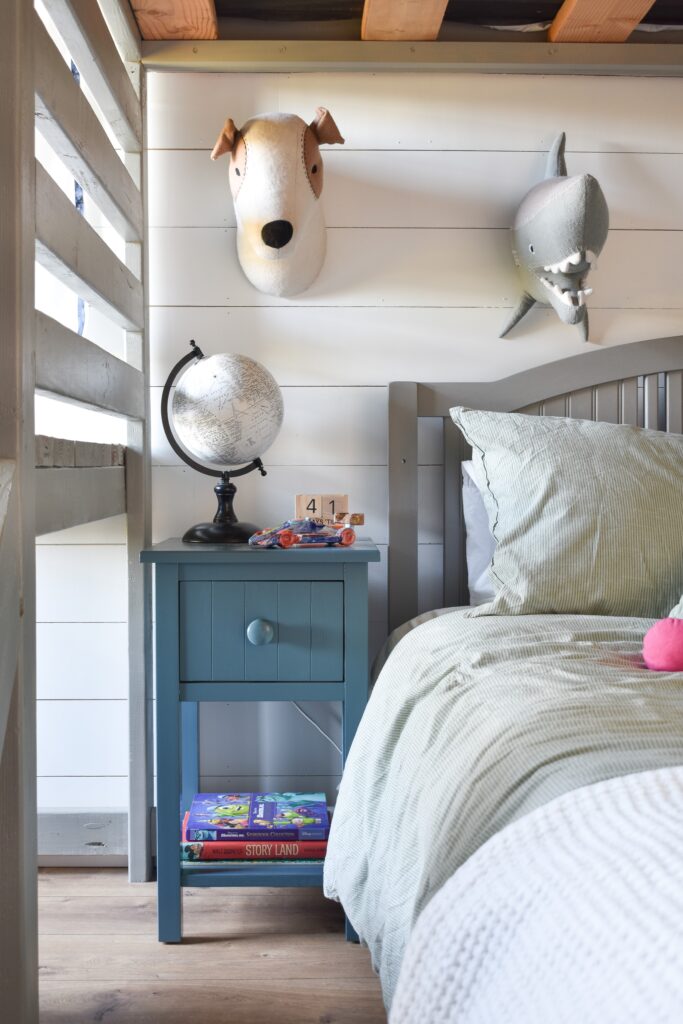
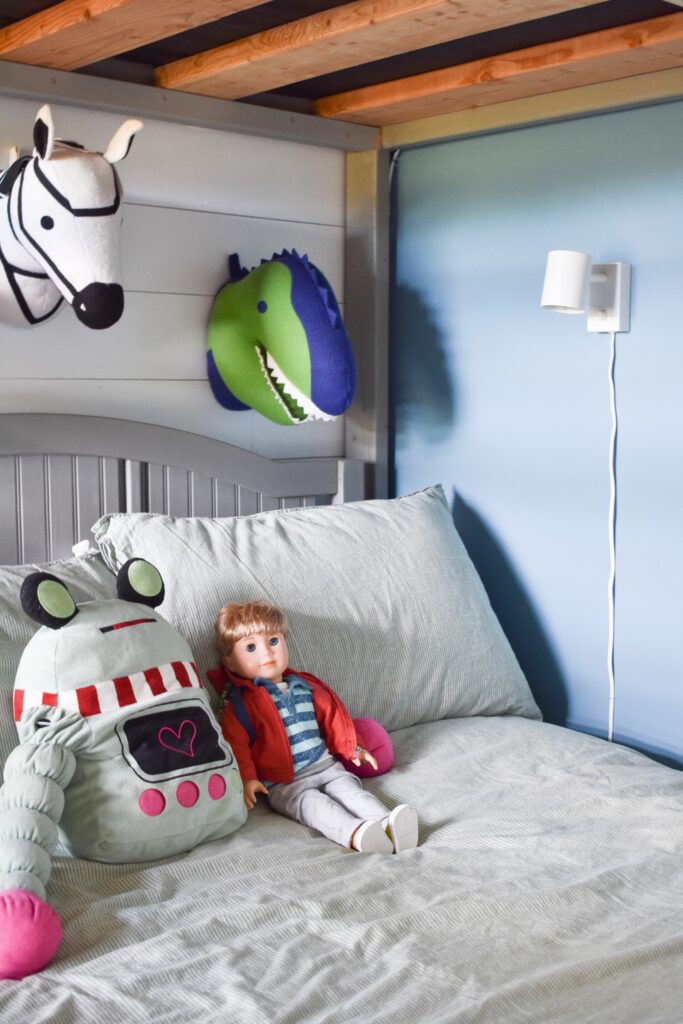
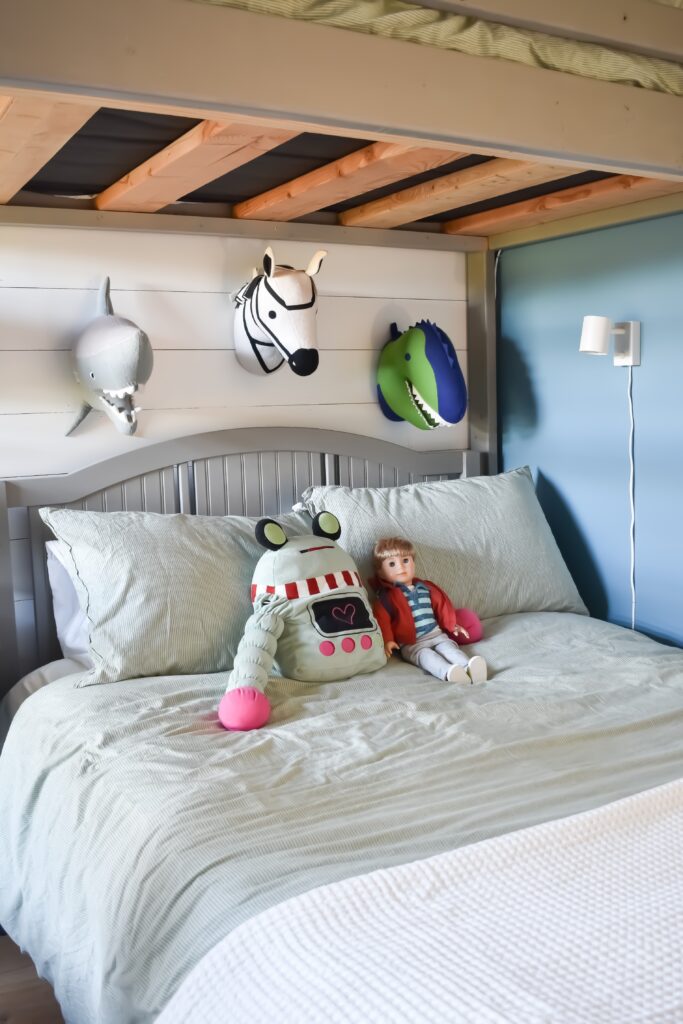
The rest of the room really came together with a few choice pieces to add color (like the rug and the vintage pendants) and of course a dose of quirk (like the stuffed animal heads and the insane Warhol print I found at HomeGoods).
This room probably has a few more transformations in its future as my boys grow up, but for now it feels right for the stage that they’re at. They have plenty of room for their books and school supplies but also space to spread out with their prized LEGO sets when they want to. And even though it took much longer to share this room with you then I was planning, the extra bit of time it took to get those final details right paid off.

Shop This Room
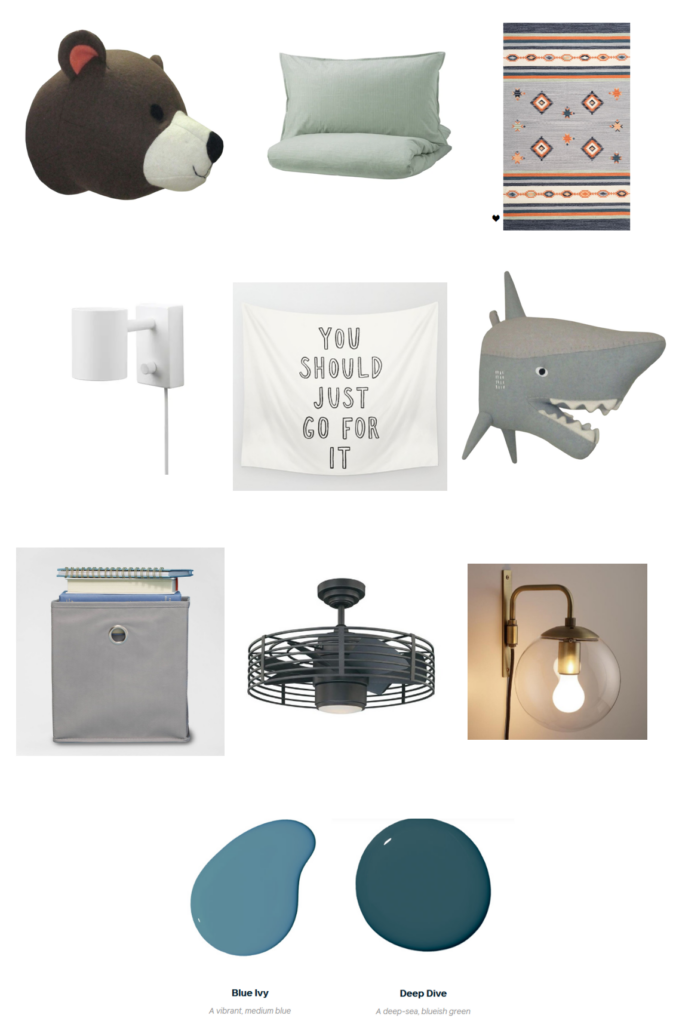
Stuffed Bear Head | Bedding | Rug
Over-Bed Lights | Wall Tapestry | Stuffed Shark Head

I’ve seen this room in person … it has an “active yet calm” personality …