I am by no means an expert on this subject, but getting incredible feedback (as well as at least 2 people tell us that our house looks like an HGTV house) makes me feel that we did something right! Before I get way to far into my dreams for our new house (Teal laundry room! Magnetic wall in the kitchen!) I thought – let me share what I learned in the last few months to anyone who is taking on the incredibly daunting task of getting their house ready to Sell.
 1. Know Your Competition – Before you start anything, make sure you have a really good grasp on what is up for sale in your neighborhood and the asking prices, what has sold. for how much, and how long it took, and how your house stacks up to each of these. This will give you the best idea of what large improvements you might want to take on and what you can expect to net $ wise.
2. Do your Research – Put together a plan for how much you want to get done and how much you’re willing to spend…..then research the shit out of each project you plan to tackle!! Know how much each project will cost, what materials you will need to buy and the best place to get them, what tools you will need to borrow or buy, and how much time you’re going to need to alot for each project. This way you can really prioritize and get rid of any unnecessary projects and focus on the things that will really get you to your goal.
 3. Tackle the big jobs First – This, in my opinion, is the best way to go about starting any large project. Pick the job that seems the most daunting (or the one that you’re just not looking forward to doing for whatever reason) and get it done first! It’s really easy to pick off the low hanging fruit jobs (like hanging a new set of curtains) but you will always have a night to cross those off. Bigger jobs (like fixing the cracks in the walls, or painting the wood trim) are never anyone’s favorite, but the longer you keep them on your to-do list, the more stressful they become. Knock them out first, and the stress is gone!
4. Don’t let the small repairs pile up – This is one of those “learn from my mistakes kids” lessons. Since our house was new construction, we had a lot of popped nail heads in our walls and ceilings that have been poking their way through the drywall for the last few years. How I wish I had started fixing these as soon as they started to show!!! For anyone who has the thought that they will be putting their house up for sale even a year or two down the line, do yourself a favor and start to work on things like this now. You will thank yourself in the long run.
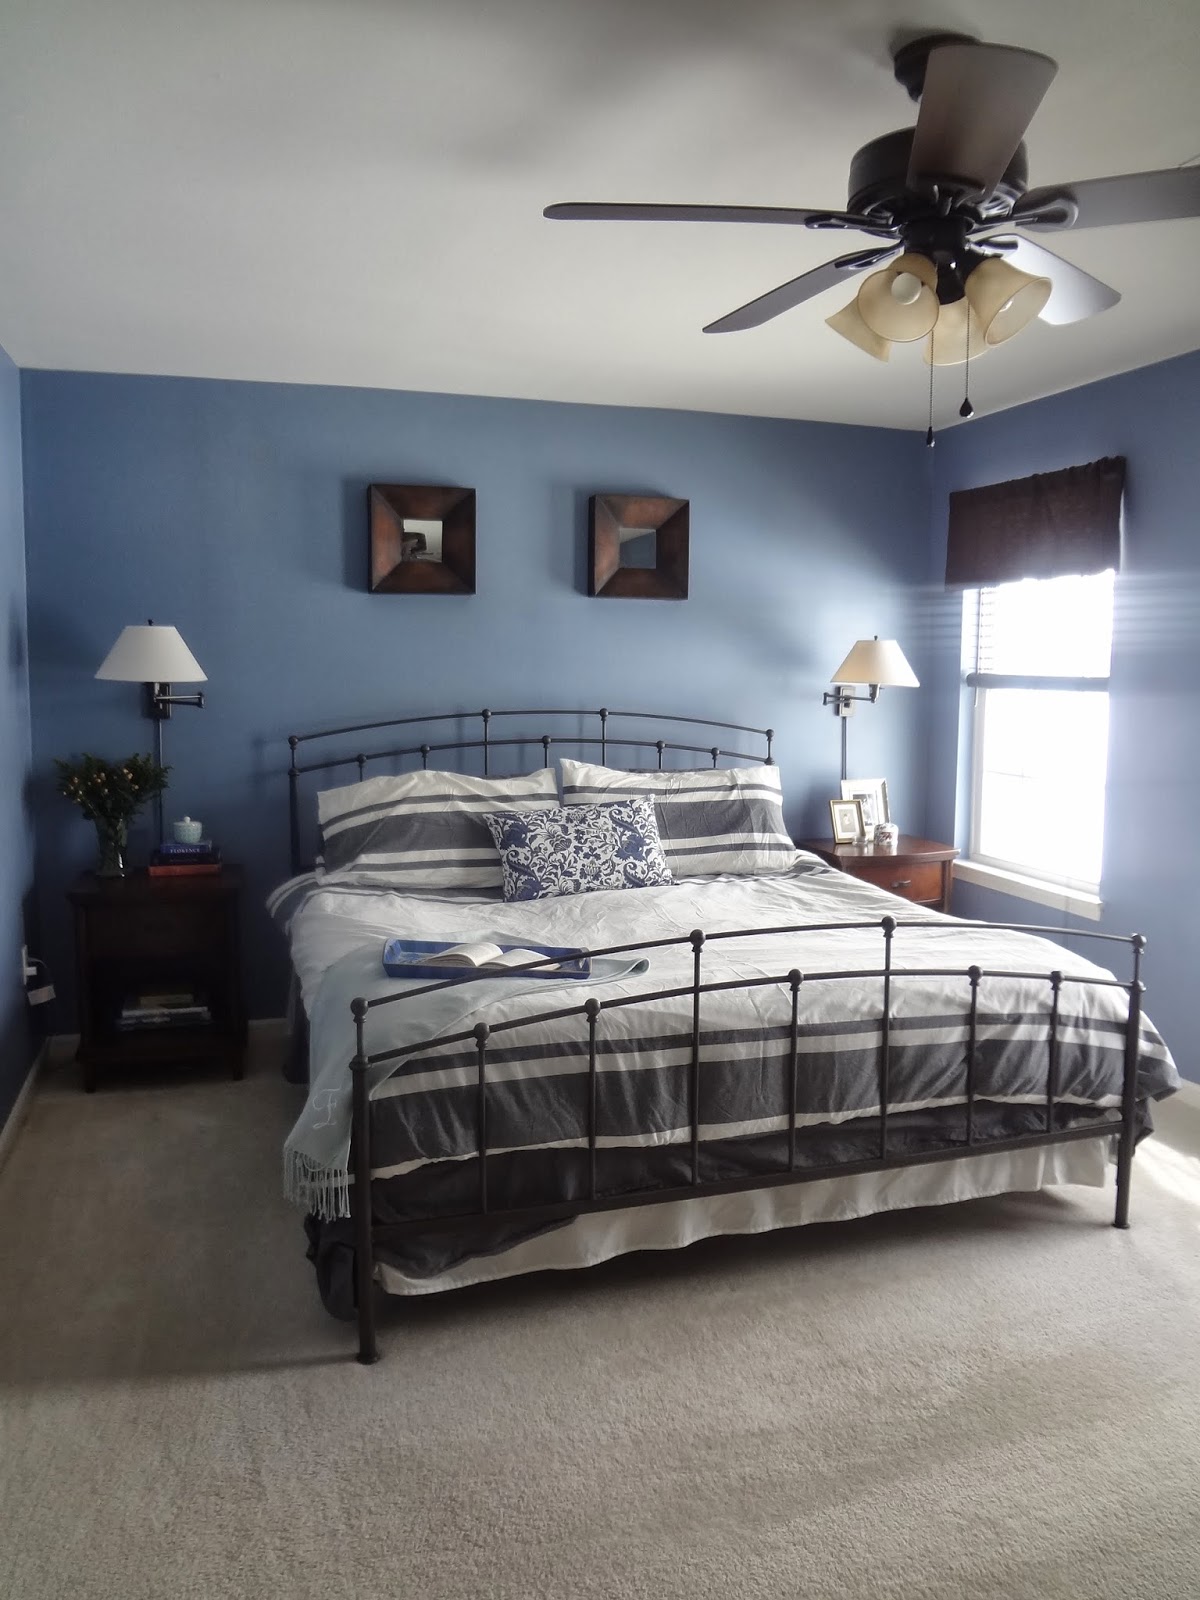
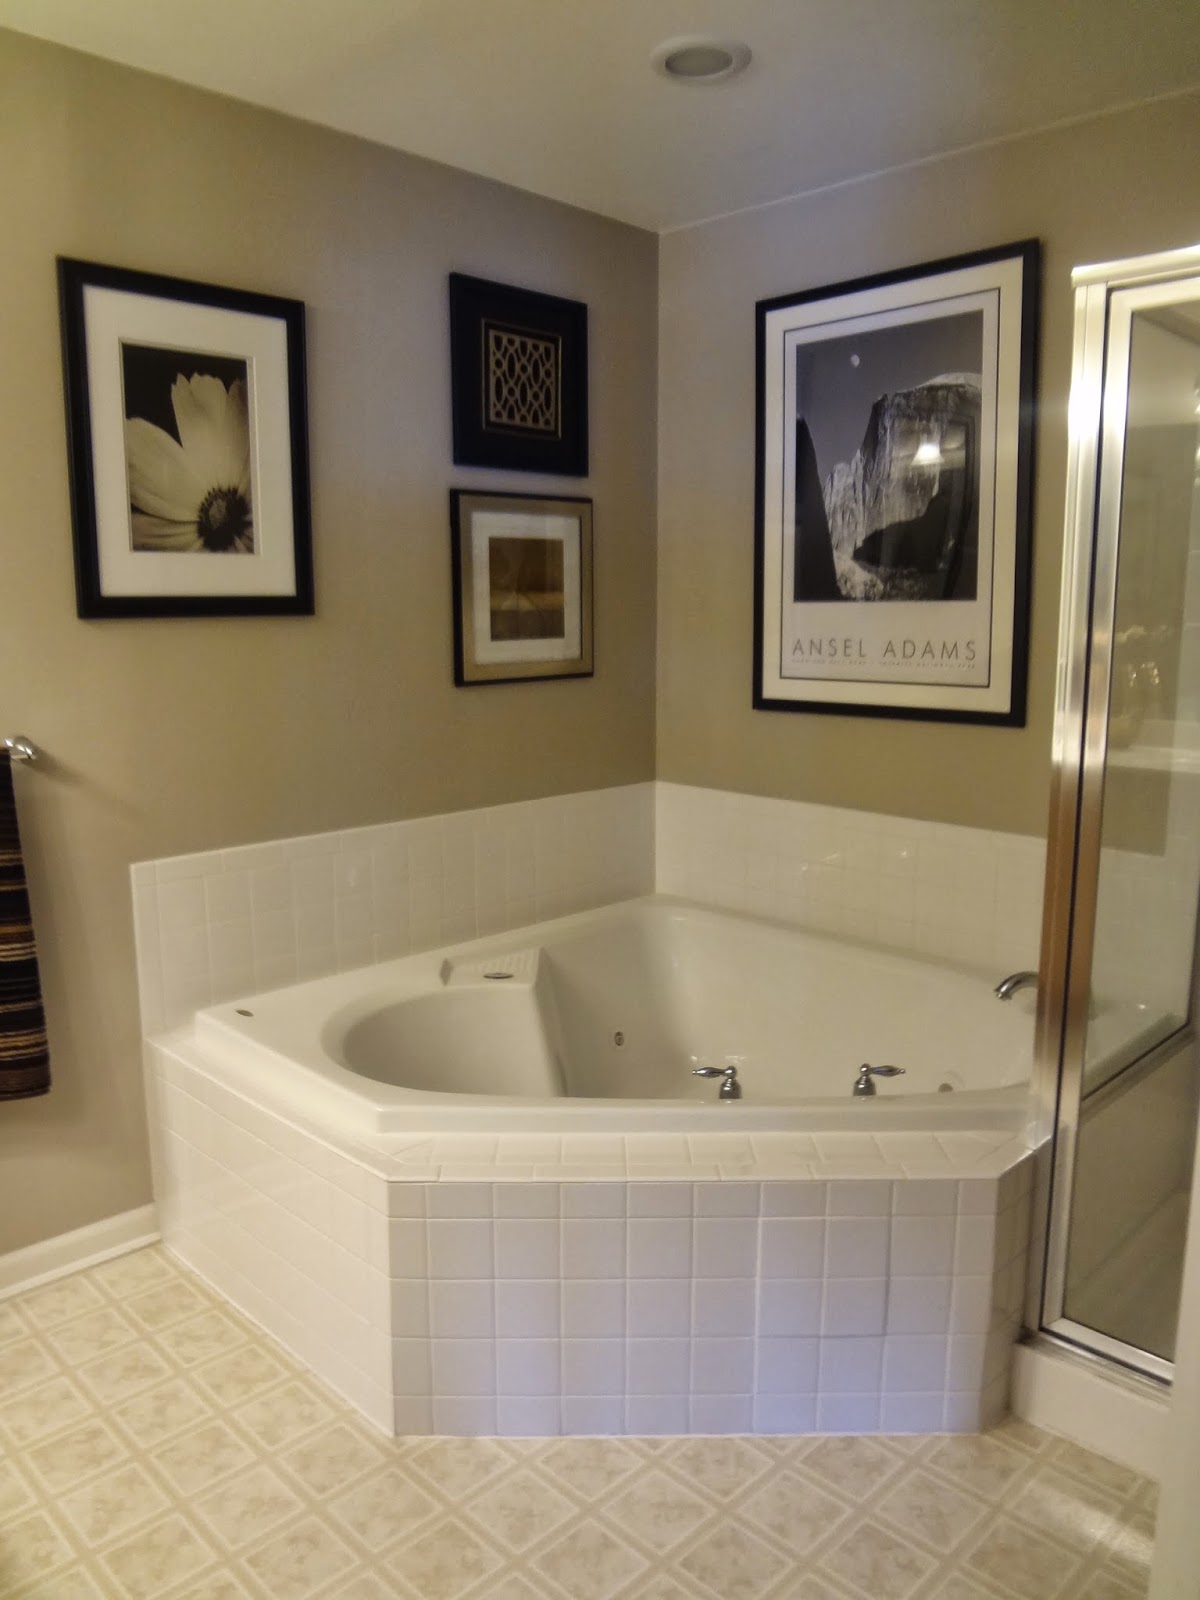 5. Beige Really is Better – I was so against having to repaint any of our rooms because I loved the colors we had lived with for years, but I told myself before we started this whole thing that I would listen to the advice of our realtor and just do what she suggested. Of course this involved painting 3 of our bolder colored rooms. I told myself just to do it and was convinced that I was gonna hate the results….but you know what…she was 100% right. I don’t hate any of them, and actually I prefer my bathroom and my sunroom the more neutral colors, and we’ve gotten a lot of comments on how much people like our paint job. (I will not mention the nursery though and it is still painful to see that room without the ABC animal alphabet that I painted for Blake).
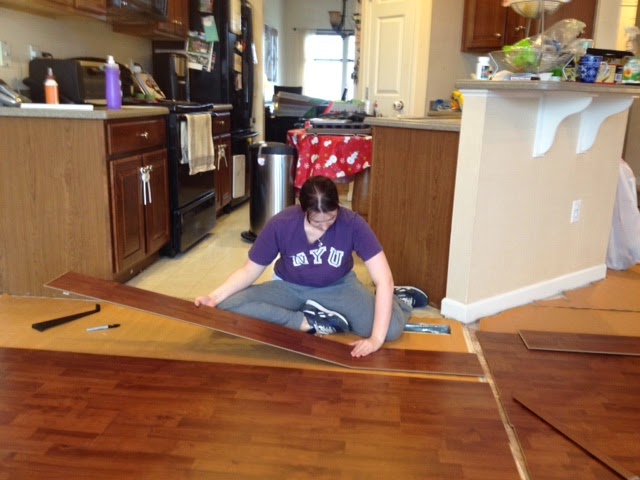
6. Put your money where it matters – The two biggest items that we invested in to get our house ready to sell was our patio (which we hired a contractor to build) and the laminate floor on the 1st floor (which we installed ourselves). These were two things that we noticed other homes in our area had so we wanted to make sure we did too. At one point I had a grand list that included re-tiling the upstairs bathrooms and putting new light fixtures in every room….but I realized that no other houses had those things and putting them in ours would just not make sense. While I’m sure people would have loved those features, we most likely would not have gotten a return on our investment. So put your money into the things that will make your house competitive, not just into things that will look nice.

7. Borrow from your Friends and Family – There’s really no need to go out and spend a ton of money on furniture, art, and decorations to stage your home, especially if you’re buying things that you’re never gonna use again. Your first stop should be to your friends and/or family’s basement to see if there’s anything collecting dust down there that you can borrow. Lucky for me I know a woman (ahem…mom) who has a lot of great stuff that she was nice enough to let me borrow (from a huge Ansel Adams photograph, to an extra end table). Even little things like candle holders and coffee table books can make a space look great. So put out feelers, offer to cook someone dinner, and see what you can start hoarding.
 8. Every Space has it’s Place – This one is borrowed from countless episodes of “The Property Brothers” but it’s a fantastic tip so I wanted to make sure I re-stated it. It’s ok to have kids toys in your house, but just make sure they’re not piled up in a corner of your dining room. When we got the house ready to show (after a very intense initial de-cluttering) we designated 3 areas to keep the boys toys in – their rooms, the playarea of the basement, and the bookshelf in the morning room. This way people can see each room for what it is, instead of seeing the whole house as one giant play room. The same goes for any area in your house – don’t keep your desk in your bedroom; don’t keep your kitchen overspill in your dining room. Let buyers see that each room has it’s own function and it’ll make a big difference.
9. Don’t Make buyers want to take a Closer look – Every house is gonna have it’s problems, and you’re not going to be able to cover up all of them. The trick is to not make buyers feel like they have to investigate things further. A good example is the fridge – I can’t always get a really good clean on the fridge before we have a showing, and I know there is still some dried Bloody Mary son the underside of one of the shelves…..but I make sure that every part of my fridge that you can see when you open that door is spotless, and smells like it has just been cleaned. This way whoever opens that fridge is not going to question how clean it is. On the other hand, if I leave a big glop of something right at the front, it’s more likely that Anal Betty is going to crawl up under those shelves to see if there’s a bigger mess lying in wait. Weather it’s an un-even paint job, or a spot on the carpet…you can cover it up all you want, but if you don’t take the time to make sure the other walls or carpets in the house look their best, you can be sure someone is gonna find it.

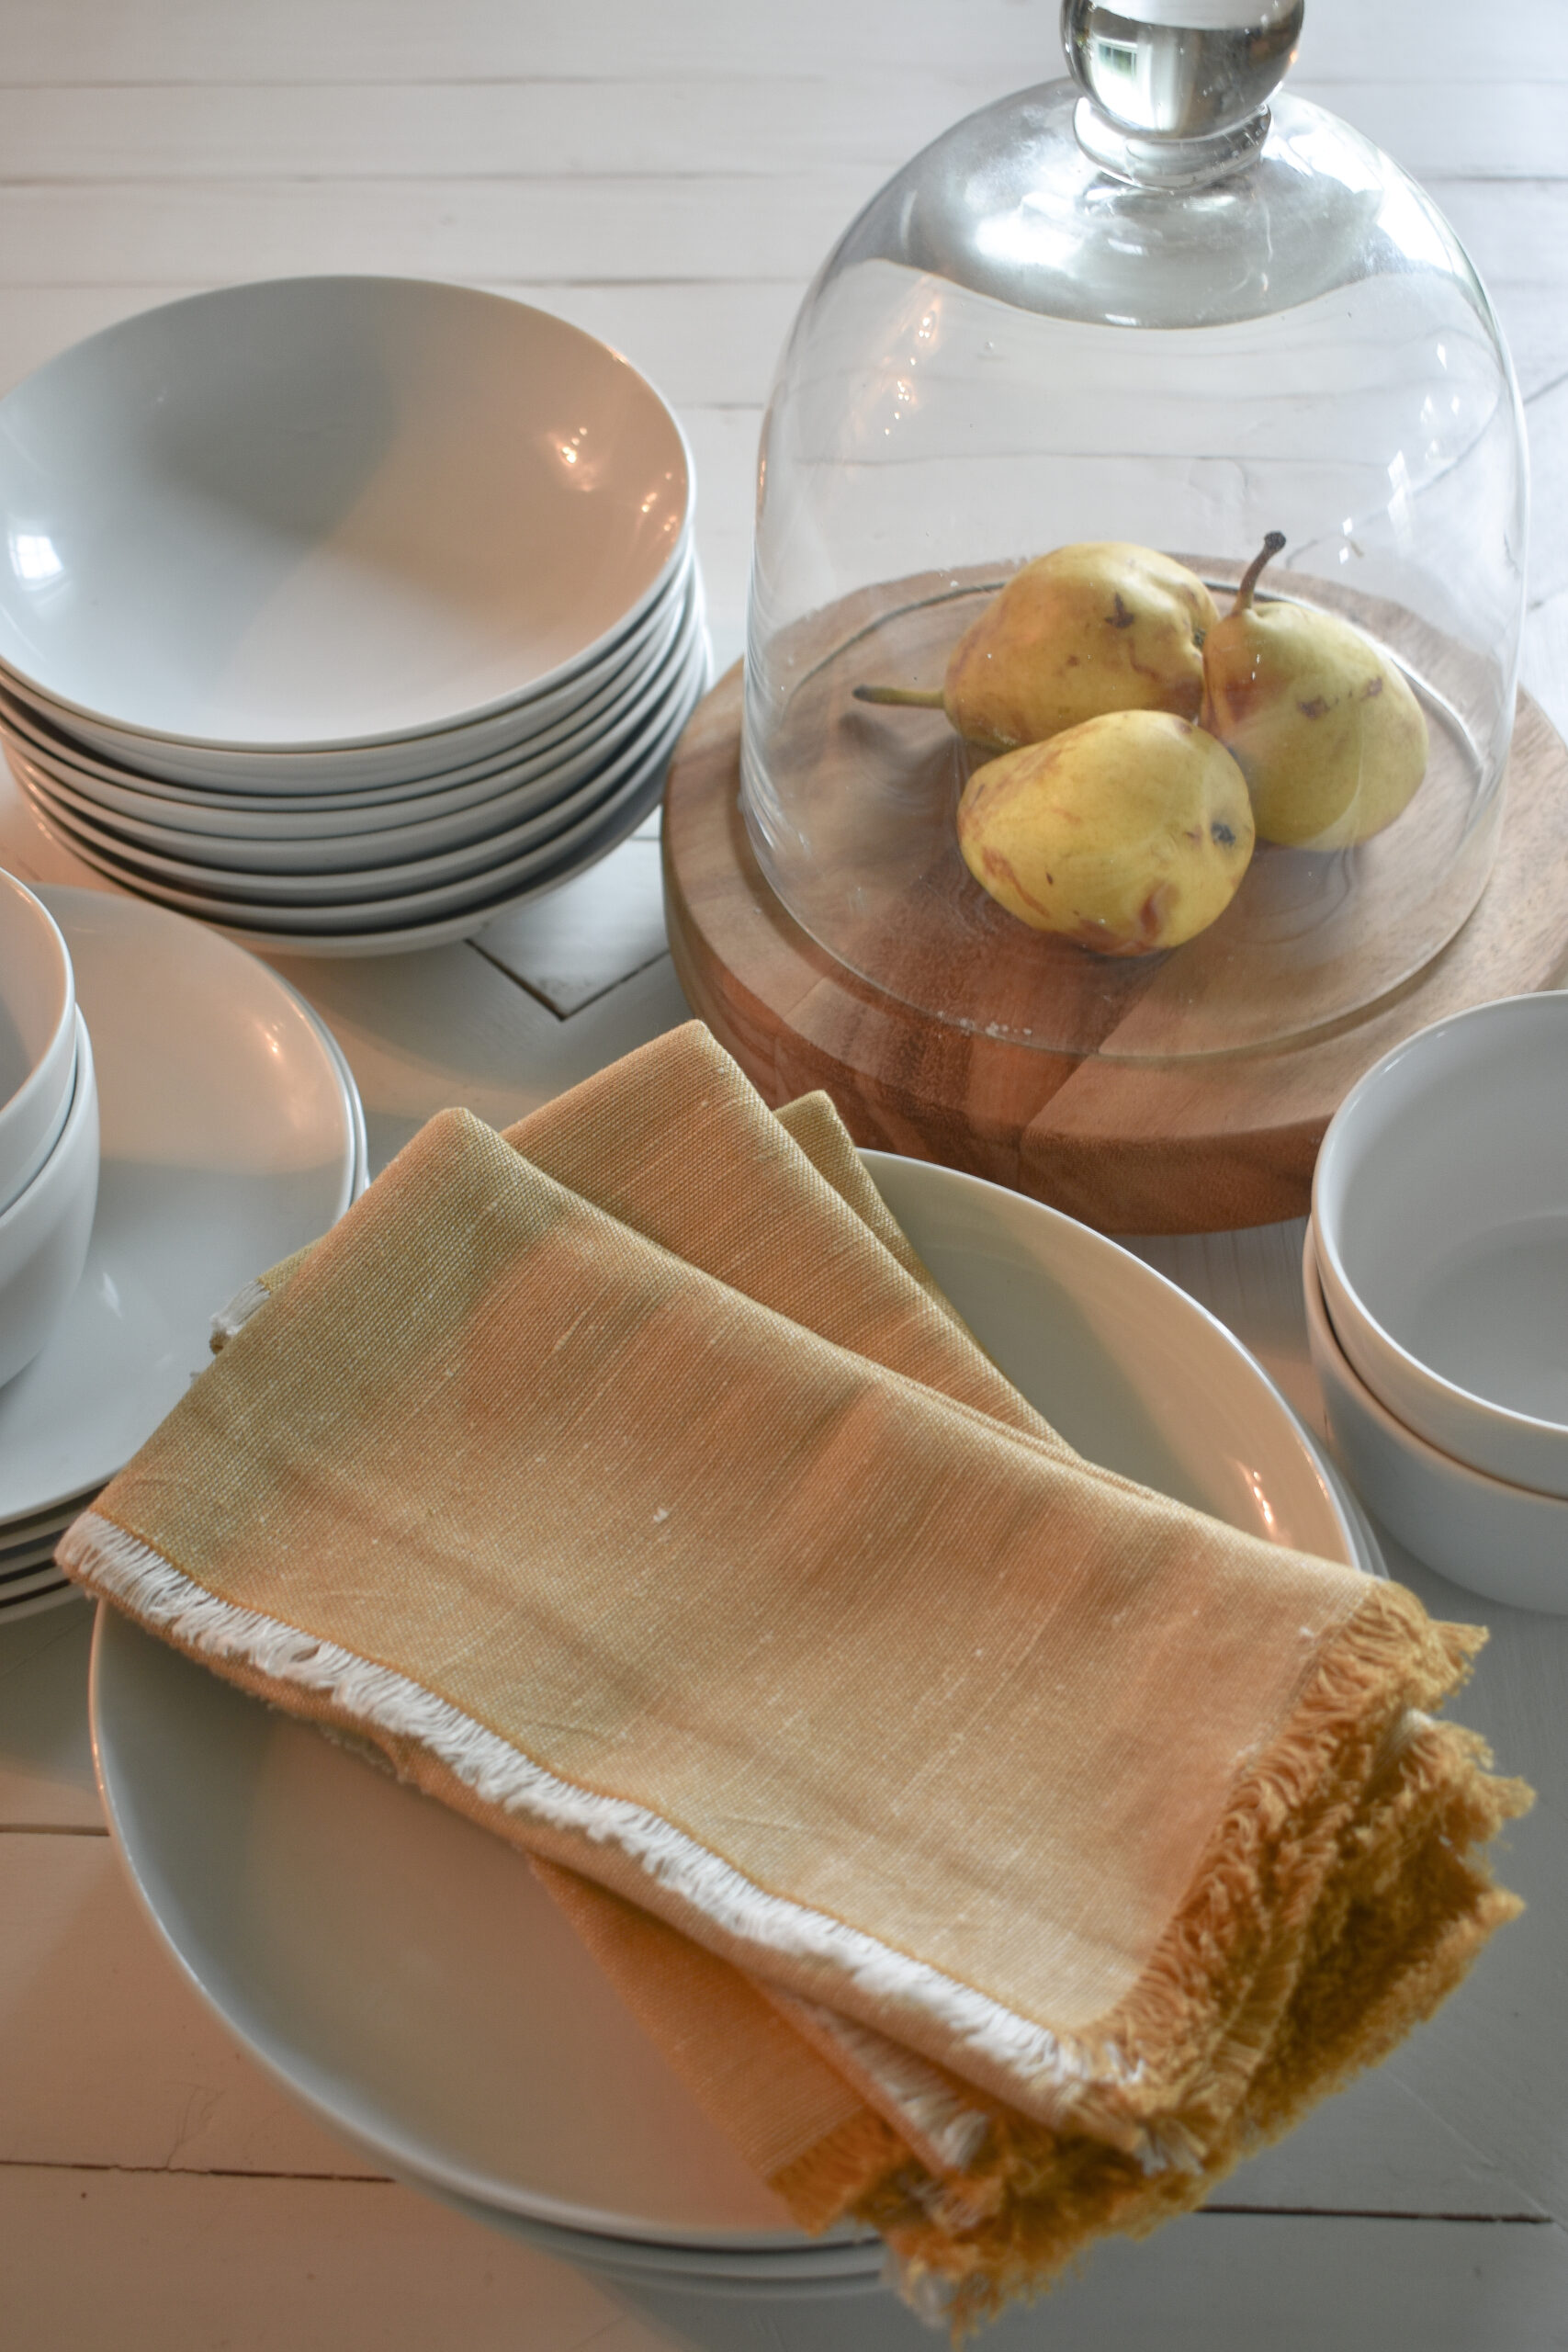
10. Have Fun with your Staging – Once we had the big jobs taken care of, the fun part began. I made a few trips to Target, HomeGoods, and Ikea, and just picked up a few things that I really liked and that I thought would bring some character into the home. I made a deal with myself that I wouldn’t buy any one item for more then $10 (minus curtains, rugs, and a duvet cover) and then I let myself get things that I probably would have talked myself out of getting (like the collection of glass bottles I now have on my mantle). I also used this as an opportunity to finally get out some of the things I had always wanted to put out but had just never gotten around to – I framed an old watercolor that my dad had painted and I stole borrowed from his basement; I de-framed and cut up these dried flower prints that my mom was getting rid of and used them around the house; I dug out old books for my endtables and convinced myself to move things around the house until they seemed to find a home. So loosen up and have some fun once you get to this step – you really will enjoy the house you end up with
 |
| And make sure you buy some fresh flowers for your open house! Everyone loves some fresh flowers : ) |