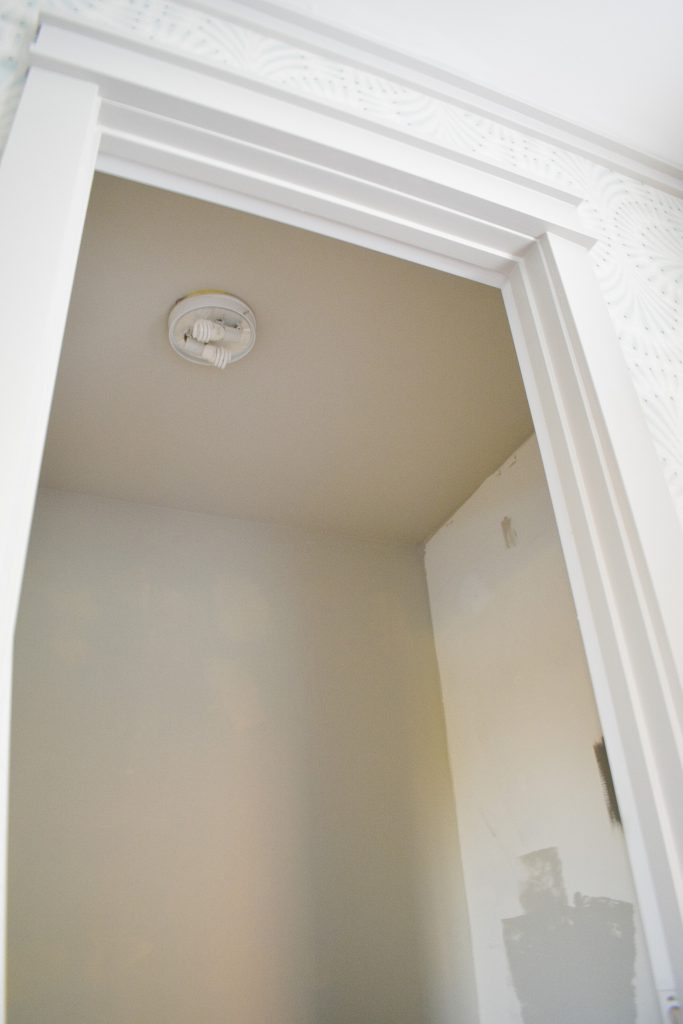
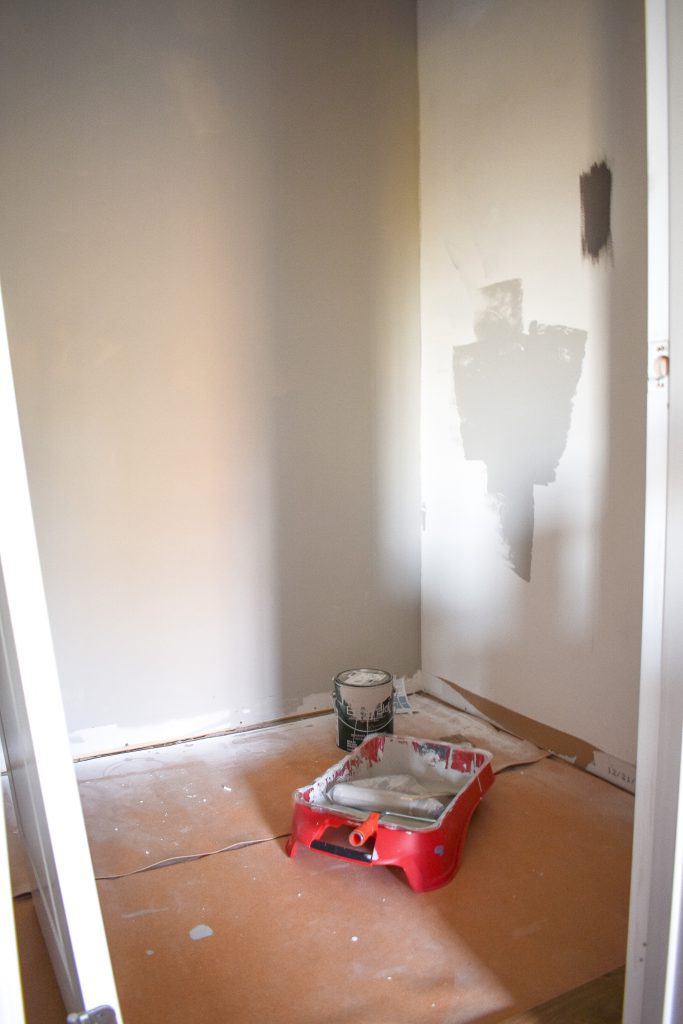
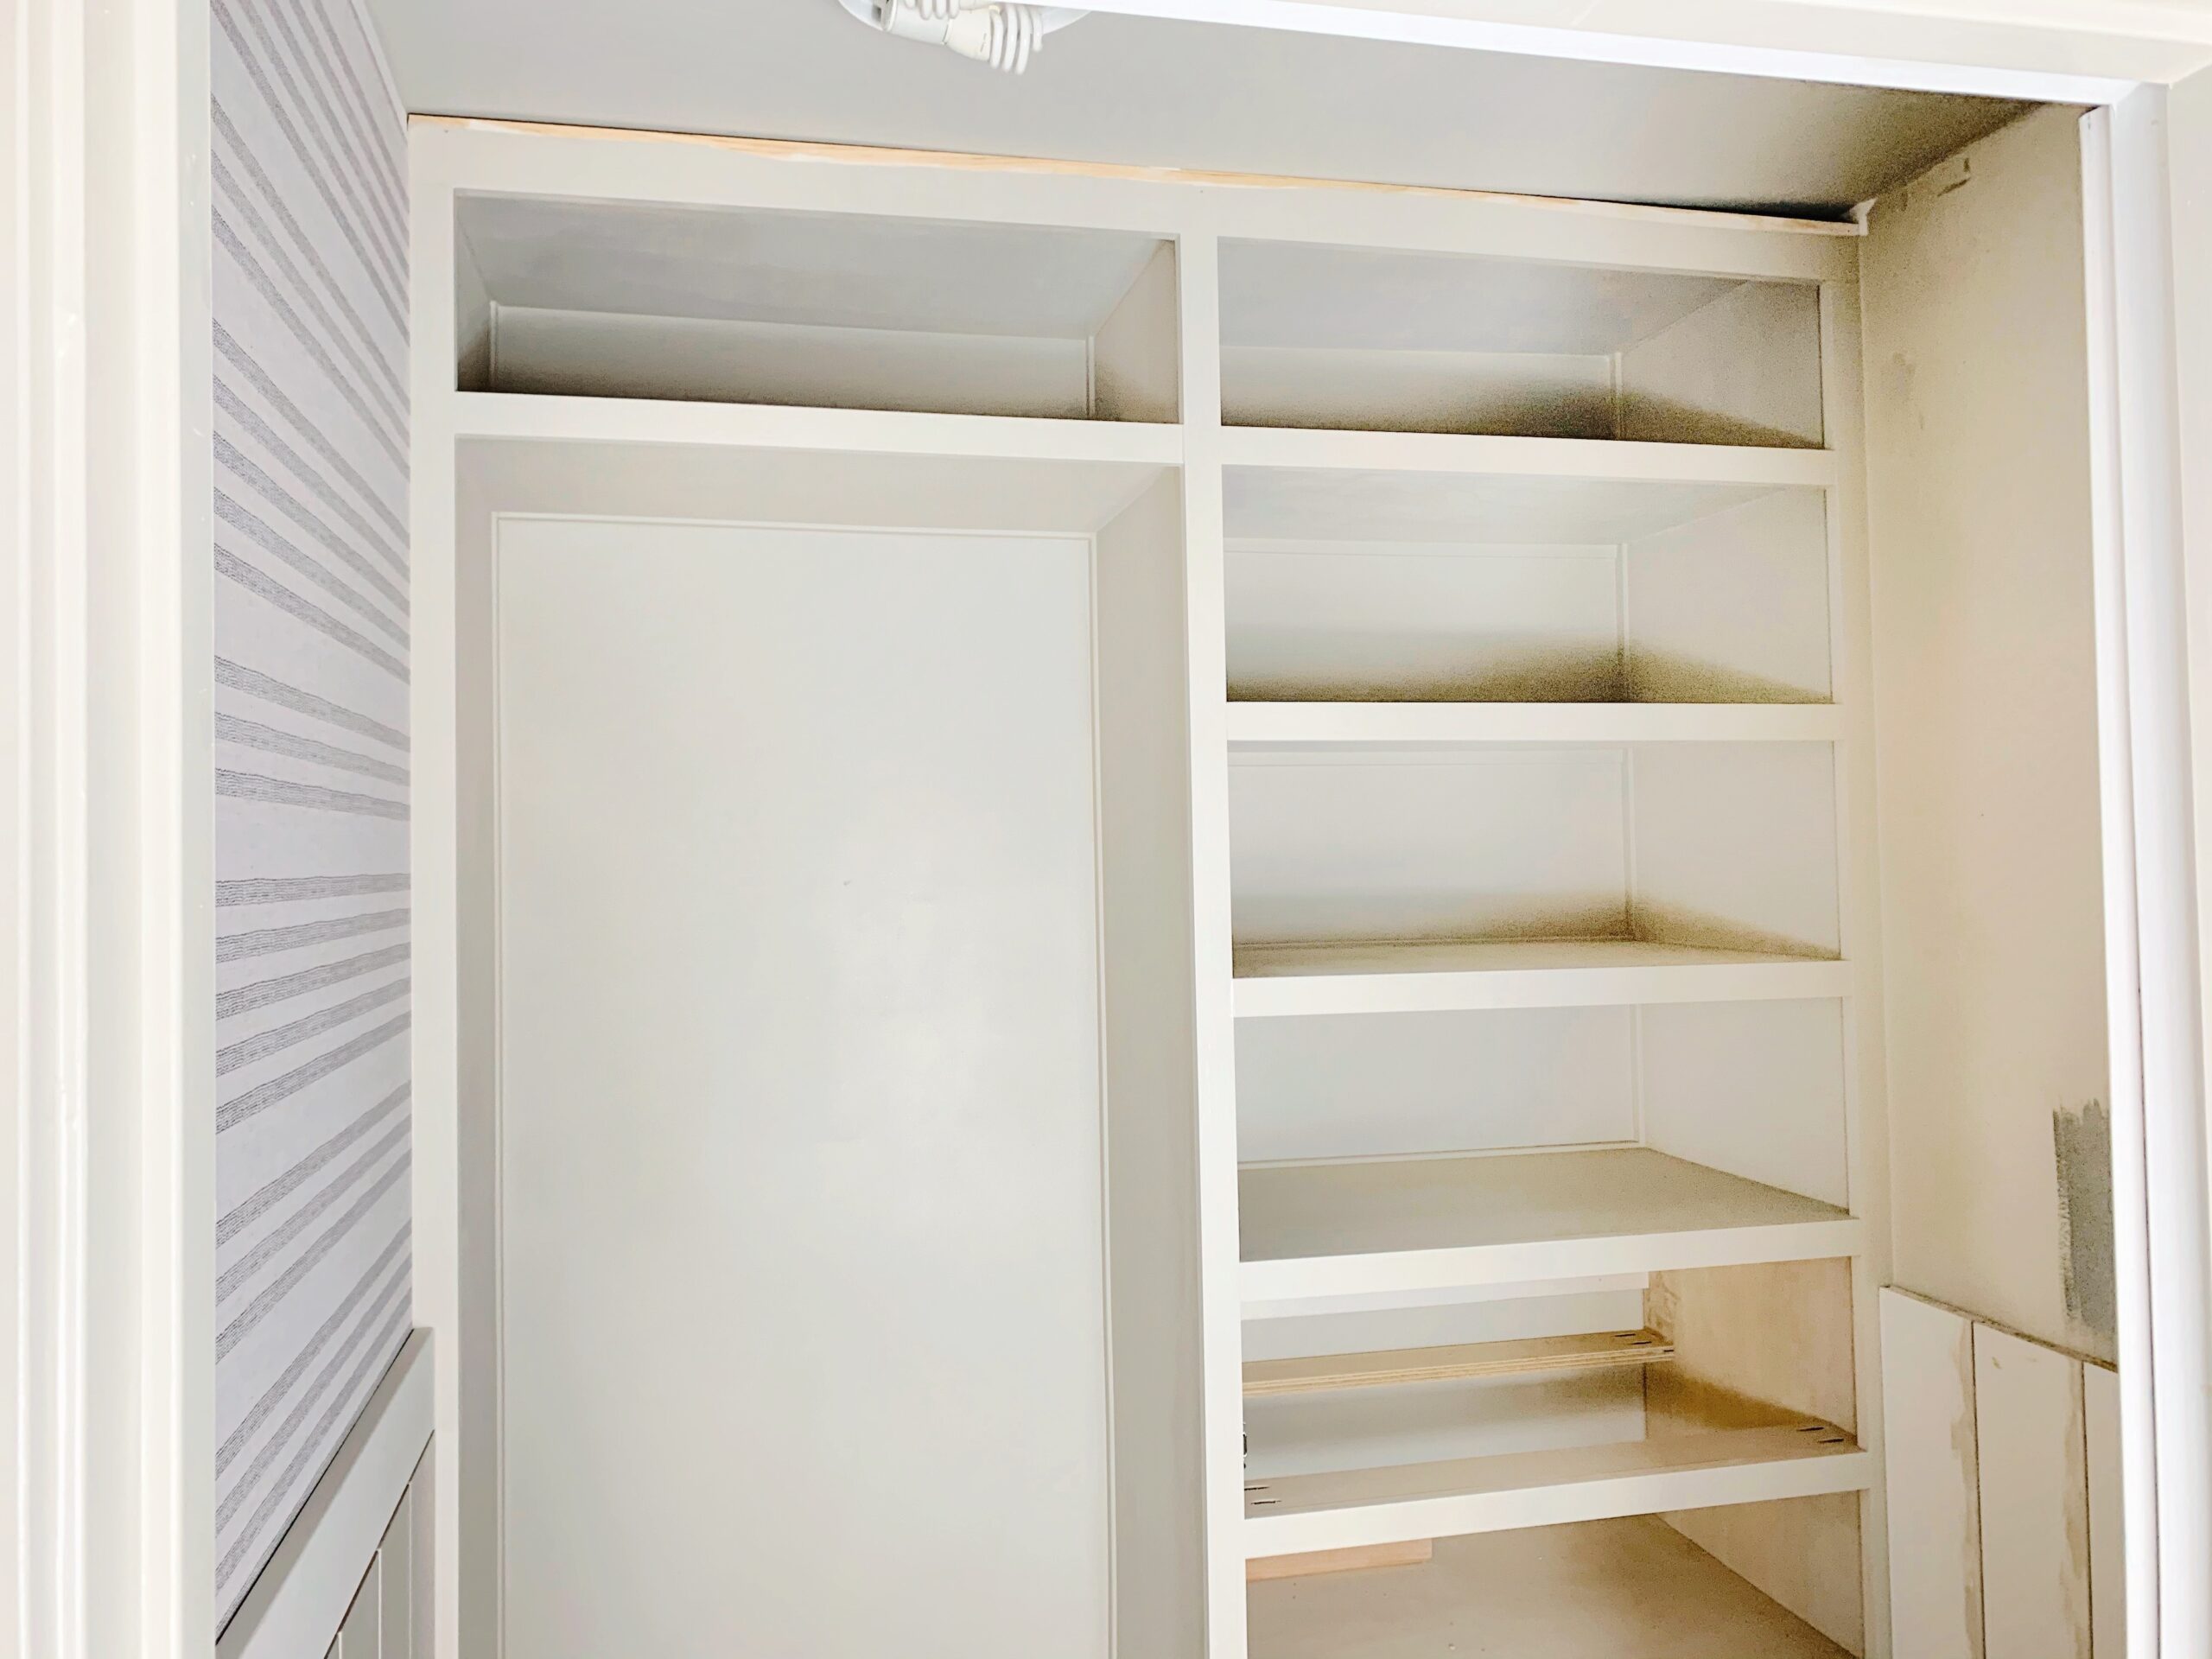
Usually at this time of the challenge I say something like “I’ve been doing a lot of work and I can’t wait to show you guys what I’ve been up to” — well not this time. Before I made the last minute decision to join the ORC this time around we had planned a weekend away for my little guys birthday and unfortunately the floors didn’t arrive in time for me to install them before we left so right now all I’ve gotten done is cleaning out the space, patching the walls, and painting the ceiling….not quite enough to fill a blog post.
Week 1 / Week 2 / Week 3 / Week 4 / Week 5 / Week 6
Instead, I’m going to use this week to share something I’ve been wanting to put down in writing for a while, and that’s how I go about planning my One Room Challenge projects. Feel free to skip to next week if you’d like, or read on if you’re in need of a jumping off point to tackle your own home makeover.
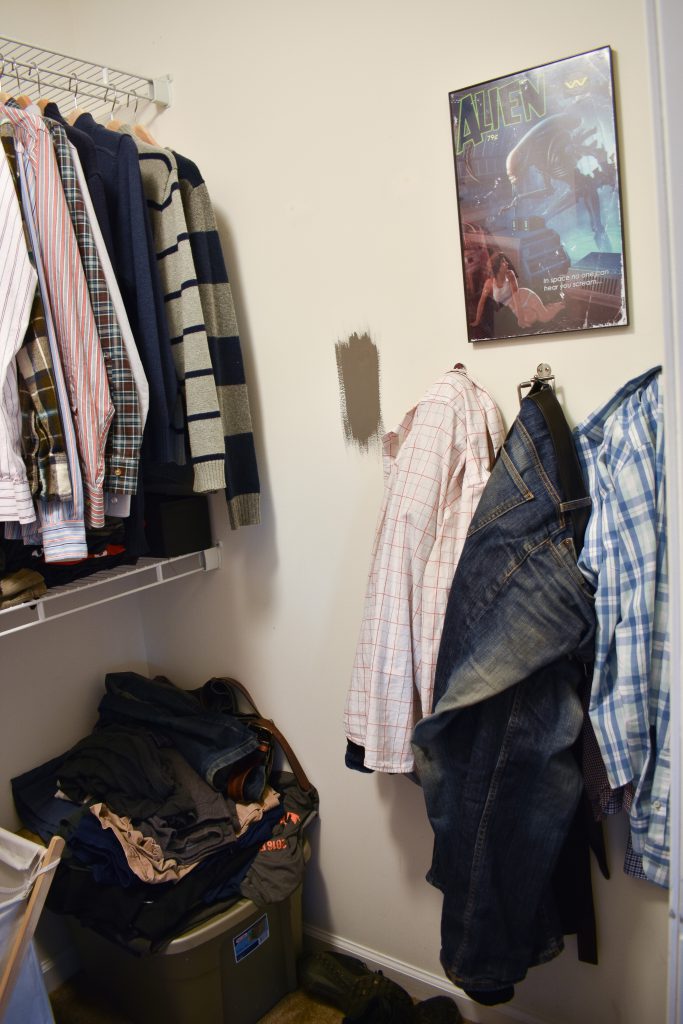
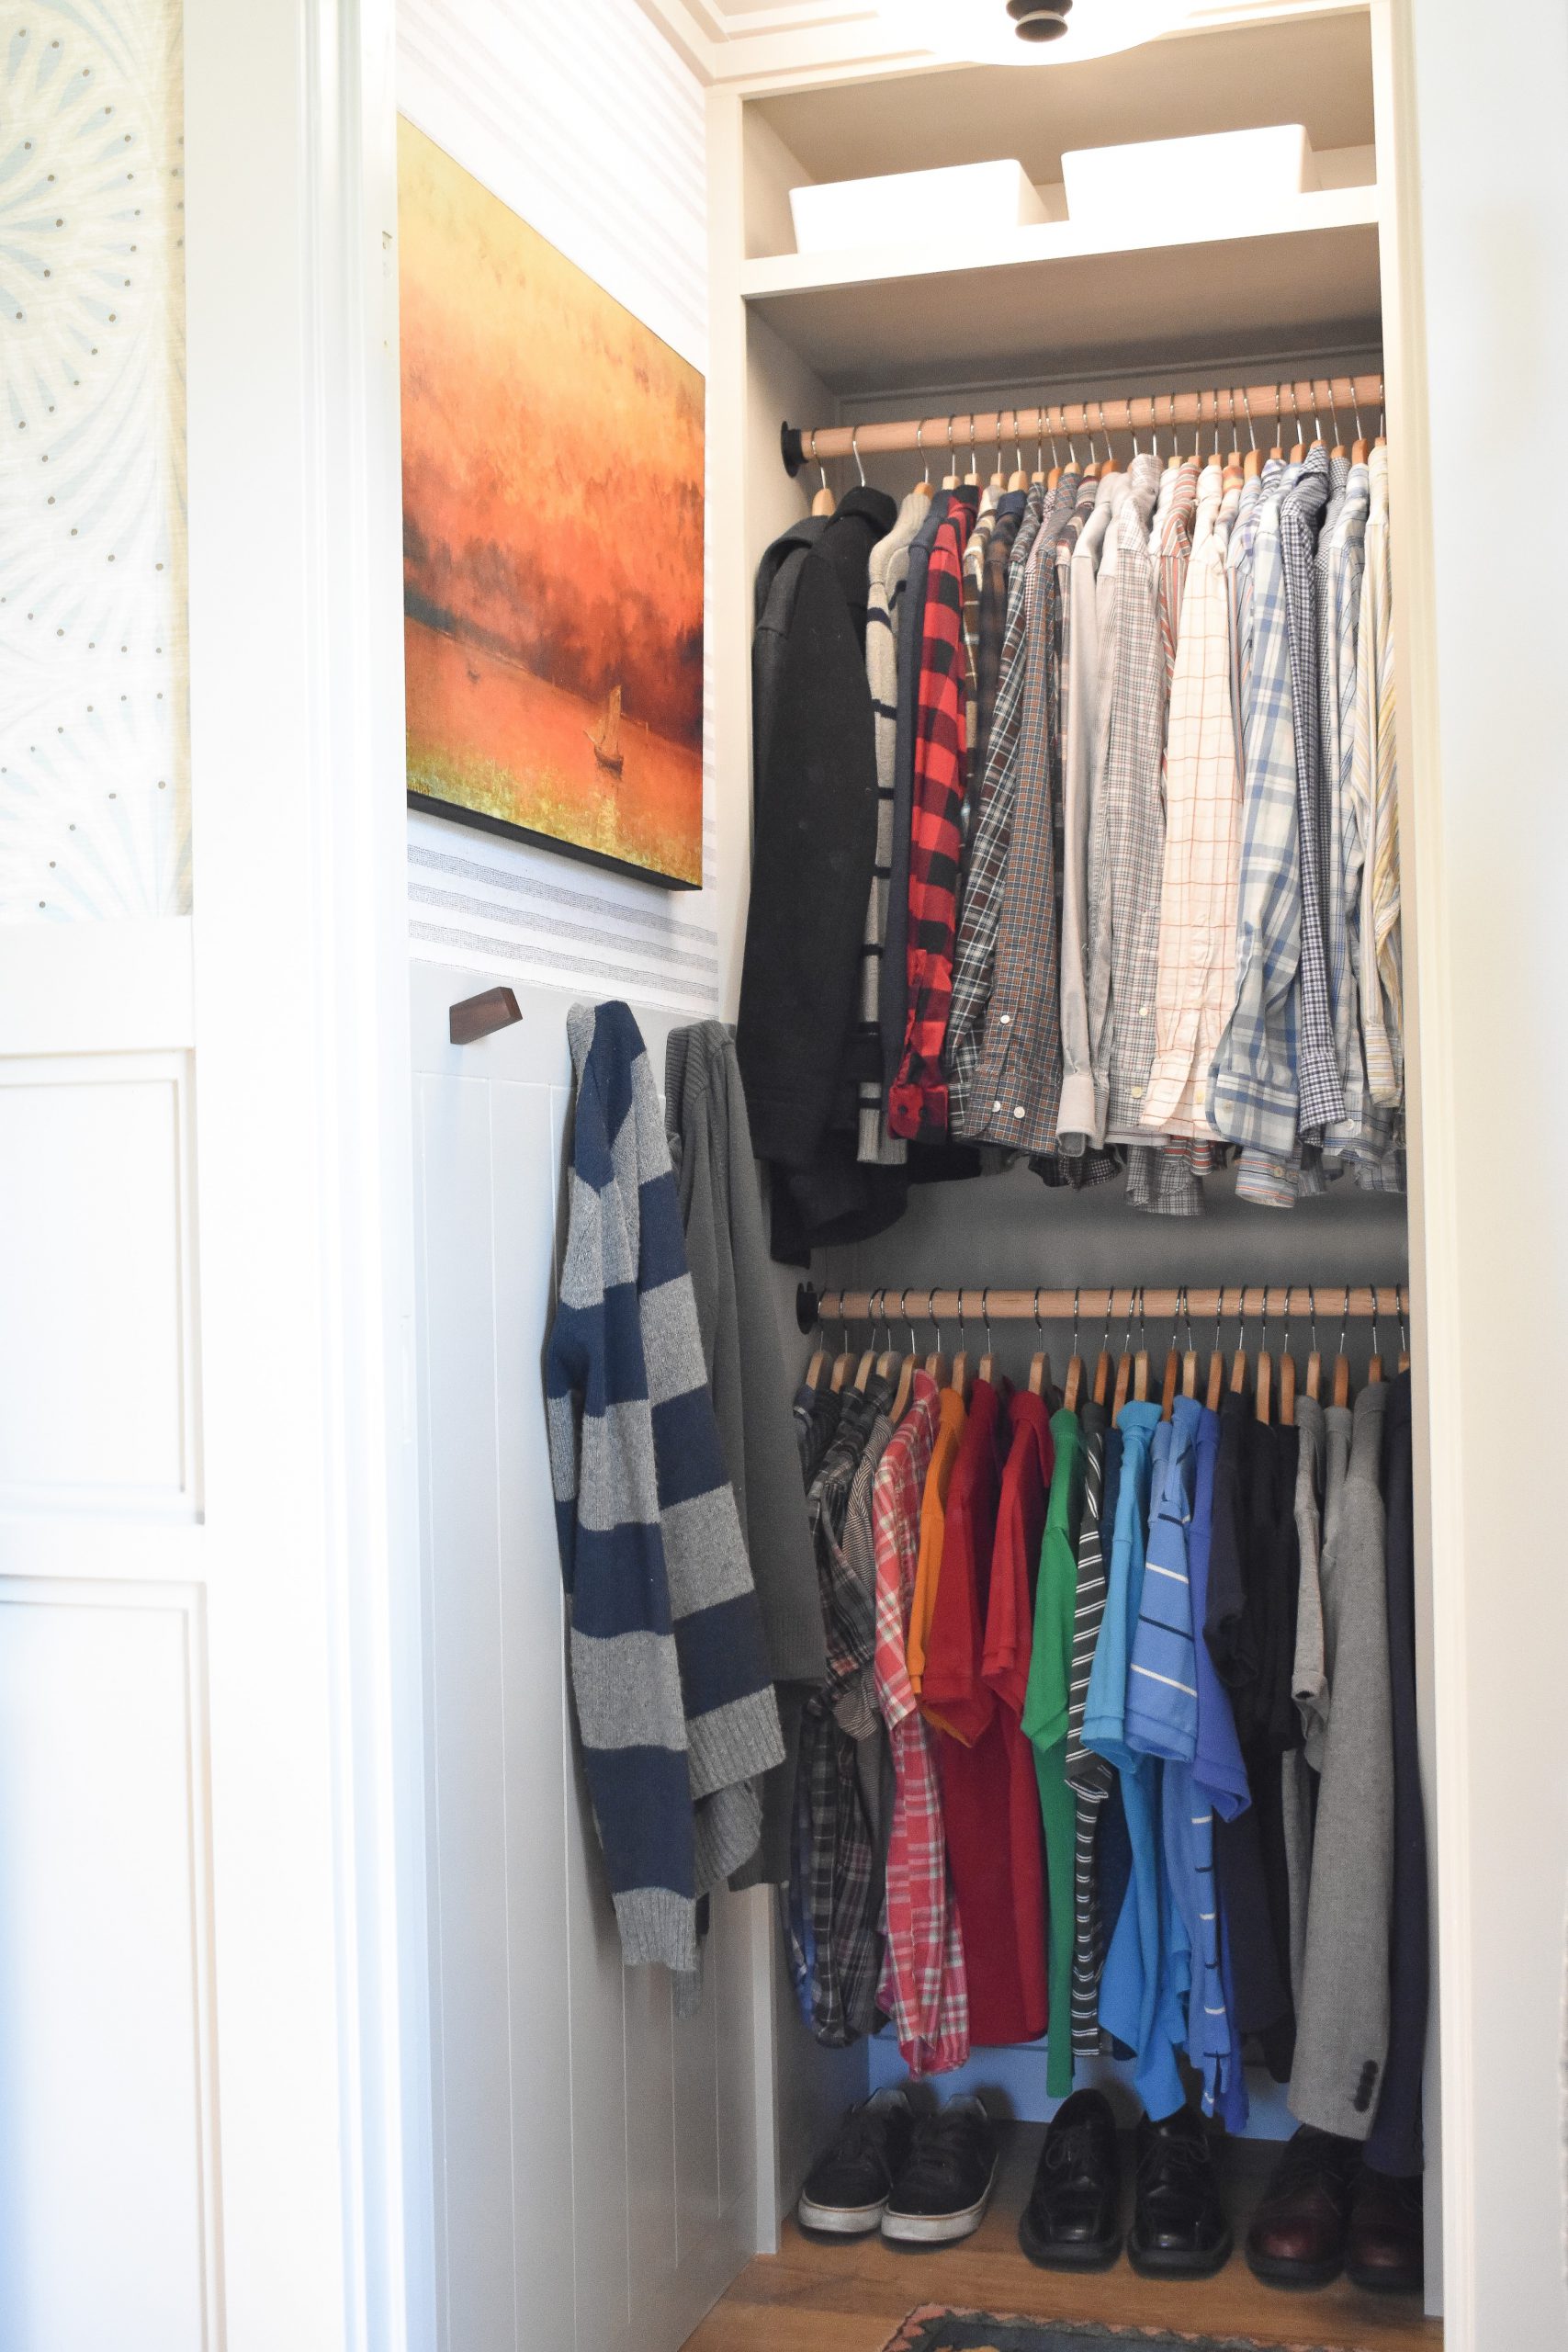
Function First – before I even get into picking out the fun stuff, I start with the basics and ask myself a few simple questions “What is the main purpose of this room? (in this case, I want to give my husband enough space for all of his stuff)” What is working in this room right now? (he has enough room to fit everything that needs to hang) What isn’t working right now? (he needs better drawer space and his current laundry hamper isn’t big enough) Are there any wish list items we could try to work in? (for example – I’m going to try to add a motion sensor to the light for dark mornings). The last thing I want to happen after all of my hard work is to end up with a space that still doesn’t function the way I need it to.
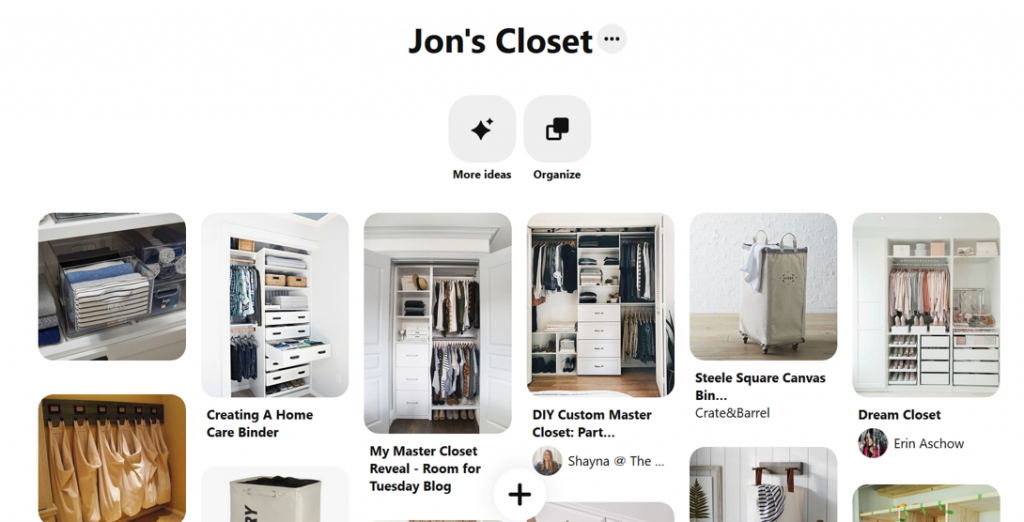
Start the Design – Sometimes I have a really clear picture what I want something to look like, and sometimes I start with nothing except a super vague idea and I have to go digging. Most of the time I start with Pinterest and PIN anything that jumps out to me until a concept starts to form. This could be one image that I fall in love with and decide to build the entire room around it, or it could seeing a recurring a trend in everything I’m posting and realizing that I’m drawn to one specific look. This is the by far the longest step — in this case it was a few days but usually I’m stuck in this phase for months. I keep going until I have no more hesitations and genuinely love every part of it. This doesn’t mean small things won’t change, but at this point I have enough of an idea to move on.
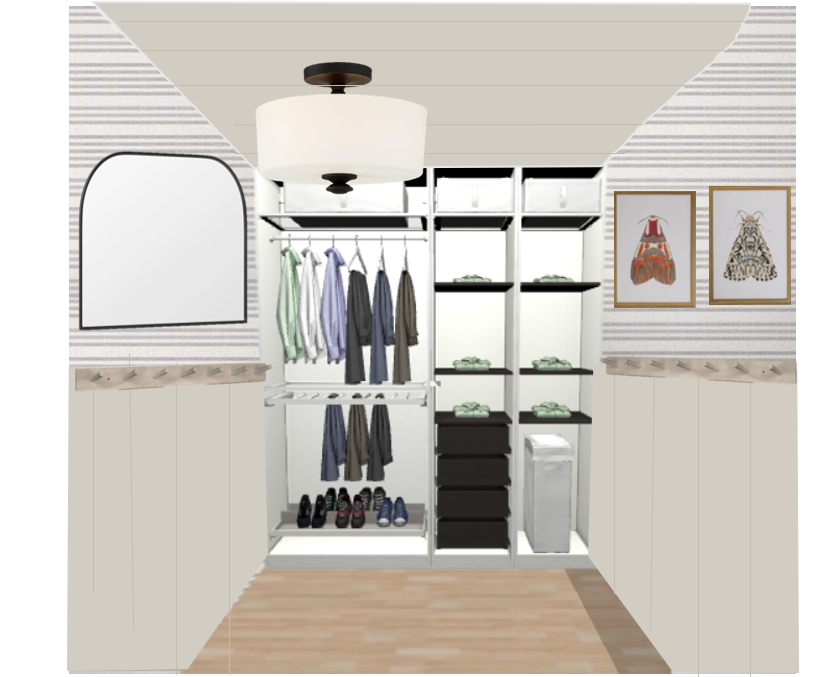
Finalize Choices – This is the point when I research and chose the materials for the space — things like paint color, wallpaper, tile, trim work. I’ll even decide on big purchases like rugs or light fixtures at this point. I like to create a pretty detailed mood board to make sure that all the pieces I’m picking up along the way are going to look good together because I’m never starting totally from scratch and always use things that I already have. Whenever I can, I order samples so I can see things in person before I commit.

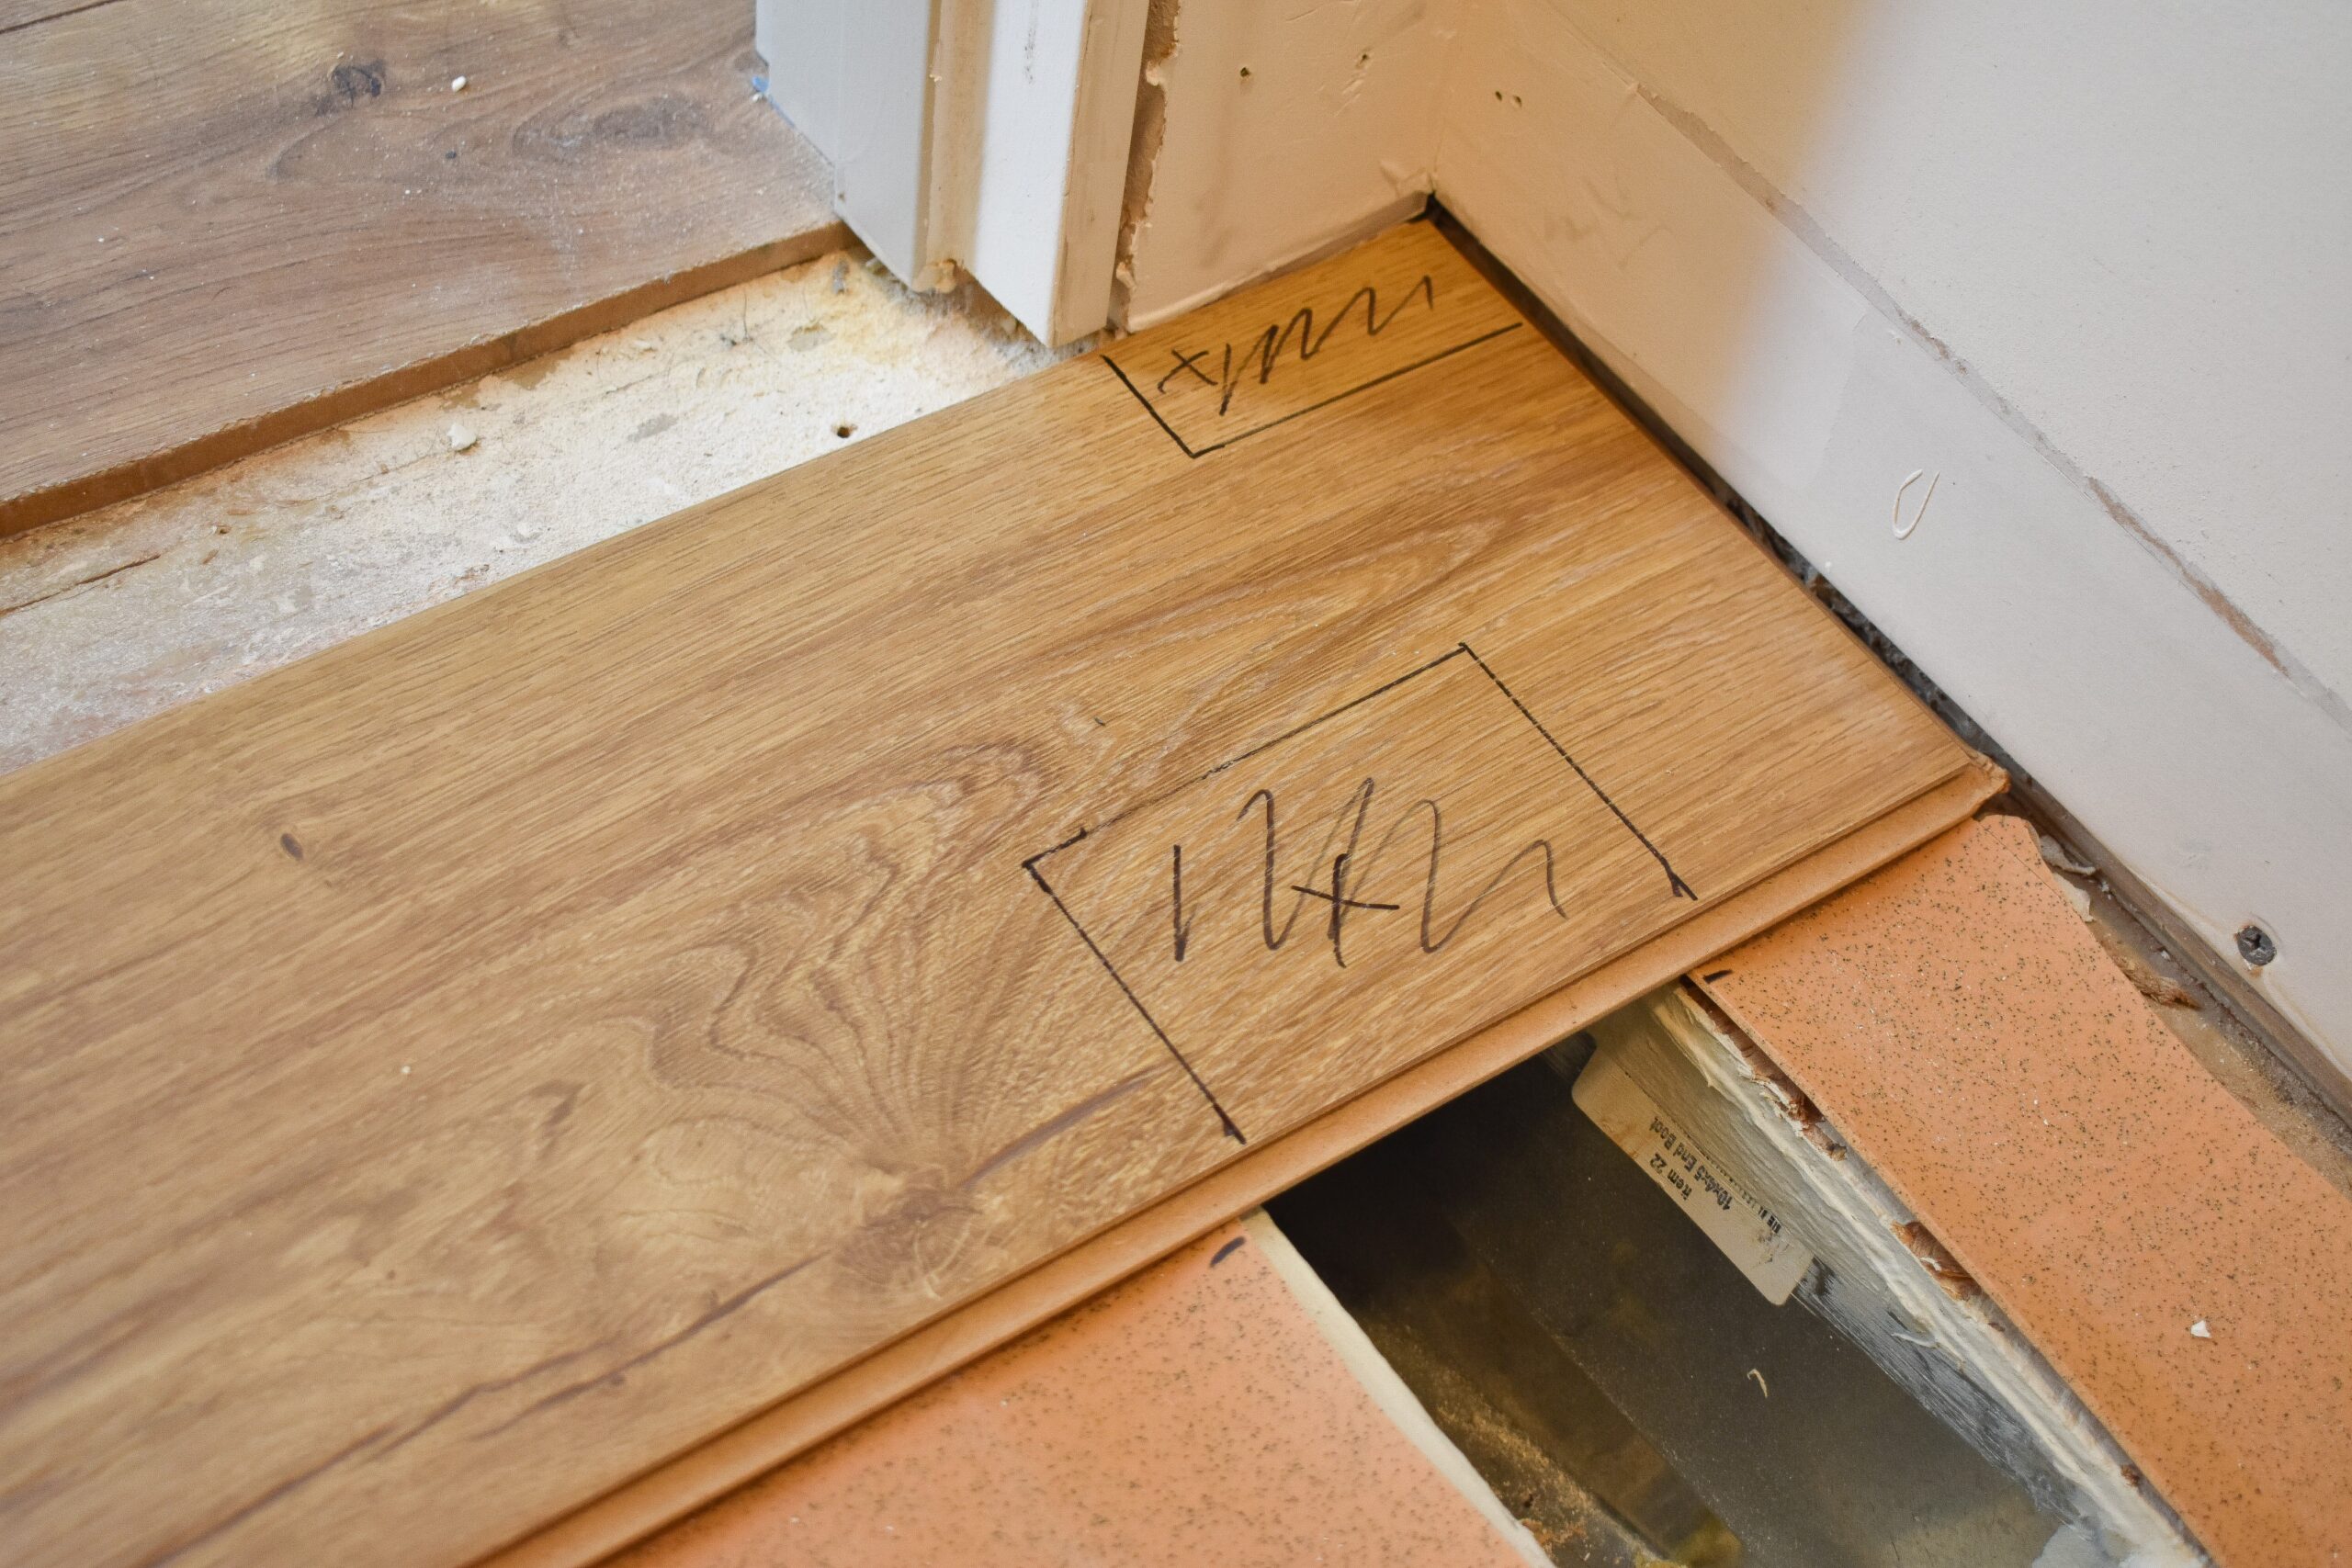
Take Measurements – If you’re planning on DIYing having good measurements is essential. It will tell you how much you need to order of each material, clue you in to any size constraints for products you need to order, and also help you figure work through any budget issues that may impact your design — maybe you can afford a more expensive tile because you don’t need that much of it, or maybe the wallpaper you want will be too expensive so you may want to switch to a stencil instead.
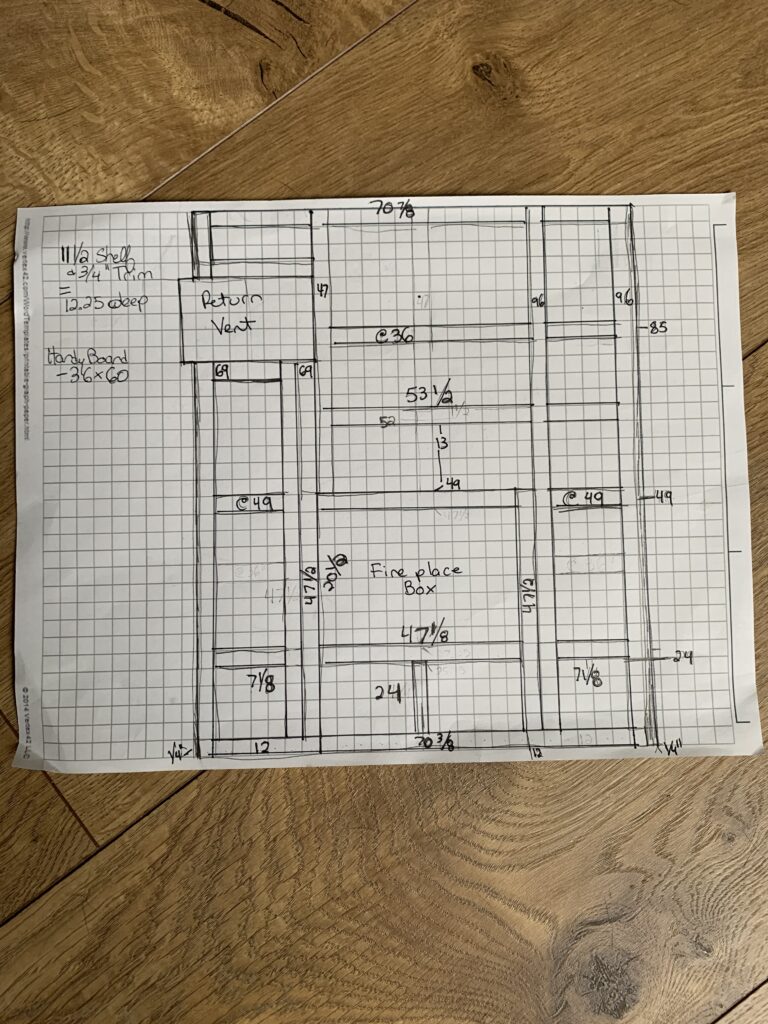
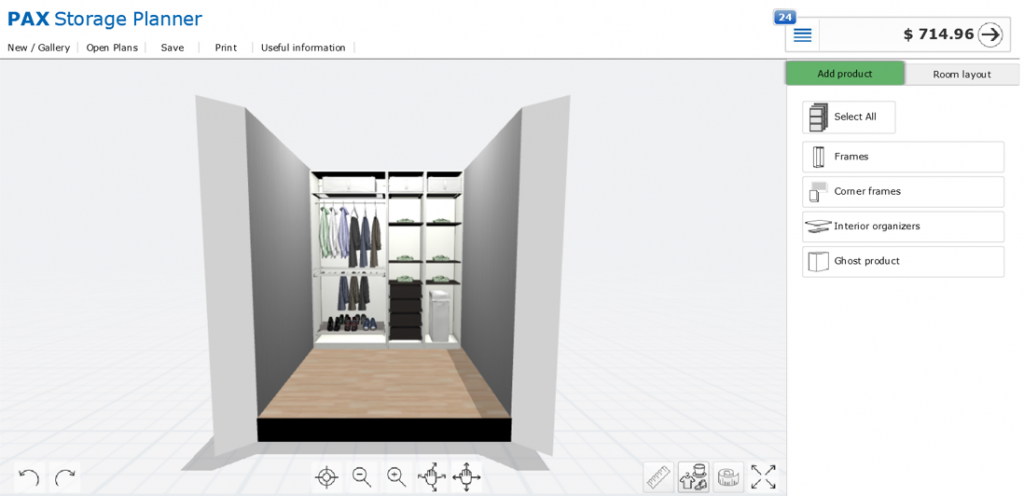
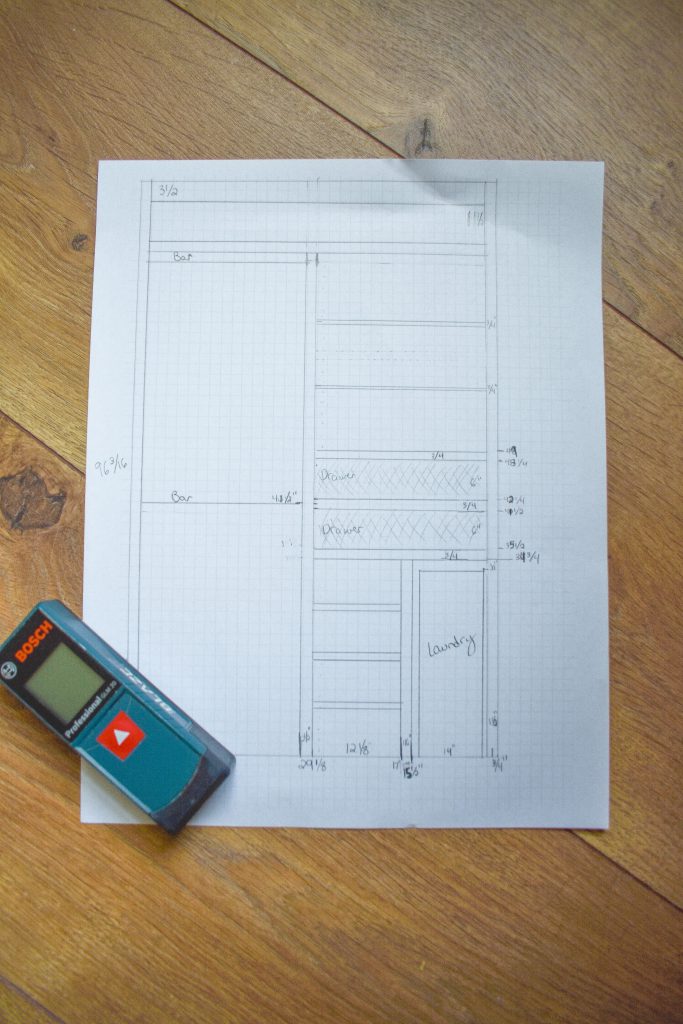
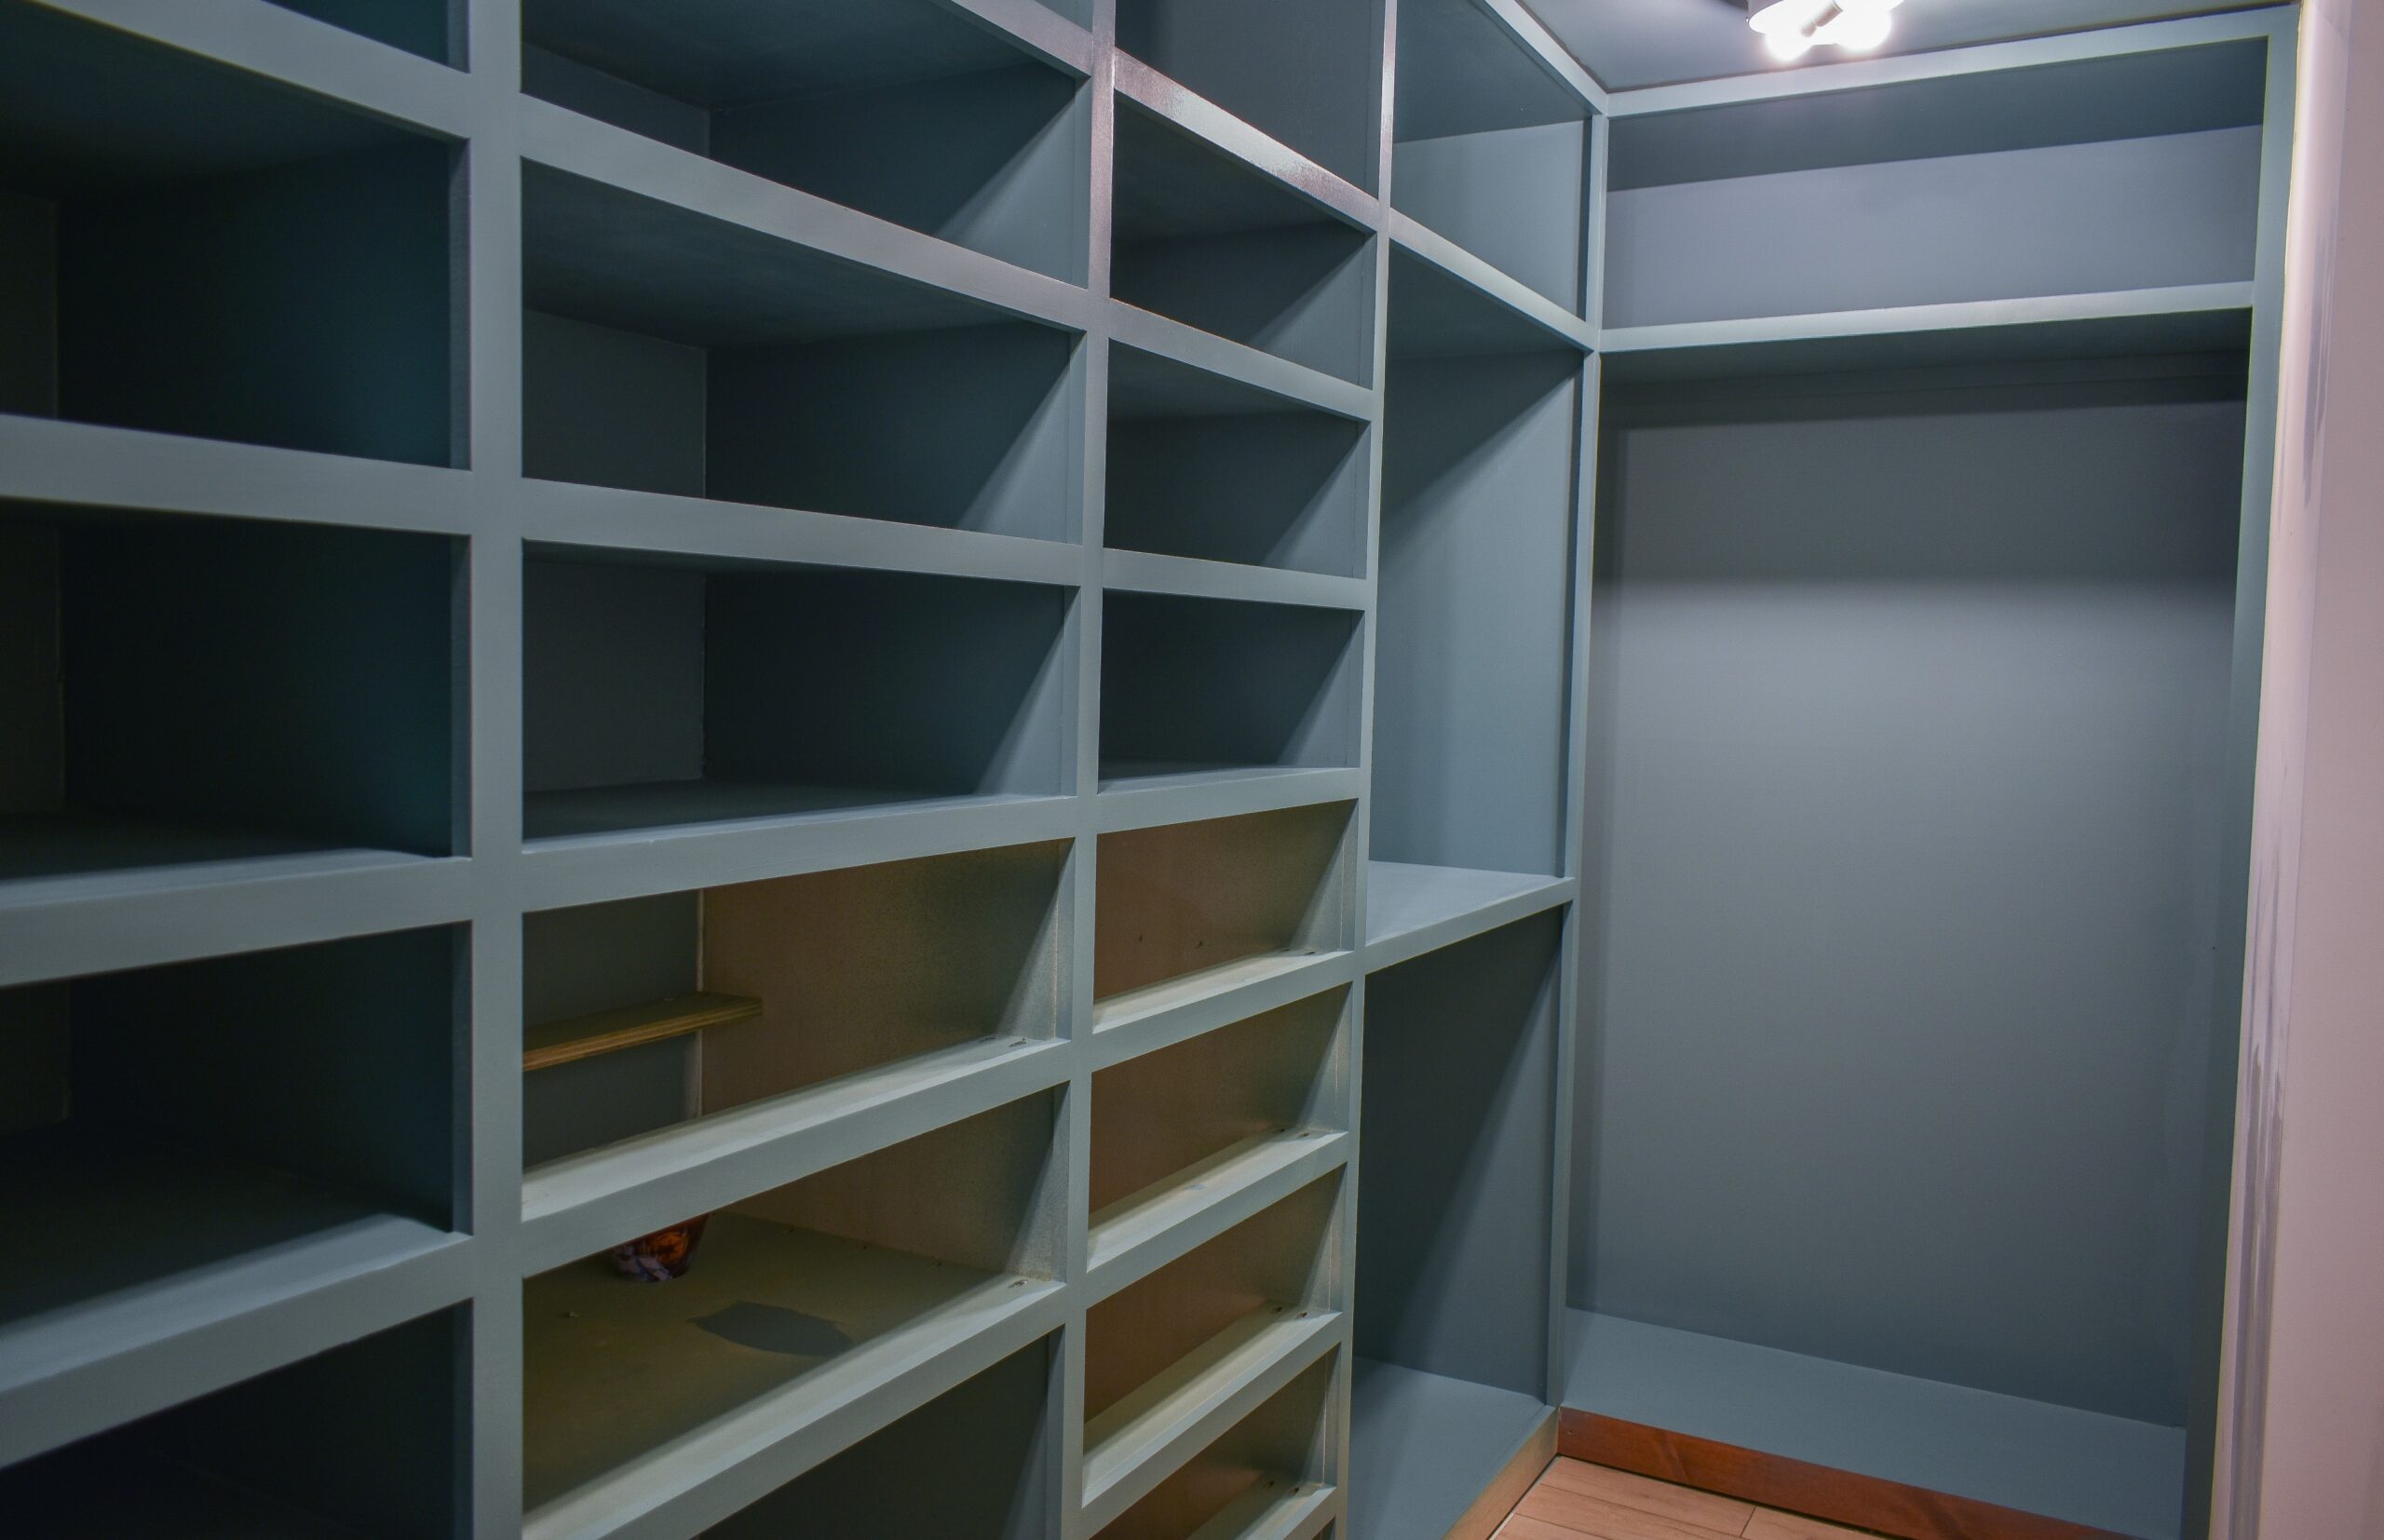
Plan out my Builds – Depending on the project I may do this step before I start or later on in the timeline, but whenever my plan involves a large built in build (like the custom cabinetry in this closet) I will draw out a more detailed schematic. Not only does this plan out my shopping list and figure out how expensive the project is going to be, it also helps me troubleshoot any potential issues. In this case I’ve already made an adjustment and decided to change the size and position of the drawers when I realized they’d be too small. I’ll measure this project a hundred more times as I build, but this sketch is essential to get off to a good start.
Hopefully by the time I’m posting this Blog on Wednesday night I’ll at least have the floors installed and be ready to start building the aforementioned cabinets because as much as I joke about being behind, I will really be in trouble if I don’t get a move on! Until then, go visit the other One Room Challenge guest participants blogs to see how much further along they are then me and wish me luck going into week 3.
(Some of the links included in this post are affiliate links, meaning, at no additional cost to you, I will earn a commission if you click through and make a purchase)
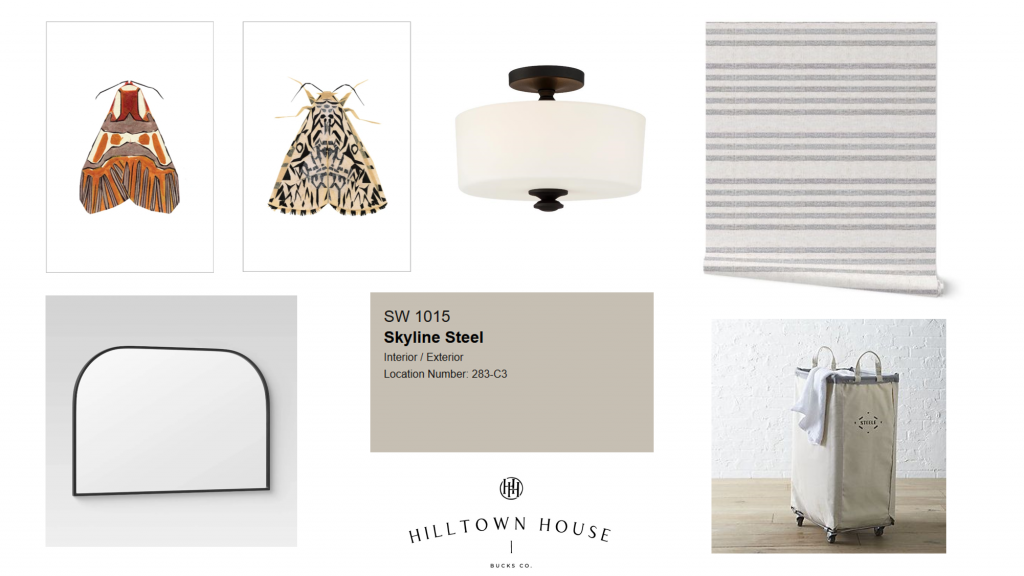
- Juniper Print Shop MOTH I print / MOTH II print
- Crystorama Travis Ceiling Mount
- Spoonflower Wallpaper
- Target Mantel Mirror
- Sherwin Williams Skyline Steel
- Steele Vertical Canvas Laundry Bin

Thank you to Crystorama for sponsoring this amazing light fixture for me to use in this space.

BETTER HOMES & GARDENS IS THE OFFICIAL MEDIA PARTNER OF THE ORC!

The Fall 2020 One Room Challenge® is sponsored by High Point Market

With Color Impact Partner

very cool Lindsey! always love your sketch and how you are going to make the closet feels so much larger and functional! I am doing an ikea hack with pax too 🙂
I love your plans for this closet! Something about a pretty space and organization that gets me every time!
Love all the detail! Love the PAX system and all the little details for your space! It is going to be so beautiful!