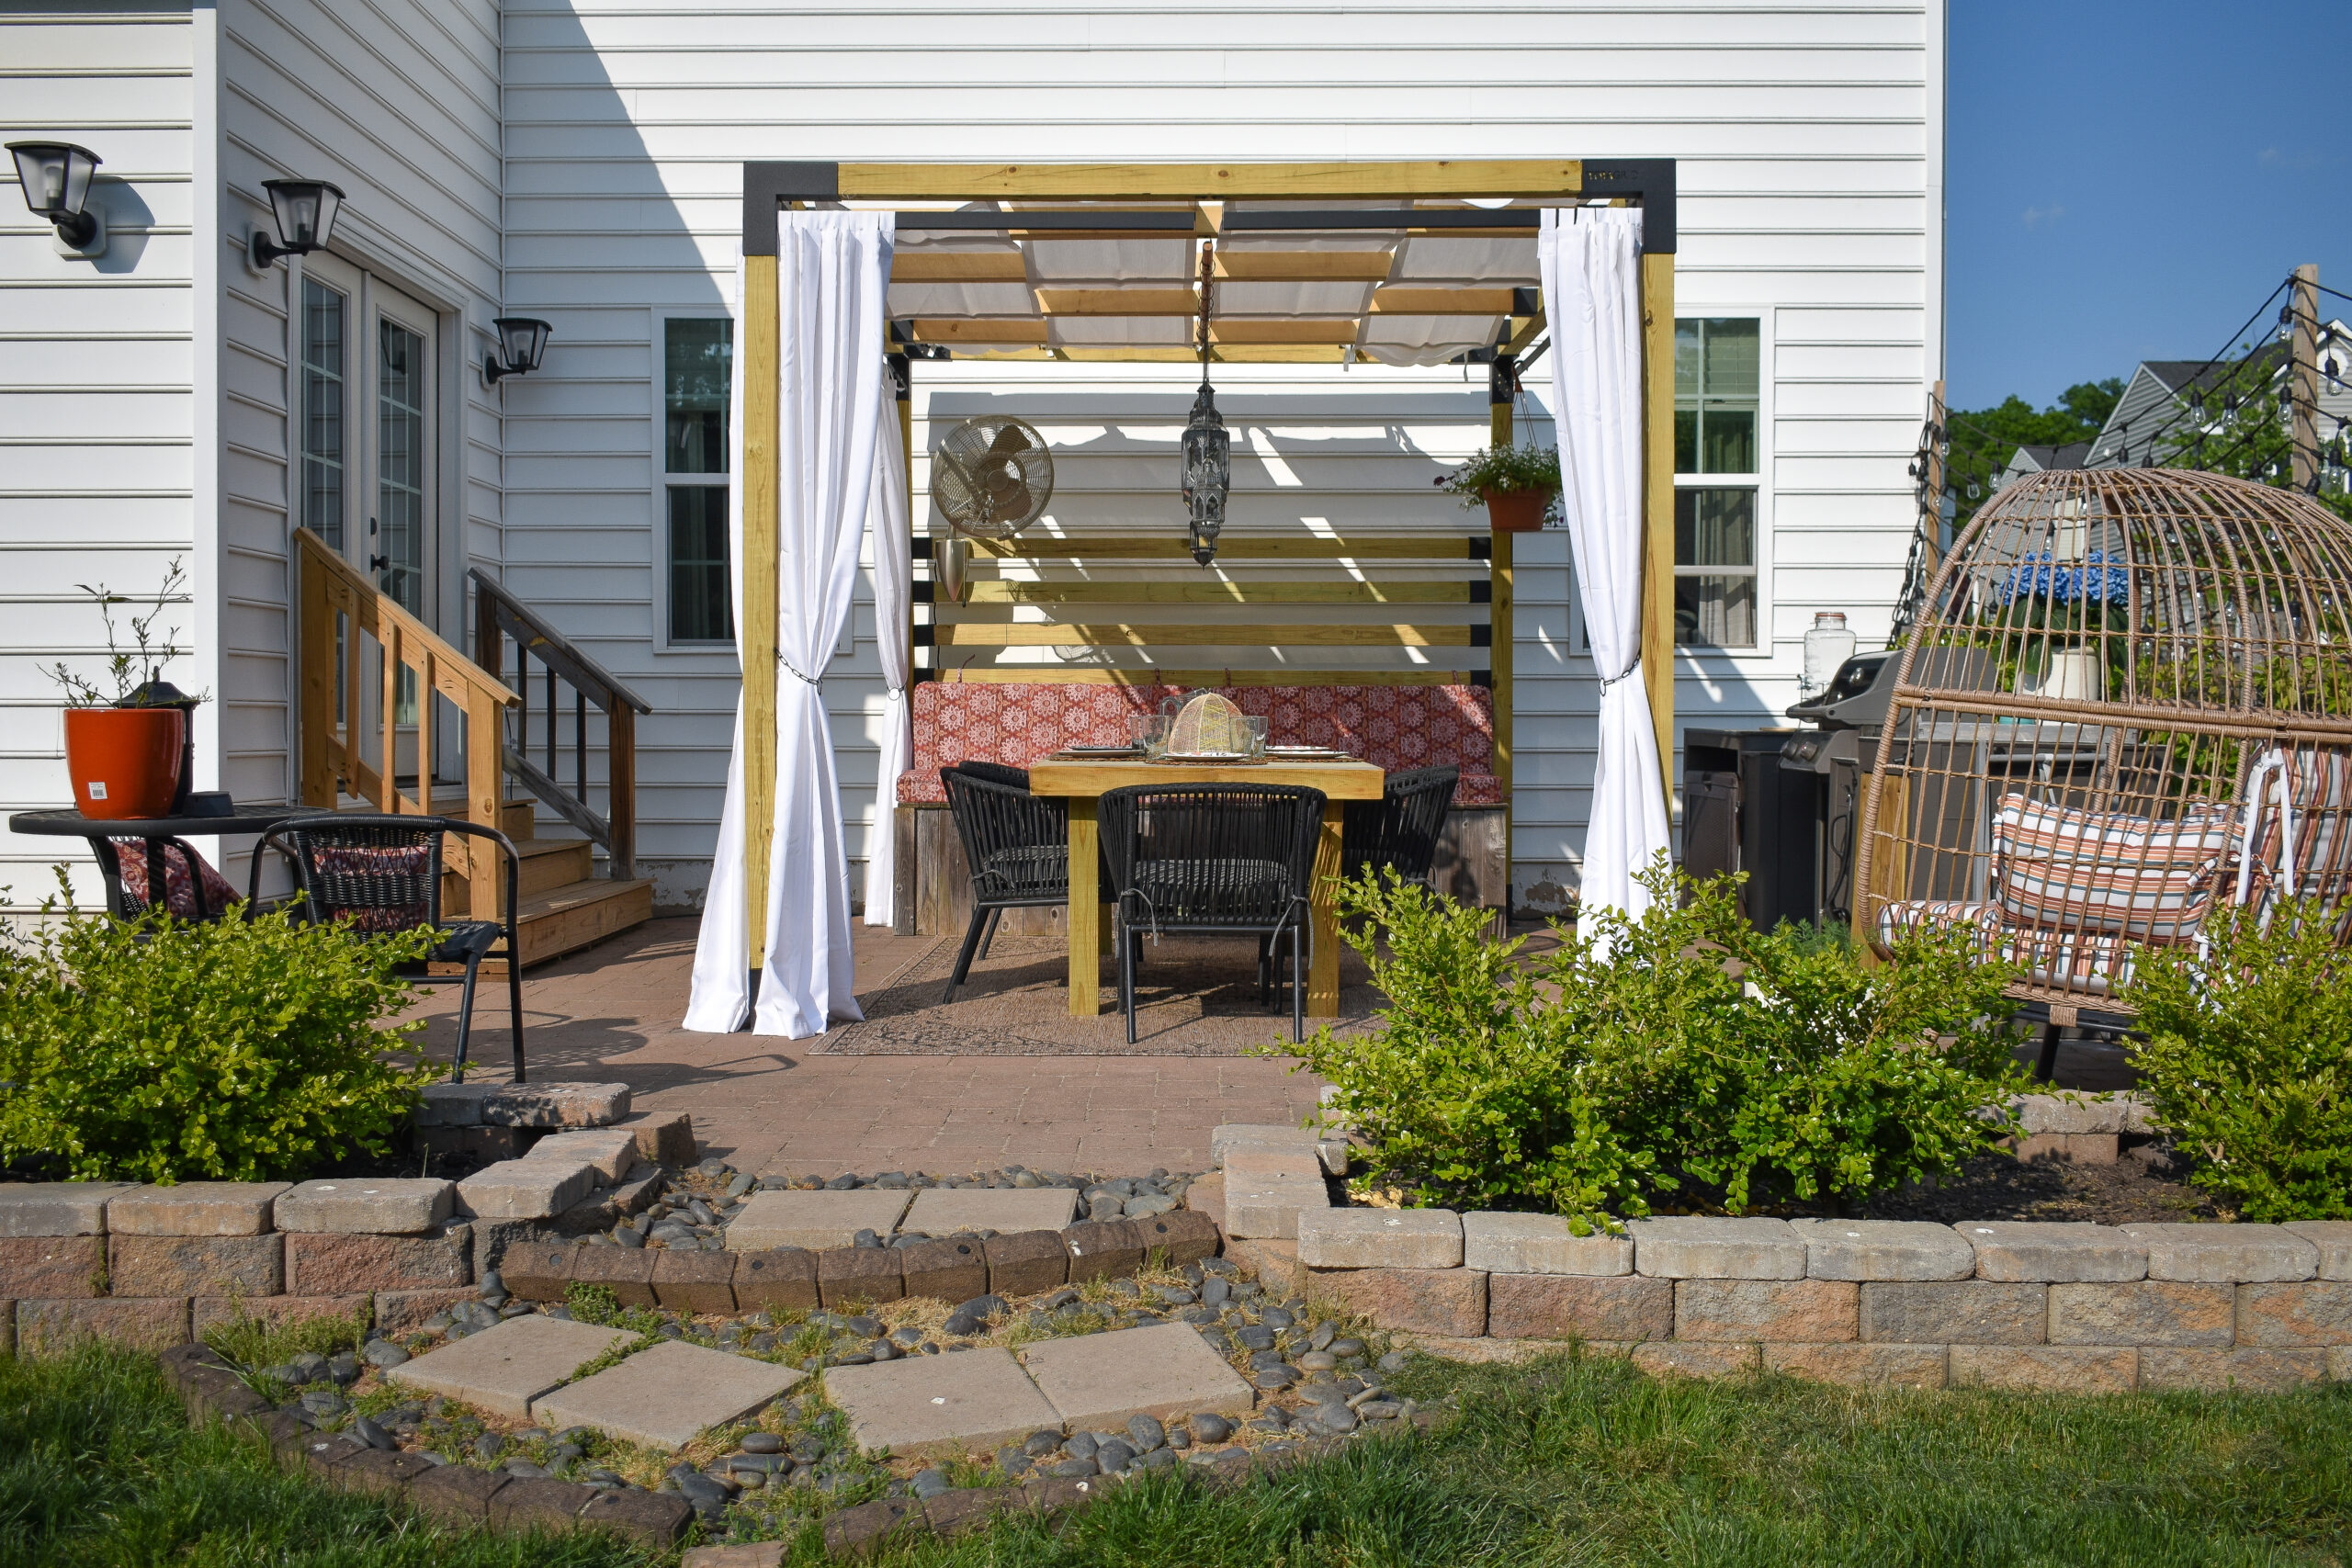
So this week I learned that at least my new pergola is going to stand up to lots of rain and wind! Good for the mind, not so good for the table I’m trying to build.
Week 1 / Week 2 / Week 3 / Week 4 / Week 5 / Week 6 / Week 7 / Week 8
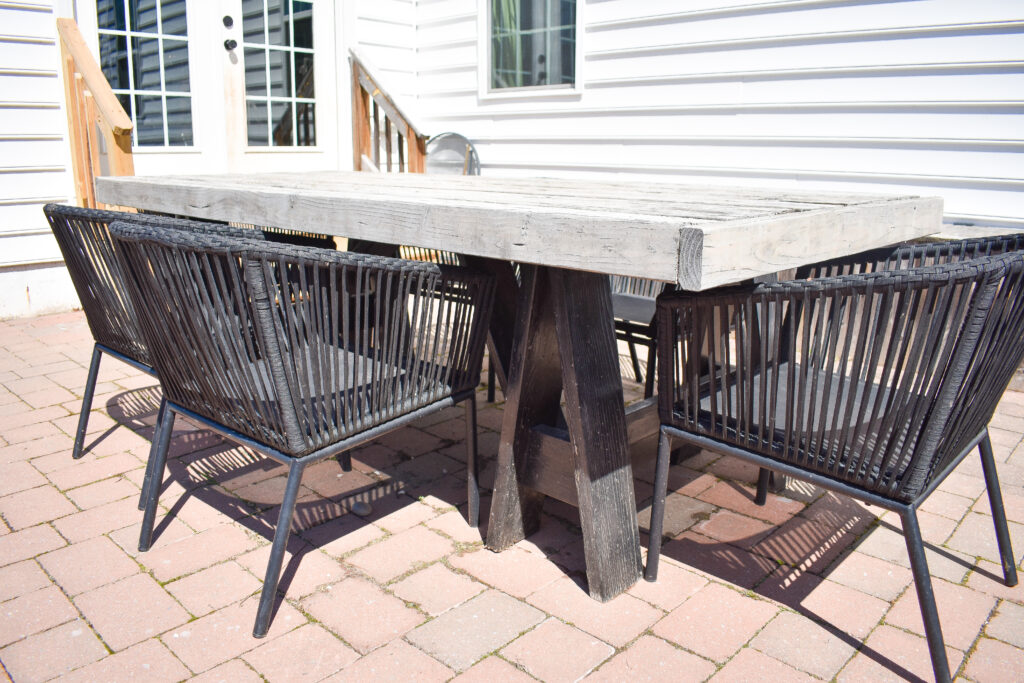
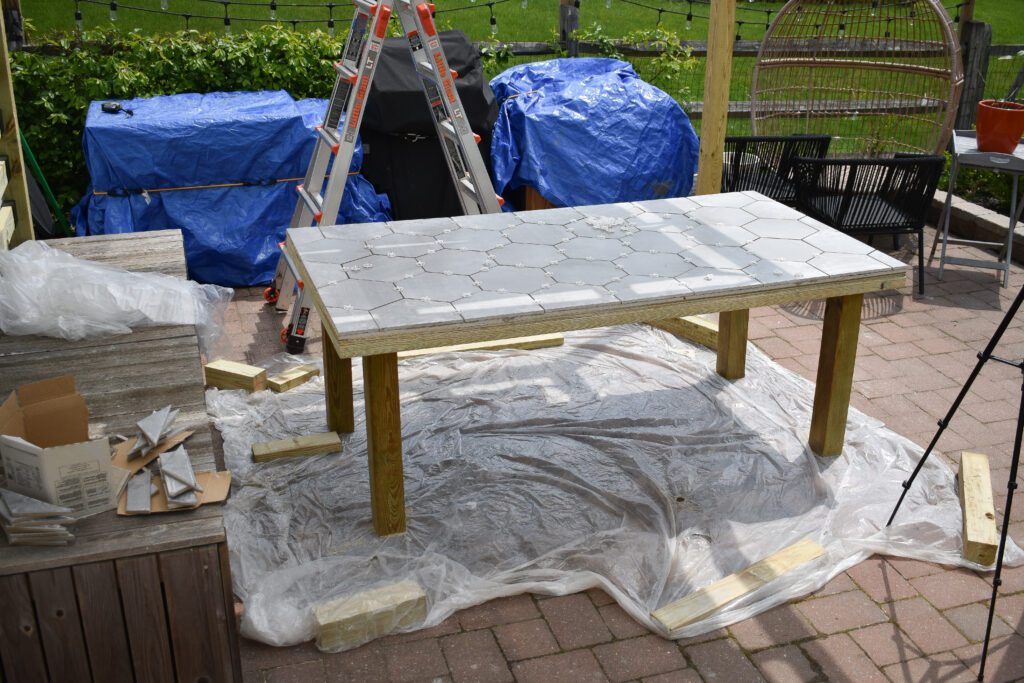
Originally I only planned to replace the top of the old table because the legs had held up extremely well – but I changed my mind and decided to build a brand new one because I wanted to make it a bit smaller and as much as I like the style of the sawhorse legs they made it really difficult for the chairs to fit comfortably between them.
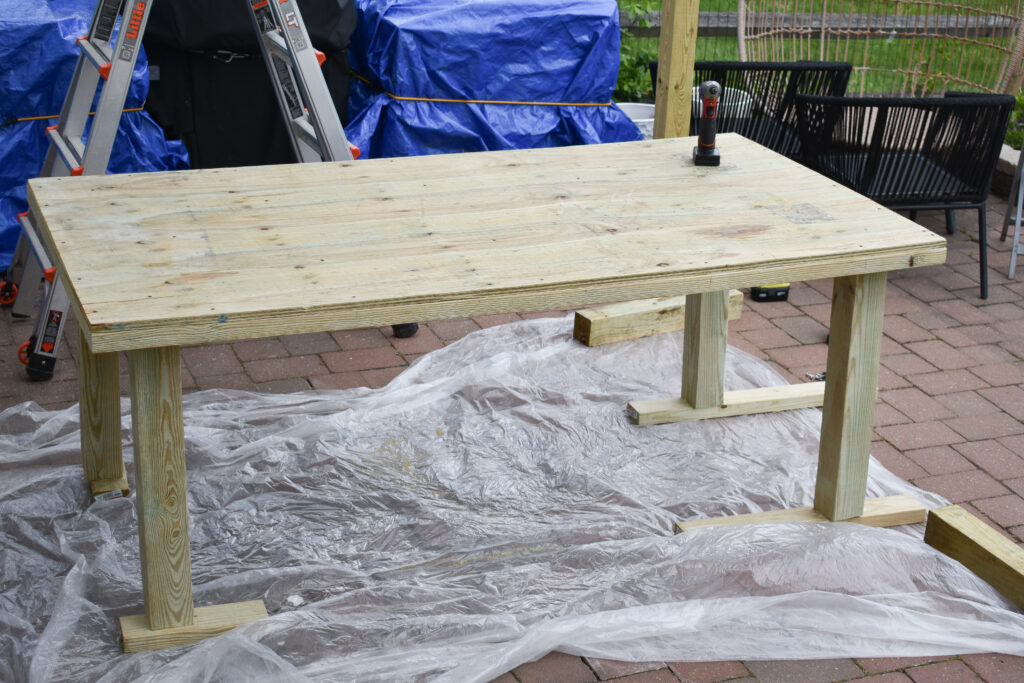
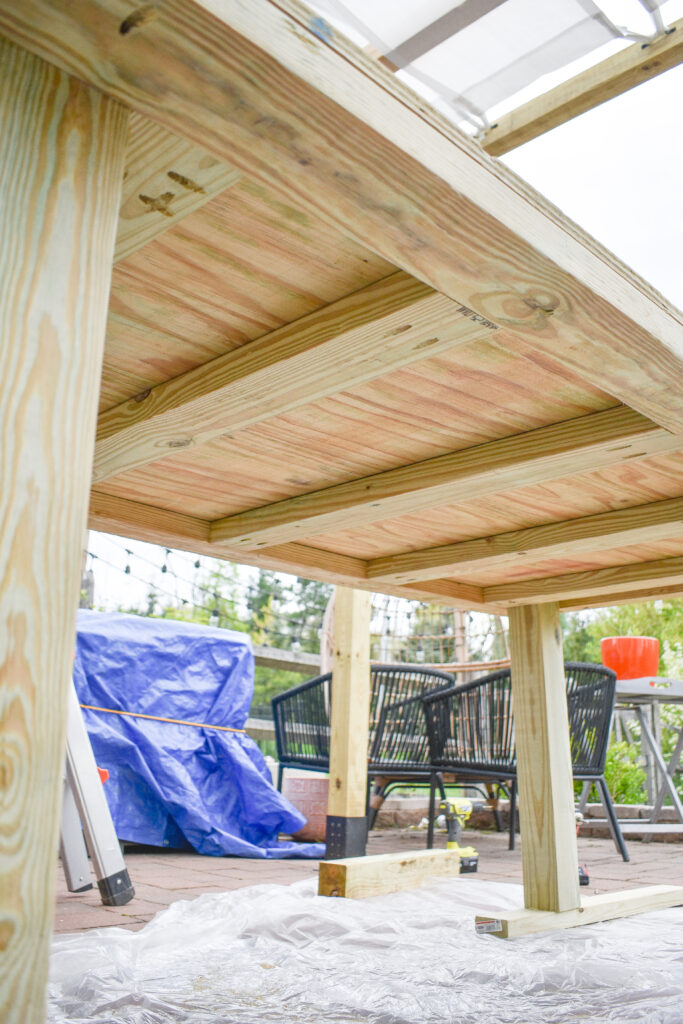
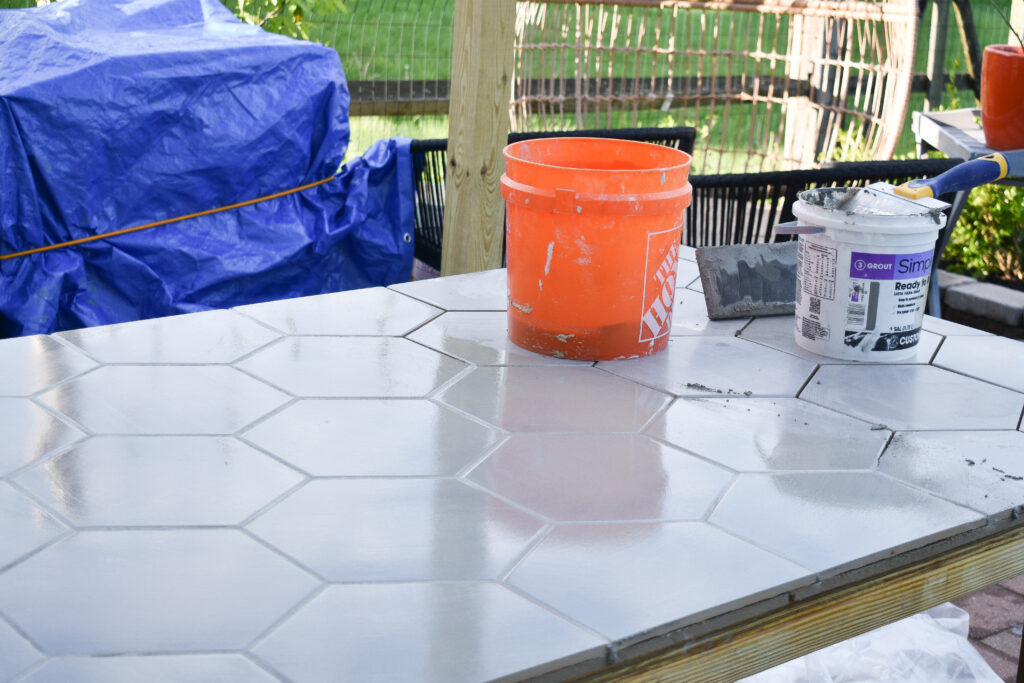
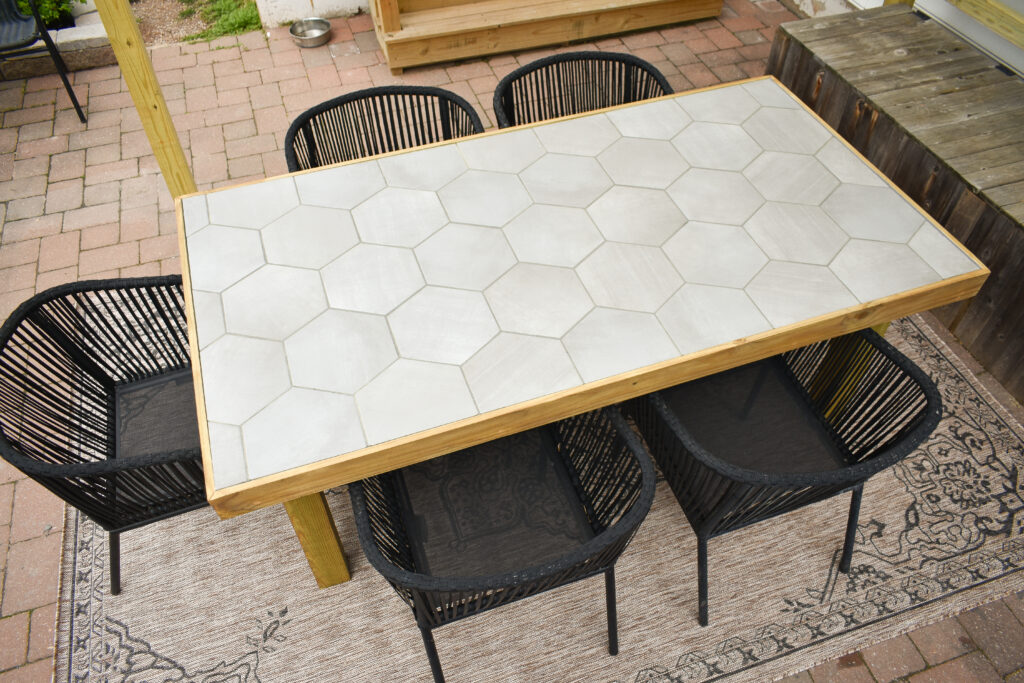
Instead I built a super simple straight leg frame that fits perfectly under the new pergola, and I prepped for a new top made out of the same tile as the grill cabinets. I’m hoping that the tile will hold up much better to the elements than the wooden one – and I really love having more of the honeycomb pattern on the patio.
Almost every one of my ORCs has involved some sort of tiling project so I thought this was a good time to share some simple Do’s and Don’ts I’ve collected over the years for anyone who has thought about adding tiling to their DIY toolbox:

- Do take your time to prep correctly – make sure your underlayment is level, secure, and your screws are not sticking out of the backer board and tape all of your seams with mesh tape.
- Don’t mix too much of your mortar or grout; start with a very small amount of water (think 1/2 a cup at most) and slowly add in your dry powder, adding a small amount of more water if needed. You want a consistency that looks like a Wendy’s frosty.
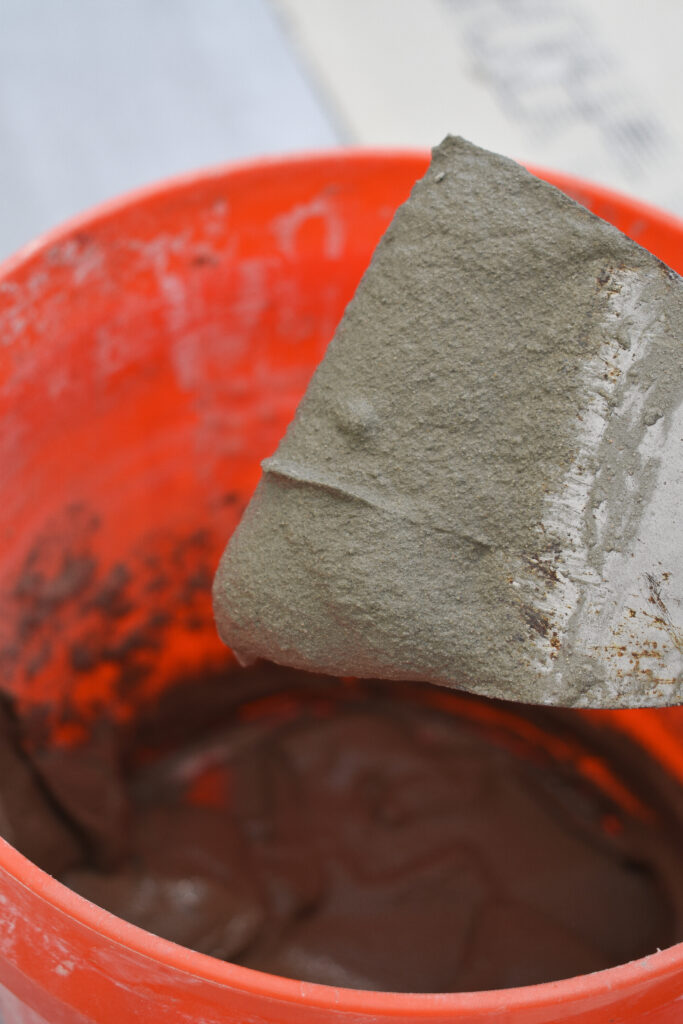
- Do only mix up a small amount of mortar or grout at a time especially when you’re first starting out. It will dry out if you don’t use it fast enough and then you’ll be out money & time & have a big mess on your hands.
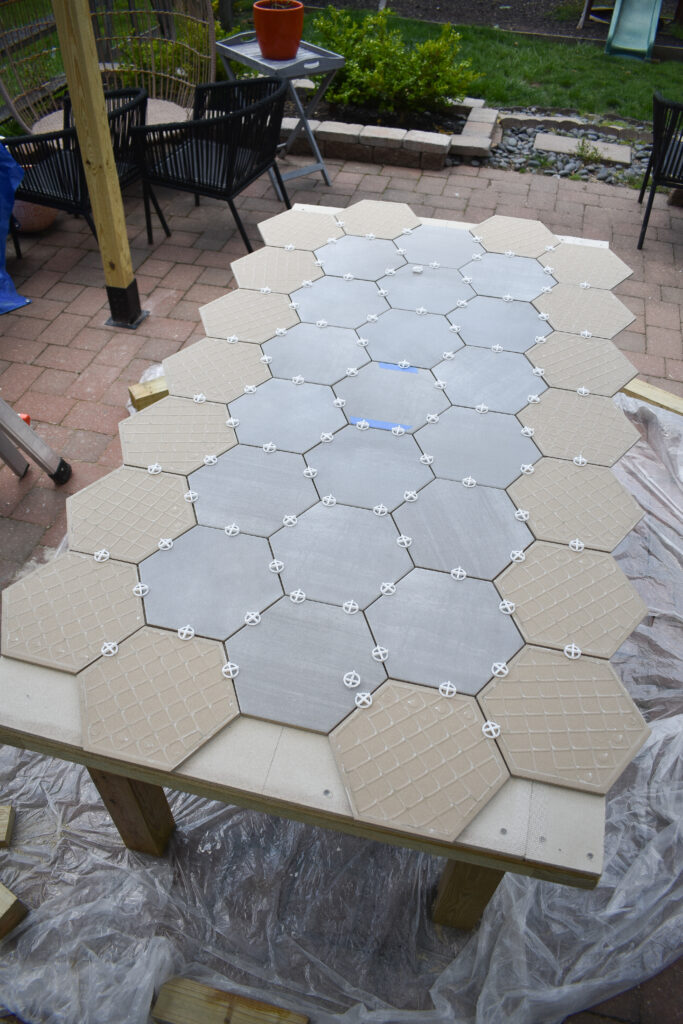
- Do lay out and cut your tile ahead of time; you can troubleshoot any tough cuts and then adhere it very quickly.
- Do rent or invest in a good tile saw if you tackling a big job. I bought this one years ago and it was well worth it.
- Don’t skimp on the mortar or thinset. The entire back of the tile should be coated and should be difficult to remove once you lay it in place.
- Do clean up any stray adhesive from your tile surface before you grout or the grout will stick to it, along with cleaning out any excess adhesive in the gaps between your tile.
- Do protect your work area; tiling is really messy and not super easy to clean up so cover up anything that your materials may touch — including yourself.
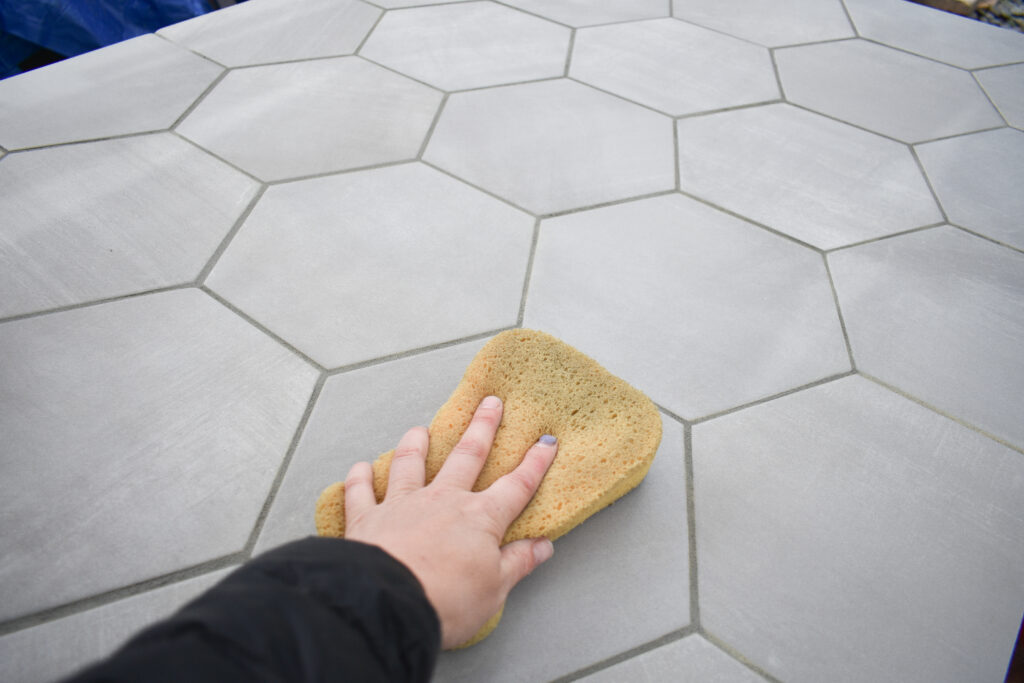
- Don’t over wash your grout. Use a just damp CLEAN sponge and wash it off in phases. I do my final clean with a piece of cheese cloth to remove the last layer of grout haze.
- Don’t be afraid to give it a try! Start with a small project — my first two projects were a fireplace surround and a kitchen backsplash – find a few how to guides that you can follow (YHL has a lot of easy to follow how tos) and go slow.
With this – my 4 big patio projects are about 95% done with the last 5% being final touch ups that can wait for a sunny and warm weekend (seriously can we please have a sunny and warm weekend soon?) but for now I’m gonna start turning my attention to the details that are really going to give this space some personality!
A big thank you to my sponsors this ORC – Kichler Lighting and Toja Grid.

If you’ve been thinking about adding your own DIY Pergola make sure you check out all of the options from TOJA GRID and use my code HILLTOWN to get 10% off. Not only do they have Pergola kits, they also have furniture, tons of cool accessories for your backyard and patio, and some really fun options like hammocks and ice skating rinks!
And don’t forget to check out what all the other featured and guest participants are up to each week on the One Room Challenge blog!