
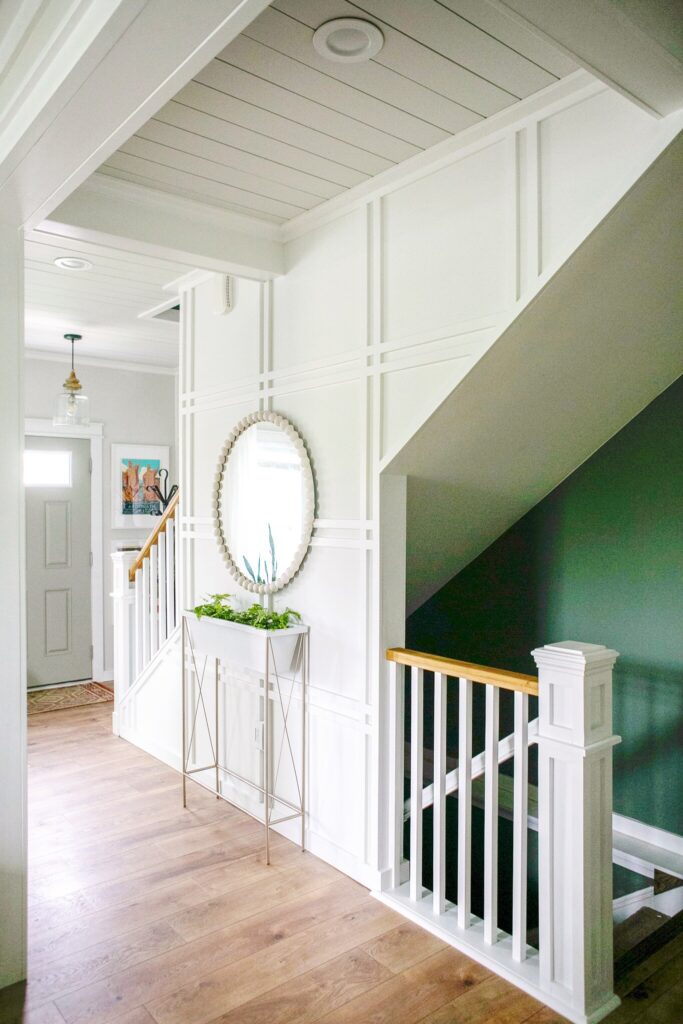
I don’t write a lot of in depth tutorials, but there were a lot of asks for a break down of how I created the plaid feature wall in my entry, and as always I am here to help. To make things easier I tried to name some of the parts of the project I refer to over and over again, and you will find them in CAPS throughout. In this project, the installation is relatively easy, but the planning is more involved. I tried to break things down as best I could and included some (hopefully) helpful diagrams to illustrate things further as well as some progress pics so you can see how things came together.
(Disclosure: Some of the links in this post are affiliate links, meaning, at no additional cost to you, I will earn a commission if you click through and make a purchase)
Figure out Your Measurements
Before planning out the spacing, you’ll want to figure out some measurements. First, the width of each STRIPE, which will be the width of the trim you are using. I used 1×2 pre-primed MDF, which meant the that the width of each piece/stripe was 1 1/2″. Next, the width of each SPACE between each STRIPE. To make my life easier, I decided to keep the SPACE in between each STRIPE the same width as well (you’ll see how much easier that makes things in a later step. Finally, the width of the DESIGN, which consists of two STRIPES and one SPACE. While you’re at it, go ahead and figure out what half of the width of the DESIGN is because you’ll need that as well. For me, my measurements looks like this:
STRIPE = 1 1/2″
SPACE = 1 1/2″
DESIGN = 4 1/2″ (1 1/2″+1 1/2″+1 1/2″)
1/2 OF THE DESIGN = 2 1/4″ (4 1/2″ divided by 2)
![]()
Lay Out your Spacing
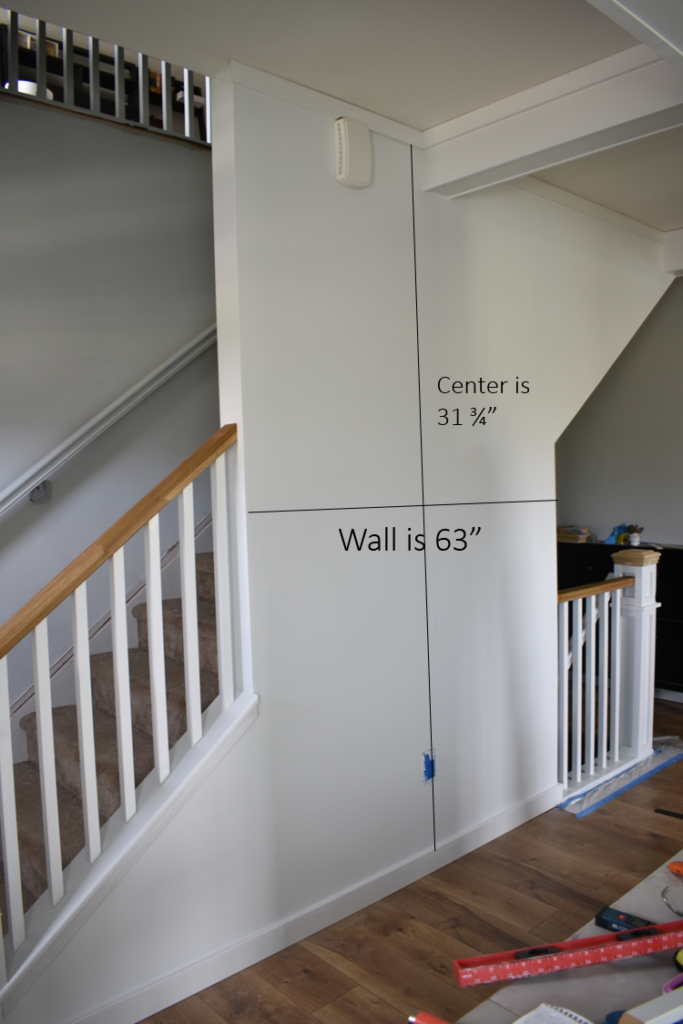
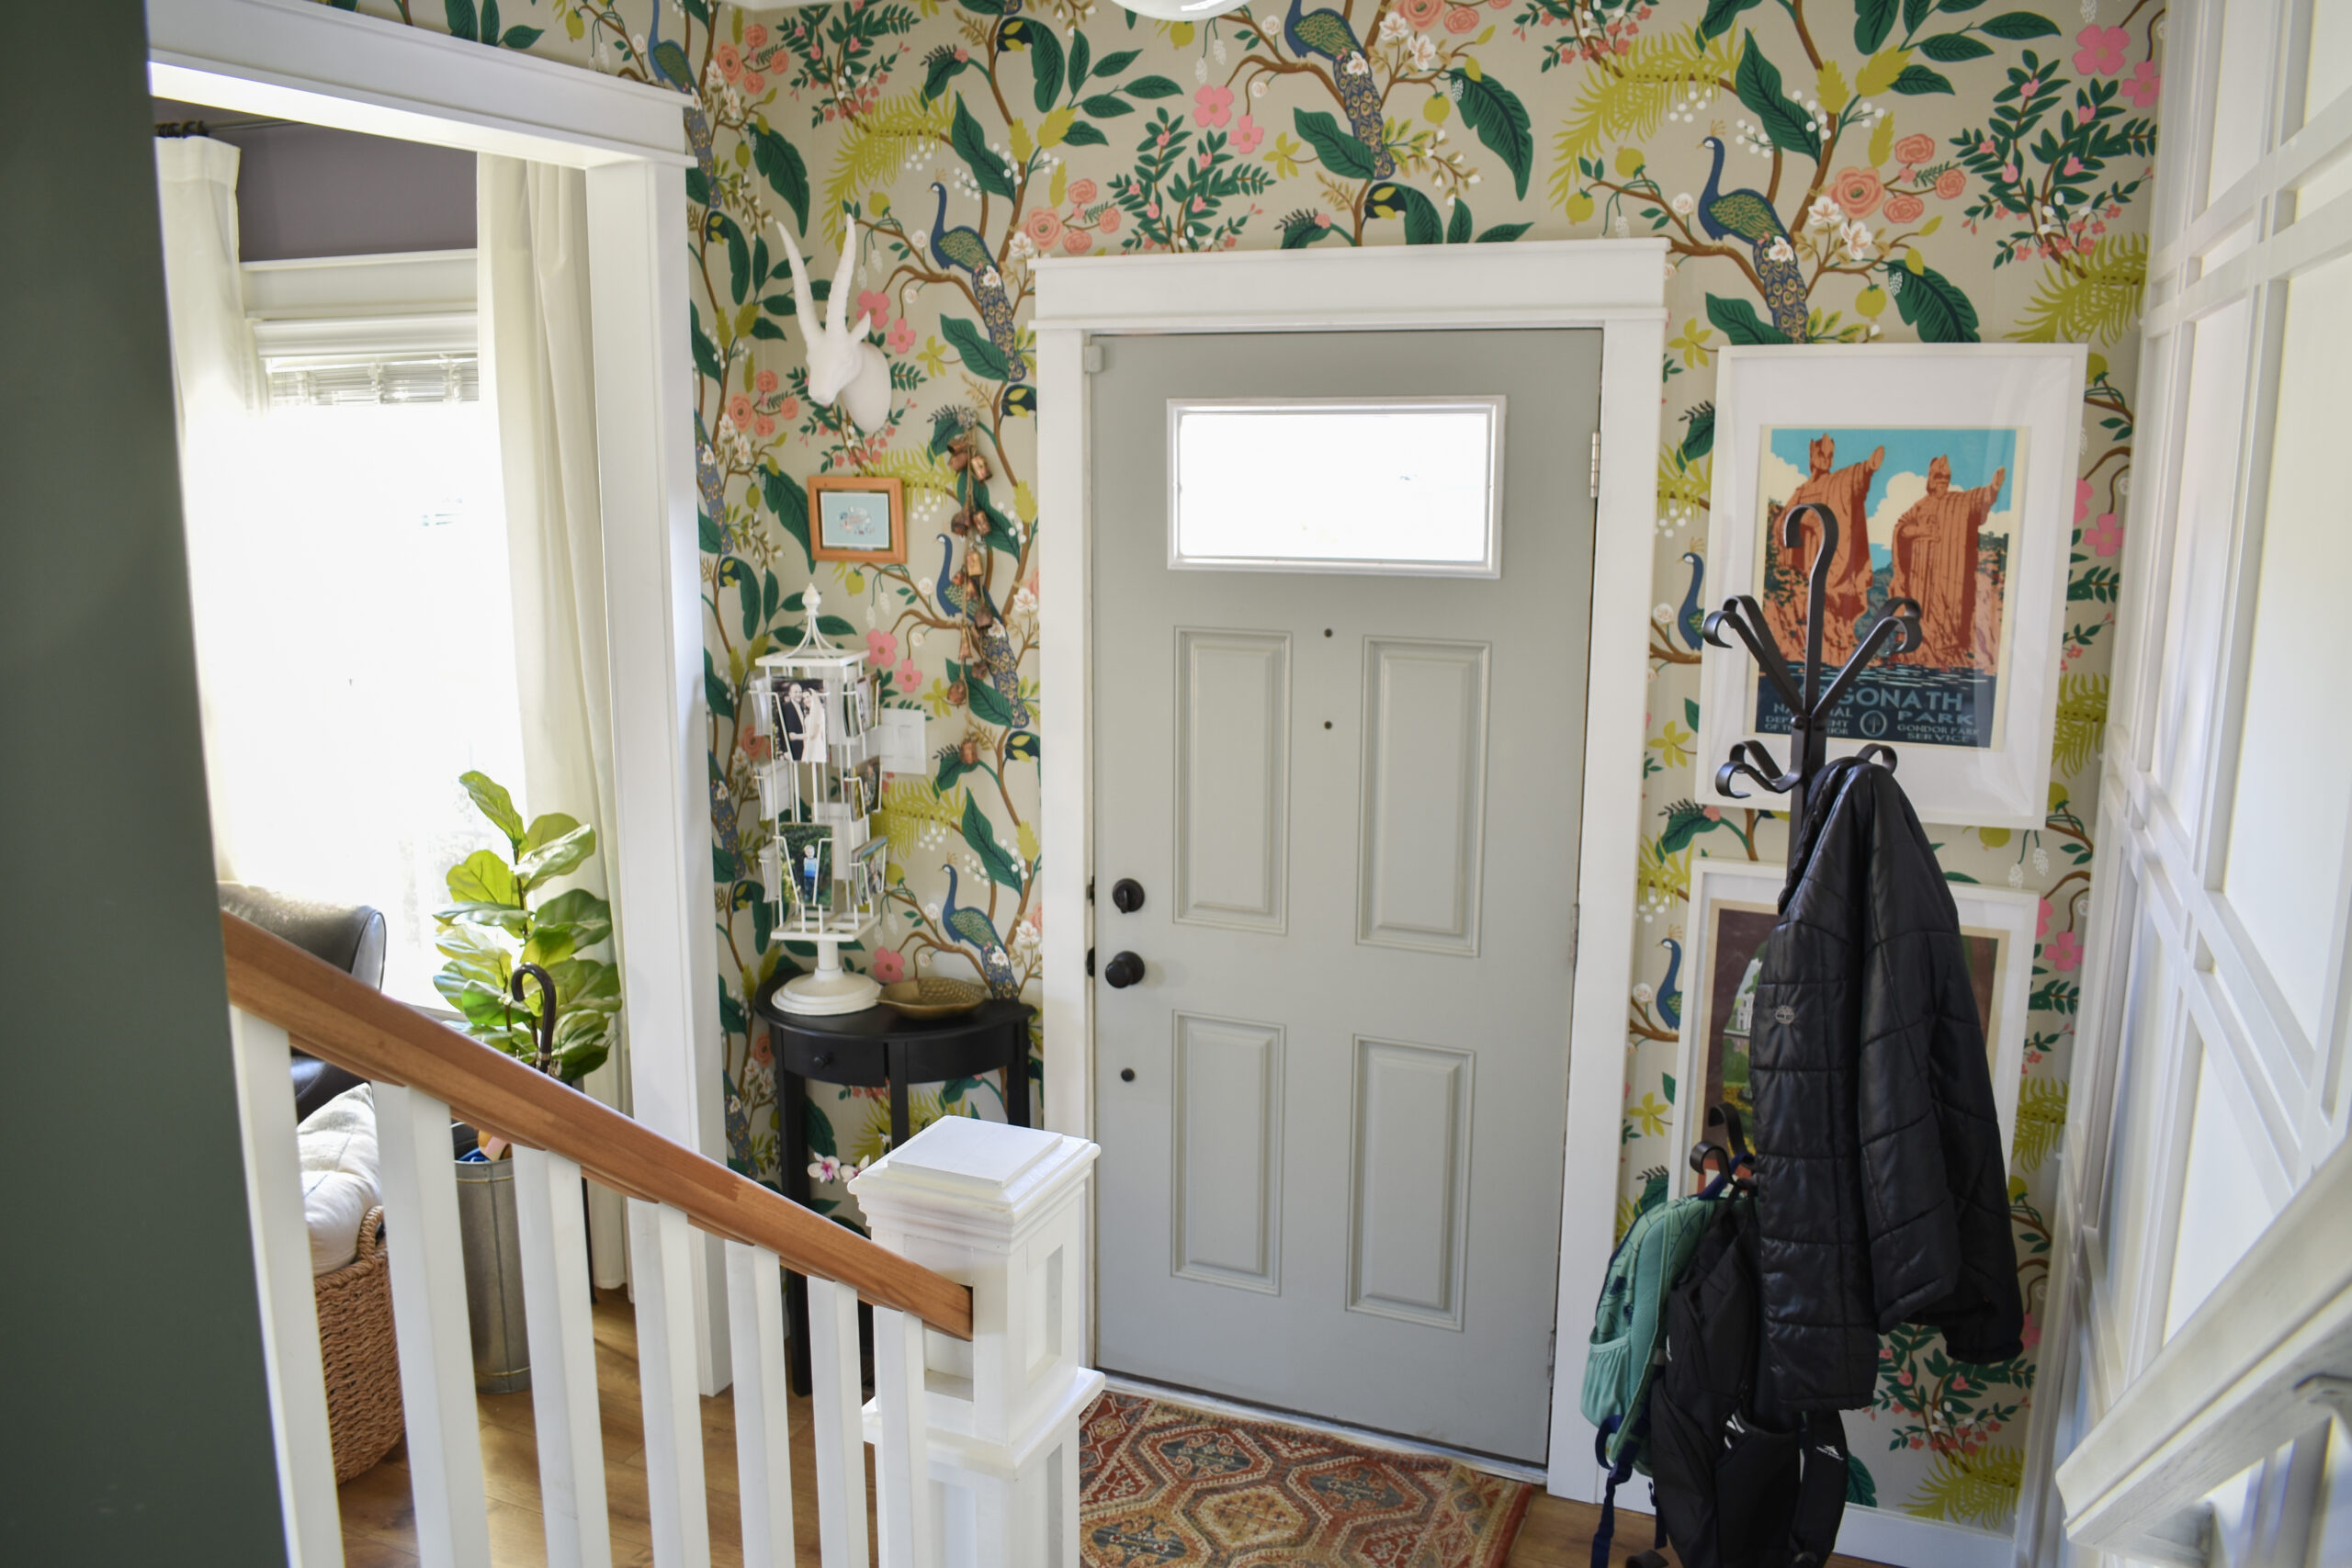
This will of course be different for all walls, but I’m including the measurements that I used below to help illustrate the process I used. Before I started on my trim, I painted the walls the same color of the trim I was going to be using by in a Matte finish (Sherwin Williams Extra White). Once they were dry, I started my planning with the smaller of my two walls. I measured the width from wall to wall (63″) and found the center (31 3/4″). From that center width, I subtracted the width of the DESIGN, and the width of half of the DESIGN – that gave me the size of my SQUARE (31 3/4 – 4 1/2 – 2 1/4 = 25″).
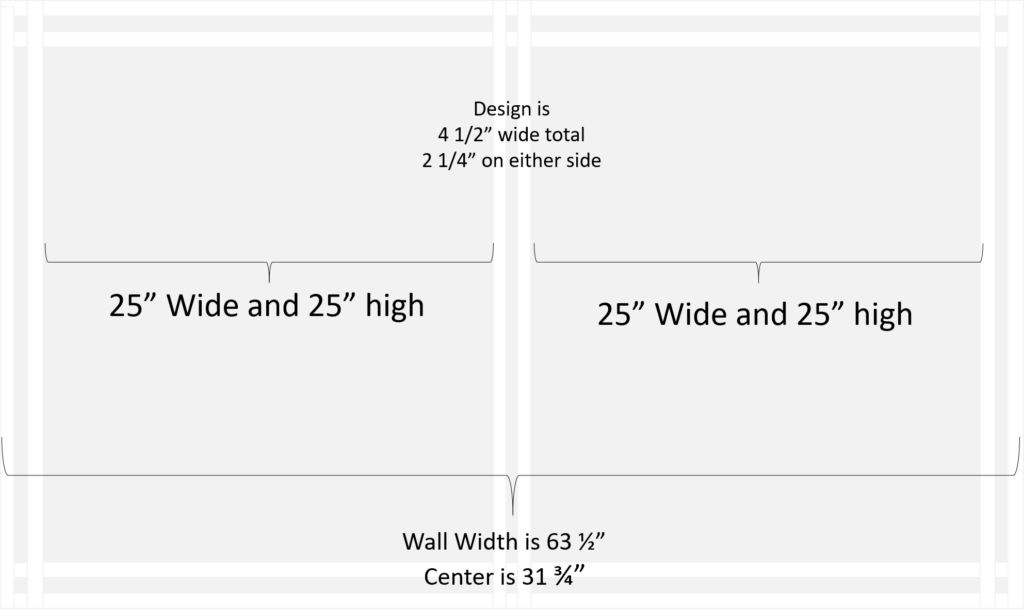
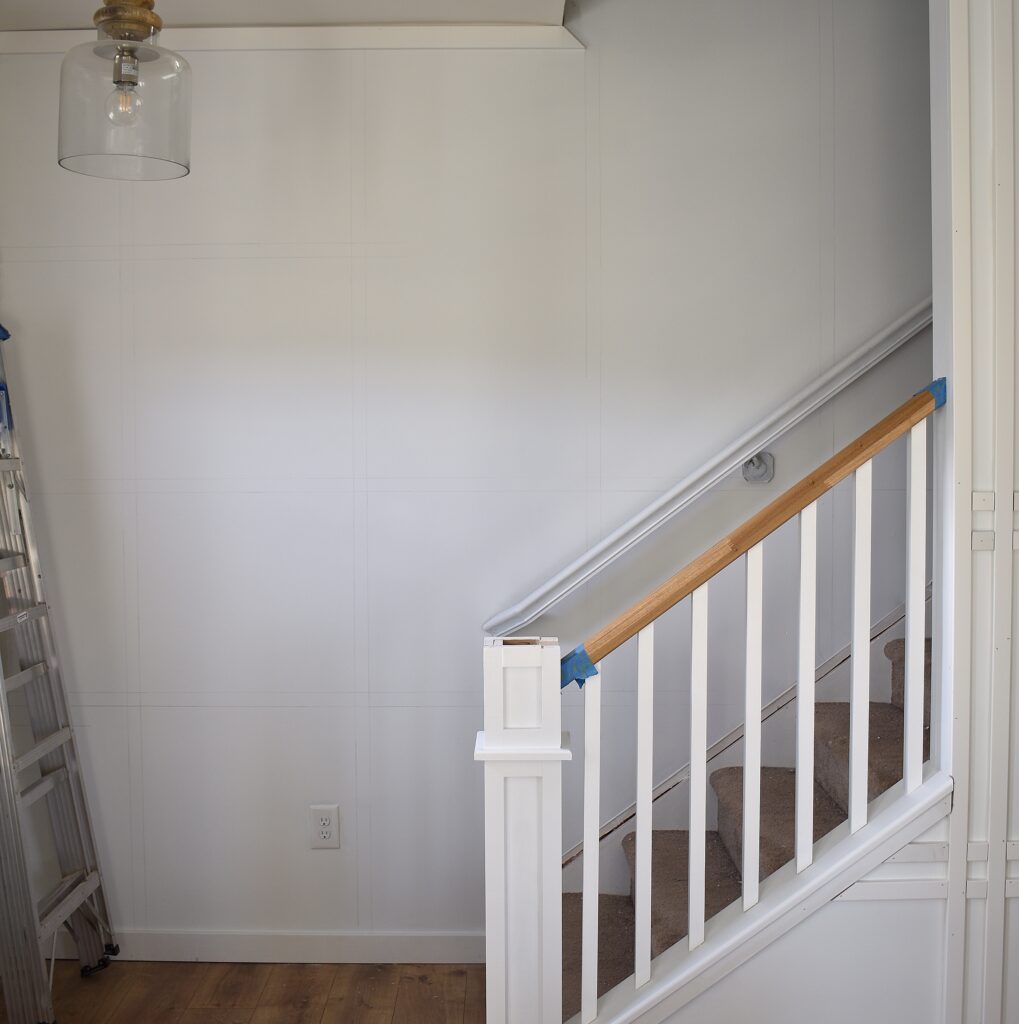
With that, I had all of the measurements I needed to start laying out my grid (I’m old school so I just use my level and a pencil to draw out my lines on my wall). Since we’re going for perfect squares, the vertical dimensions are exactly the same as the horizontal. Draw out your vertical lines following this pattern – STRIPE – SPACE – STRIPE – SQUARE – STRIPE – SPACE – STRIPE – SQUARE. If you have a spare piece of your trim you can just use that to trace out the width of your STRIPES instead of measuring each out. Next, draw out your horizontal lines using the same pattern and the same measurements. NOTE: Be sure to draw out each horizontal line and make sure they are level – this will become very important when you start building your boxes.
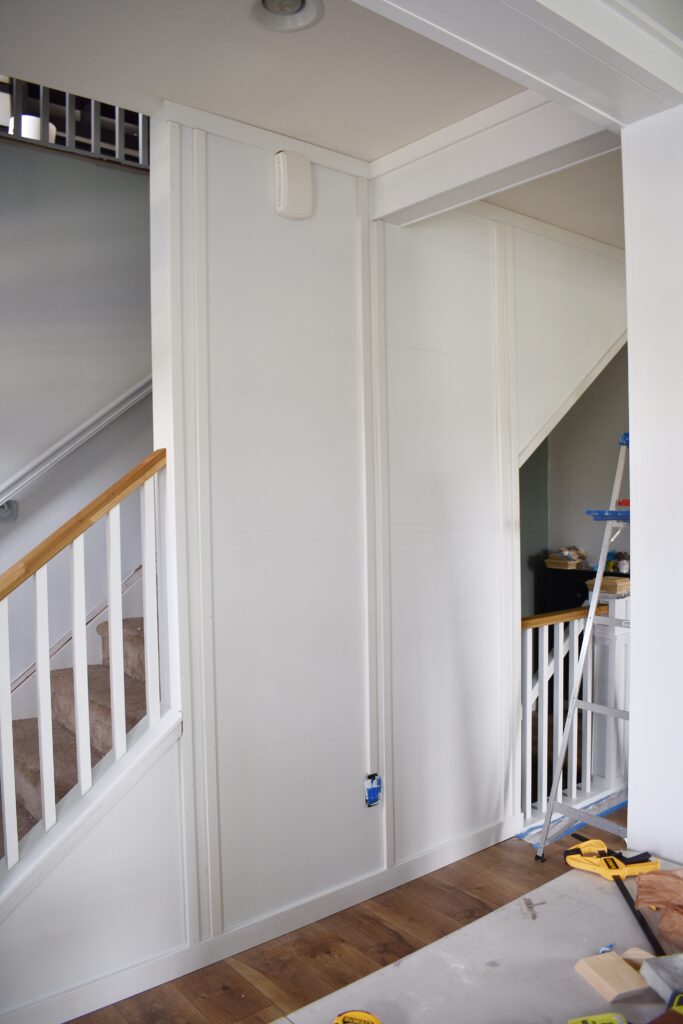
Install Your Trim
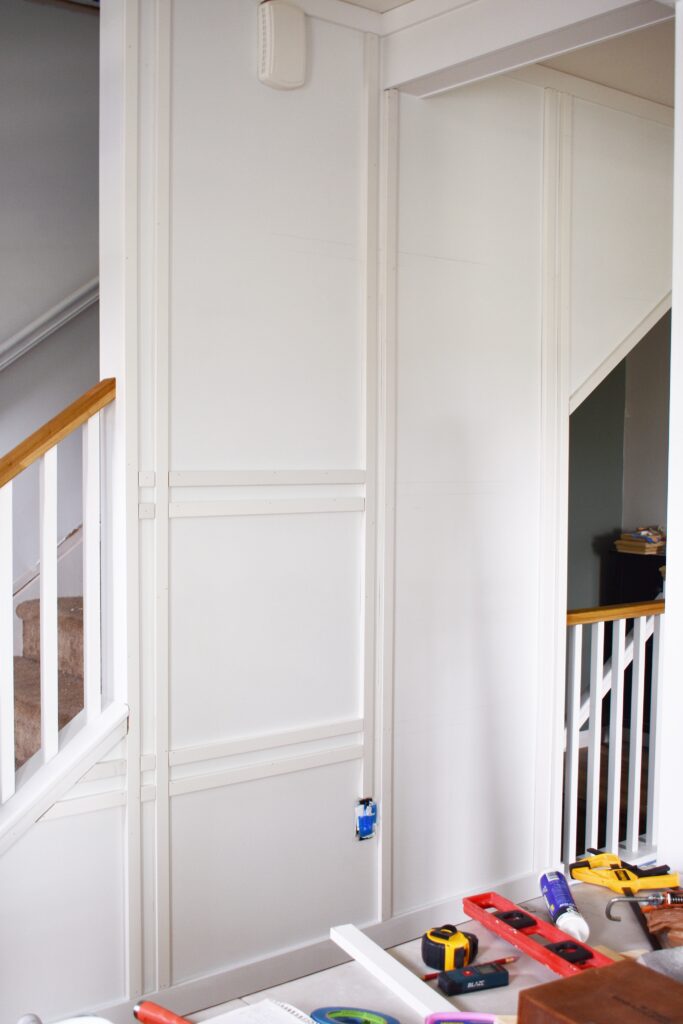
Once my lines were drawn, I started installing my vertical pieces of trim. My ceilings are 9ft tall and I was able to find 12ft pieces of trim so I could have one interrupted piece from floor to ceiling. I attach each piece with a line of Liquid Nails and my Ryobi AirStrike nailer and 1 1/2″ brad nails spaced a few feet apart. Follow the lines you traced and use your level to make sure each piece is straight. To keep the SPACE in between each STRIPE equal, you can use a piece of scrap trim as a spacer. Once all of the vertical pieces are installed, I caulked both side of each piece – this saves you a little hassle when you go to caulk those tiny squares that make the plaid pattern.
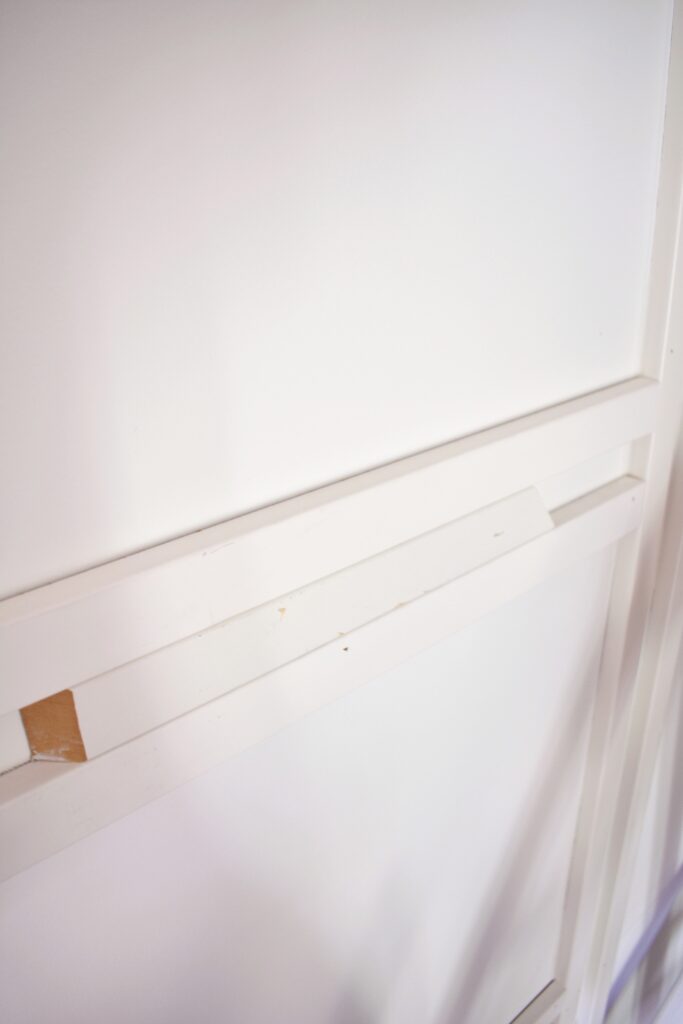
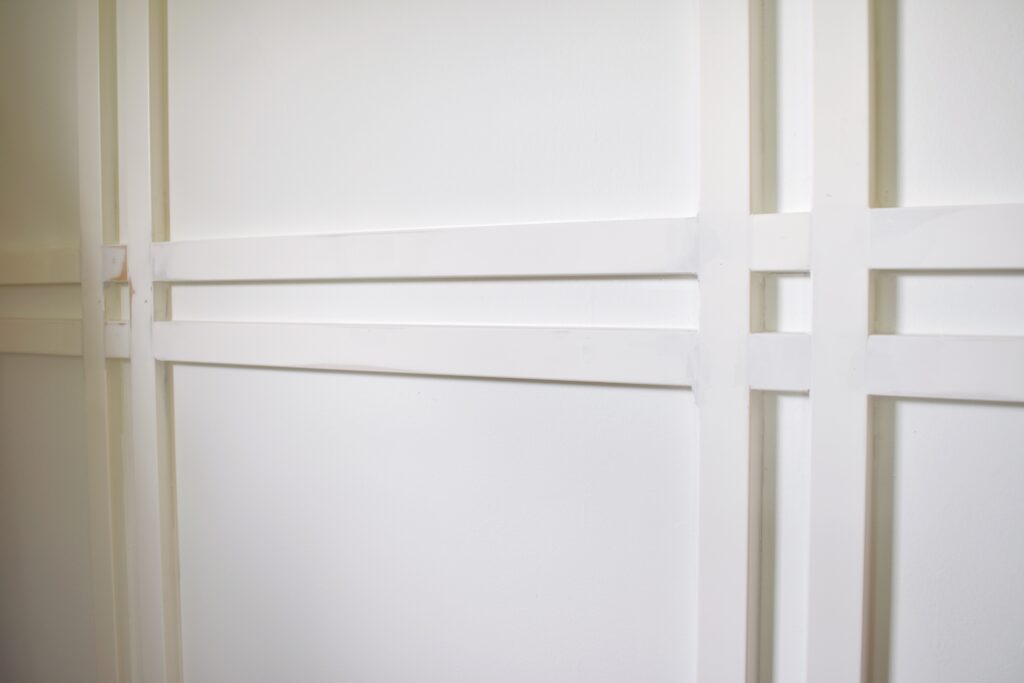
For the horizontal pieces, you will follow the same general steps but you will need to measure each piece to ensure the tightest fit. A laser ruler makes jobs like this a lot easier than a traditional tape measurer. This is where having your pre-drawn lines really helps – it will ensure that your pattern stays level all the way across. I did all of the large pieces first, then I went back and filled in all of the smaller pieces to finish off the plaid pattern (note: I only attached these with a healthy drop of liquid nails and not a brad nail).
Finish the Trim
The finishing work is what makes the most difference so take your time and don’t be tempted to rush any of these steps.
- Sand each joint to even out the trim – I used my orbital sander and 120 grit sandpaper
- Fill each joint and each nail hole with joint compound – go heavier not lighter on the amount of compound. NOTE: if you using compound that does not have primer you will need to prime it after you sand and before you paint
- Sand each joint (again) and nail hole until smooth; this little Gator Zip Sander is perfect for those tight corners
- Caulk the remaining trim
- Paint the trim with Semi-Gloss paint – I used Sherwin Williams Urethane Trim Enamel in Extra White. Use a roller for the flat parts and an angled brush for anywhere that is caulk – do not skip painting the caulk! Unpainted caulk is a dust magnet
- Finally, make any necessary touch ups to the wall using your Matte Paint
If you like the plaid but are hesitant about adding a permanent feature to your home (or are in a rental or temporary situation) you can get a really similar look by tracing over your grid with a dark sharpie or even with some Washi tape! Help me spread the plaid love far and wide <3

Yay!! I’m so excited to try this! You make it sound easy! I’m inspired!
Oh I’m so glad to hear that! It really is not as hard as it seems – let me know how it works out!