One Room Challenge Week Six – Adding Wallpaper and Tile
Now we’re finally getting to the good stuff! Not that building a giant closet and watching your shower get re-plumbed isn’t good — it’s just not as exciting as watching the room come alive with pattern and texture. Before I get into the details of what’s been going on over the last seven days, just a reminder that if you’re just jumping in on this project and missed the work that went on over the last five weeks you can catch up on any of my blog posts at the links below and you can catch up on the progress of all the One Room Challenge projects by visiting the ORC blog.
Week 1 / Week 2 / Week 3 / Week 4 / Week 5 / Week 6 / Week 7 / Week 8
(Some of the links included in this post are affiliate links, meaning, at no additional cost to you, I will earn a commission if you click through and make a purchase)
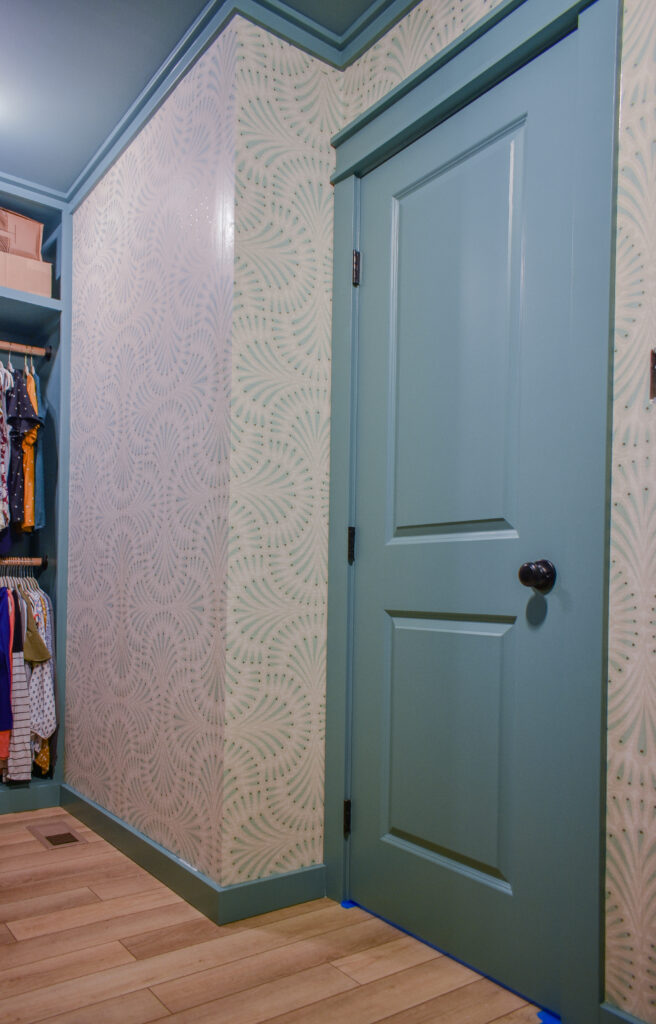
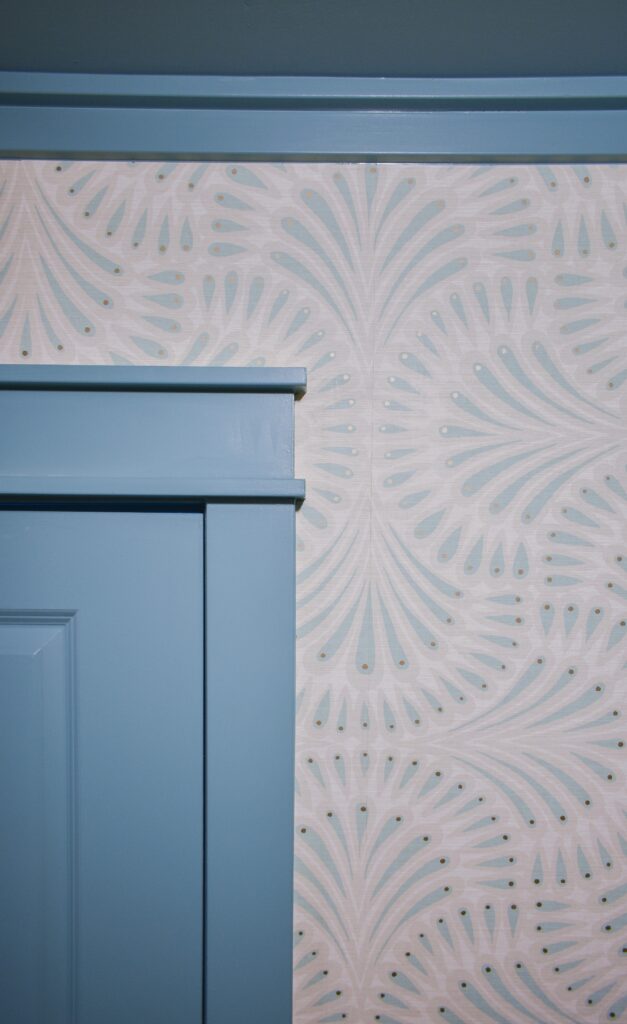
Let’s start this week by re-visiting the closet. After my bedroom makeover during last year’s One Room Challenge, I had a ton of my beautiful art deco wallpaper leftover so it just made sense to use it in here too so I made that my jumping off point and a big deciding factor in why I chose this deep blue for the cabinetry. Now that it’s up, I feel like I’m standing inside a vintage jewelry box – the whole space feels much lighter and brighter and so much more like a room then a closet. This was my first time painting the trimwork in such a bold color but I thought this was a perfect space to try it out in. I don’t know how I’d feel about it in a bigger space, but in here it feels really fun.
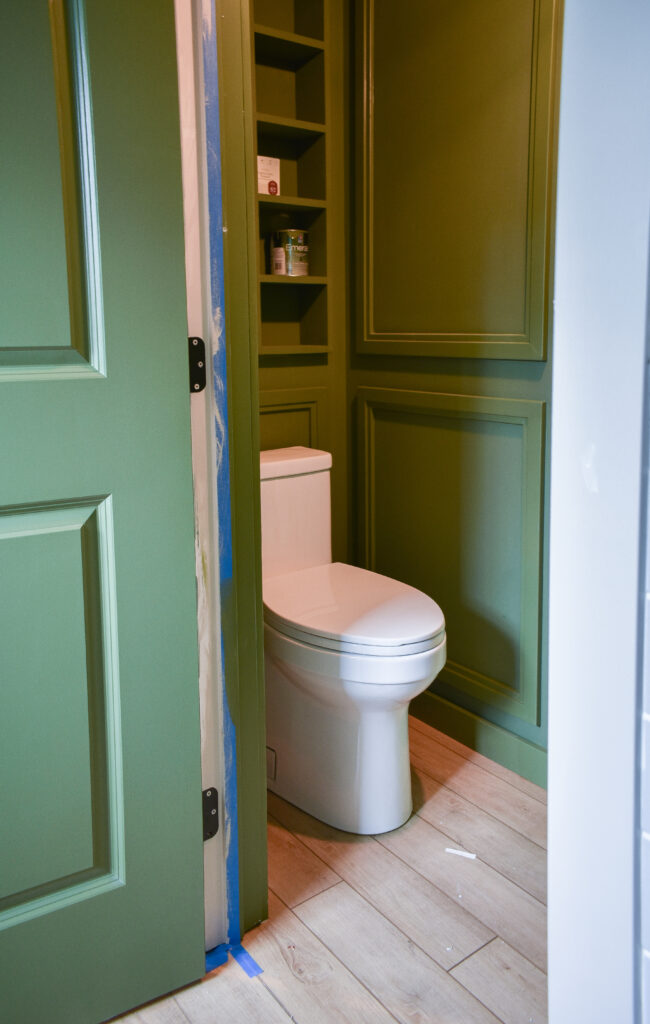
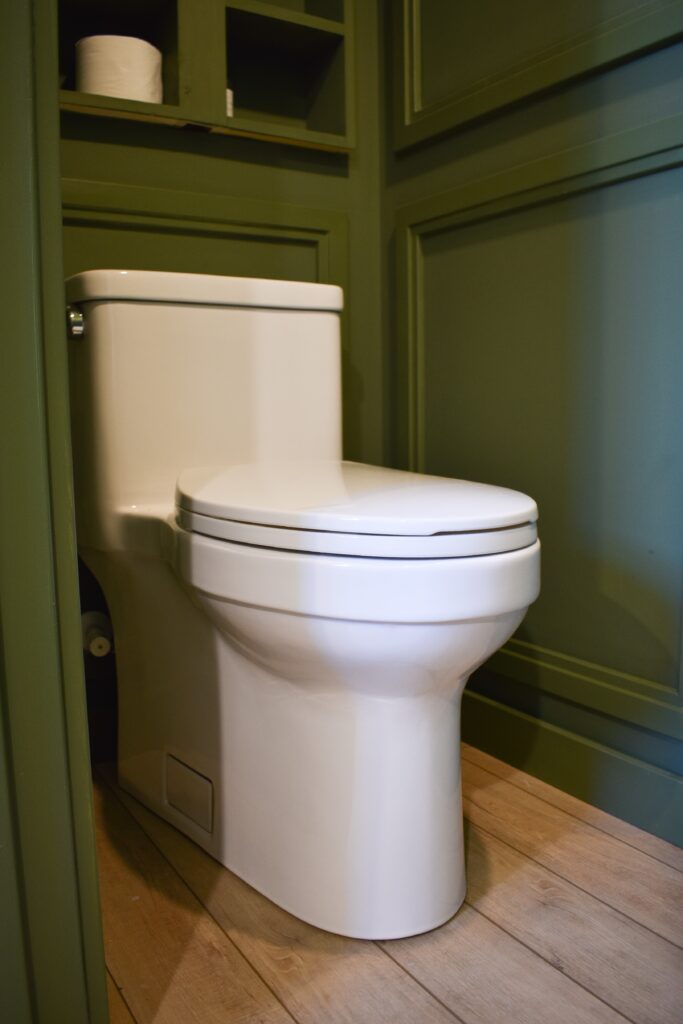
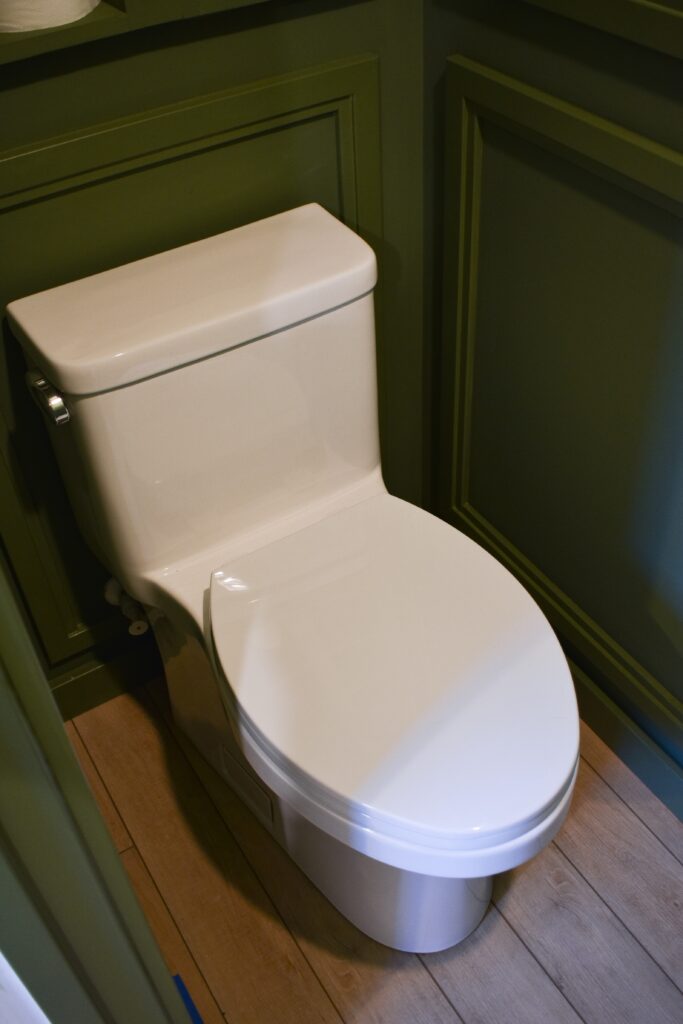
Next let’s head back into the water closet – last week I mentioned that our new Speakman toilet was being installed at the end of the week and hallelujah it was! I held my breath the whole time because this room is so tight but the crew managed to squeezed it up the stairs and Presto! I have working plumbing again. Excuse me while I wax poetic about a toilet for a moment but how pretty is she? I chose the Speakman Glenwynn T-5001 Skirted One Piece Toilet because of it’s super clean lines and minimal look. It has so many great features that help keep it grime-free and easy to clean including the one-piece design, rimless interior bowl, and ,most importantly to me, the hidden screws….who else has little boys and at least one toilet where the screws are already rusted threw due to bad aim???
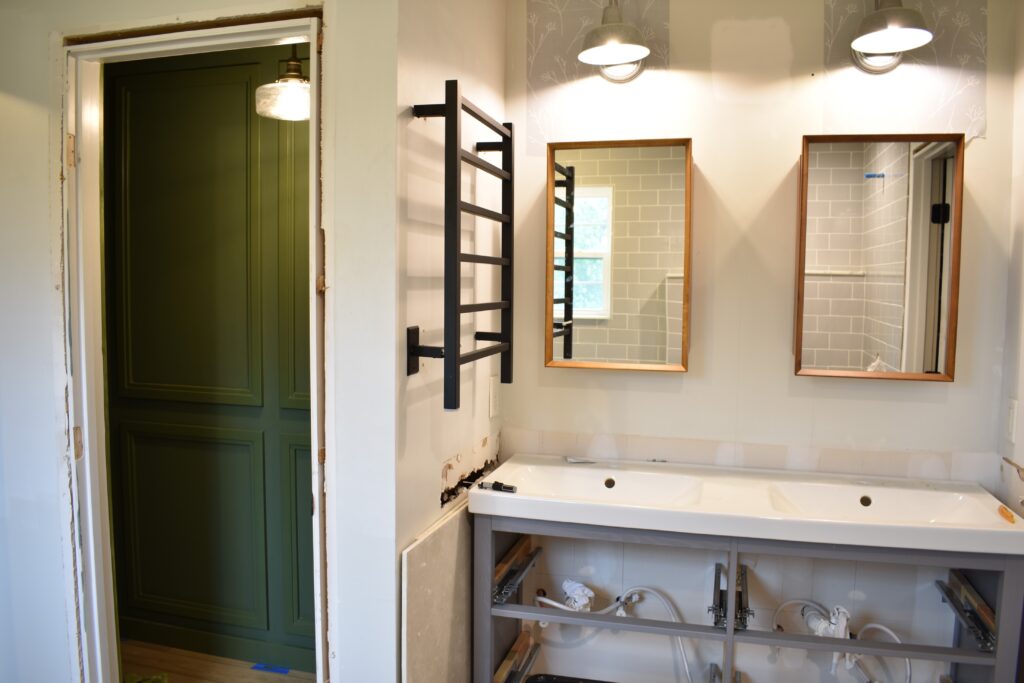
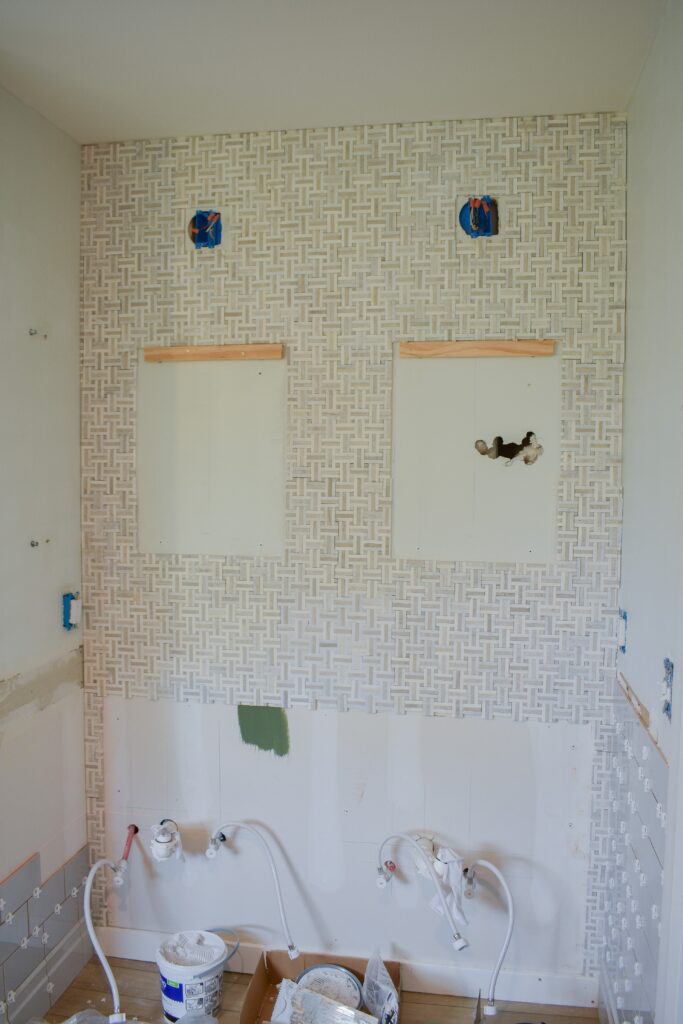
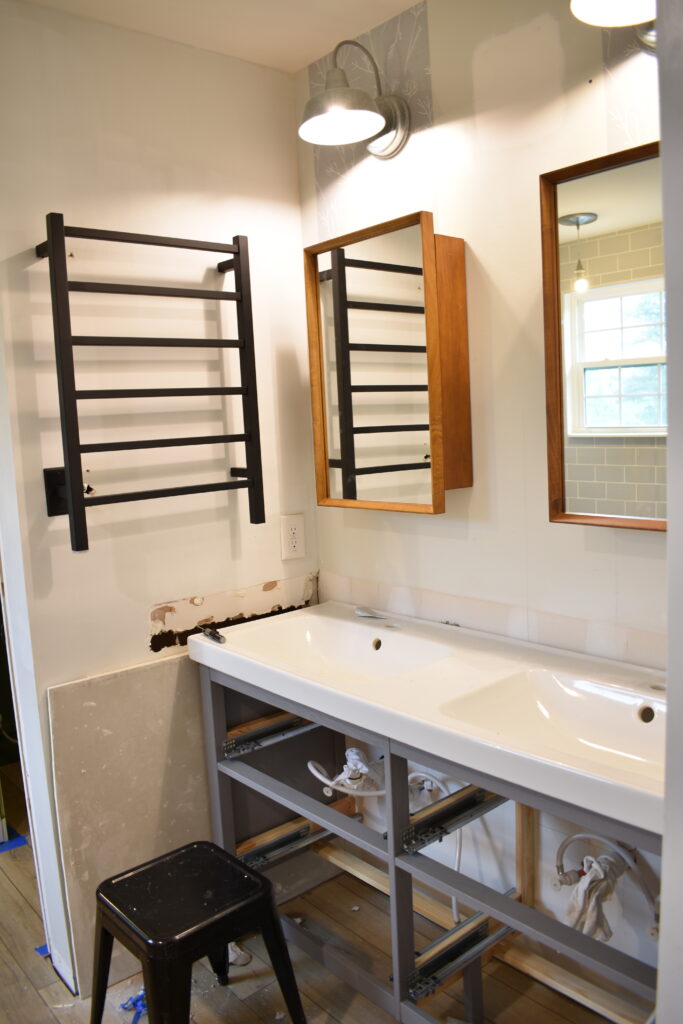
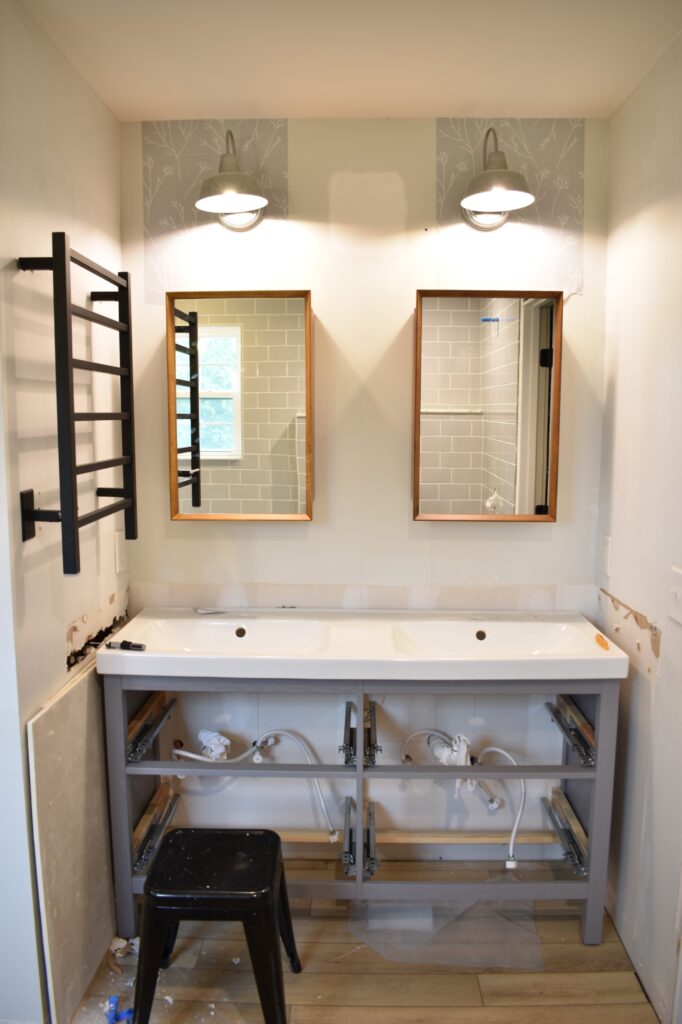
Now that the plumbers have just about finished, it’s time to turn my attention to the rest of the bathroom — which still needs so much work! The first puzzle I needed to figure out was the vanity area. It’s pretty small and compact (it also doesn’t help that the walls aren’t straight which makes a standard size double vanity a no-go) so I had to go with a slightly smaller double vanity (this one from IKEA) which I’m planning on painting the same green as the water closet. To get more storage I’m adding dual medicine cabinets BUT I hit my first major snag when I went to recess them in the wall and couldn’t because of an unfortunately placed pipe. These medicine cabinets can also be installed on the wall, but I was worried that things would get too cramped to be able to re-install our Bathroom Butler Heated Towel Warmer (click here to read the post I wrote about the benefits of installing a Heated Towel Warmer and why including it in the new design was a MUST for us). Luckily I was able to just move it over a few inches and now I think it’ll all work out OK.
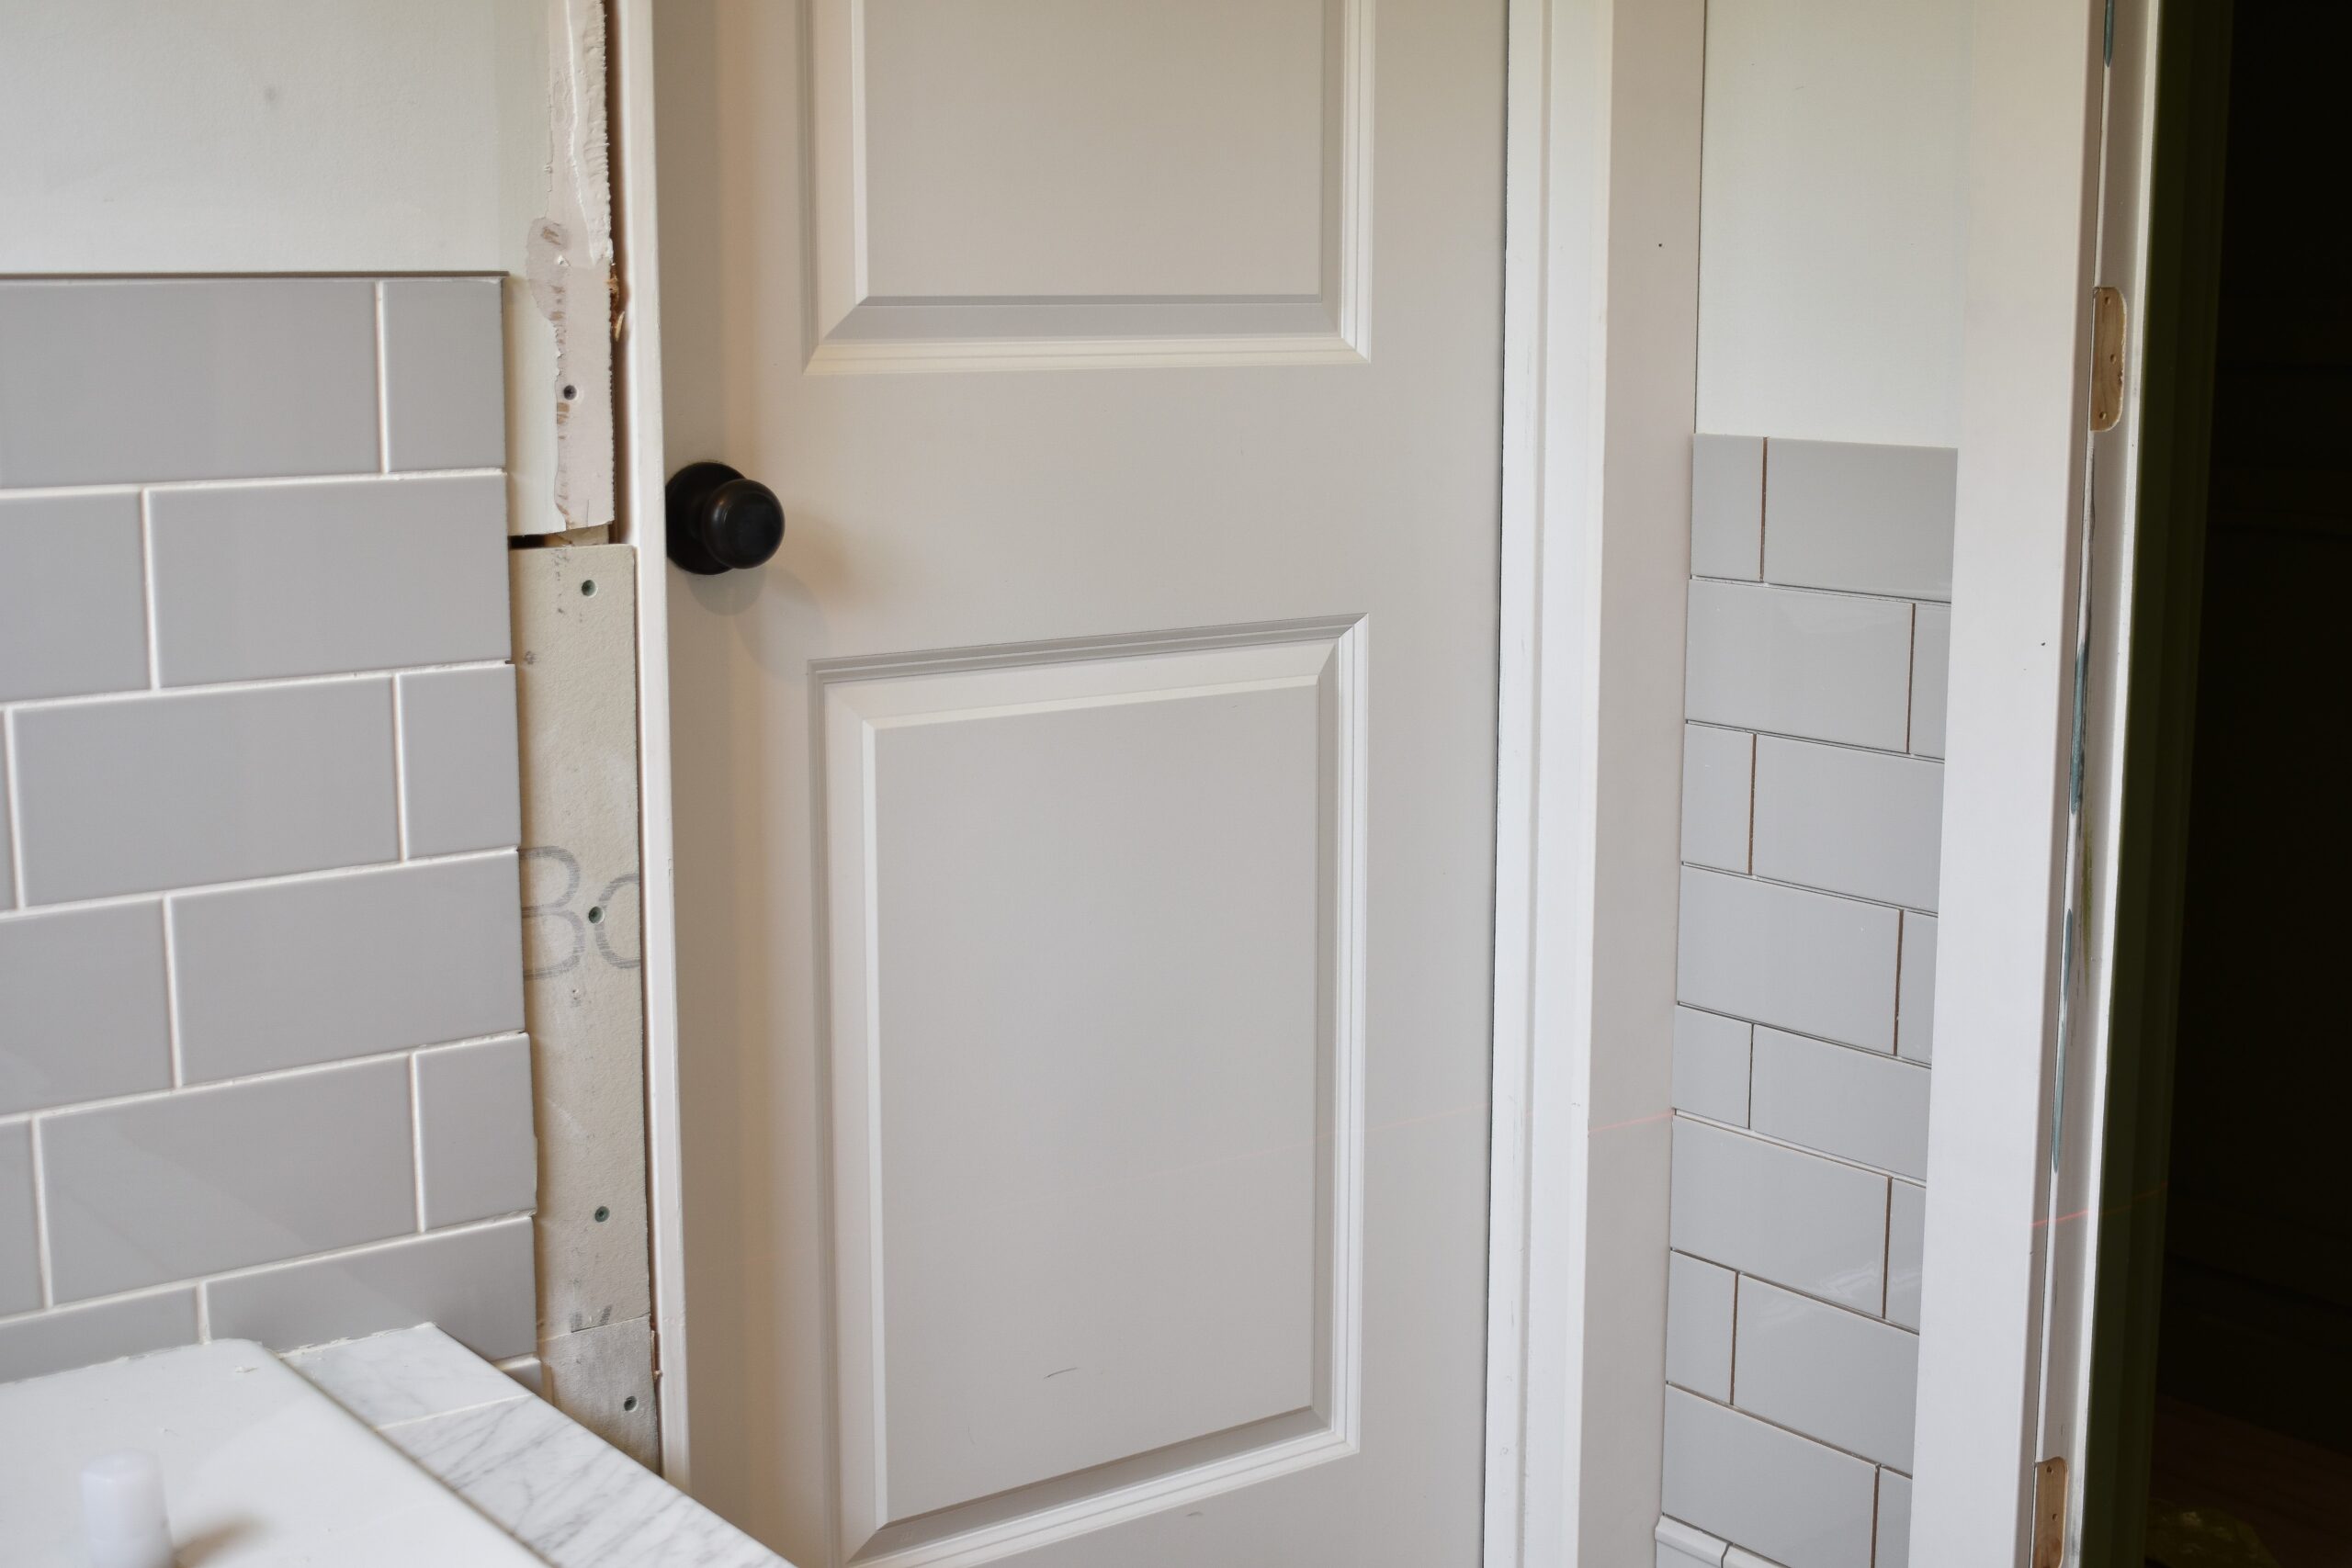
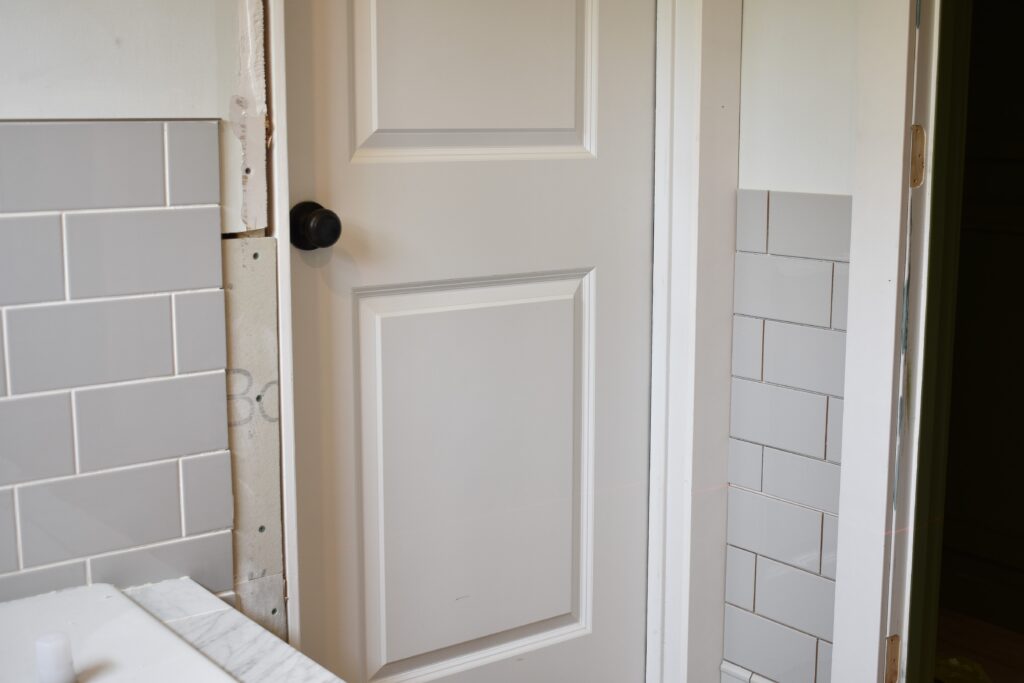
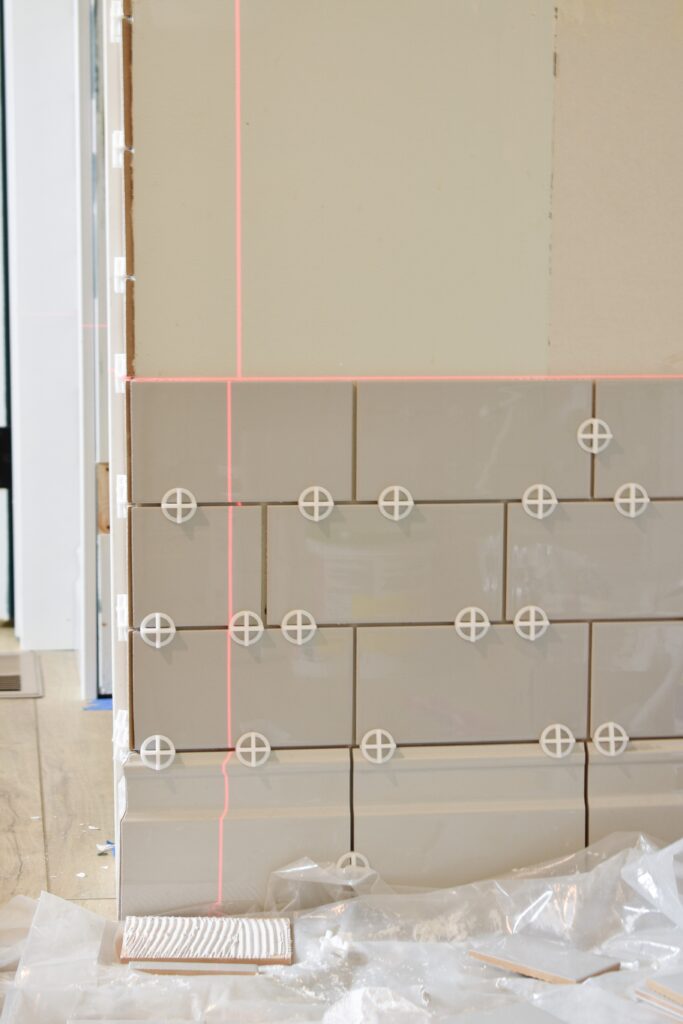
With all that figured out it was time to get tiling and add my beautiful basketweave marble tile backsplash. While that job was pretty straightforward, what got tricky was continuing the puddy colored subway tile around the room keeping everything straight and even with the tile that had already been installed in the shower and tub. I finally got to bust out my laser level for this job and WOW does this thing make a difference!
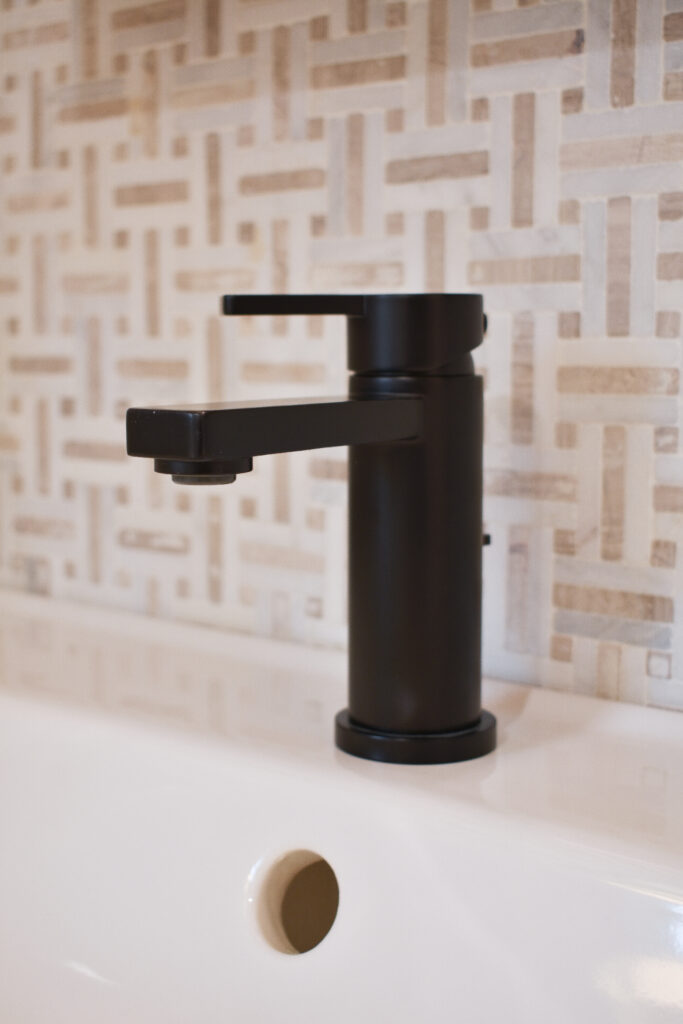
Next comes grout and then only about 100 more things before the reveal so no big deal….oh and I still have to get my butt out of the bathroom and actually go shopping for accessories so add that to the pile. Once this is all done I really may spend a week in that bathtub scrubbing paint and caulk off my hands. For now let me leave you with once last sneak peak of the new Speakman Vector Single Lever faucets…how sexy does that sleek matte black finish look against that marble???


Thank you to my sponsors!
Thank you to the companies that sponsored products for me to use in this project, Cyrstorama, Speakman, Bathroom Butler, and Handy Paint Products. I’m so grateful to be able to use their beautiful products to make my vision come to life.


Comments
Looking so good! I ADORE the wallpaper with that blue in the closet.
I can’t get over the perfect use of color!!!